
- 7.2 Nose Gear Installation (Door mechanism)
- 7.8.2 Landing Gear Plumbing – Dump Valve
- 7.8.2 Landing Gear Plumbing – Bulkhead fittings
- 7.8.2 Landing Gear Plumbing – Dump Valve
- 7.8.2 Landing Gear Plumbing.
- 7.8.2 Landing Gear Plumbing
- 7.8.4 Landing Gear Electrical
- 7.0 Landing Gear Retract Test
- 7.0 Landing Gear Retract Test II
- 7.7.3 Main Gear Doors
- 7.7.2 Parking Brake
- 7.8.4 – Landing Gear Electrical
- 7.8.4 Main gear microswitch wire routing
- 7.8.4 Main Gear Micro Switches
- 7.8.4 Nose Gear Up Microswitch mount
- 7.6.3 / 7.8.1 Install Landing Gear Hydraulic Cylinders
- 7.1 Nose Gear Door Installation
- 7.1 Nose Gear Door Installation
- 7.6.1 Main Gear Pulley Installation
- 7.6.1 Main Gear Pulley Installation
- 7.2.1 Nose Gear Installation
- 7.2.1 Nose Gear Installation
- 7.4.1 Gear Leg Cut Out
- 7.2.5 Nose Gear Guides
- 7.8.1 Hydraulic Power Pack Installation
- 7.4.3 Transverse Bulkhead Installation
- 7.5 Main Gear Bushings
- 7.4.3 Transverse Bulkhead Installation
- 7.6.2 Main Gear Sockets
- 7.7.1 Main Gear Leg UpStops
- 7.7.3 Main Gear Doors
- 7.7.3 Main Gear Doors
- 7.7.1 Main Gear Legs (Painting)
- 7.2 Nose Gear Door Mechanism
- 7.3 Nose Gear Door Mechanism
- 11.1.4 Lower Cowling to Wing Flanges
- Nose gear spring replacement
- 7.2 – Nose Gear Door Actuator Replacement
- 7-99 Sealing the Nose Landing Gear
Once the door hinge tabs had set up, I cut the nose gear door in half. A rather difficult task considering that I was doing it in a somewhat upside down position. But once they were in half, they can be removed and then reinforcement layups are put over the hinge arms and over the hinge tabs to the fuselage.
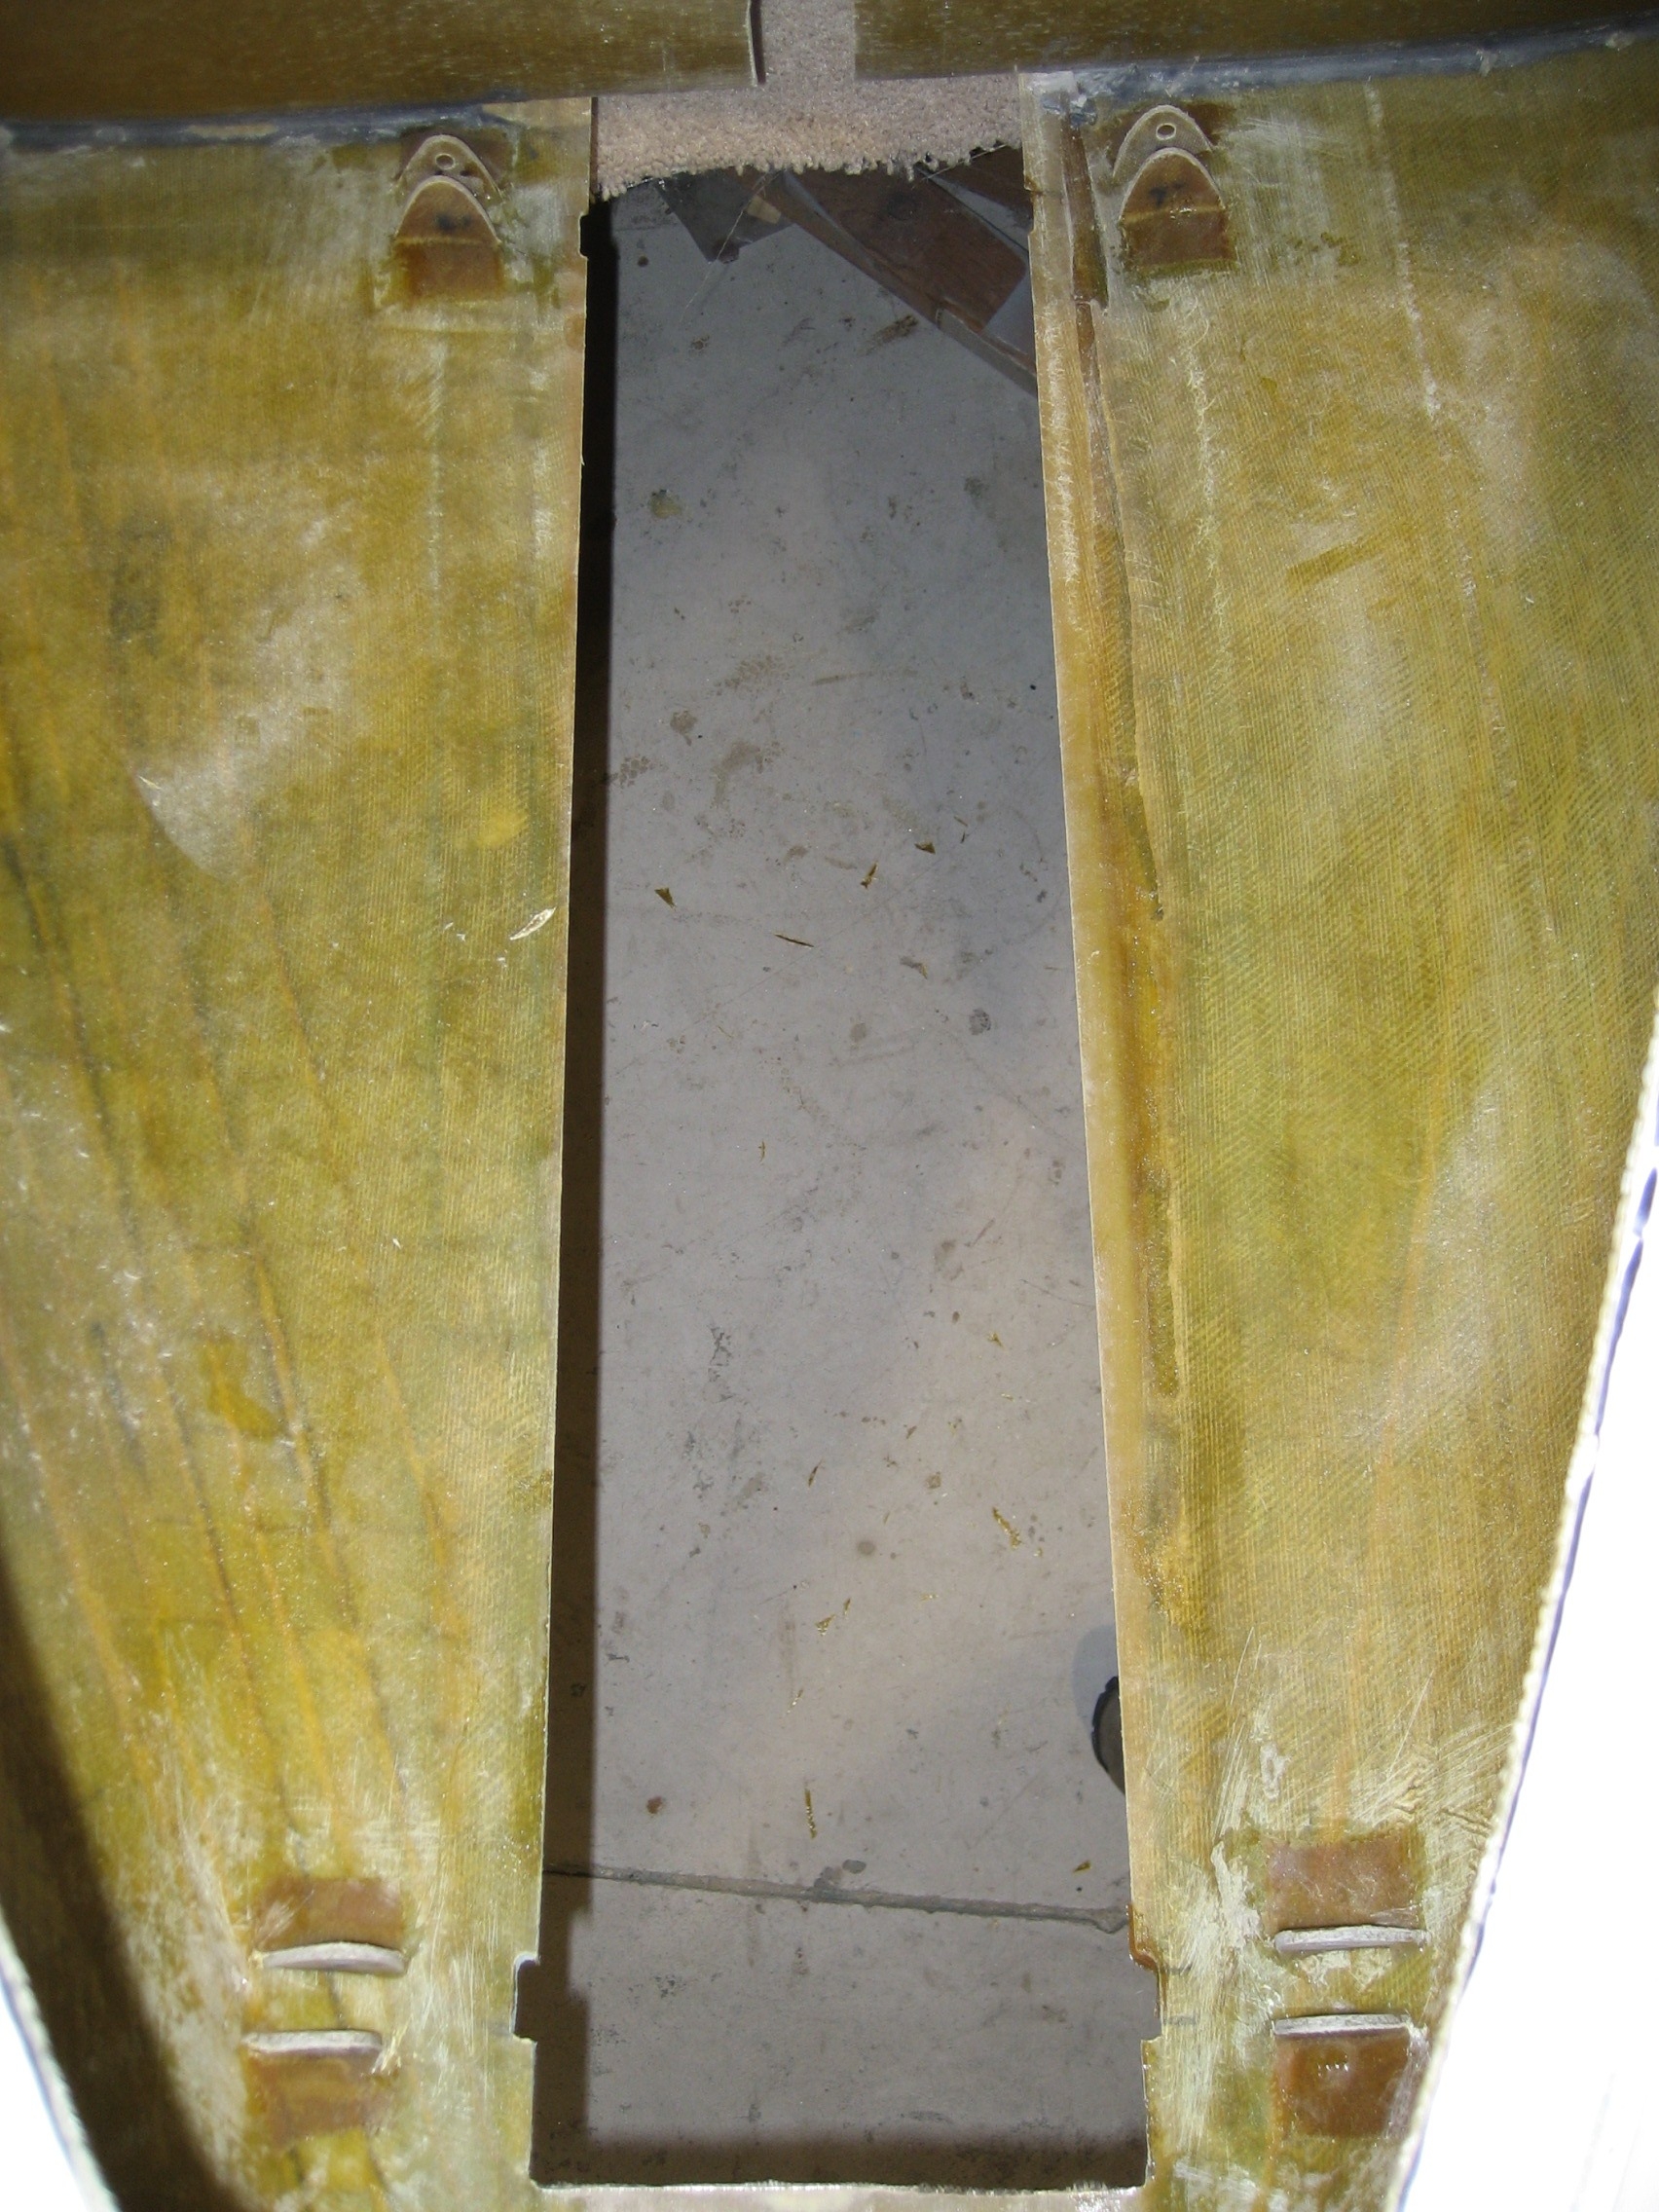
This the inside of the nose area with the doors removed and the layups on the outside of the hinge tabs.
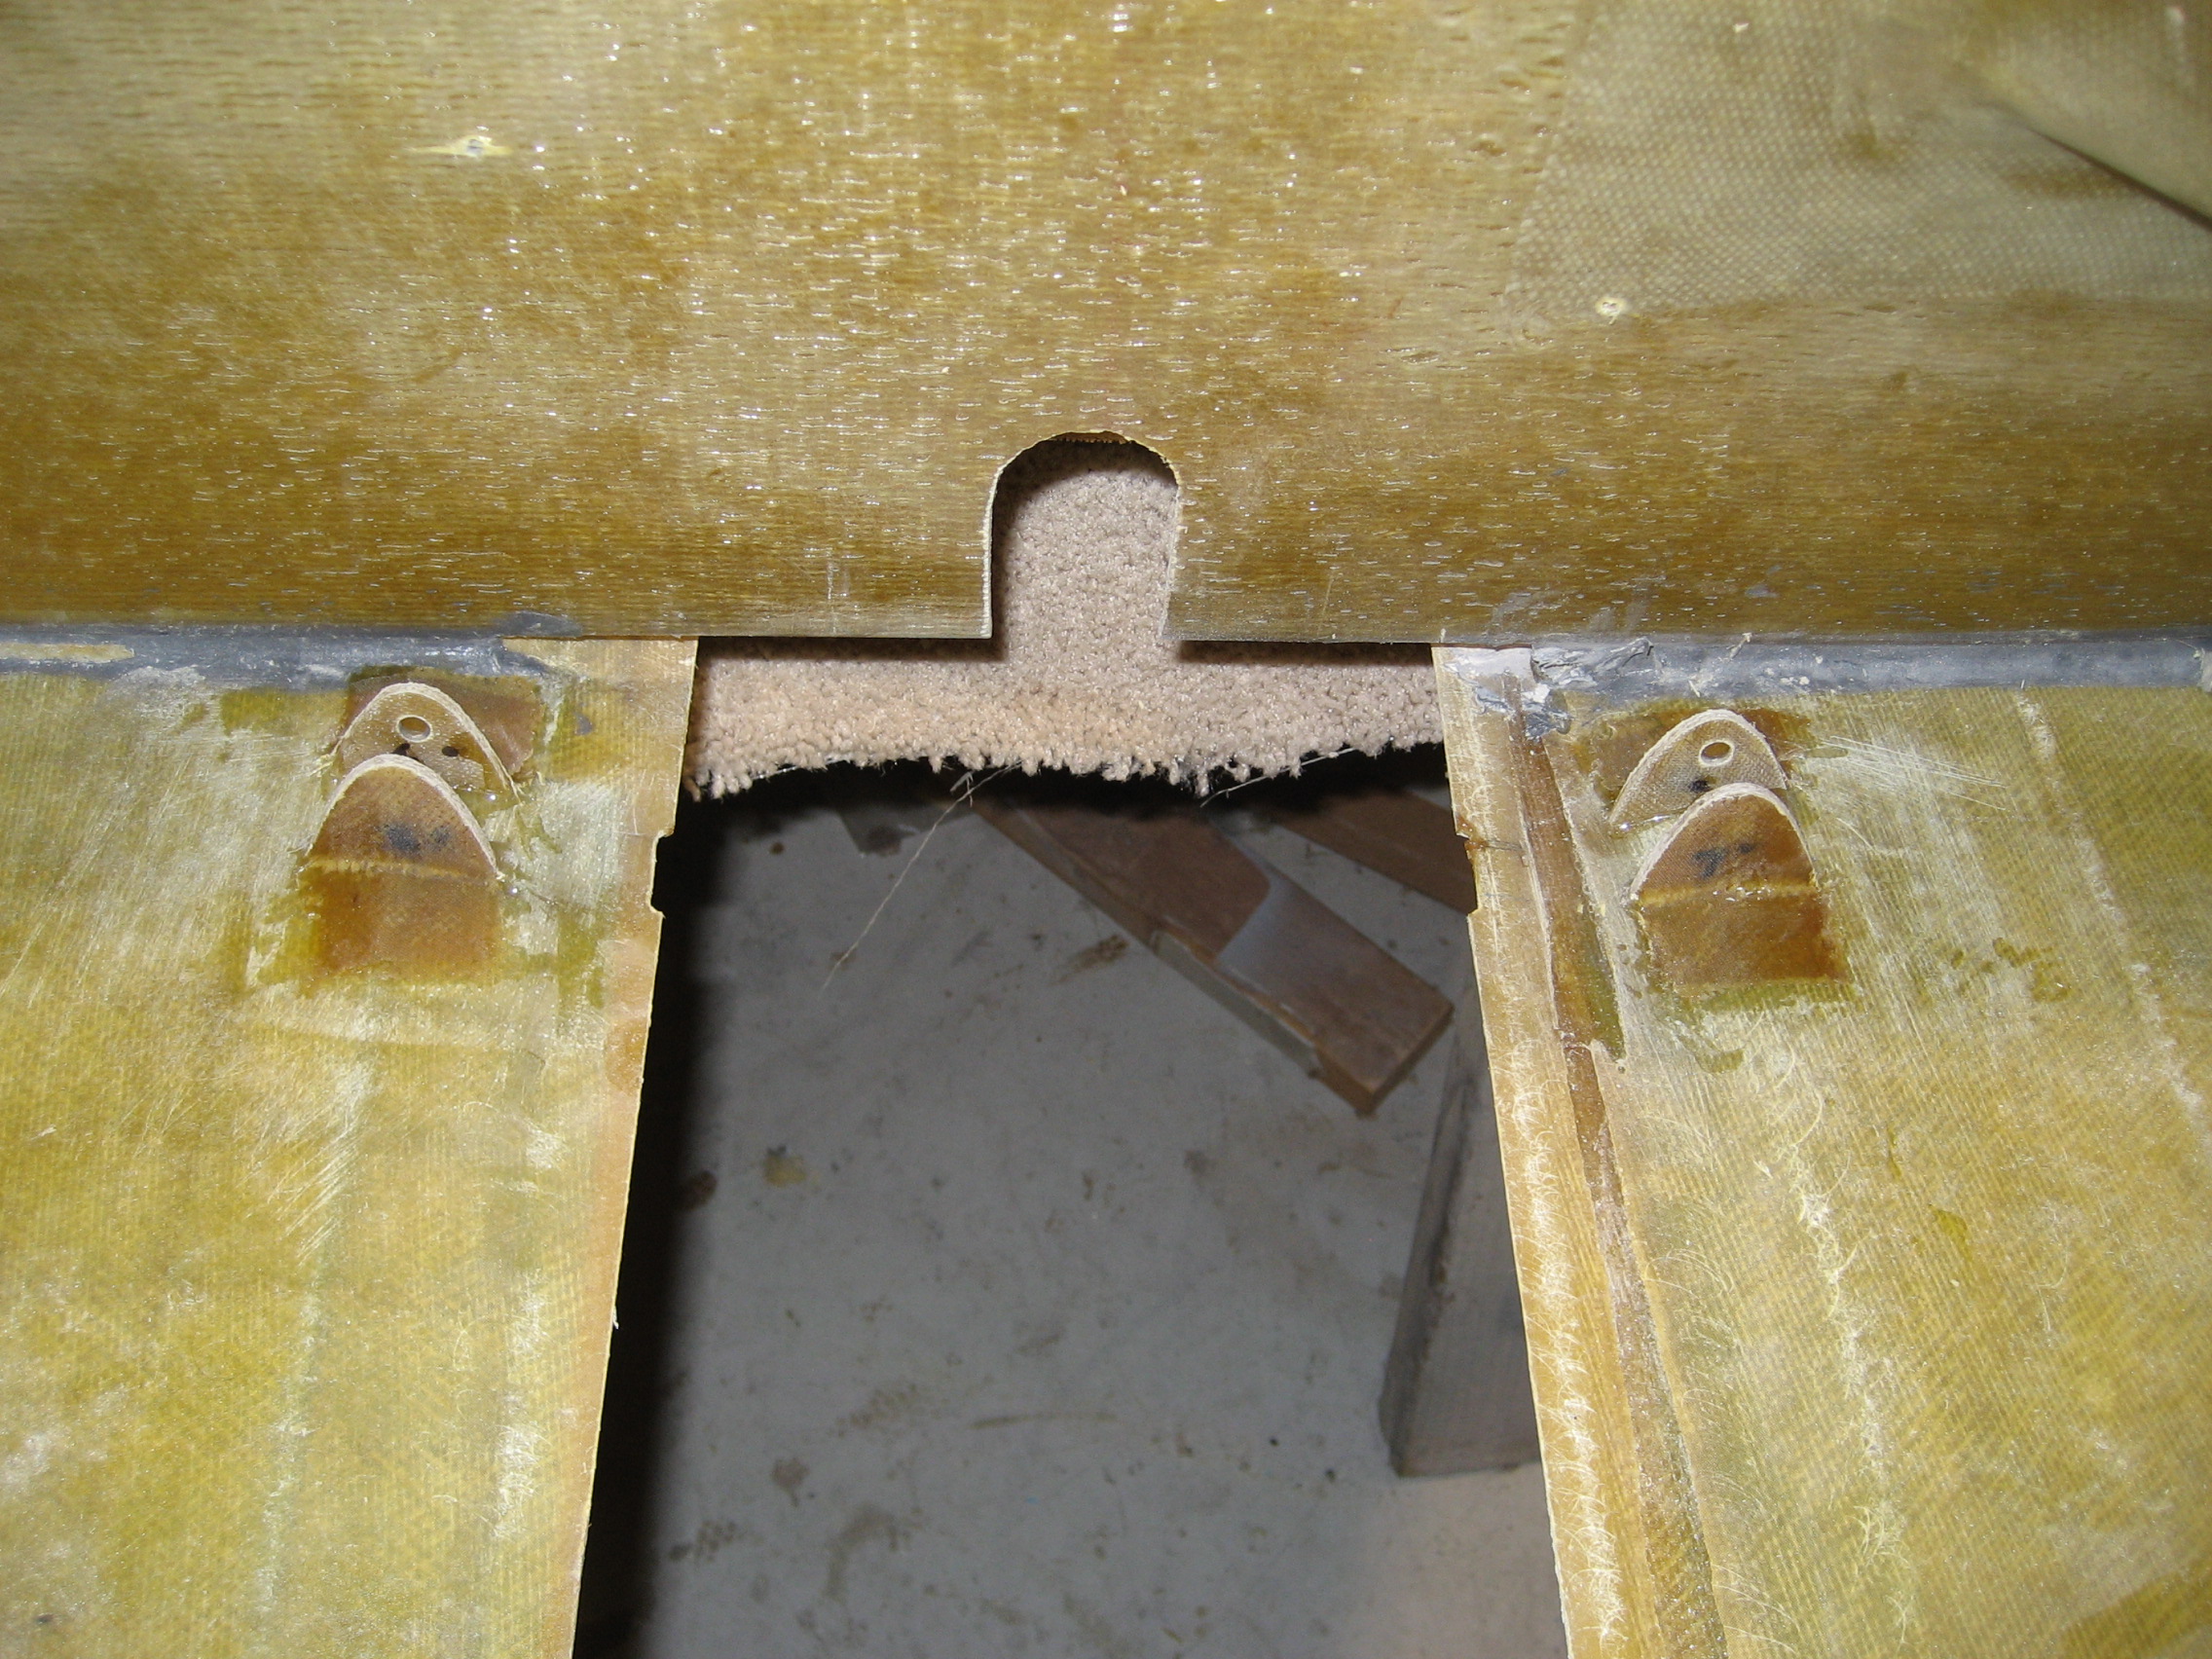
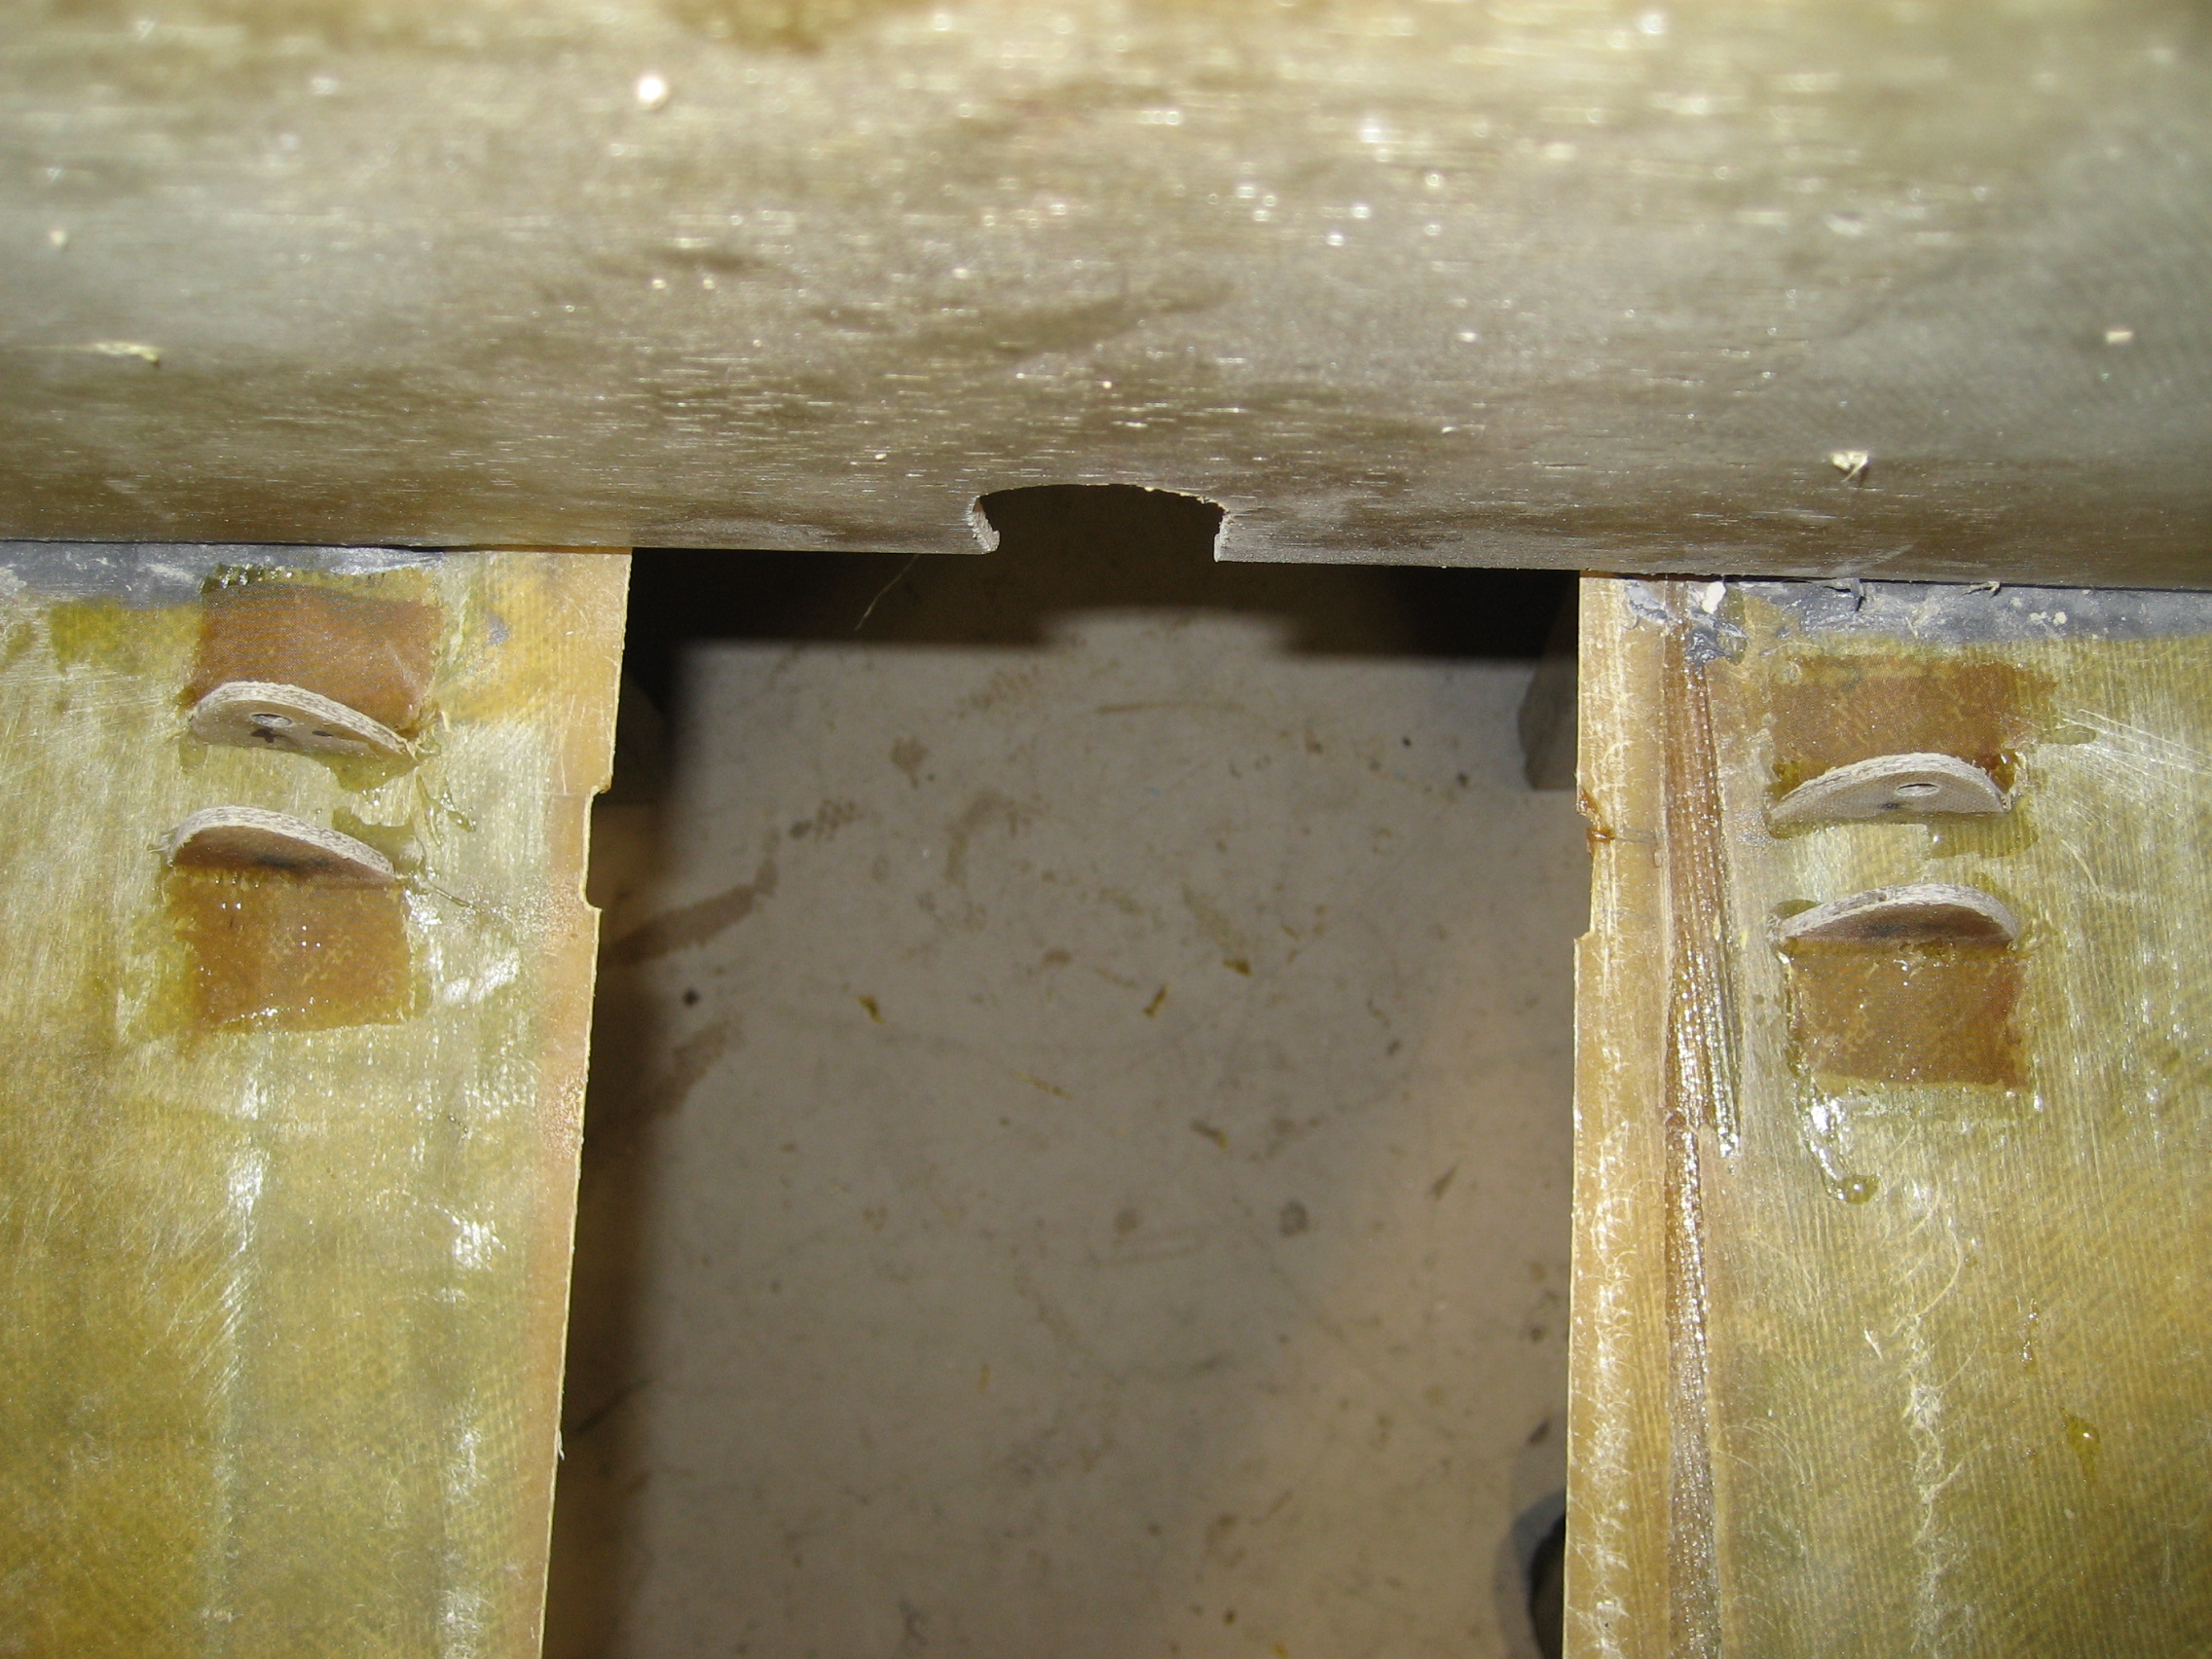
Closeup of the rear tabs. I have to drill through the layups that cover the holes in the tabs.
The (now two) nose gear doors with the layups over the hinge arms.
f 


