
- 9.7.1 Fuel Line Installation
- 9.7.1 Fuel Sump Drain
- 9.7.1 Fuel vent lines
- 9.7.1 Fuel supply line
- 9.7 Fuel Shutoff Valves
- 9.5.1 Sump Tank Hardpoints
- 9.5.1 Sump Tank Hardpoints
- 9.5.2 Install Sump Tank Cover
- 9.0 Strakes
- 9.2.3 Lower Strake Alignment
- 9.3.1 Fitting Wheel Well
- 9.3.2 Baffles and Bulkheads
- 9.4.2 Fitting Upper Strake
- 9.4.3 Upper Strake Installation
- 9.5.5 Sump Tank Installation
- 9.4.1 Fuel Cap Remediation
- 9.7 Fuel Shutoff Valves
- 9.99 Fuel Imbalance
Previously, I had chopped off the bottom corners and put on some flat pieces on fiberglass to allow for the engine mounting bolts. Then I learned that the fuel fittings that connect the main tanks to the sump will interfere with the landing gear. The fix is to move them to the side of the tank. This required installing additional hardpoints for the relocated fuel fittings.
Here is the inside of the sump tank with the hardpoints for the fuel lines installed, drilled and tapped.

On the very bottom of the tank is where the drain line goes. This is used to check for water or contaminants. On the bottom face is where the engine supply line connects. Top right and left is for the supply lines that come from the strake (wing) tanks. And on the top center is the vent. You can still see the two top left and right face hardpoints that I put in prior to learning that the larger fittings wouldn’t fit.
Sealing the sump tank is not required by the manual. Current aviation fuel will not breakdown the epoxy. However, it’s possible that future aviation fuels may not be… compatible with the epoxy. The reason behind not requiring the sump tank to be sealed is you could always build a new sump tank should aviation fuels change. I’d rather not build another sump tank so I decided to seal this one. I also wanted some practice with the sealing epoxy. It’s called Jeffco and it’s extremely touchy. It has a rather short pot life and can get really hot if you mix too much at once.
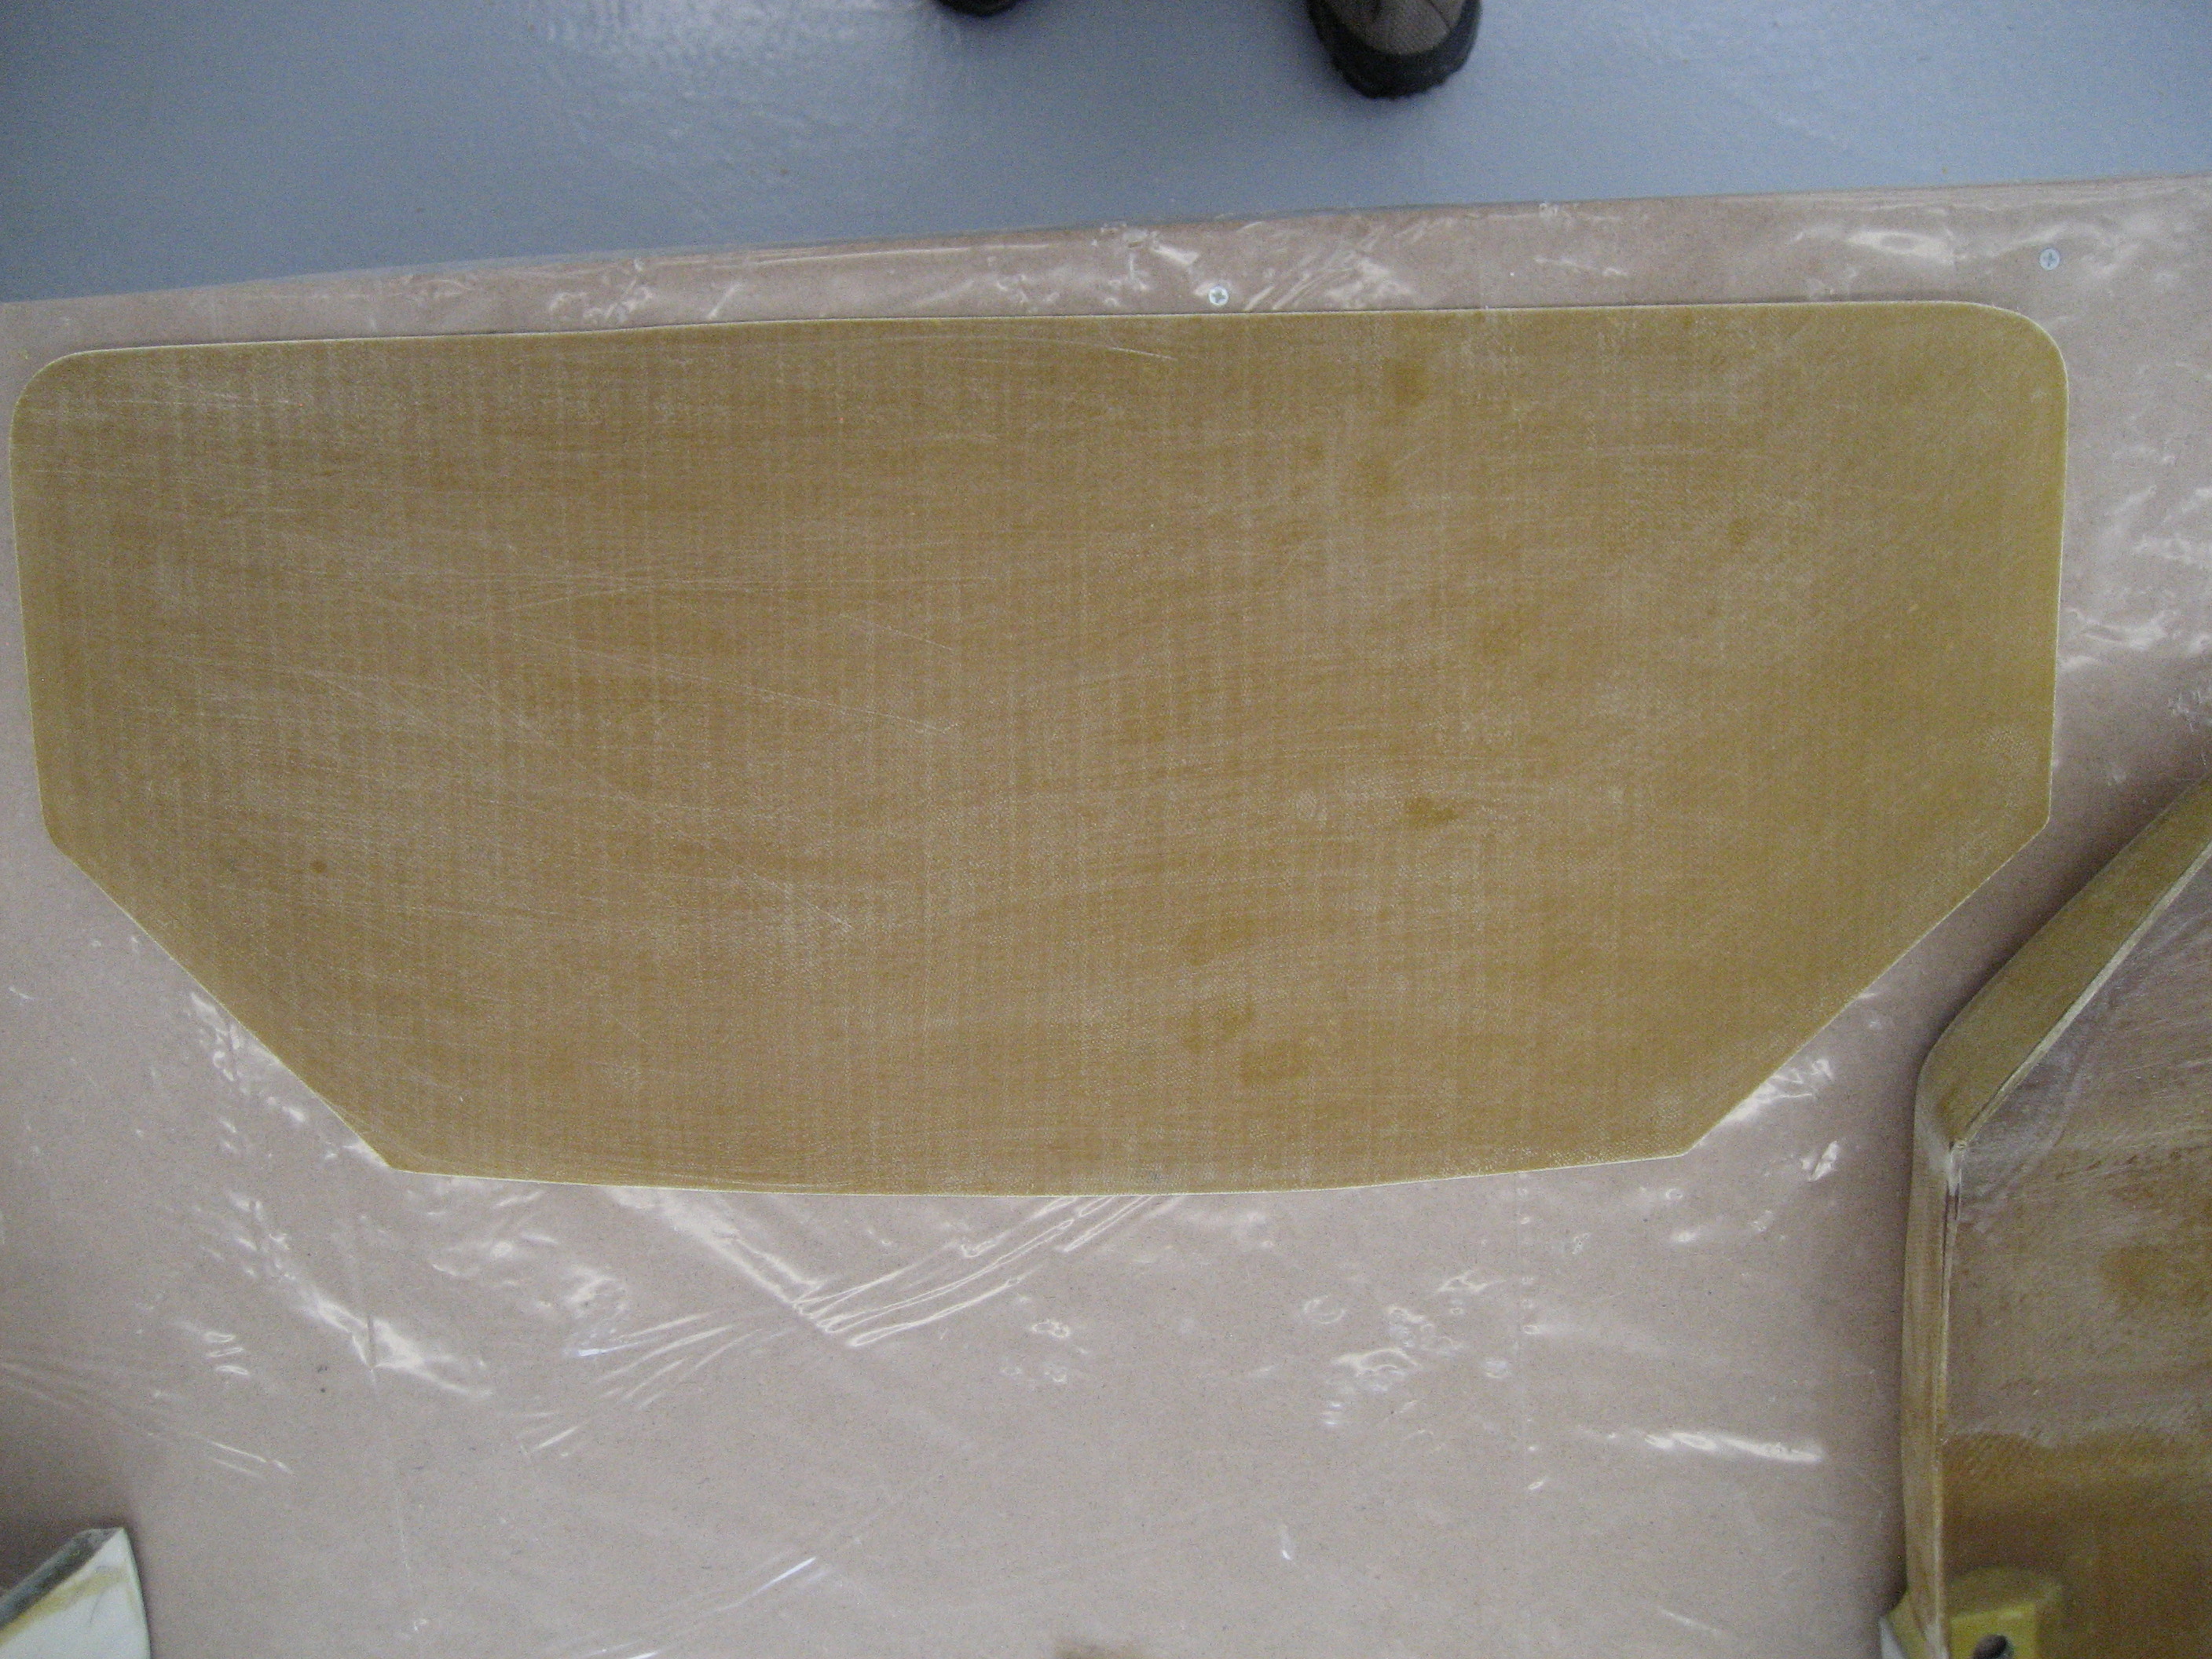
First I cut the back of the sump tank to the correct shape and size. Then I sanded both the tank and back.
Back of sump tank ready for Jeffco.
I wasn’t sure how much to mix so I guessed. I guessed wrong. With Jeffco, when starts to kick, it gets hot. the hotter it gets, the faster it kicks. The faster it kicks, the hotter it gets. The more you’ve got…
Melted the cup!
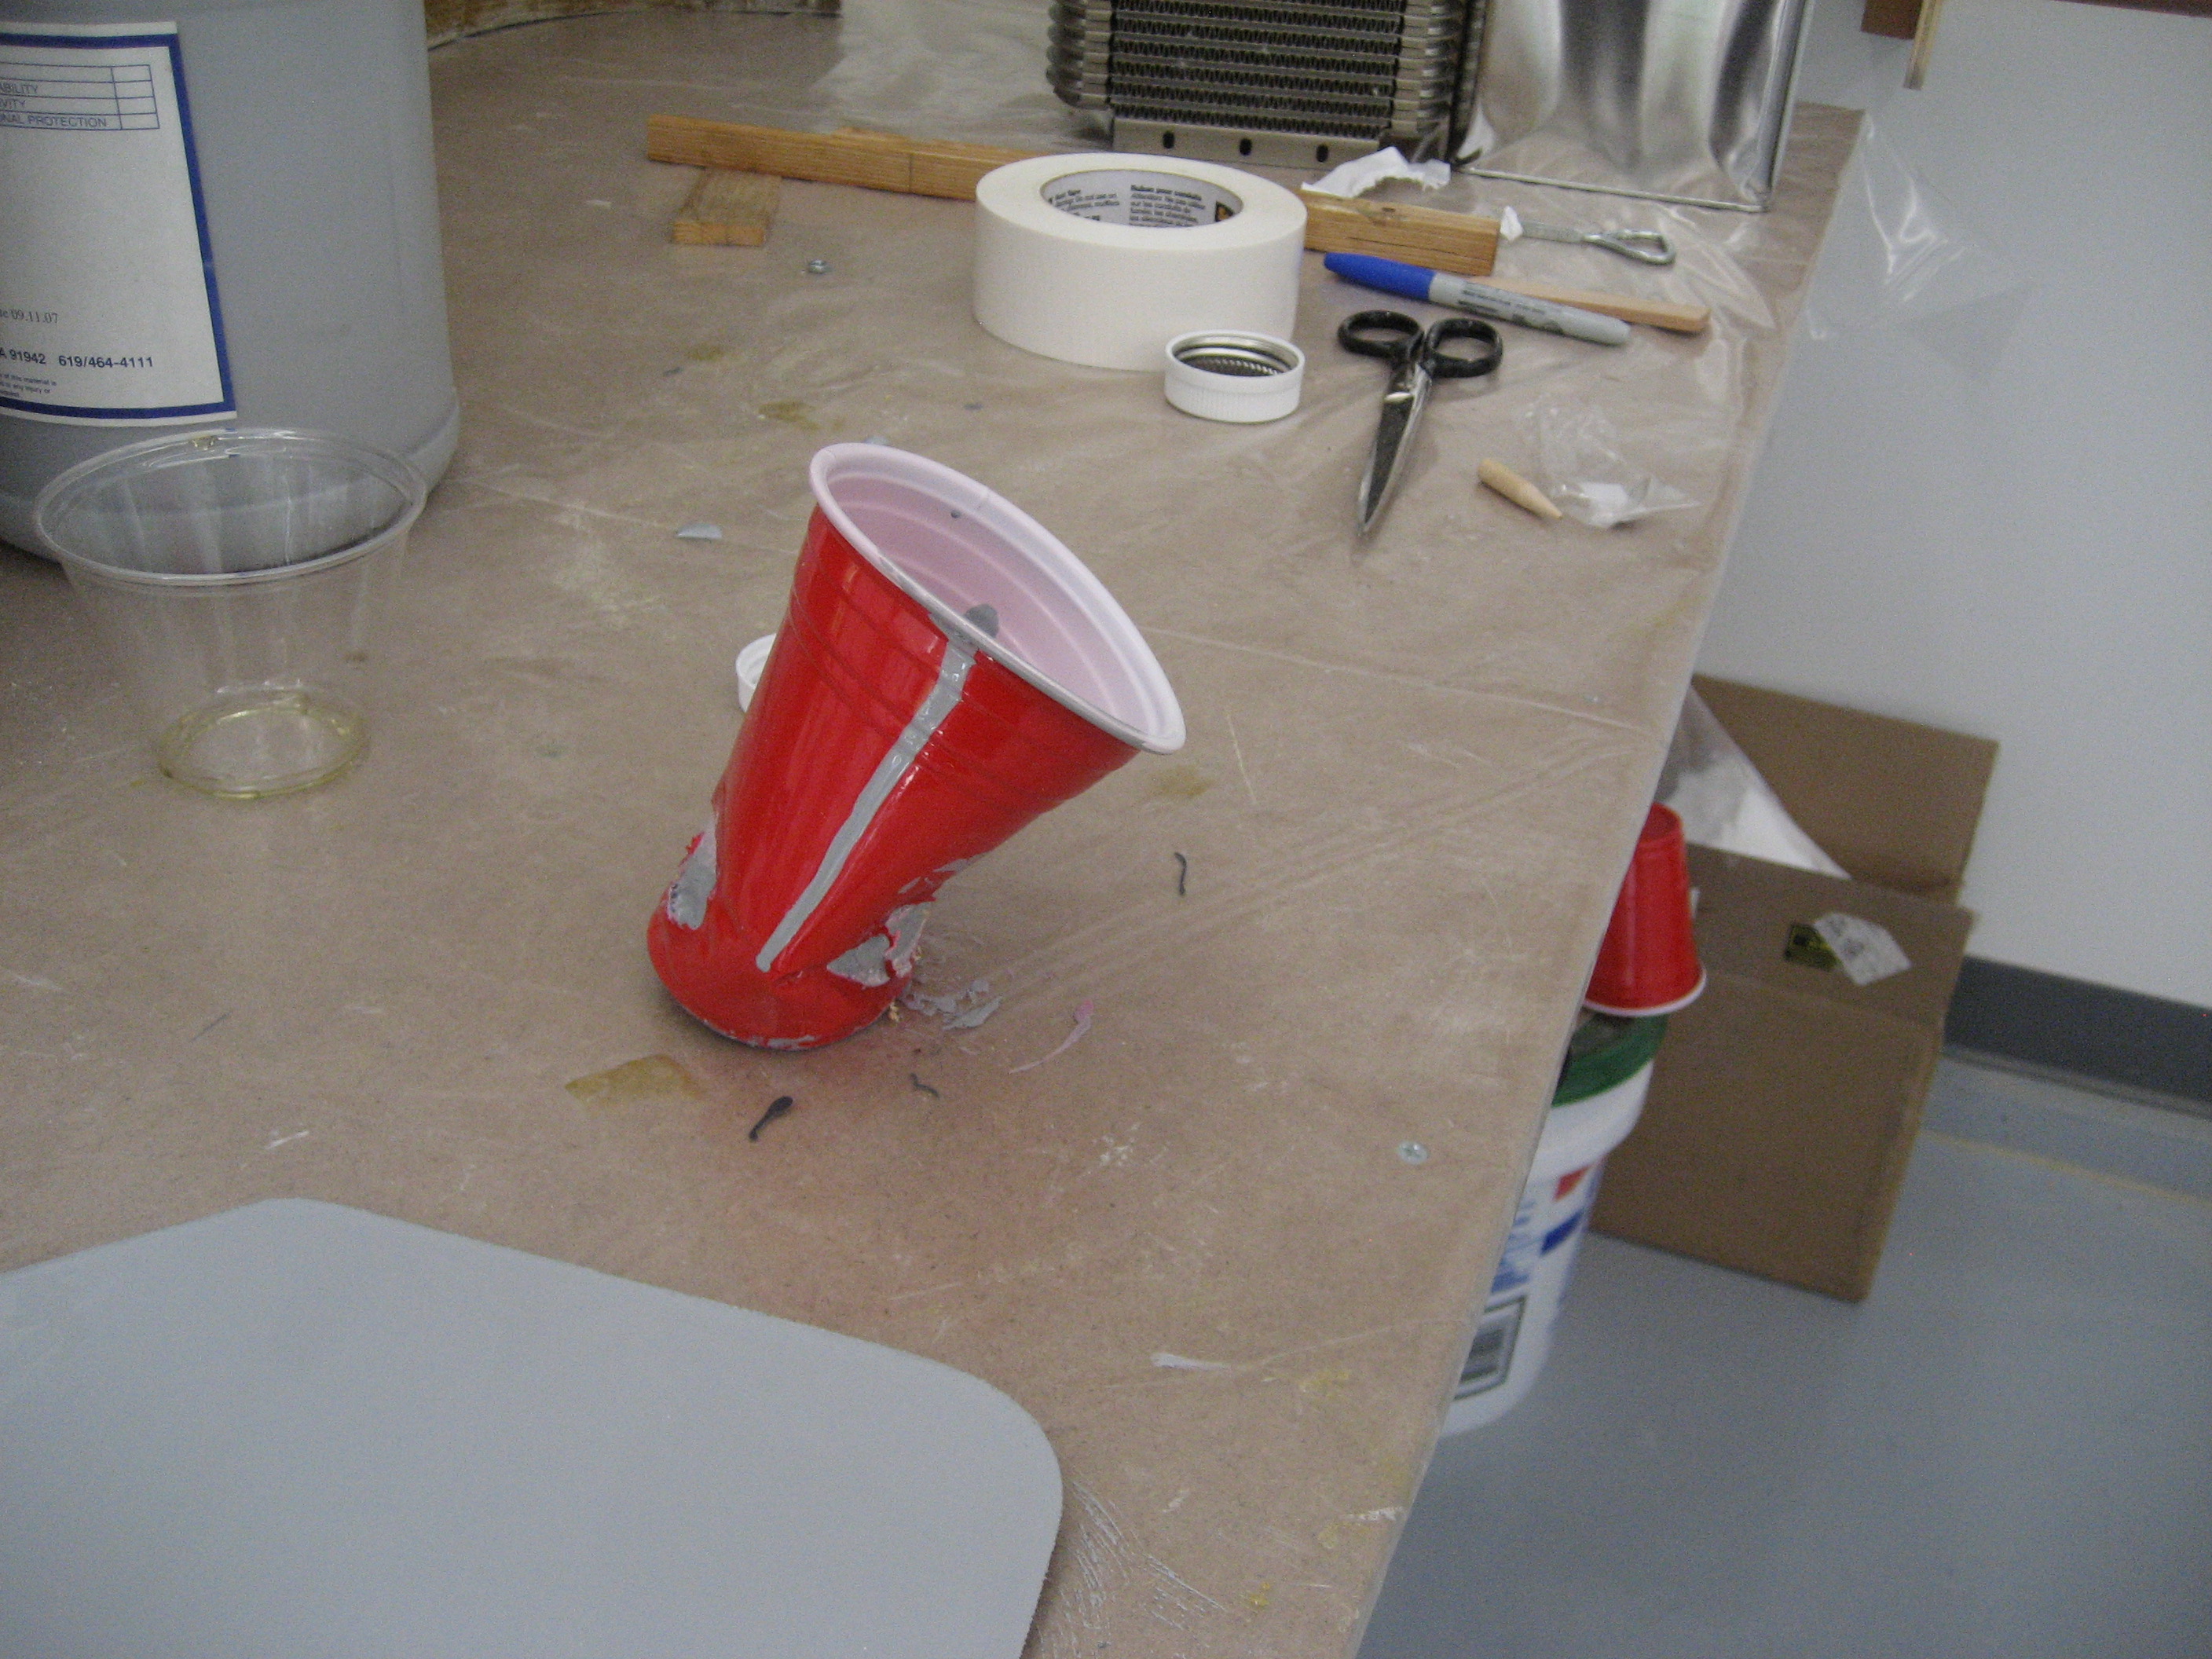
I did get the first coat on before it started to melt the cup.
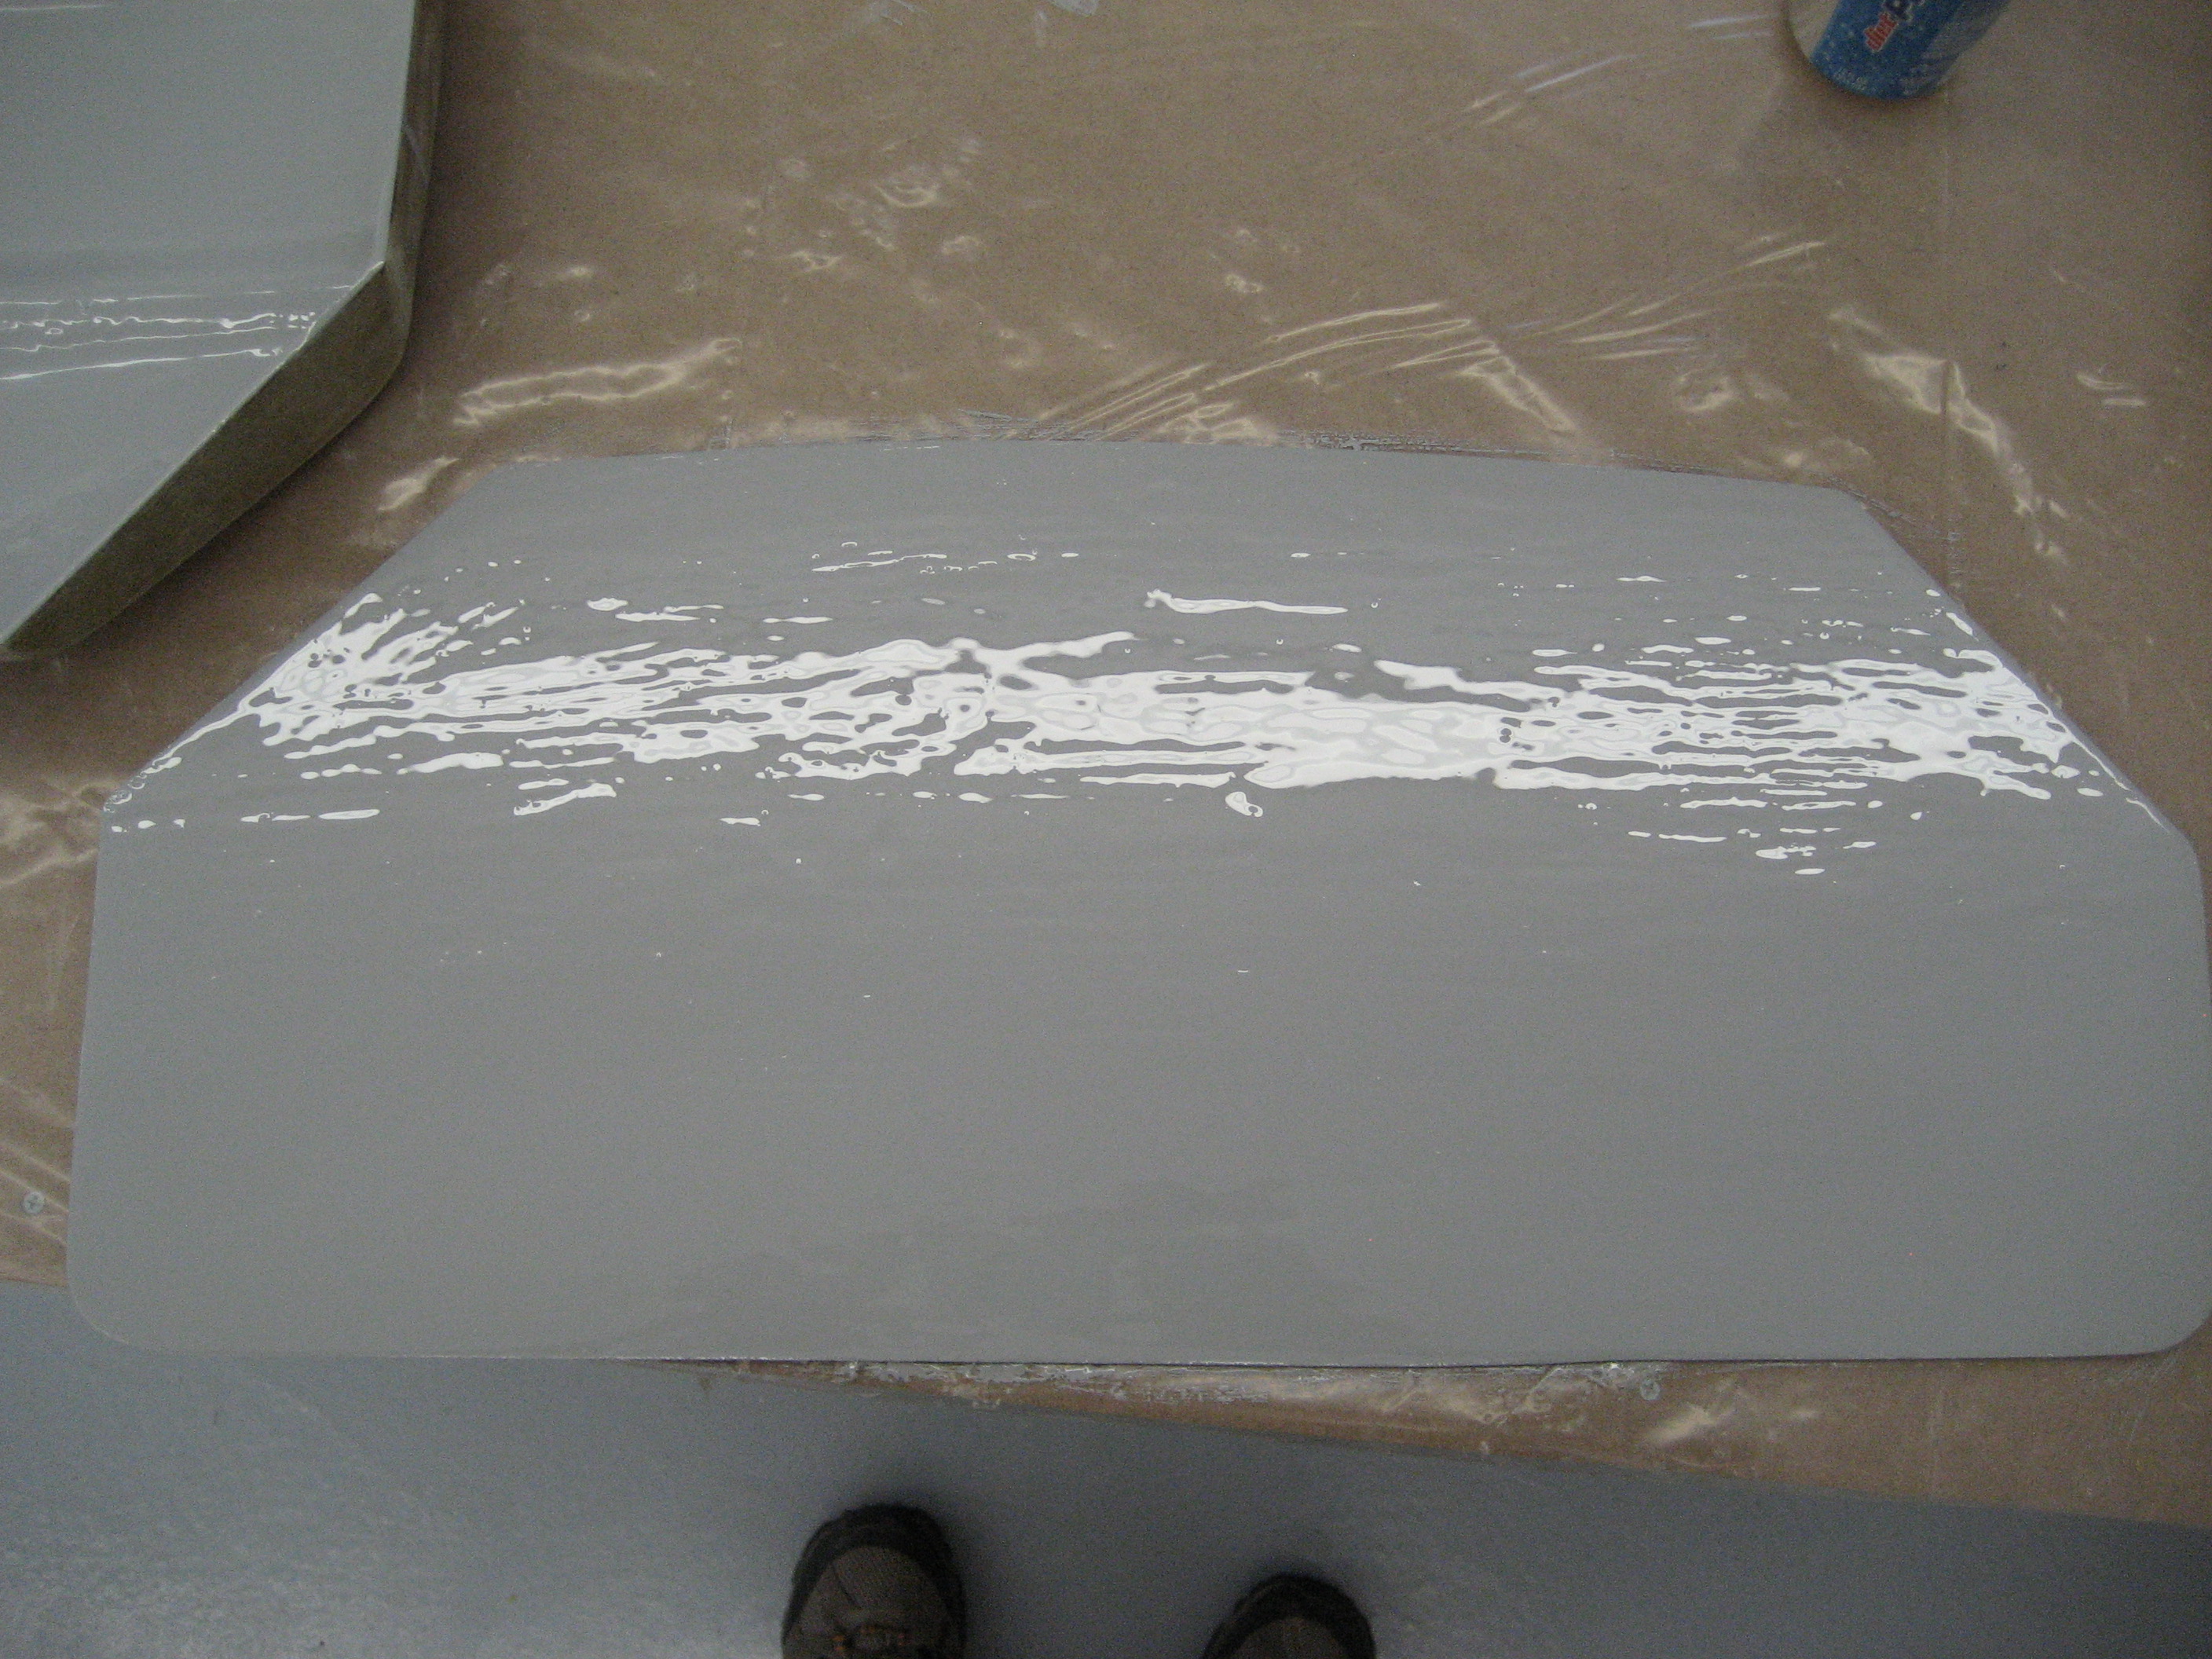
Then once it got tacky, I mixed up a much smaller batch and put on the second coat.
Back cover of sealed sump tank.
Inside of sealed sump tank.

After the Jeffco cured, I mixed up another batch and mixed in some cabo to make a think cake frosting like consistency. I put this mixture in a ziplock bag and clipped the corner off. Then I squeezed it out on the perimeter on the back. Then the sump tank goes on until it cures.
Once it cures, I covered the seam with two layers of bid. Then I made the mounting tabs. At this point, the sump tank is done. I still need to test it plugging the openings and submerge it in water to make sure there are no leaks.