
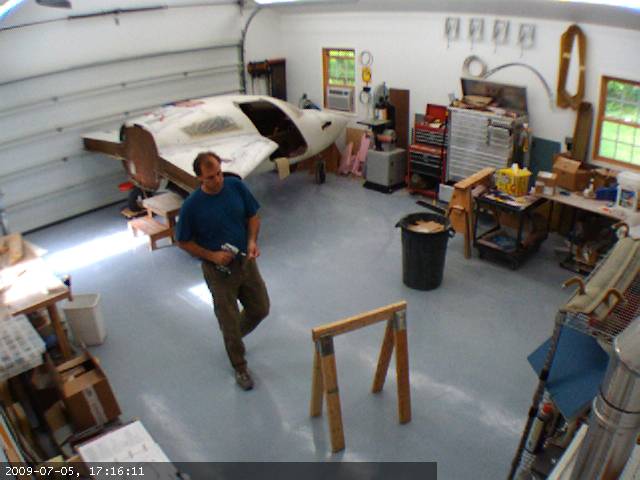
Where the wing root meets the strake has to be finished. Here I discovered that there was a bunch of work required. In order to accomplish this task, I had to rotate the fuselage so I could fit a wing on. For the most part the fuselage has been sitting like this:

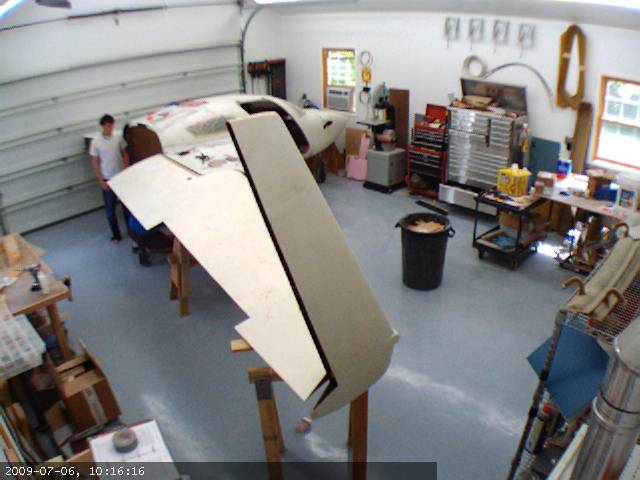
But now it looks like this:
And here’s me and my son Steve bolting the wing on:
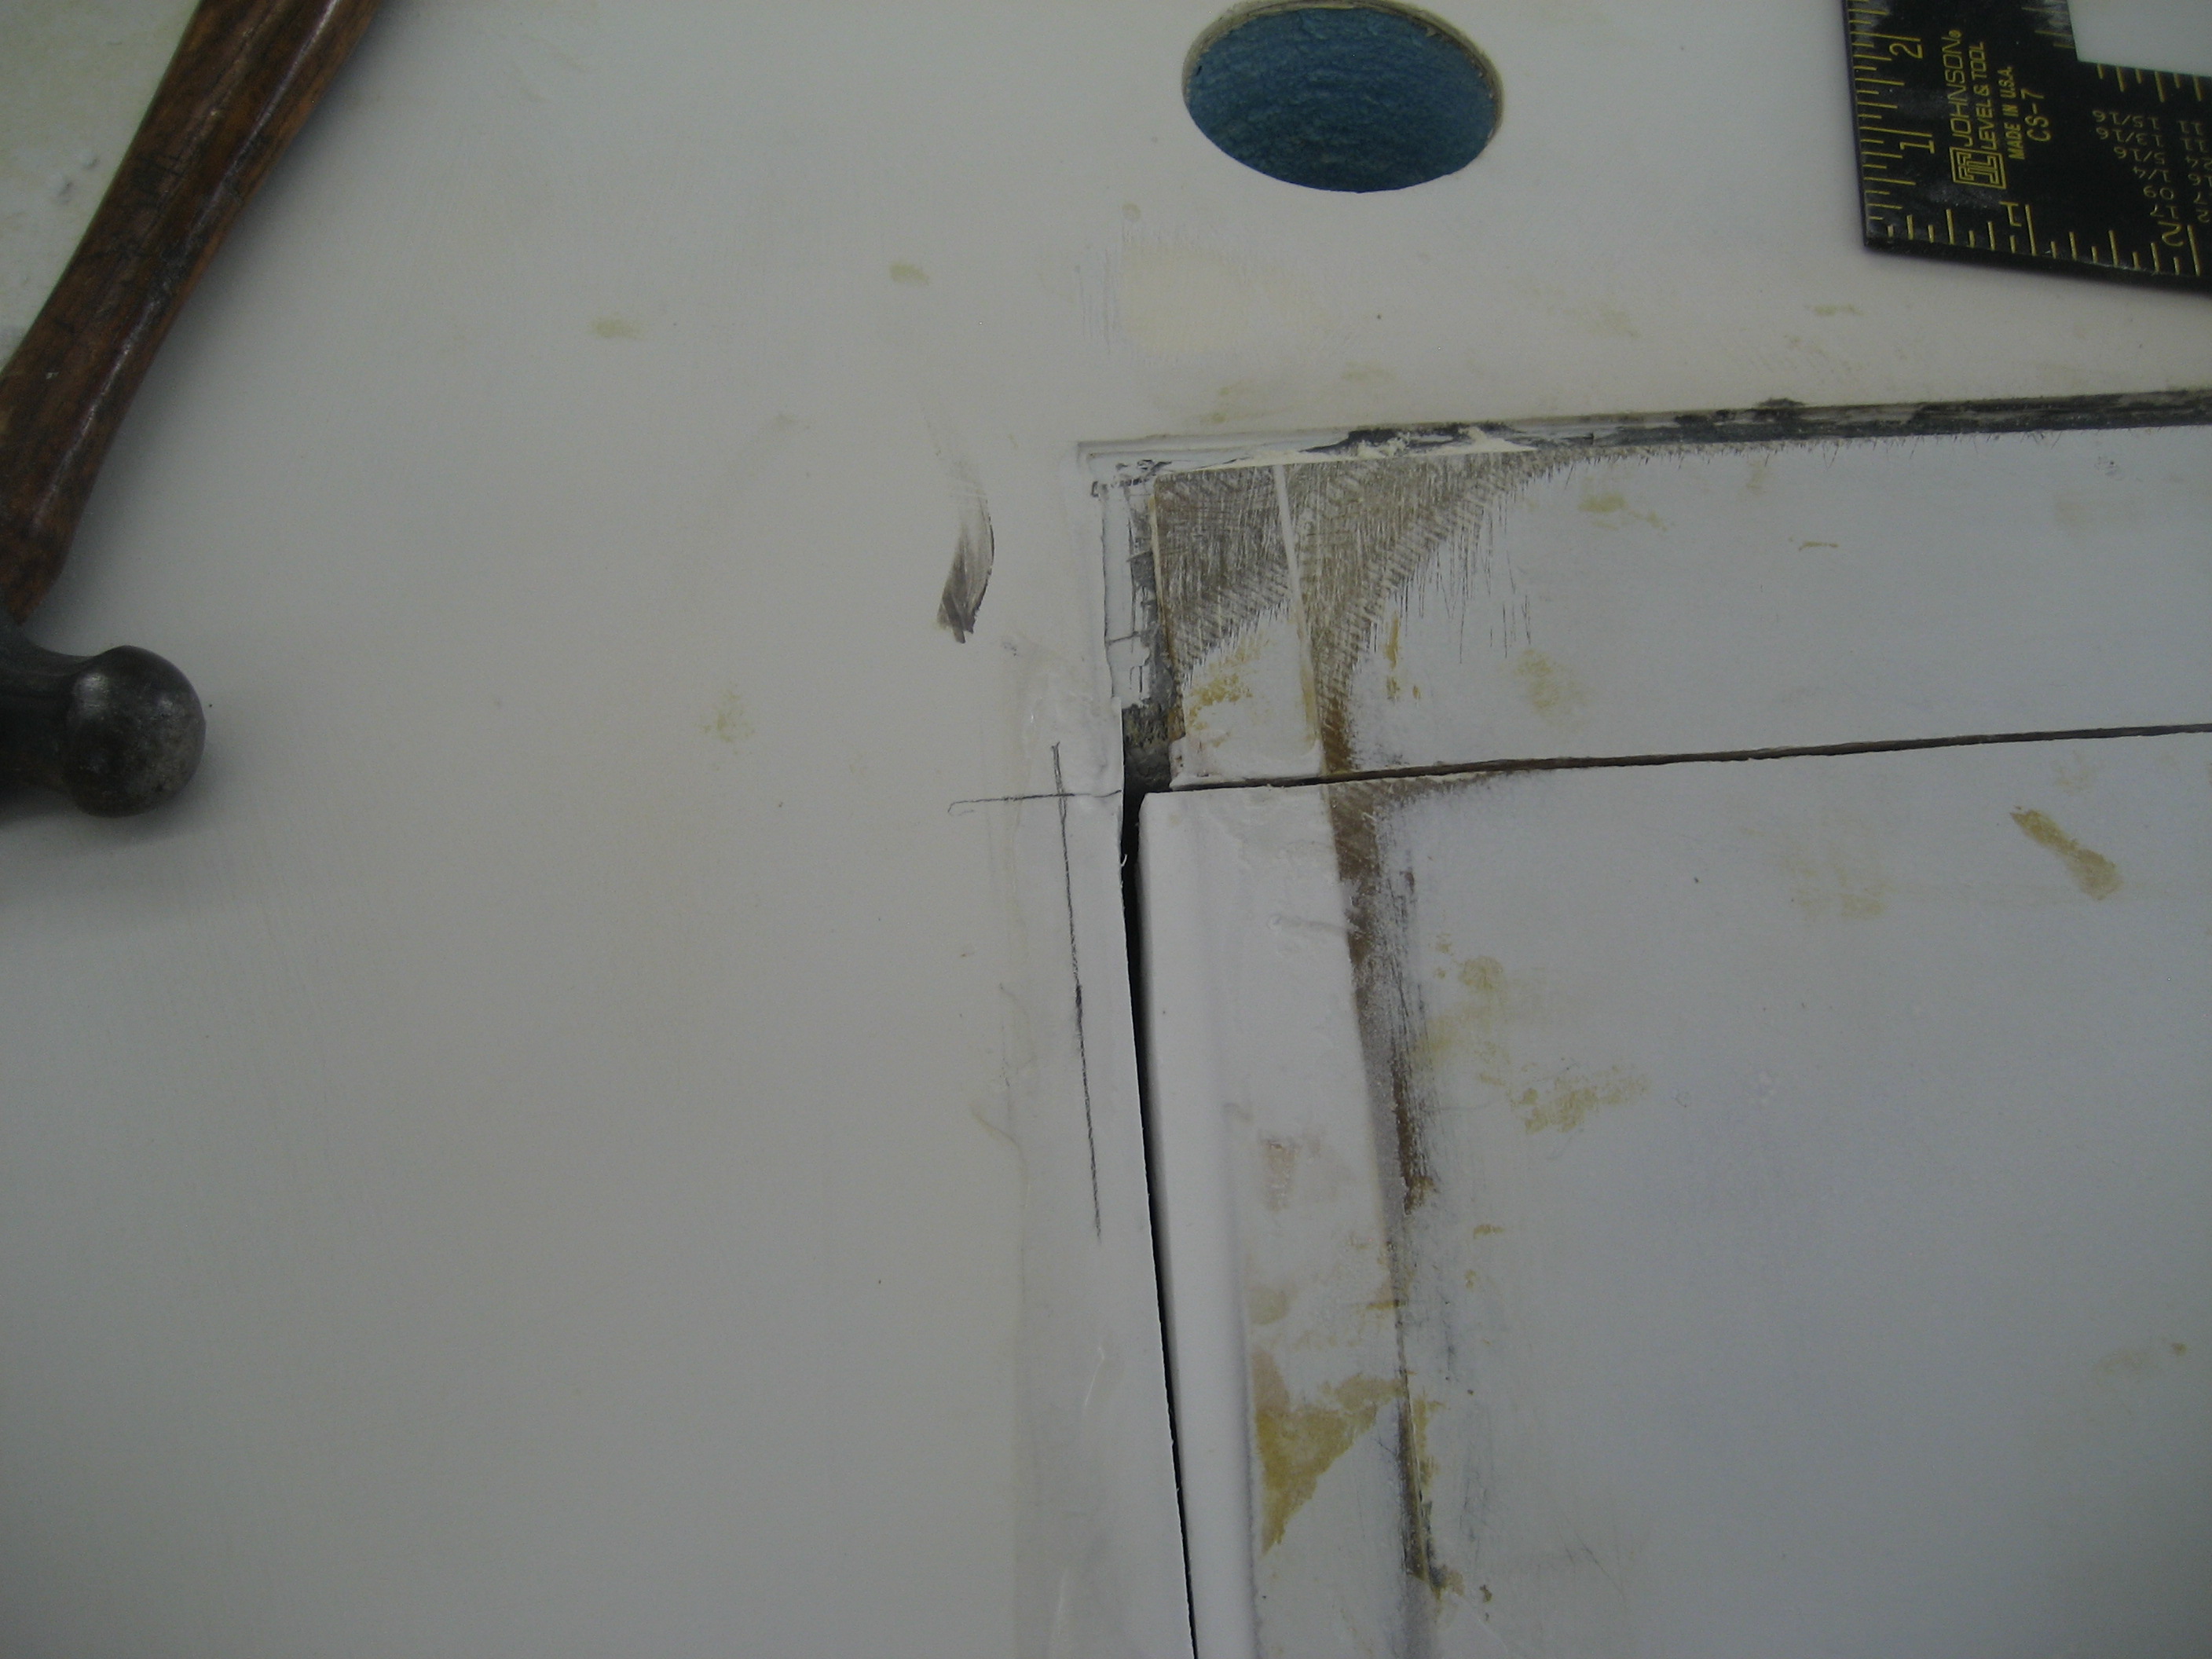
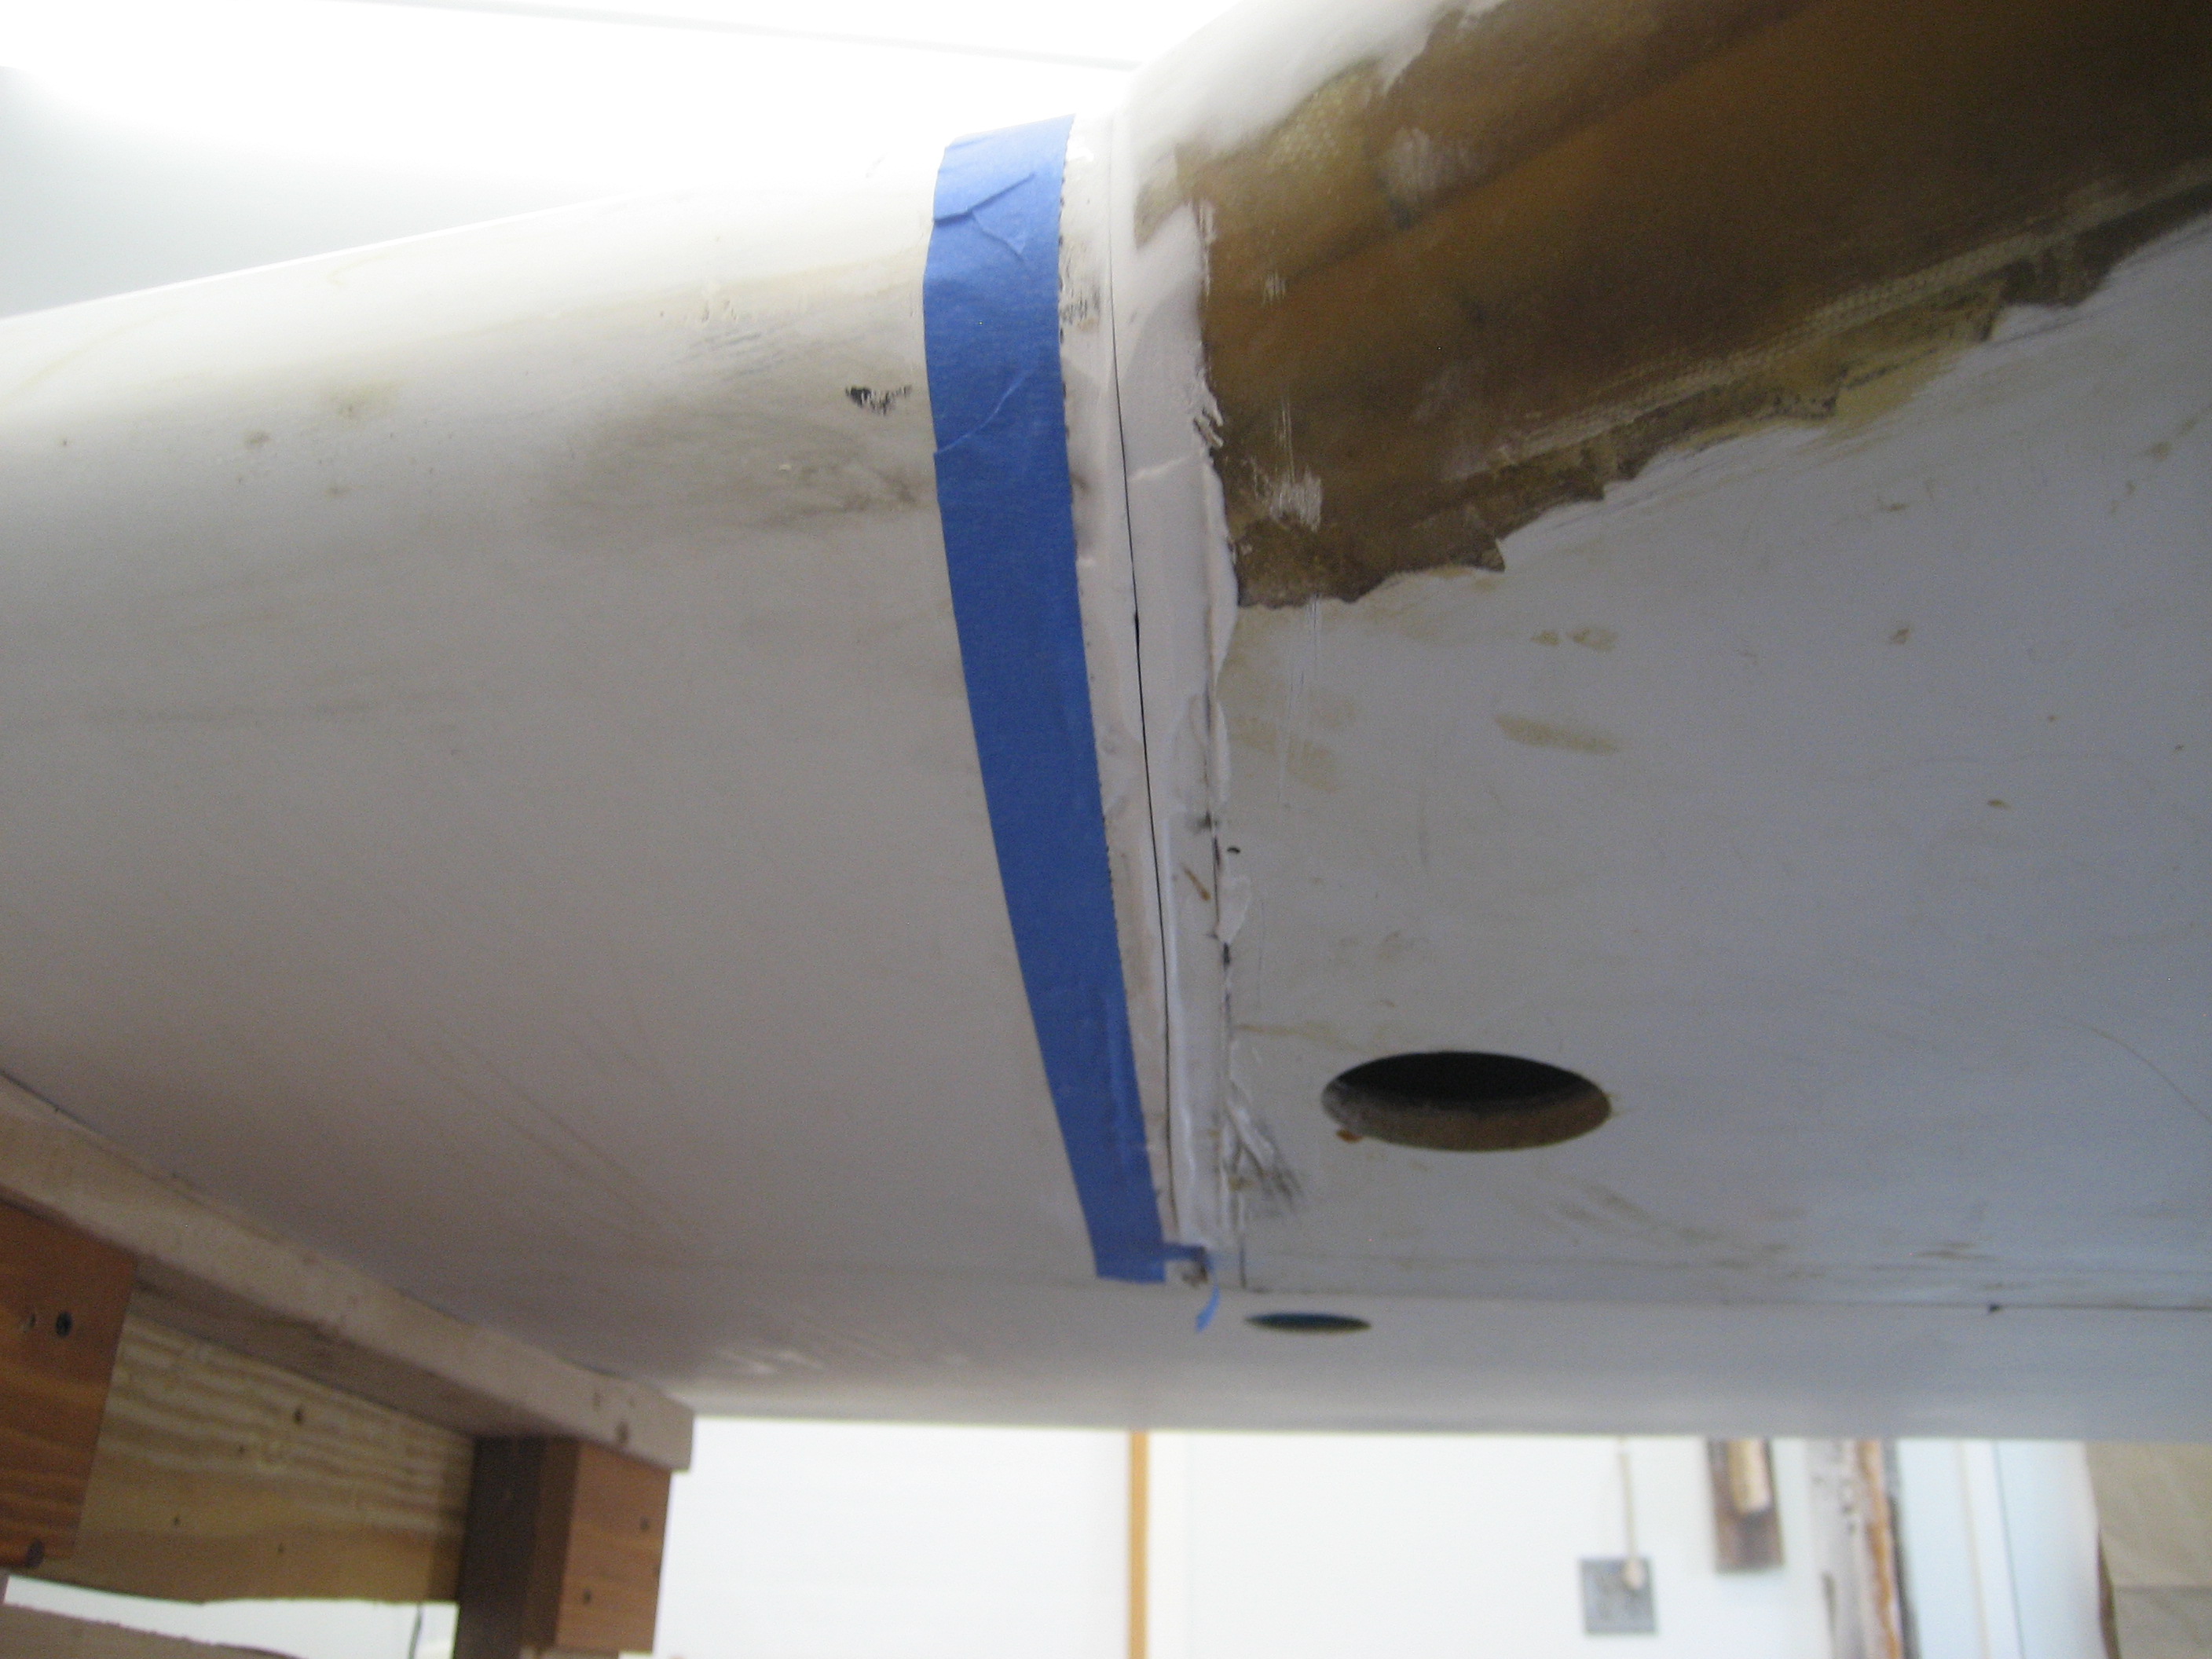
Once I got the wing on I discovered a bunch of work that needed to be done. Here the front view of where the strake (right) meets the wing (left). Kind of a large gap. It should be about .030″.
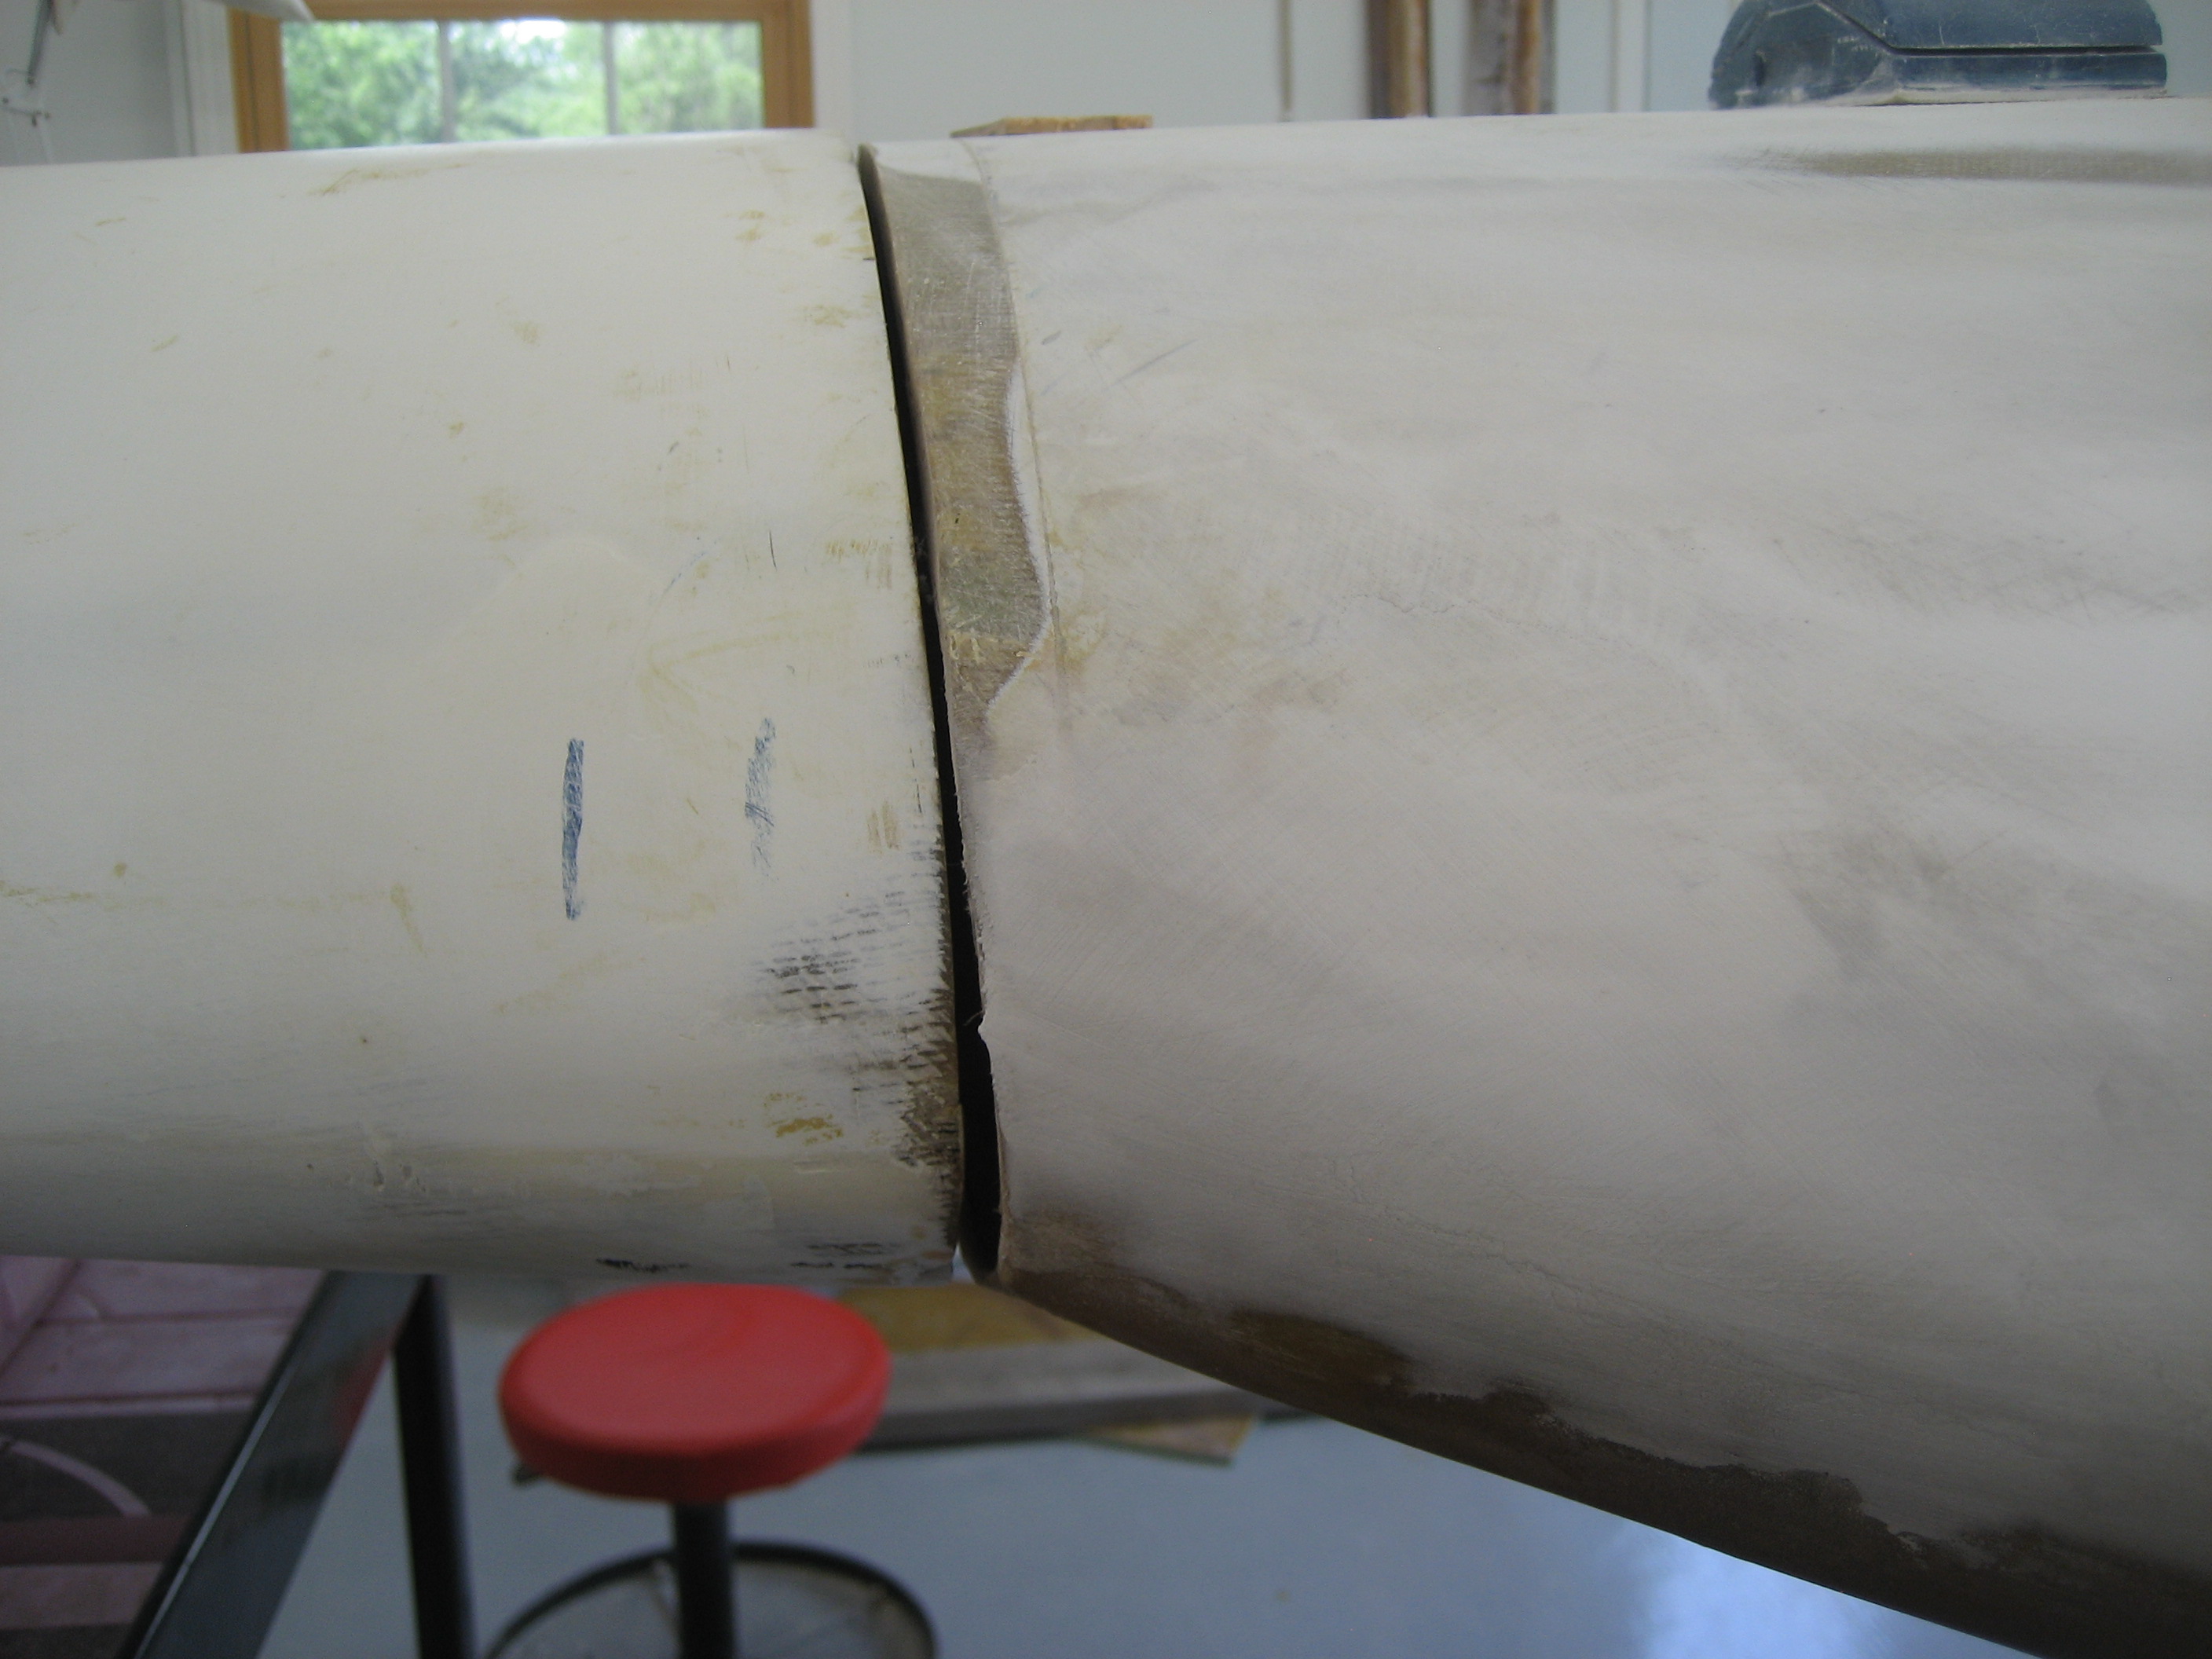
Almost a 1/2″ inch gap here.

And here you can see the strake ends about 1/2″ forward of the wing.


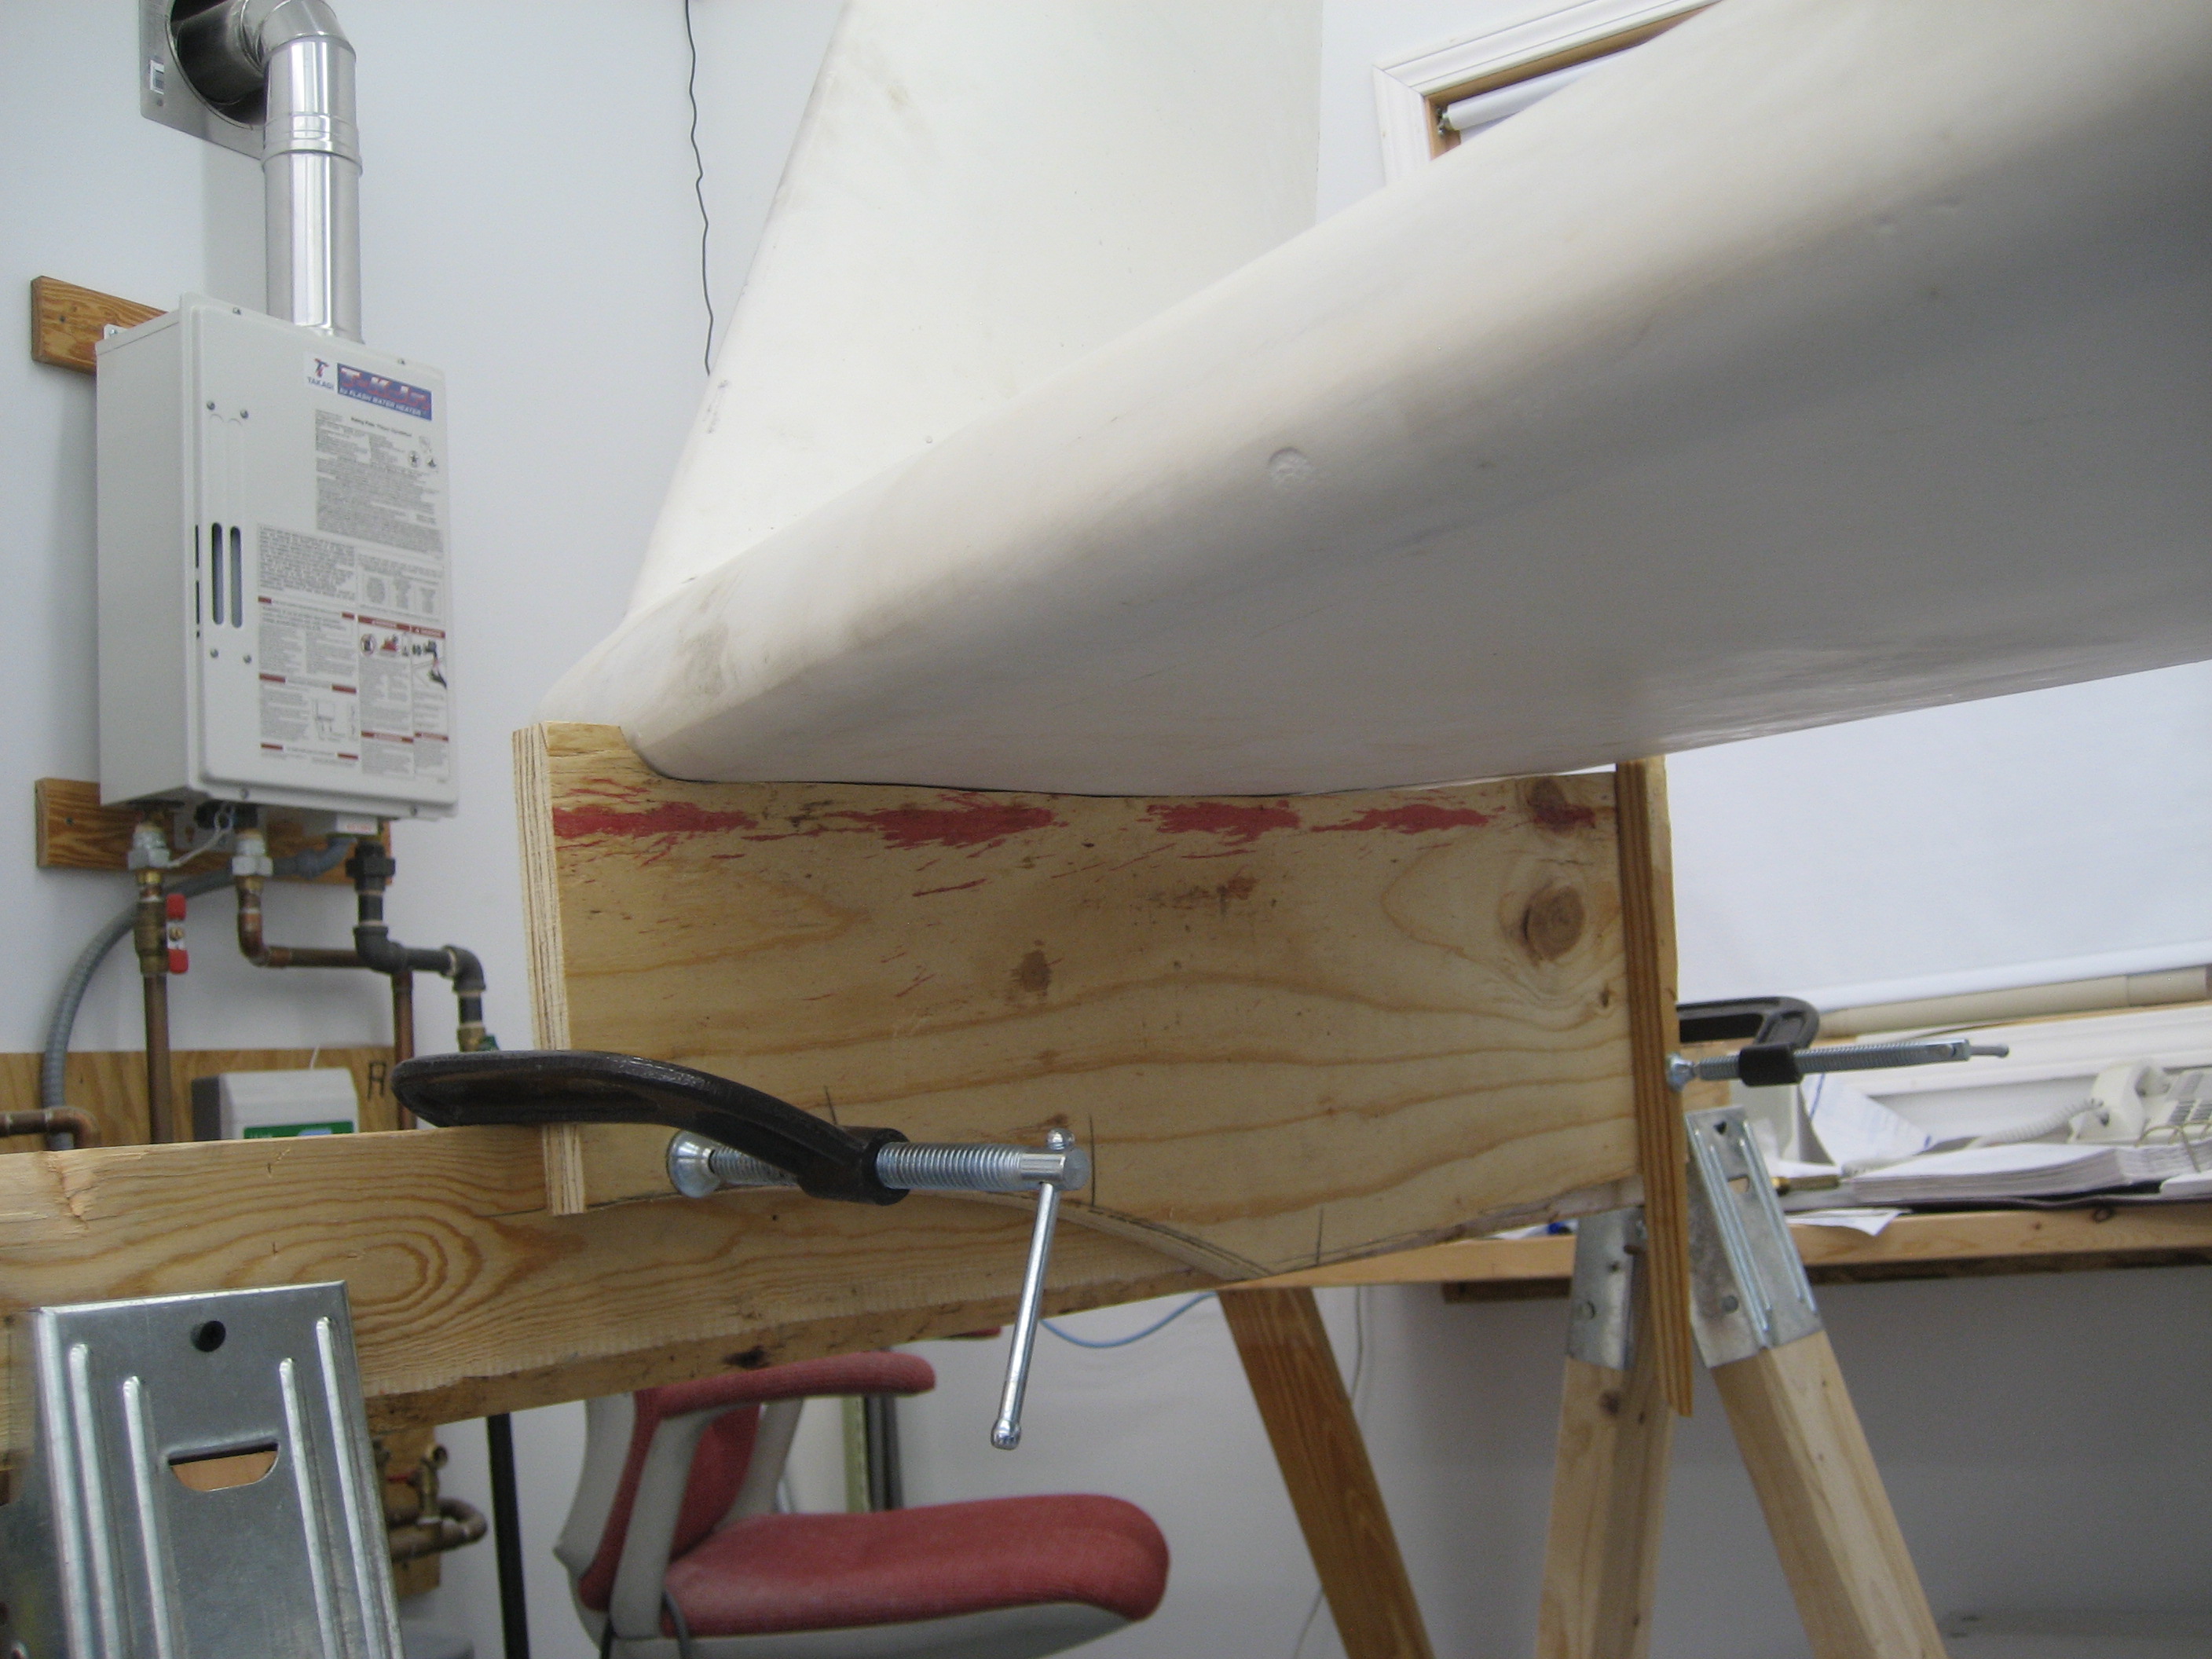
Now to fix this was going to require me to take the wing off and put it back on numerous times. And much of the time building I’m alone so first I needed to make this easy to accomplish. So I build a couply moveable stands. Here’s the one for the wing root end.

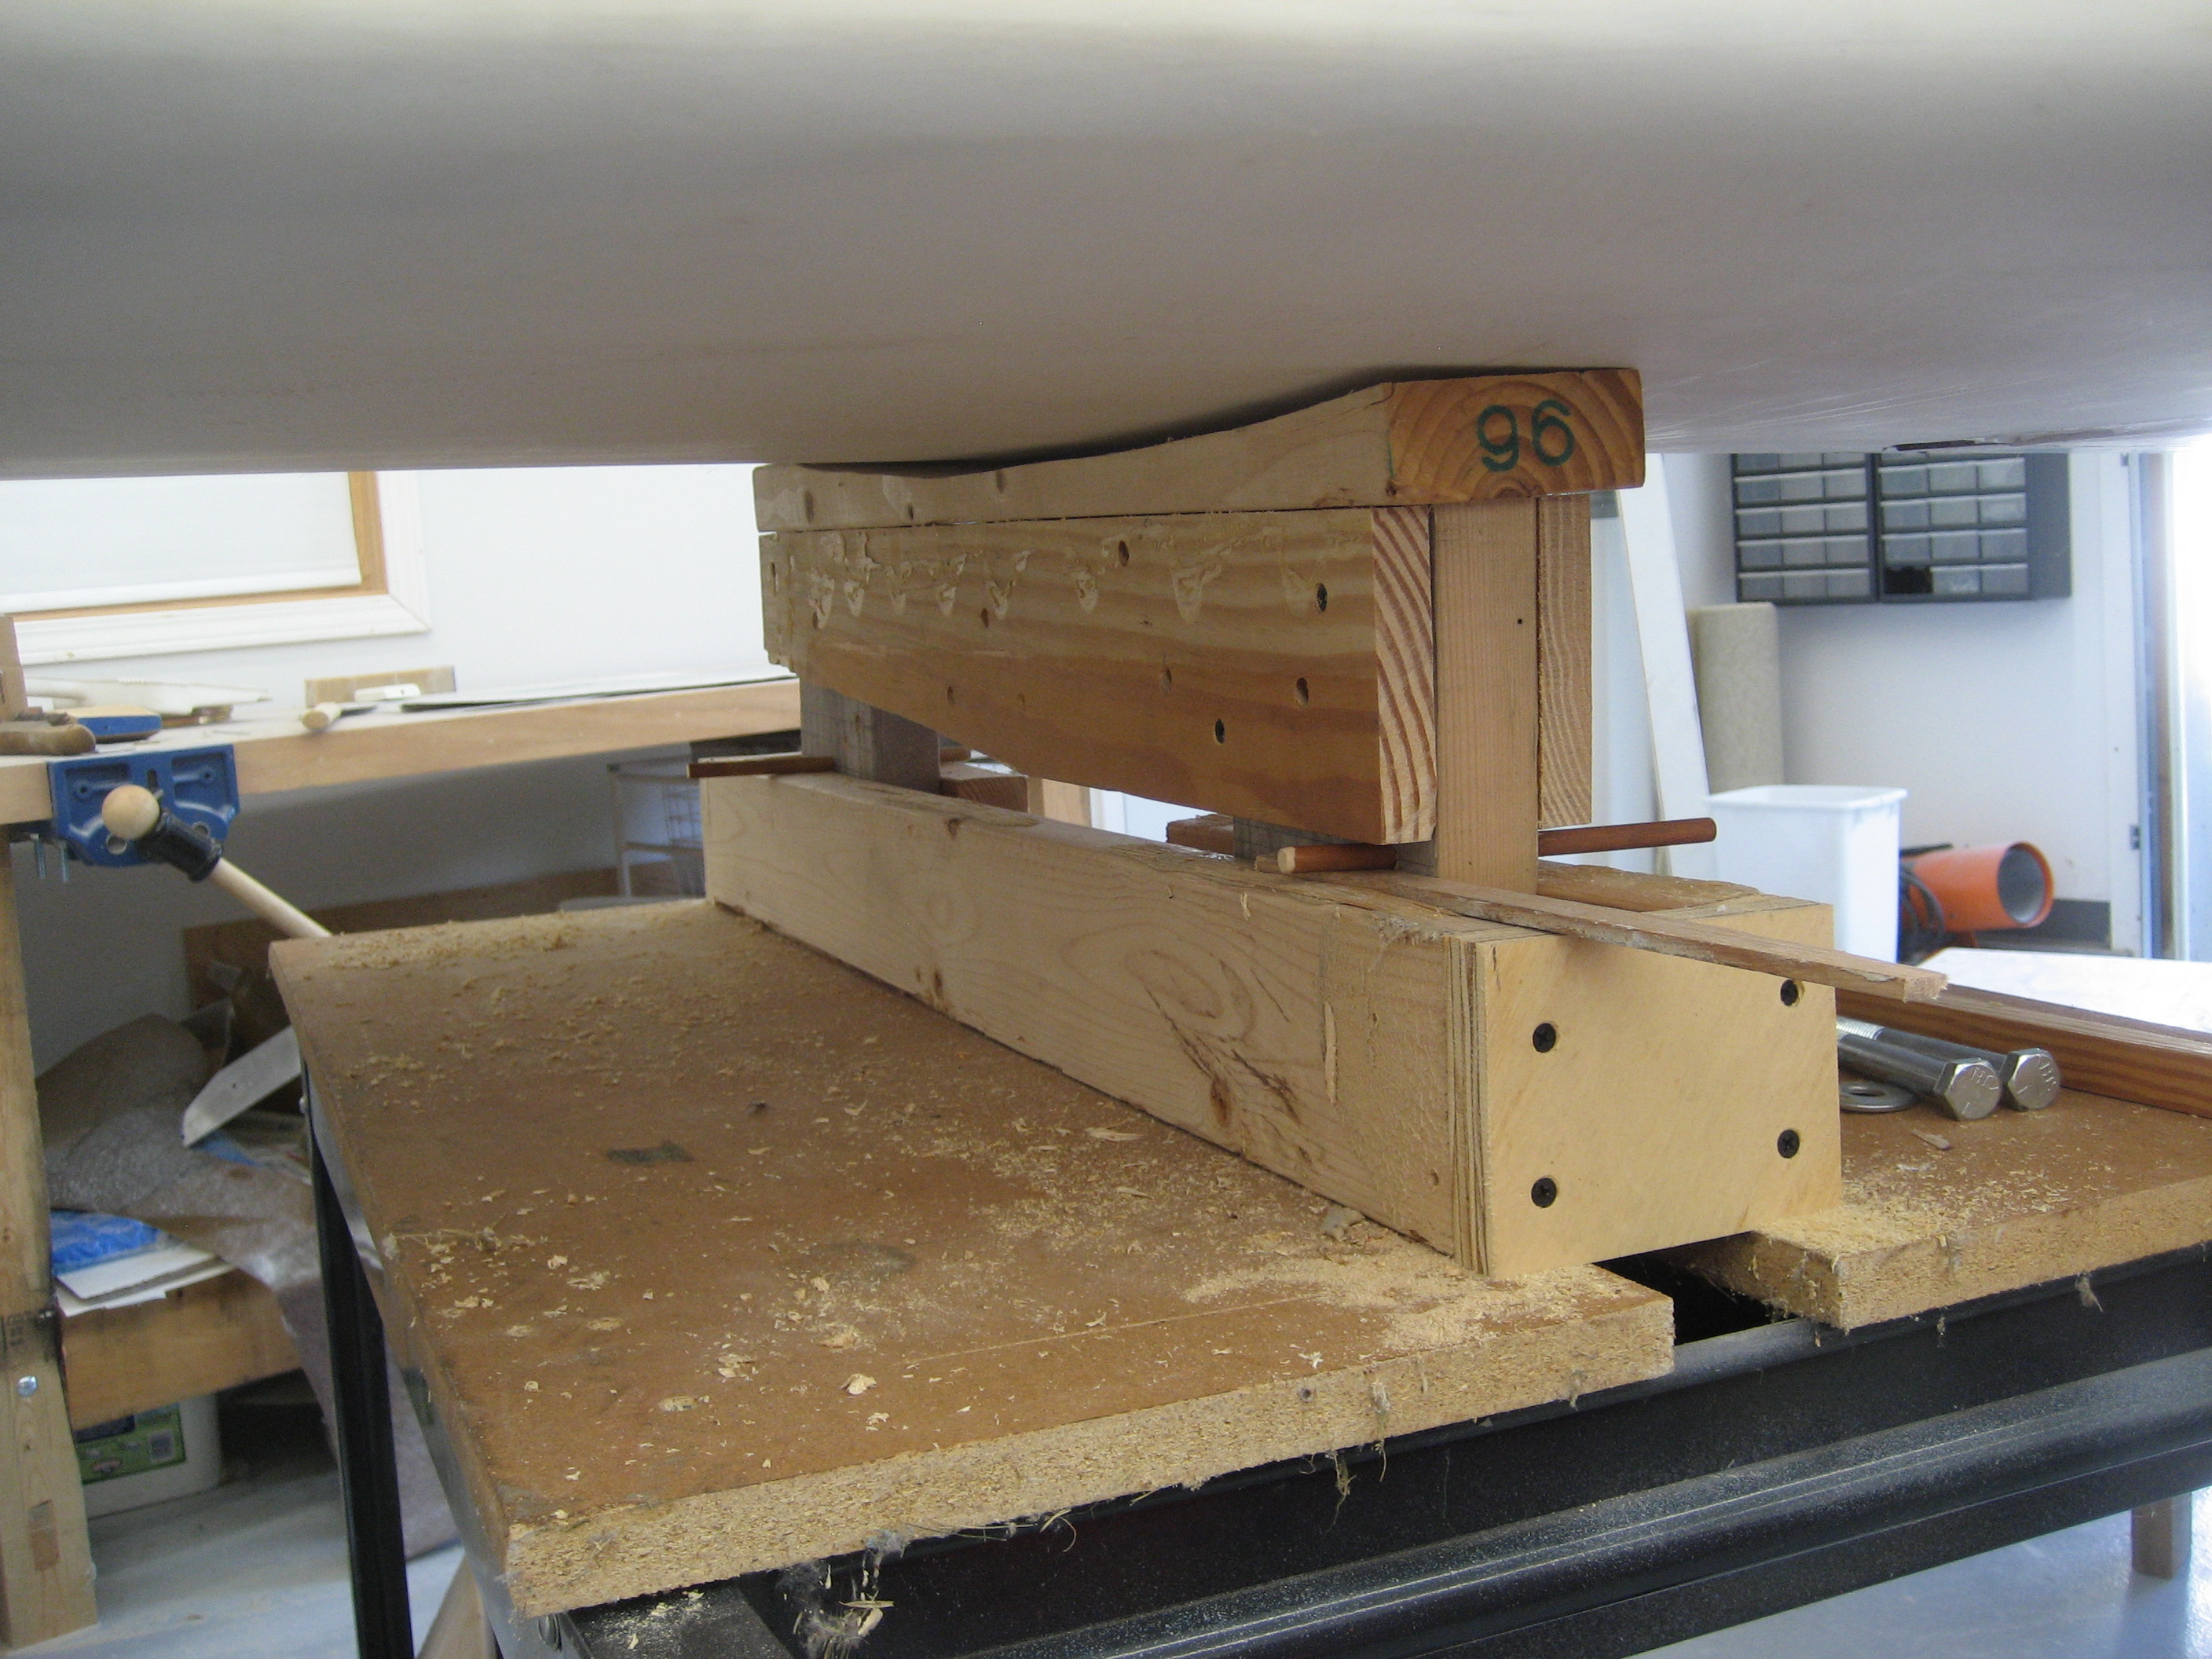
By raising the cradle portion, I can insert some dowels and shims to obtain infinite positioning.
For the wingtip end I went low-tech. A sawhorse that sits on my wheel dollies. A true multi-tasker. Alton Brown would be proud!


At first I toyed with the idea of simply filling the void. But that resulted in a rather wavy seam. So I determined where the seam should be and drew a line. Here’s the rear of the joint.

Then I put a placed a straight-edge along the leading edge of the strake and marked where it SHOULD meet the wing and marked that.

Now how to connect the mark at the front to the mark at the rear??? LASER!

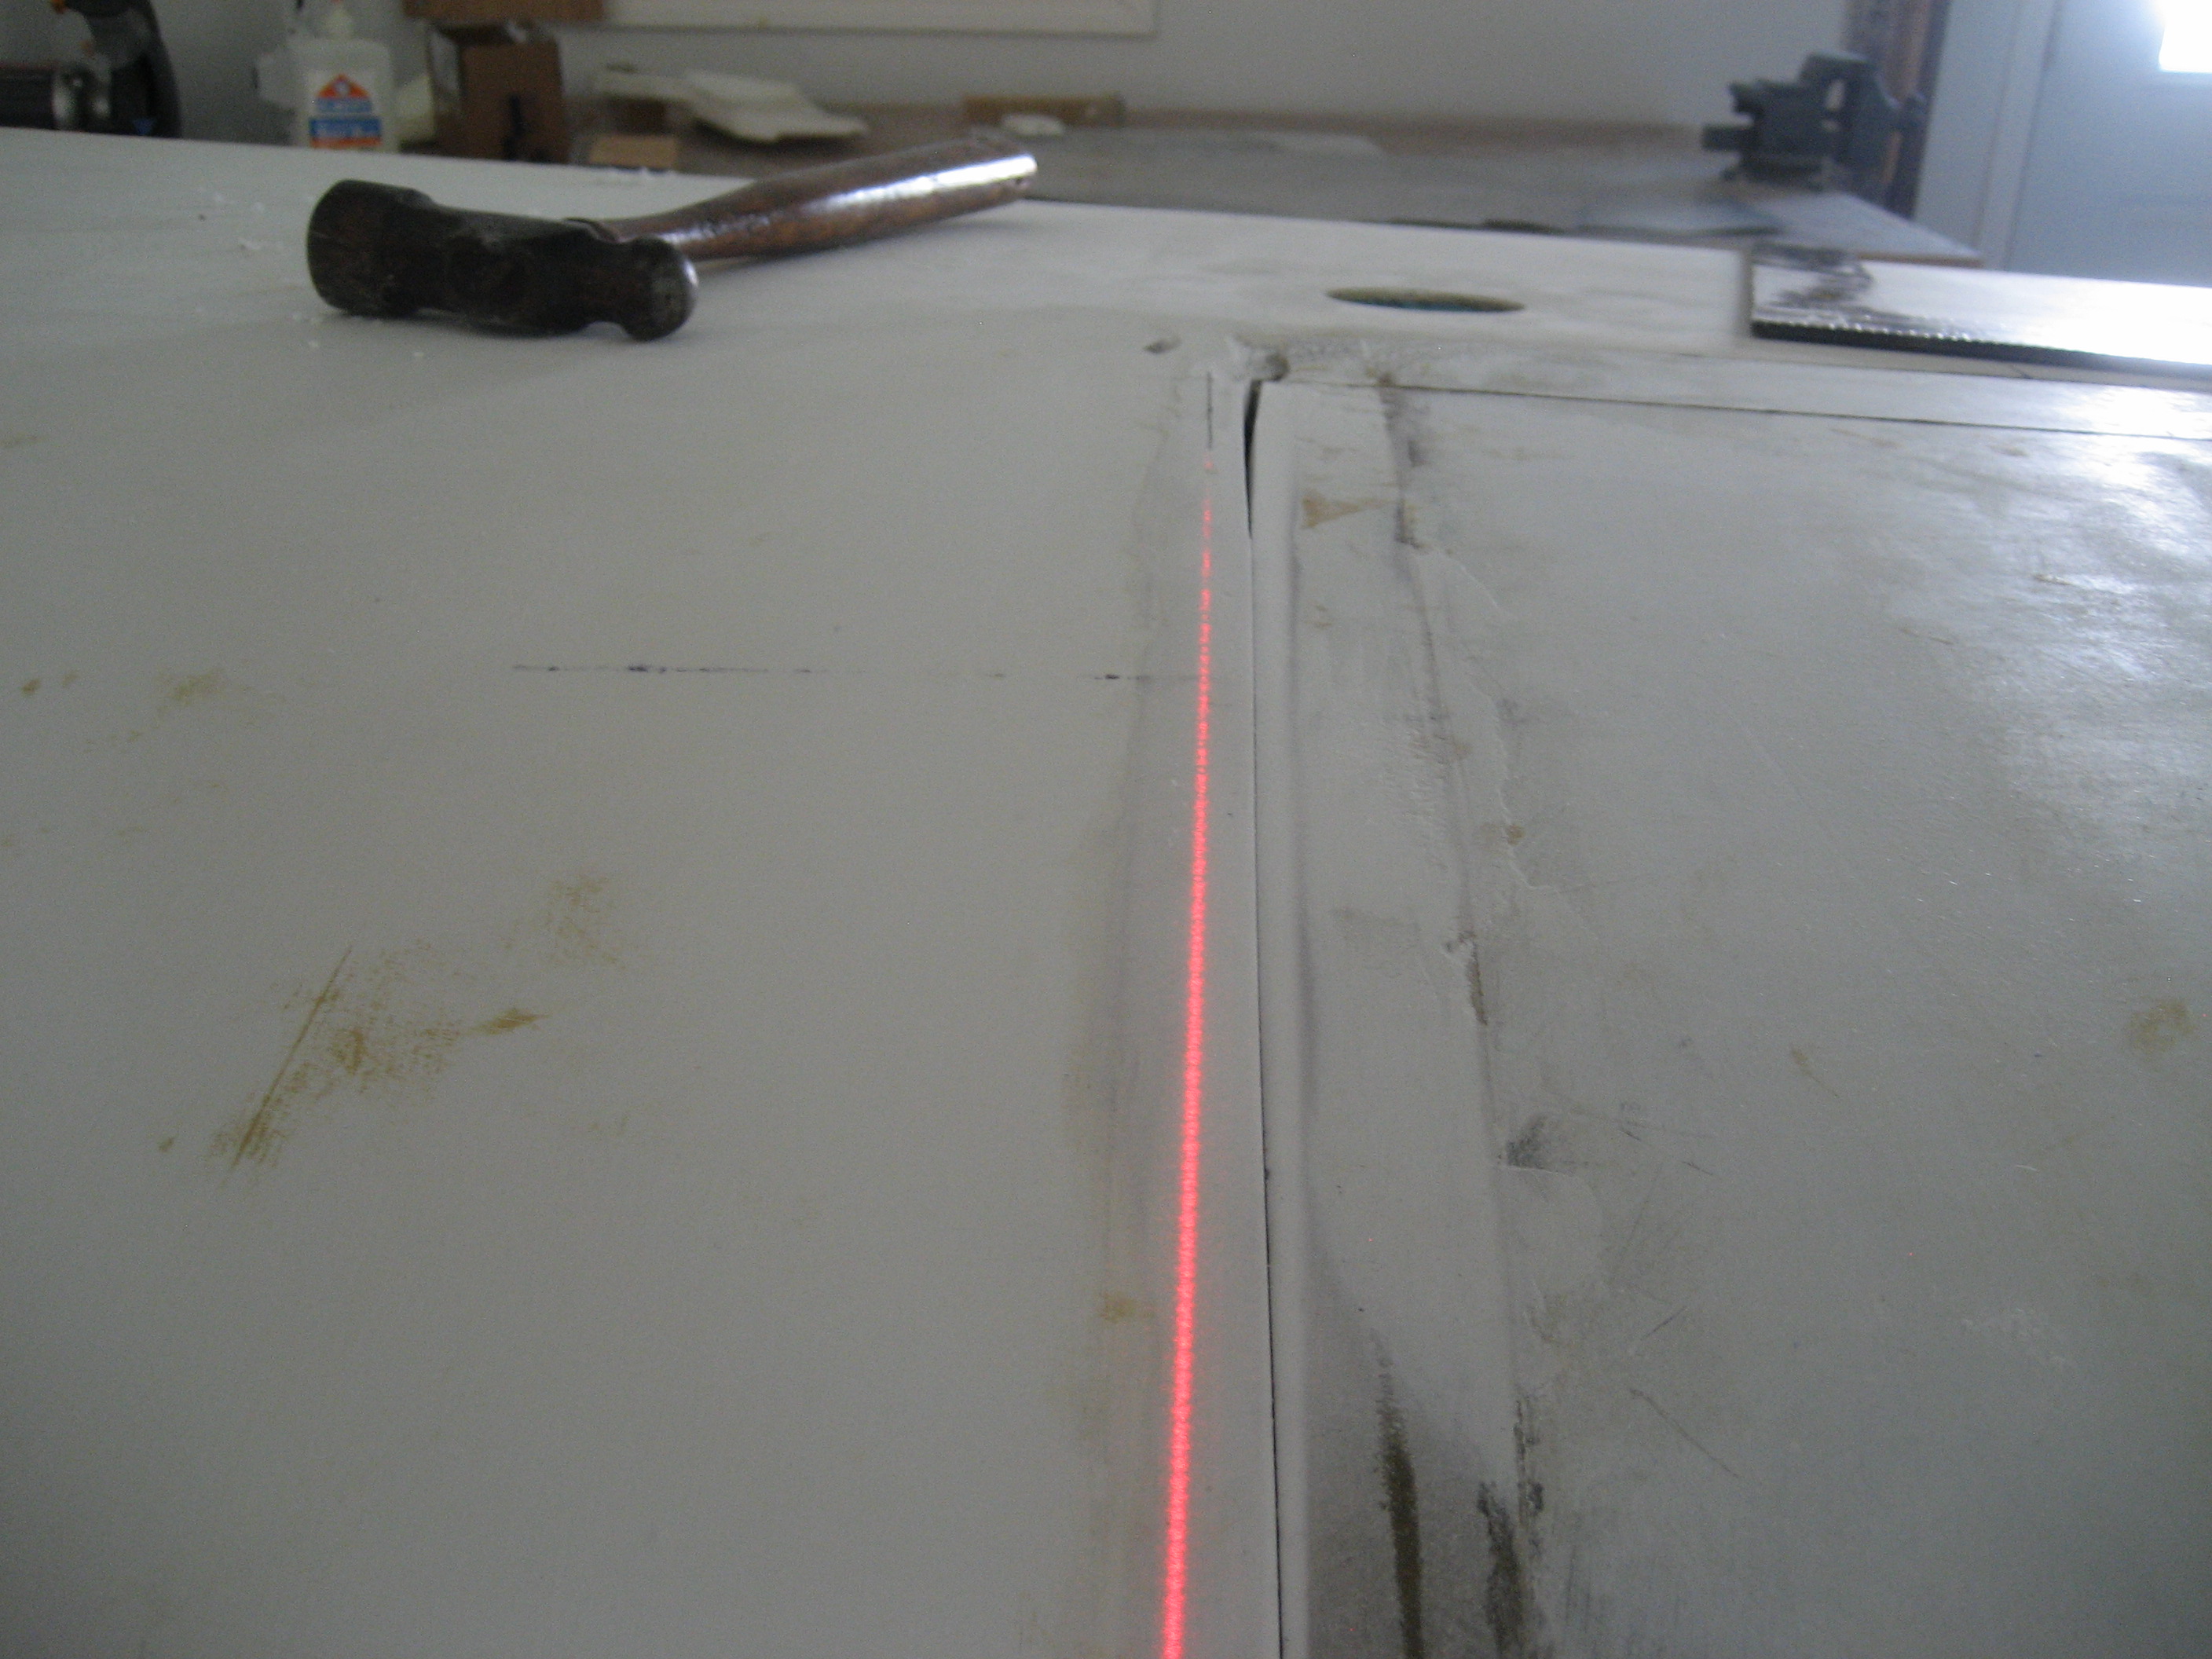
With the laser positioned to create a beam from the front mark to the rear mark, I had to perfectly straight line. You can see here that my attempt to create the line wasn’t exactly straight.

So I erased my first marks and created a line where laser indicated.
I have a really tough time sawing a straight line using a pencil (or pen) line. Malcolm gave me a great tip. Lay down some contrasting masking tape on the line. It’s easier to follow that way.
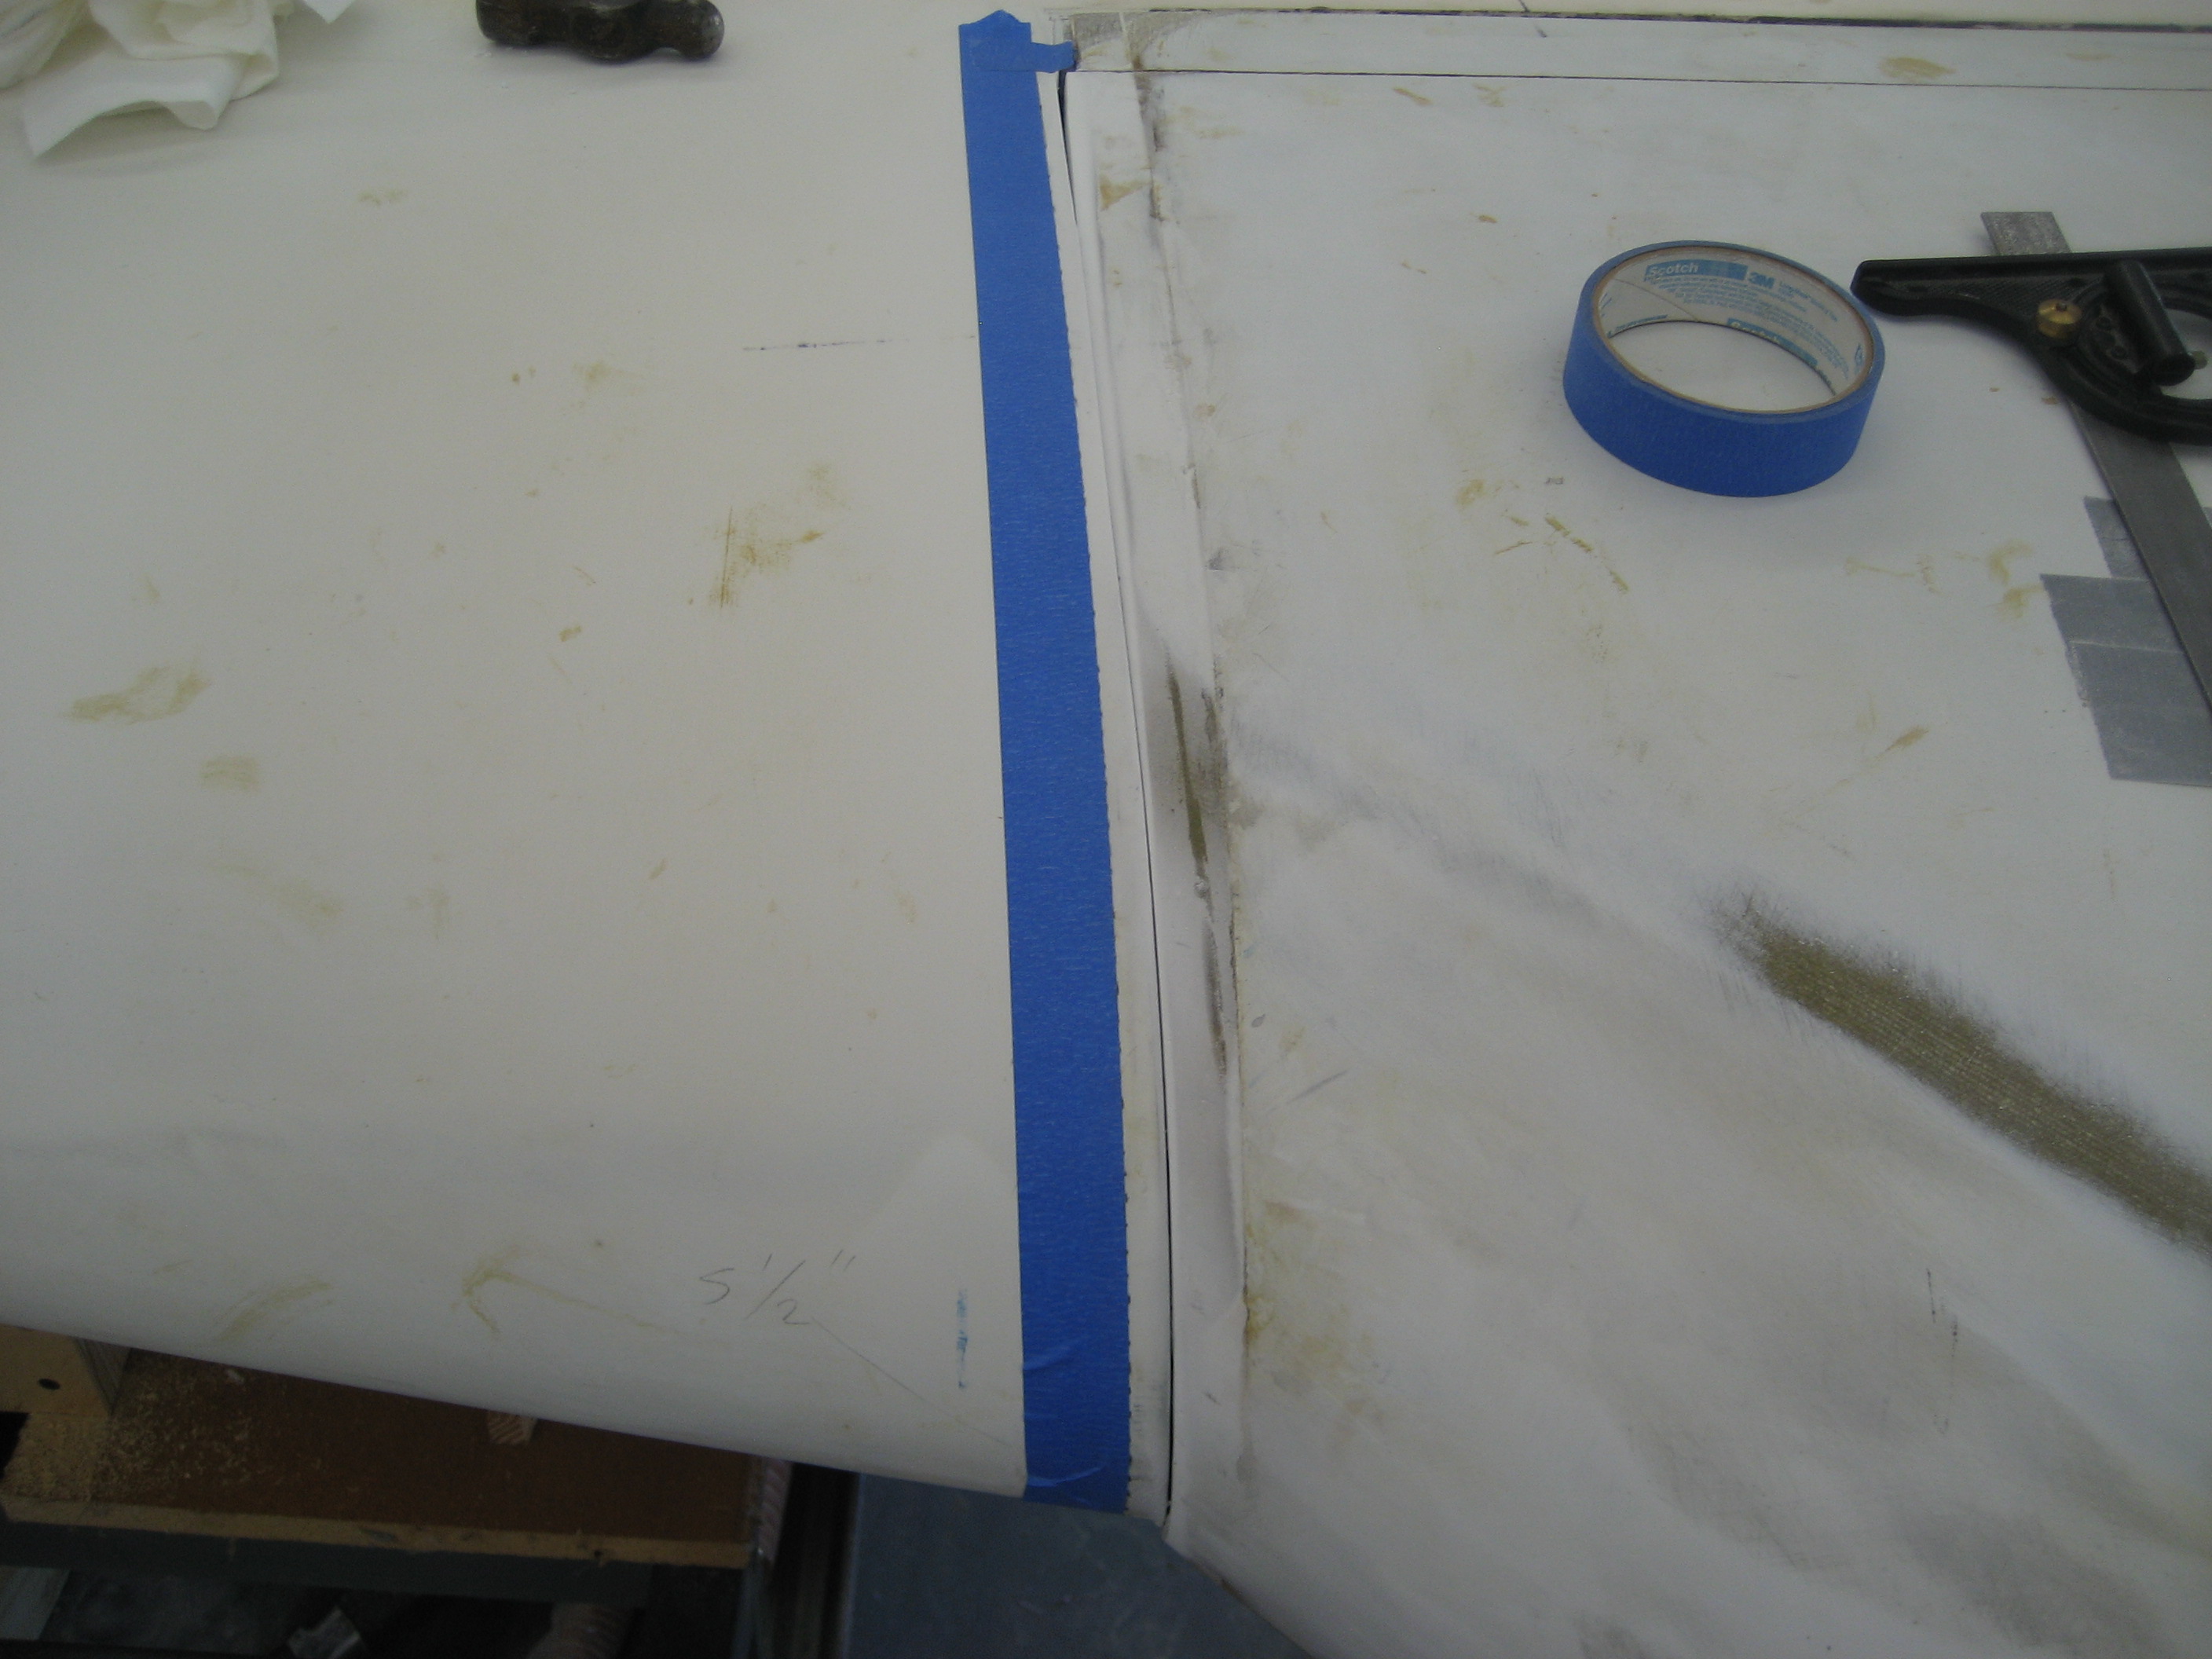
I made the cut and removed the wing.

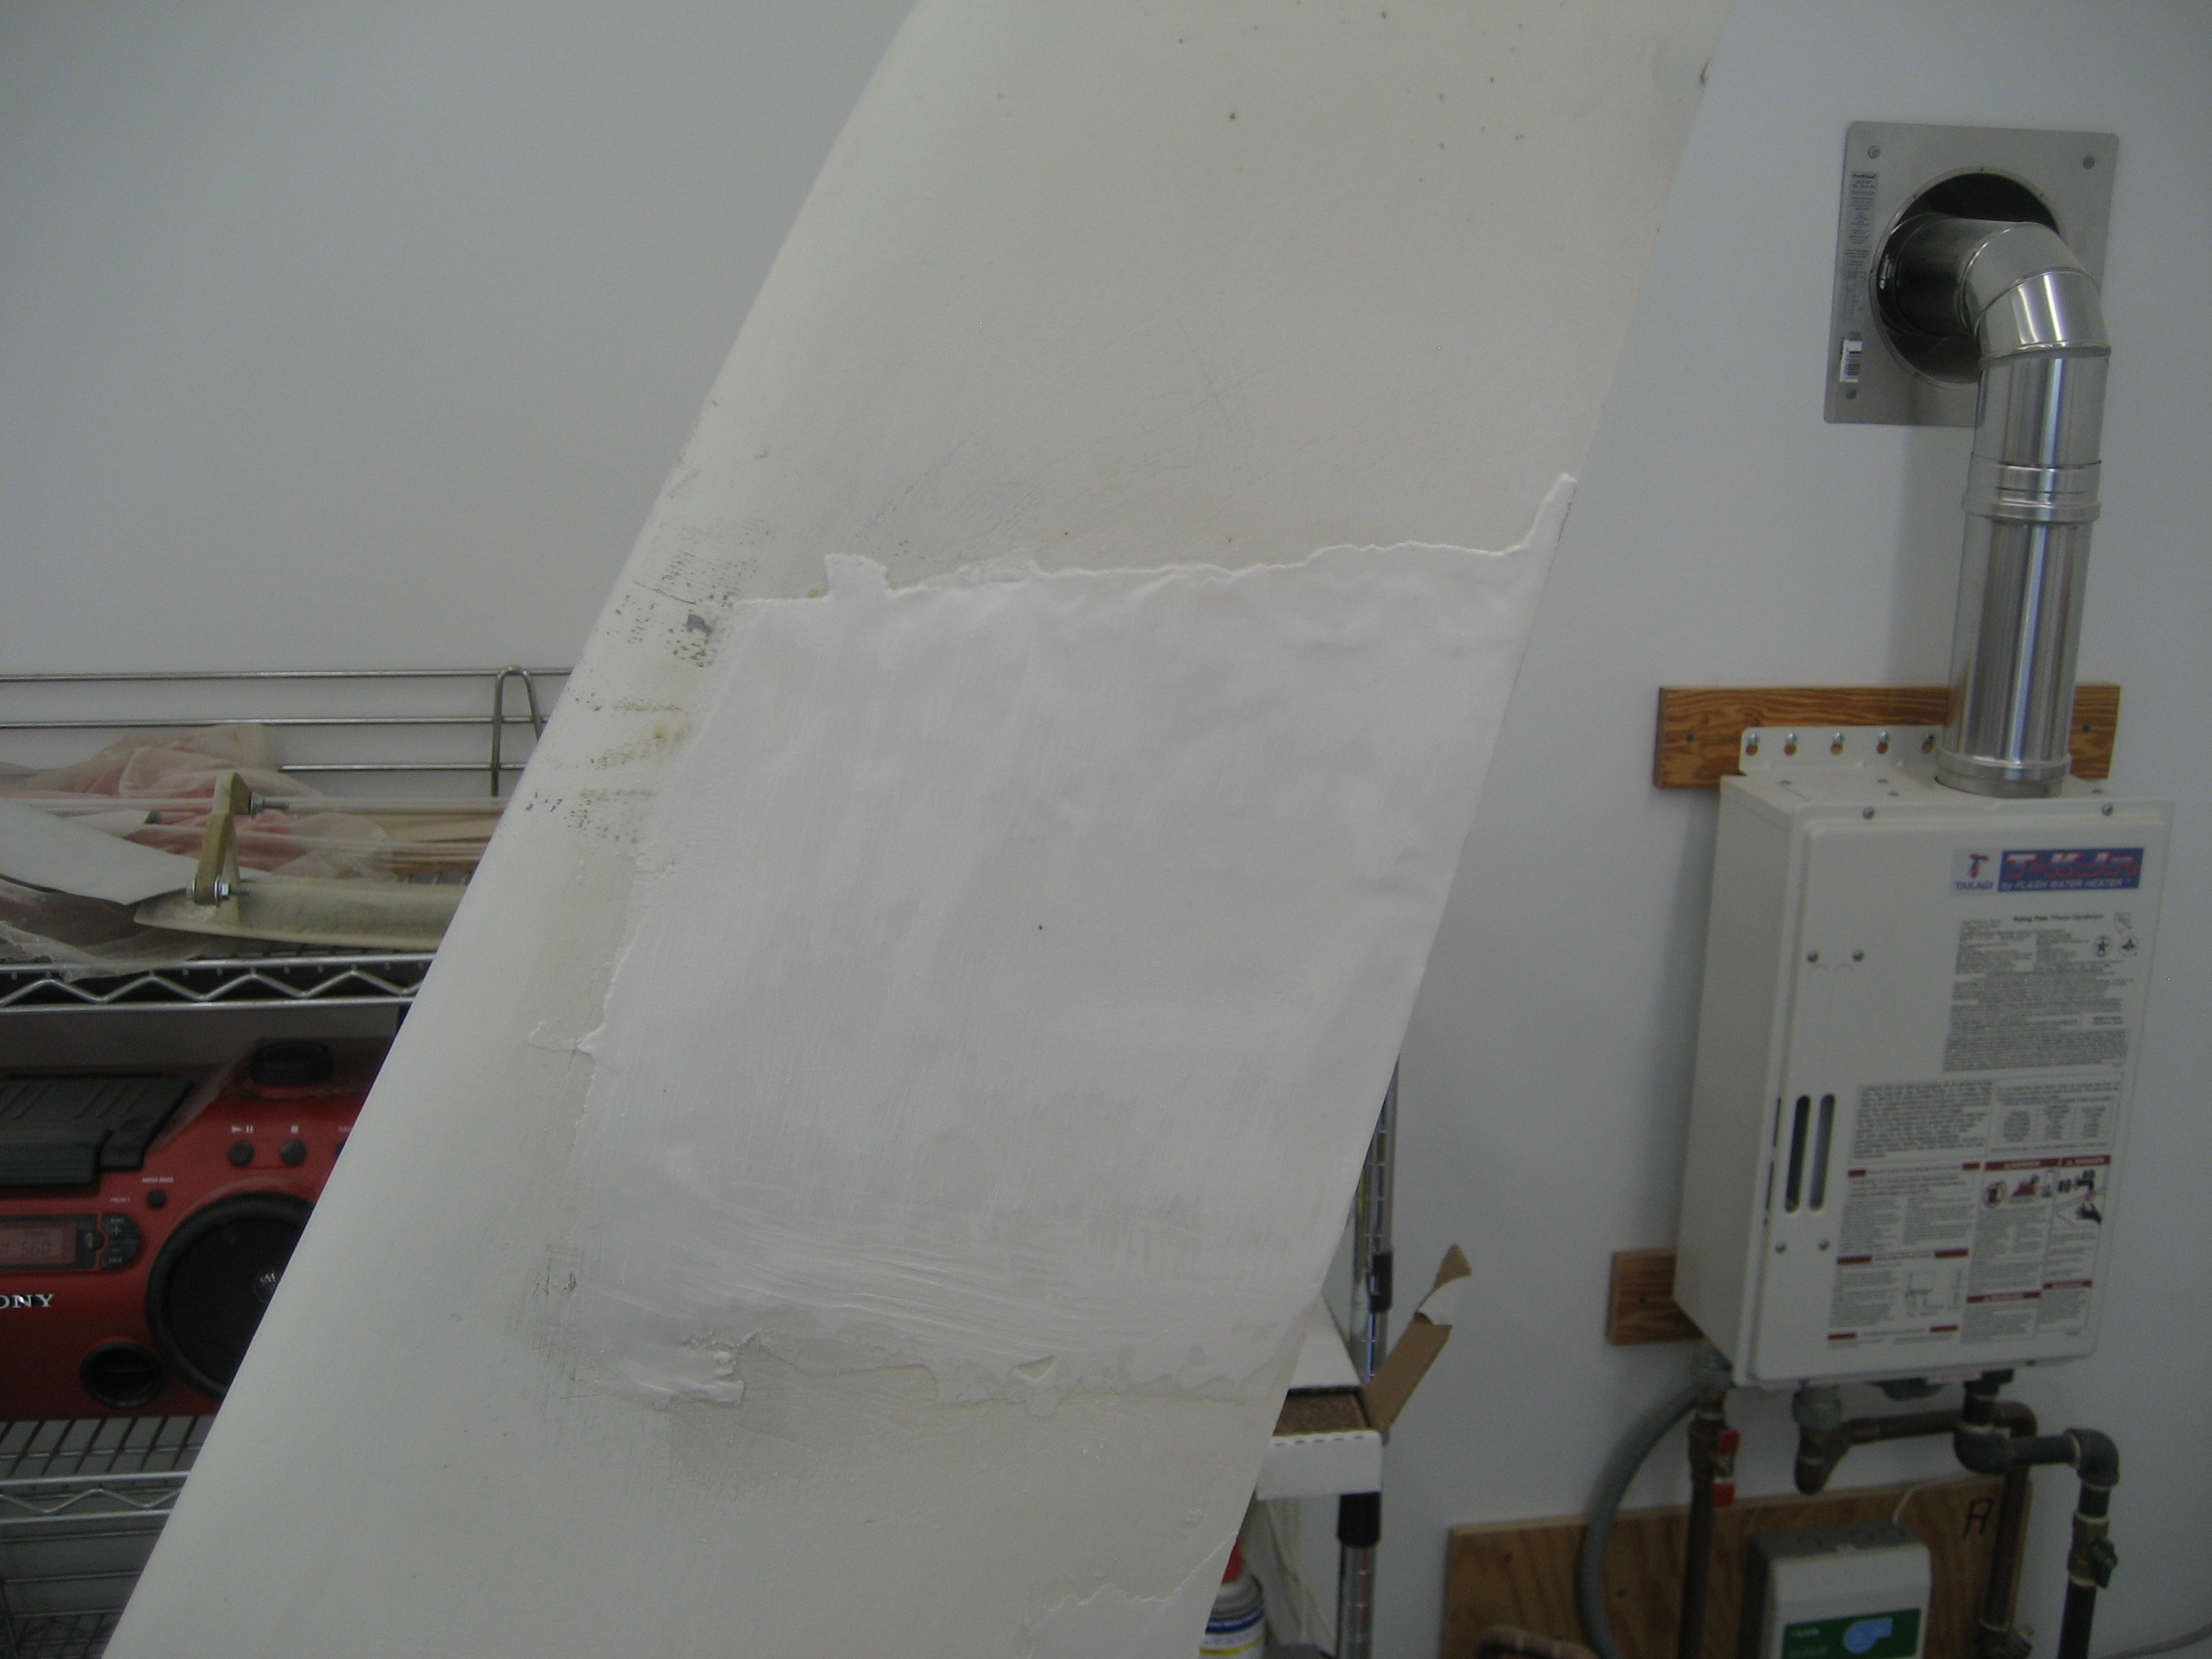
Then put the wing back on (see what I mean about the on-off thing?), applied some duct tape (is there anything that duct tape can’t do?) along the inside of the seam and filled it. Here’s the result.

Then I applied a one BID layup on the inside for strength. After that, it was fill and sand, fill and sand, fill and sand to get the surface of the wing level with the surface of the strake.
Now that the wing is on, have no reason not to finish the repair to the damaged winglet. Here’s the winglet with another layer of filler.
And here it is all finished.
