
- 5.5.1 Install Door Lift Gas Struts
- 5.5.1 Install Door Lift Gas Struts
- 5.5.1 Door Lift Gas Struts
- 5.5.1 Door lift gas struts
- 5.5.1 Install Door Lift Gas Struts
- 5.2.4 Door Hinge Installation (Modification)
- 5.2.3 Door Opening
- 5.3 Door Latch Micro Switches
- 5.3.1 Door Latches
- 5.5 Strake Extension Cutout
- 5.2 Correcting Door Fit
- 5.2.3 Door Fit (Improving)
- 5.3.6 Door Pin Sleeves
- 5.2.2 Door openings
- 5.1.4 Window Scratches
- 5.6 Improving door fit
Now it’s time for the doors. Once again I didn’t get pictures but I’ll try and explain. The doors DON’T FIT. Well, they do, but not very well.
This is a picture where I’ve indicated the fit problems. It sticks up at the top rear. It sticks out at the bottom rear and it’s inset at the bottom front. Now one fix is filler. LOTS of filler. But there’s two problems with that: 1) You’ve got to try and fair in all that filler so it looks right and 2) that filler has weight. And every pound of filler is a pound of passenger or baggage or fuel that you can’t carry.

I had discovered this fit problem earlier but wasn’t sure how I was going to fix it. Malcolm to the rescue. 🙂
Here’s what we did. Where the hinge mounts at the top rear of the door, we added a two triax layup (the front got a 1 BID layup too). This moved the rear of the door down. The twist at the bottom will be taken care of by shimming the door so the bottom is flush and gently heating the door with halogen lights. After about 24 hours, the door will be “warped” into alignment.
Once the hinge pads were cured, we had to drill new holes for the hinges. This creates a bit of a challenge because if the holes are not in EXACTLY the right place, the door won’t fit properly. My solution was to use a VIXX bit. While I was at Home Depot looking for one (Which sucks because I’ve got a collection of them at home), Malcolm called with an idea. He had me buy 4 set screws with the same thread as the holes in the hinge (I think there were 10-32). When I got back, he drilled out the center of the set screws. So I climbed inside and the he held the door in position. I put two set screws in each hinge. When the door was in exactly the right position, I drilled through the center of the set screws into the fuselage. Then I removed the set screws, flipped the hinges out of the way and enlarged the holes to their final size. I held the hinges in place and Malcolm screwed the hinges in place from the outside. Then I did the remaining two holes in each hinge. When we were done, the top of the door fit almost perfectly!
Then is was time to do the other door. And that’s when I got a surprise. While we were working on the door, it’s sometimes necessary to bang on it to get the door in position. While I was inside and Malcolm was “encouraging” the door into position, I became weightless! Relative to the inside of the plane, that is. The main landing gear is held in the “down and locked” position with an over-center stop and latch. The nose gear has an overcenter stop and a gas strut. What I’ve always done is to put a wire tie around the nose gear arm and the over-center stop… Just in case. Well, in all the moving things around, that got over looked. While Malcolm was banging on the door, the nose gear actuator arm bounced and got… under-center. At which point the nose gear retracted. And the nose went down.
I climbed out, we lifted the nose off the ground and put a sawhorse under the nose and then looked at the damage.
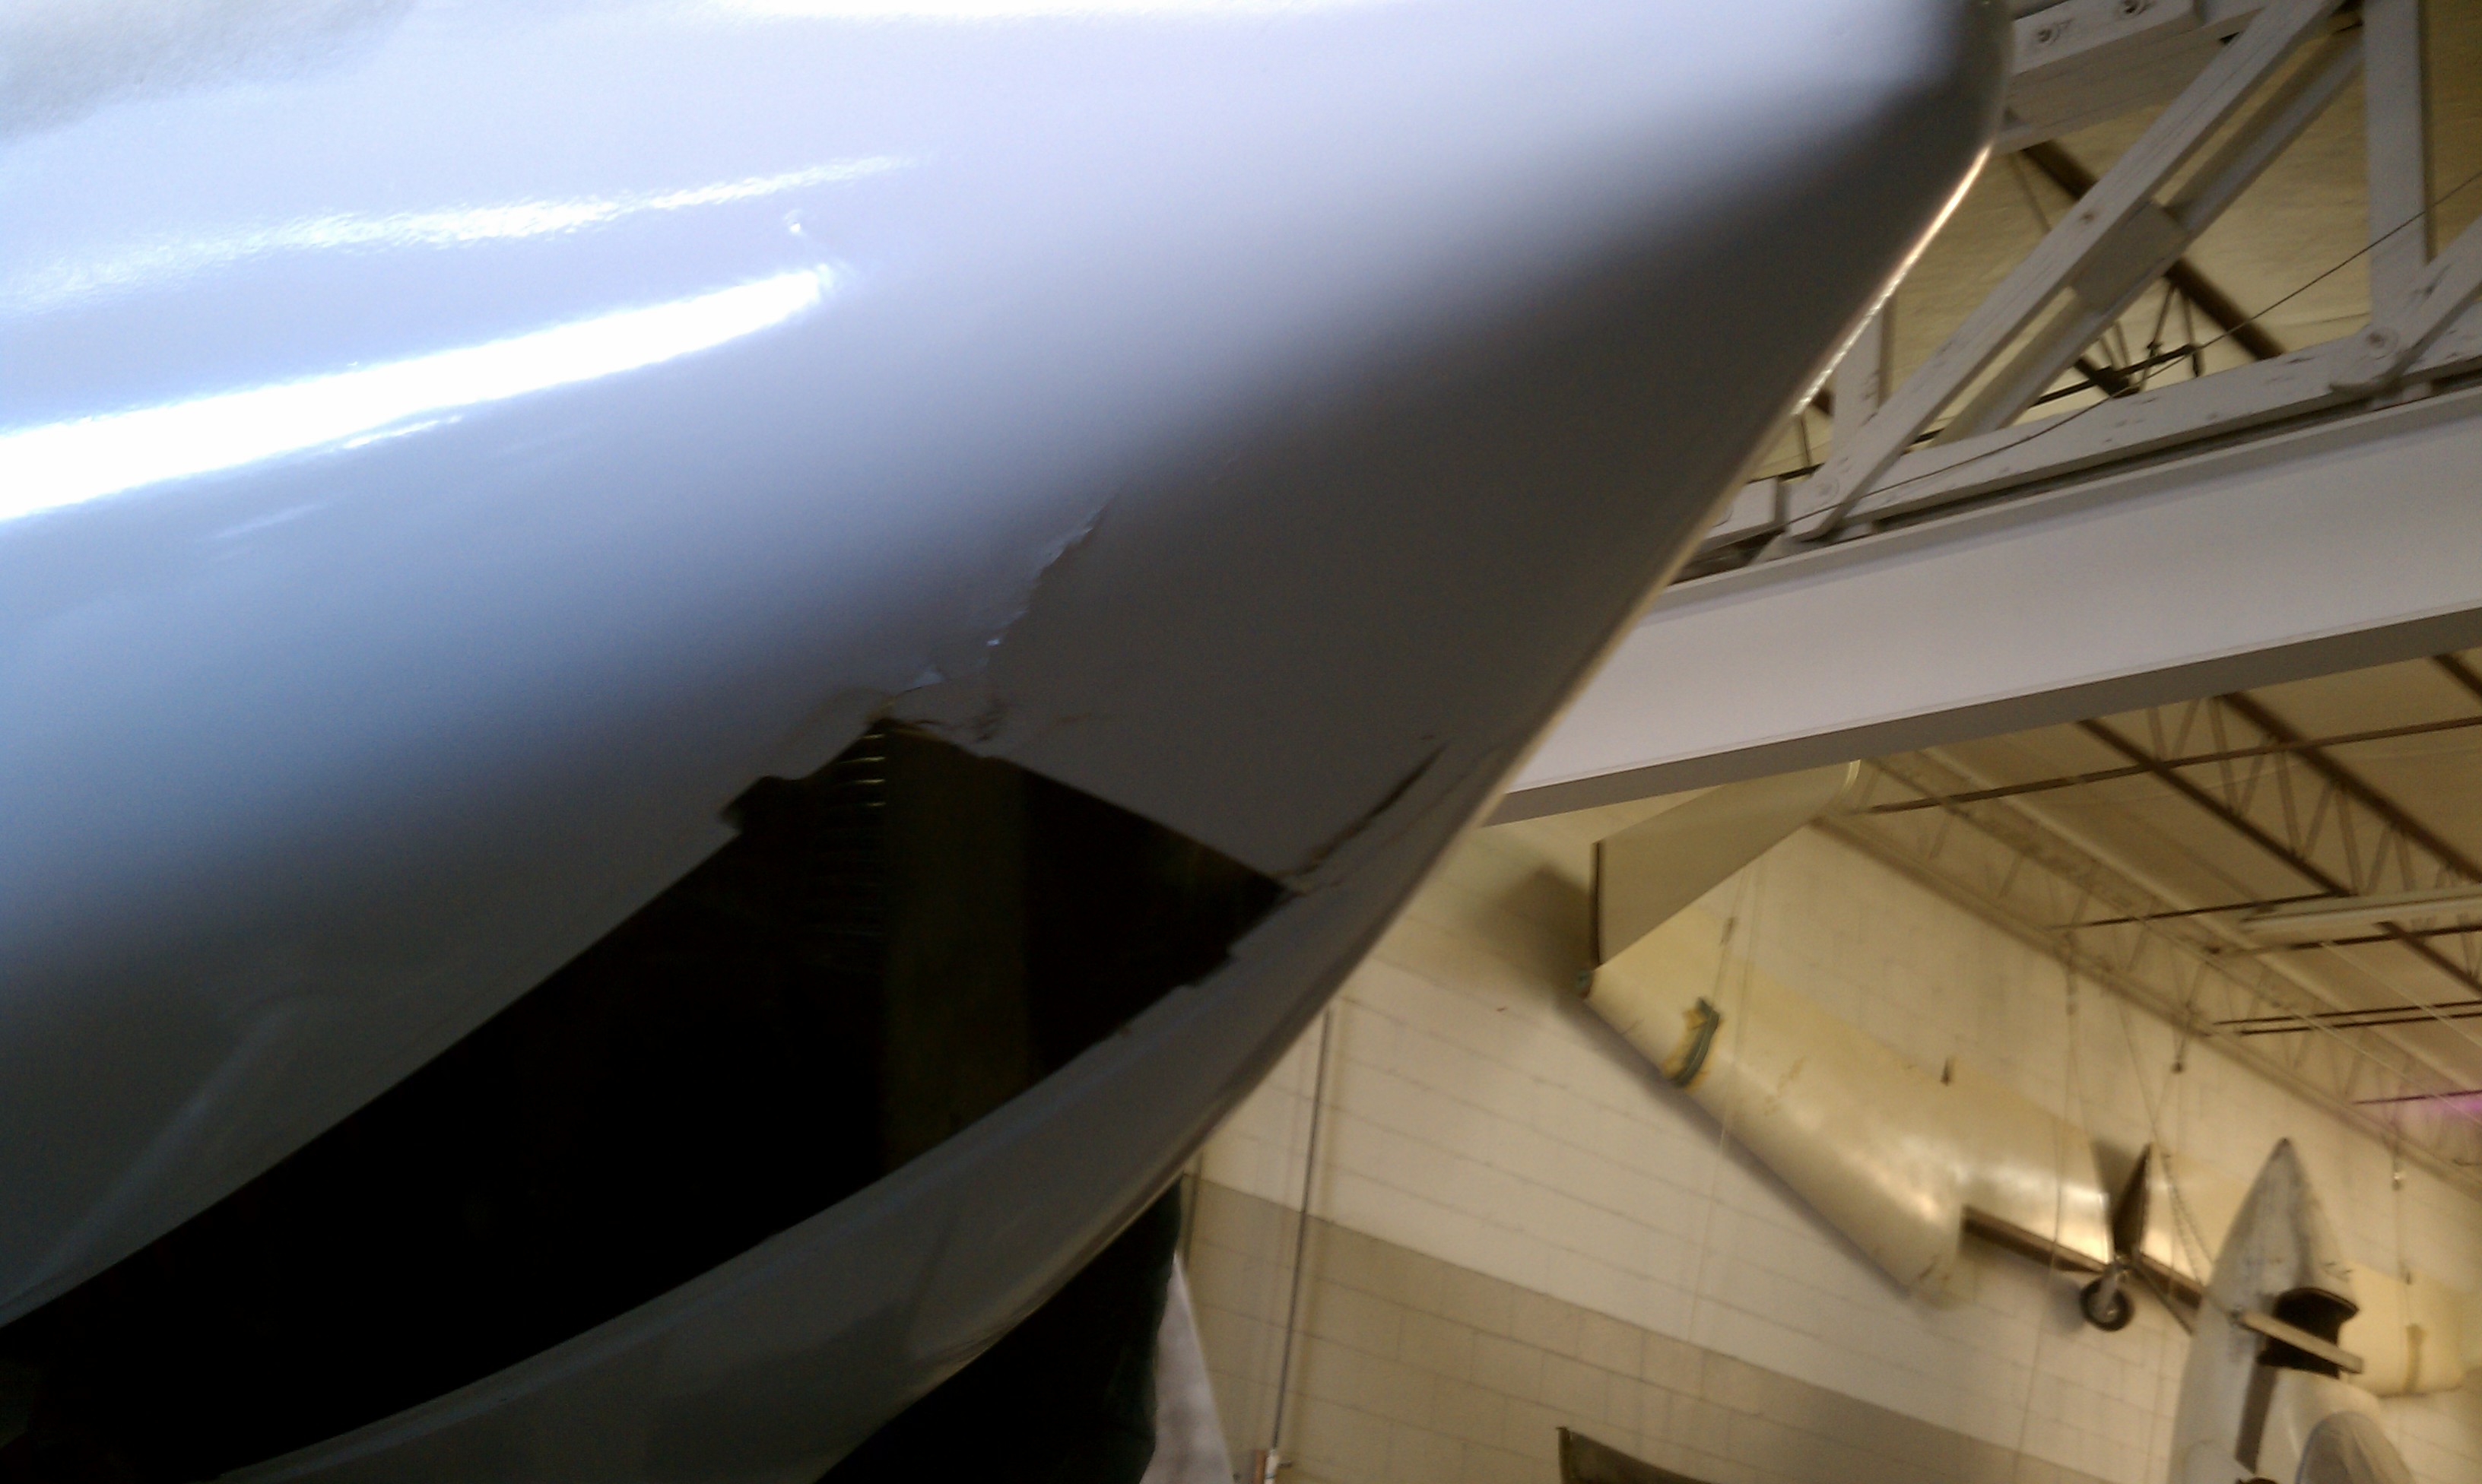
During previous maneuvering, the nose wheel got rotated 180 degrees from it’s normal position. This turned out to be a good thing. When the nose gear came up, the tire hit the bottom of the fuselage and then broke through. This slowed the descent so that when the fuselage came in contact with the floor farther back, there was no damage. These cracks up here aren’t in a structural area and are easily fixed.
So from now on, either there will be a wire-tie on the nose gear arm and over-center stop or there’ll be a support under the nose.
Once the door hinges were finished, lights were placed on the inside warming the door while on the outside a heavy shot bag pushes the door into position.

