
- 3.4.5 – Elevator Hinge Installation
- 3.4.6 Elevator Hinge Arm Installation
- 3.5.2 Elevator Torque Tube Install
Okay, so there’s a small wing on the front. This is the canard. On the trailing edge of the canard is a moveable surface. This is called the elevator. By changing the position of the elevator, the amount of lift that the canard creates can be changed.
Here’s a picture of the canard and elevator from January when I was installing the hinges.
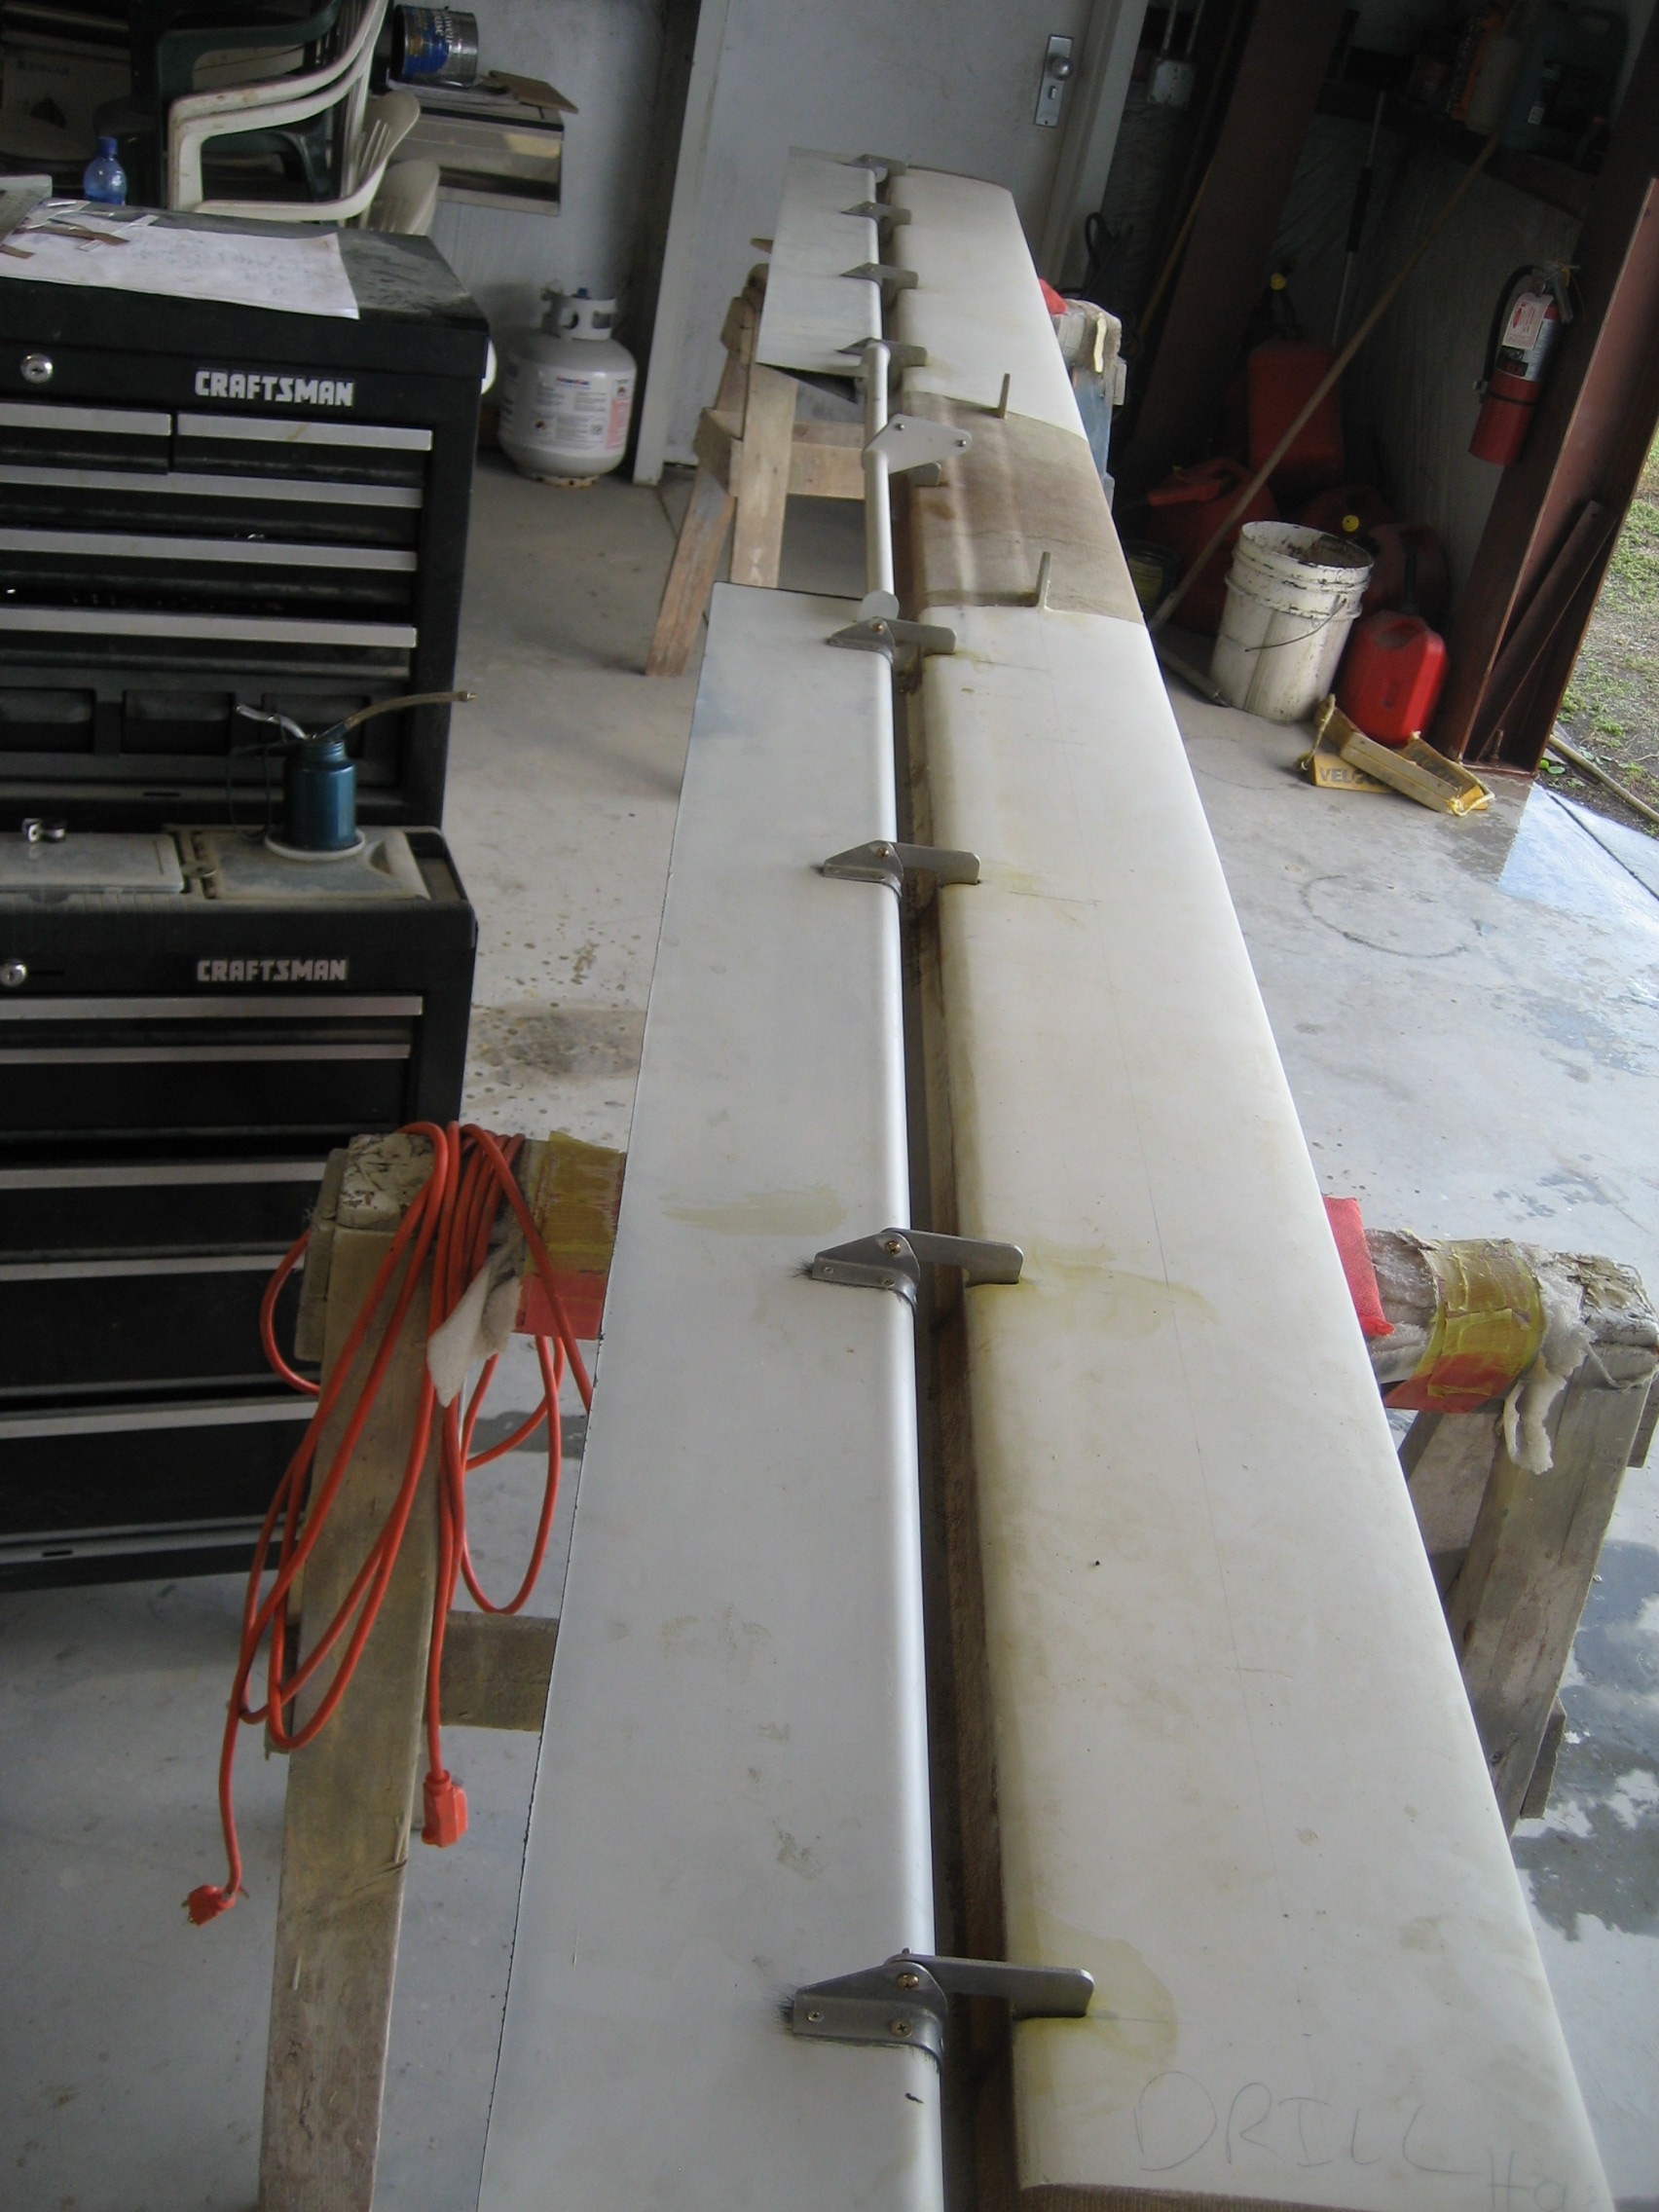
In this picture, the elevator is upside down. So this is looking at the bottom. On the right is the canard. On the left you can see the two elevators (left one on the bottom of the picture, right one on the top). The two elevators will move as one. They are connected with the white tubing in between (called the elevator torque tube). At the time this picture was taken, the torque tube is not attached to the elevator. That’s what I need to do next.
The elevators pivot point is not at the leading edge of the elevator. It’s actually about 1-1/2″ below the center of the elevator. This makes the elevator a type of “Fowler Flap” where the moveable surface moves down and aft. The torque tube itself is aligned with the pivot point of the elevator and has an arm with ties in to the leading edge of the elevator.
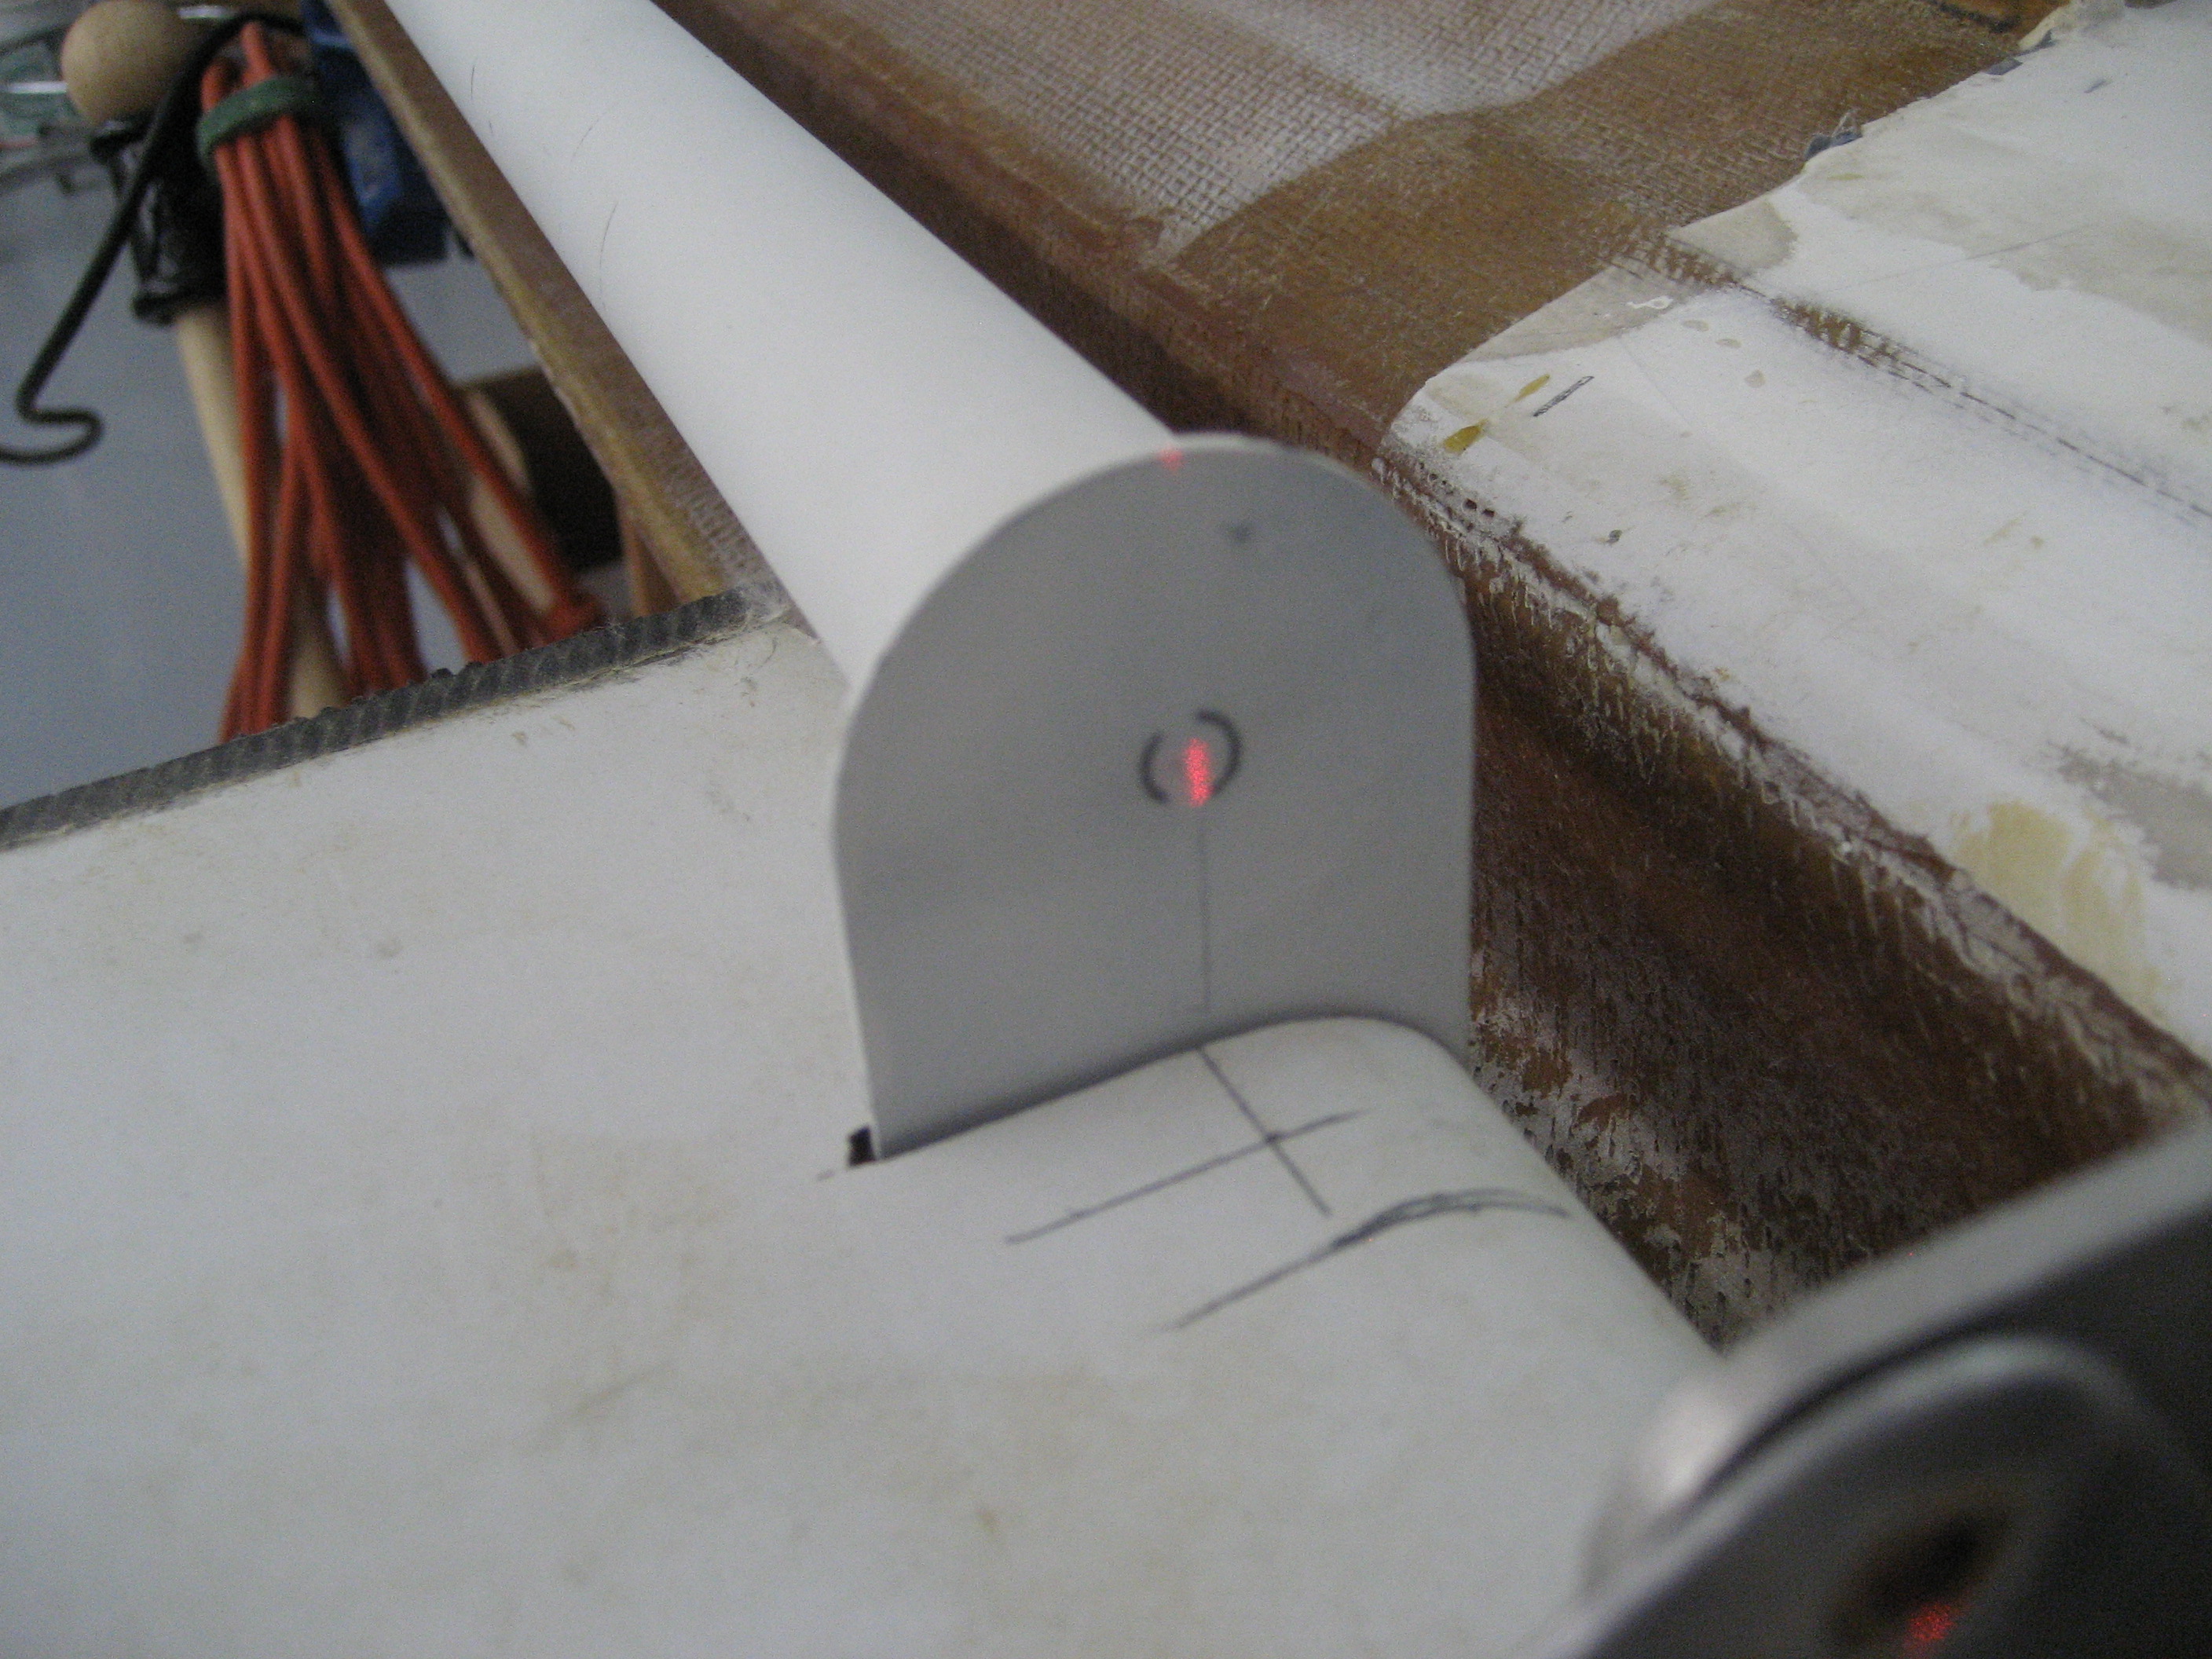
If the attachment at the elevator is not exactly positioned, the torque tube will move up/down/forward/aft as it rotates. The problem with that is it makes it difficult to seal where it enters the fuselage and could also bind. So to locate the correct position, I decided to use my handy laser again. The problem is that the “tab” on the end is not perfectly aligned with the tube so I can’t just align everything to the center of the tab. I need it aligned to the center of the torque tube. So here’s what I did: I made a jig to allow me to rotate the torque tube so I could mark the exact center of the tube on the tab.
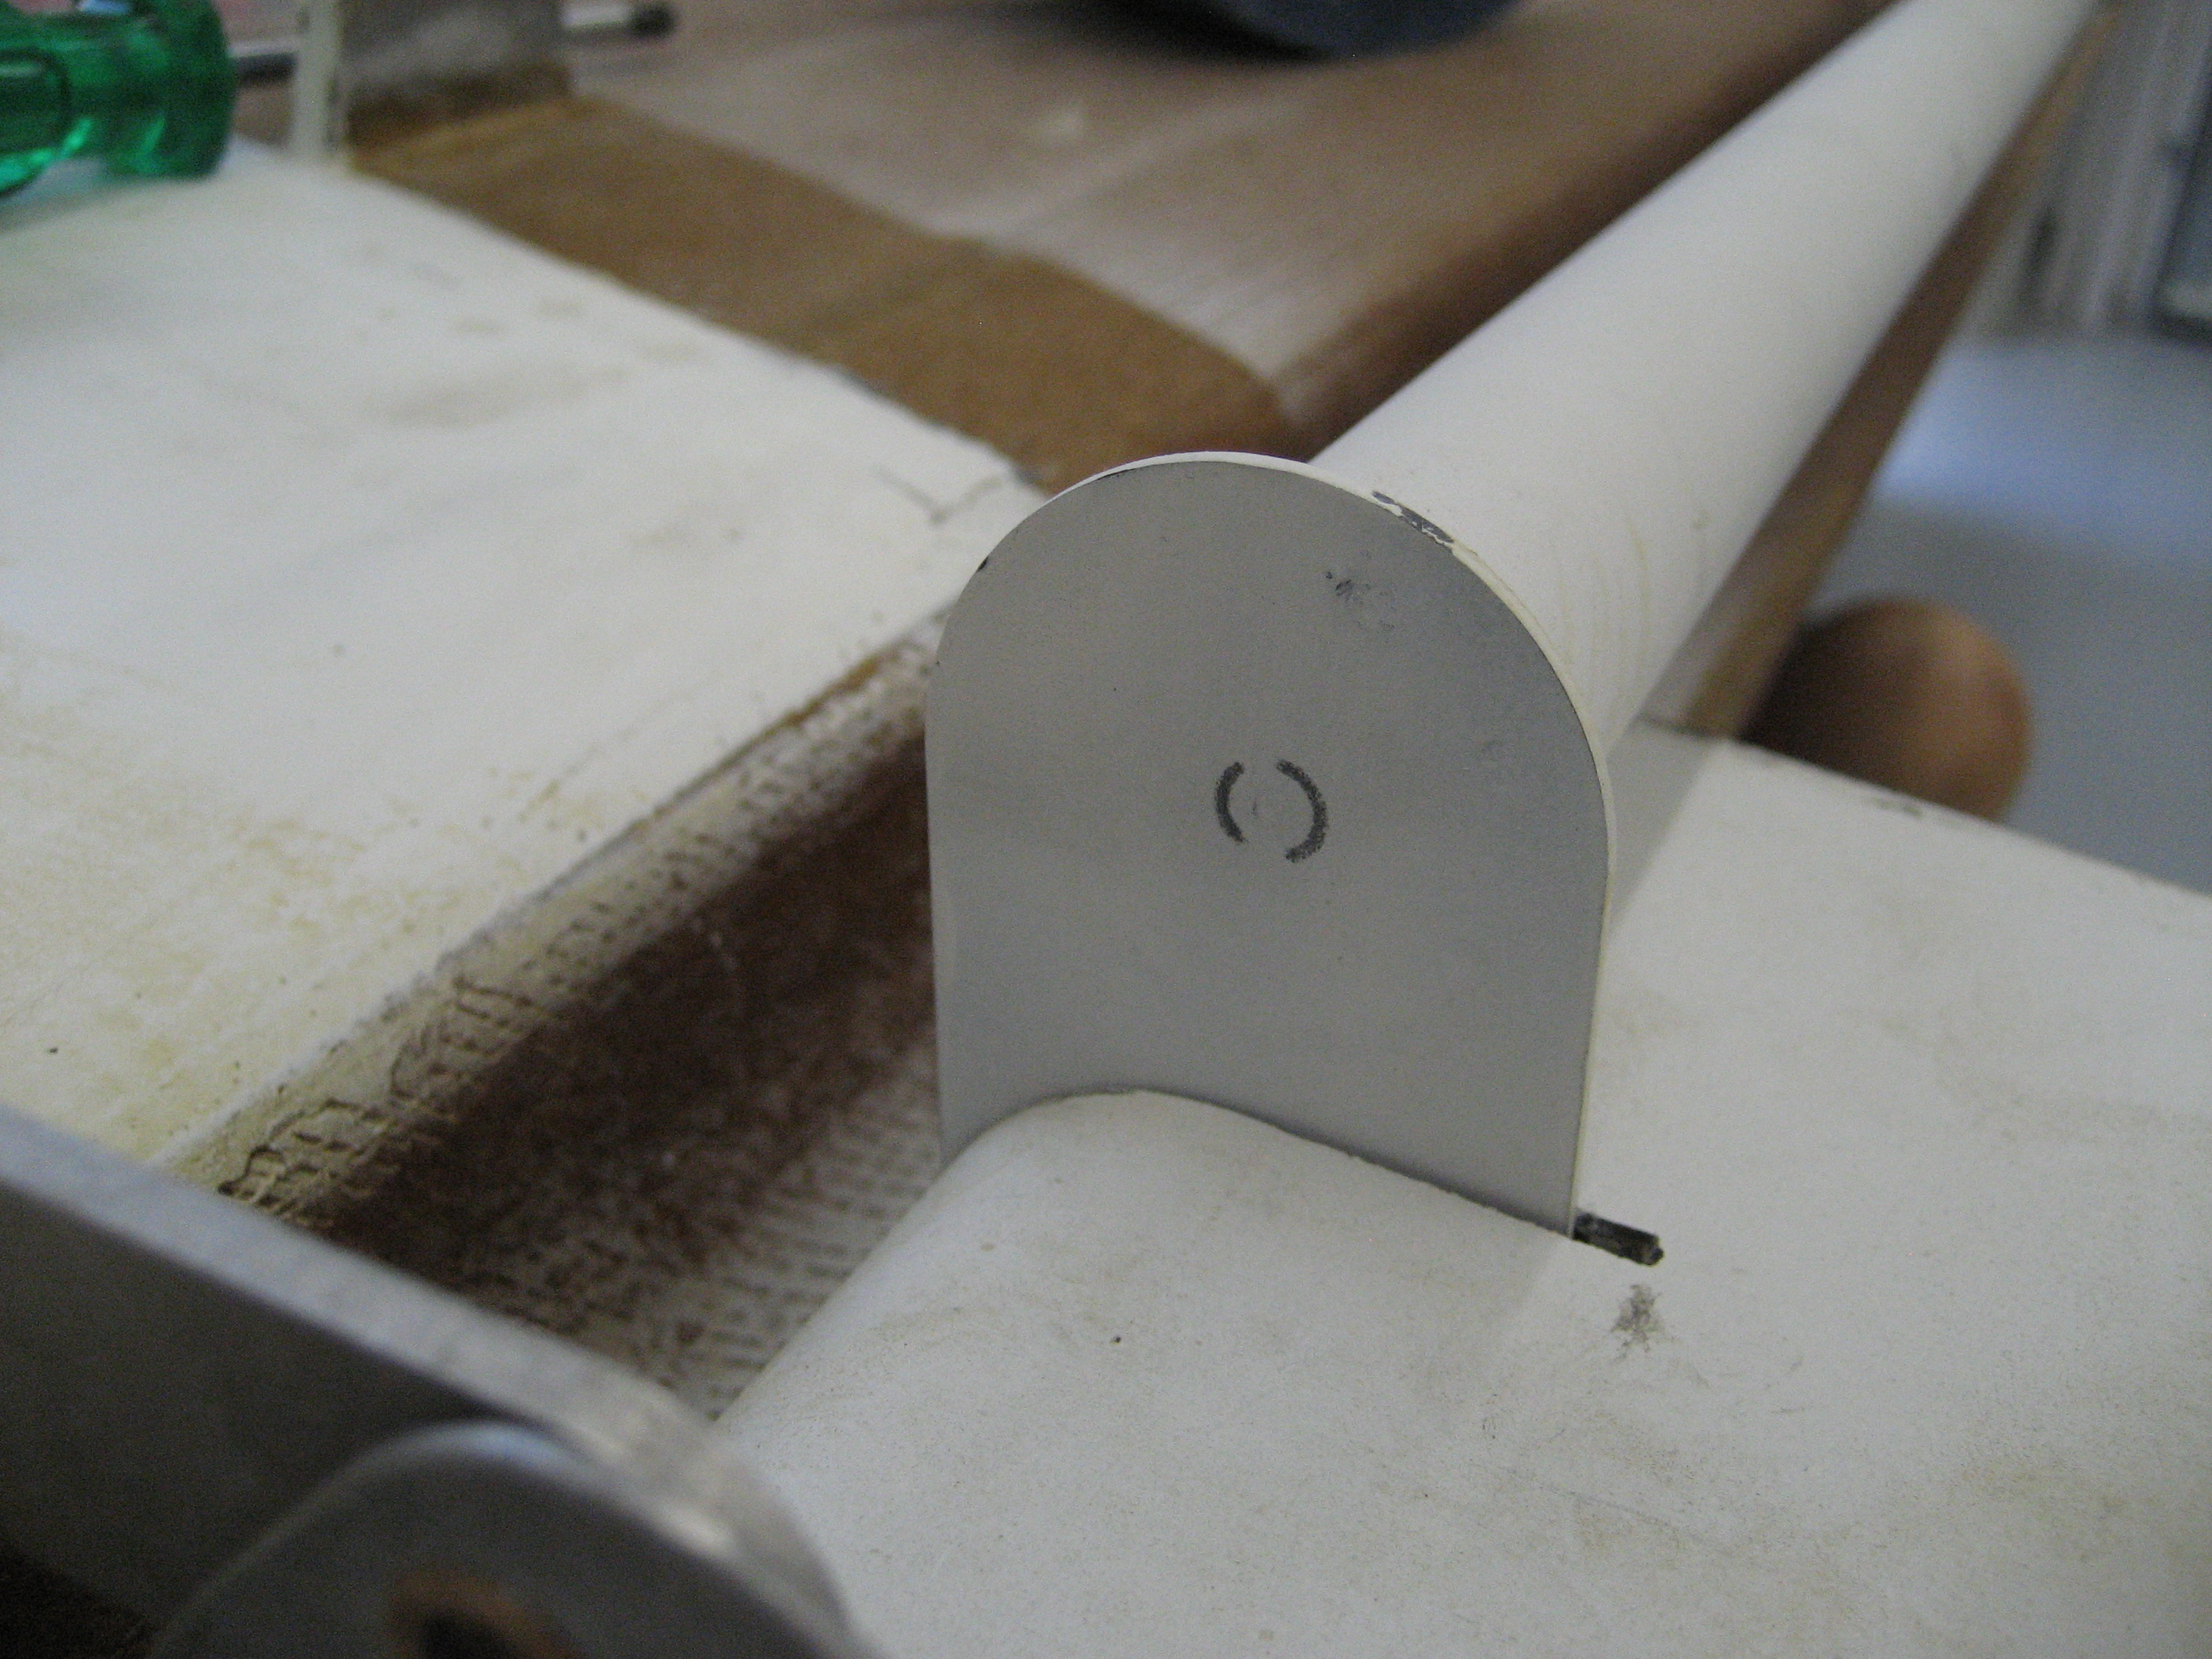
Here’s the torque tube end with the marks identifying the center. The jig wouldn’t let me make a complete circle, but I was able to adequately mark the center
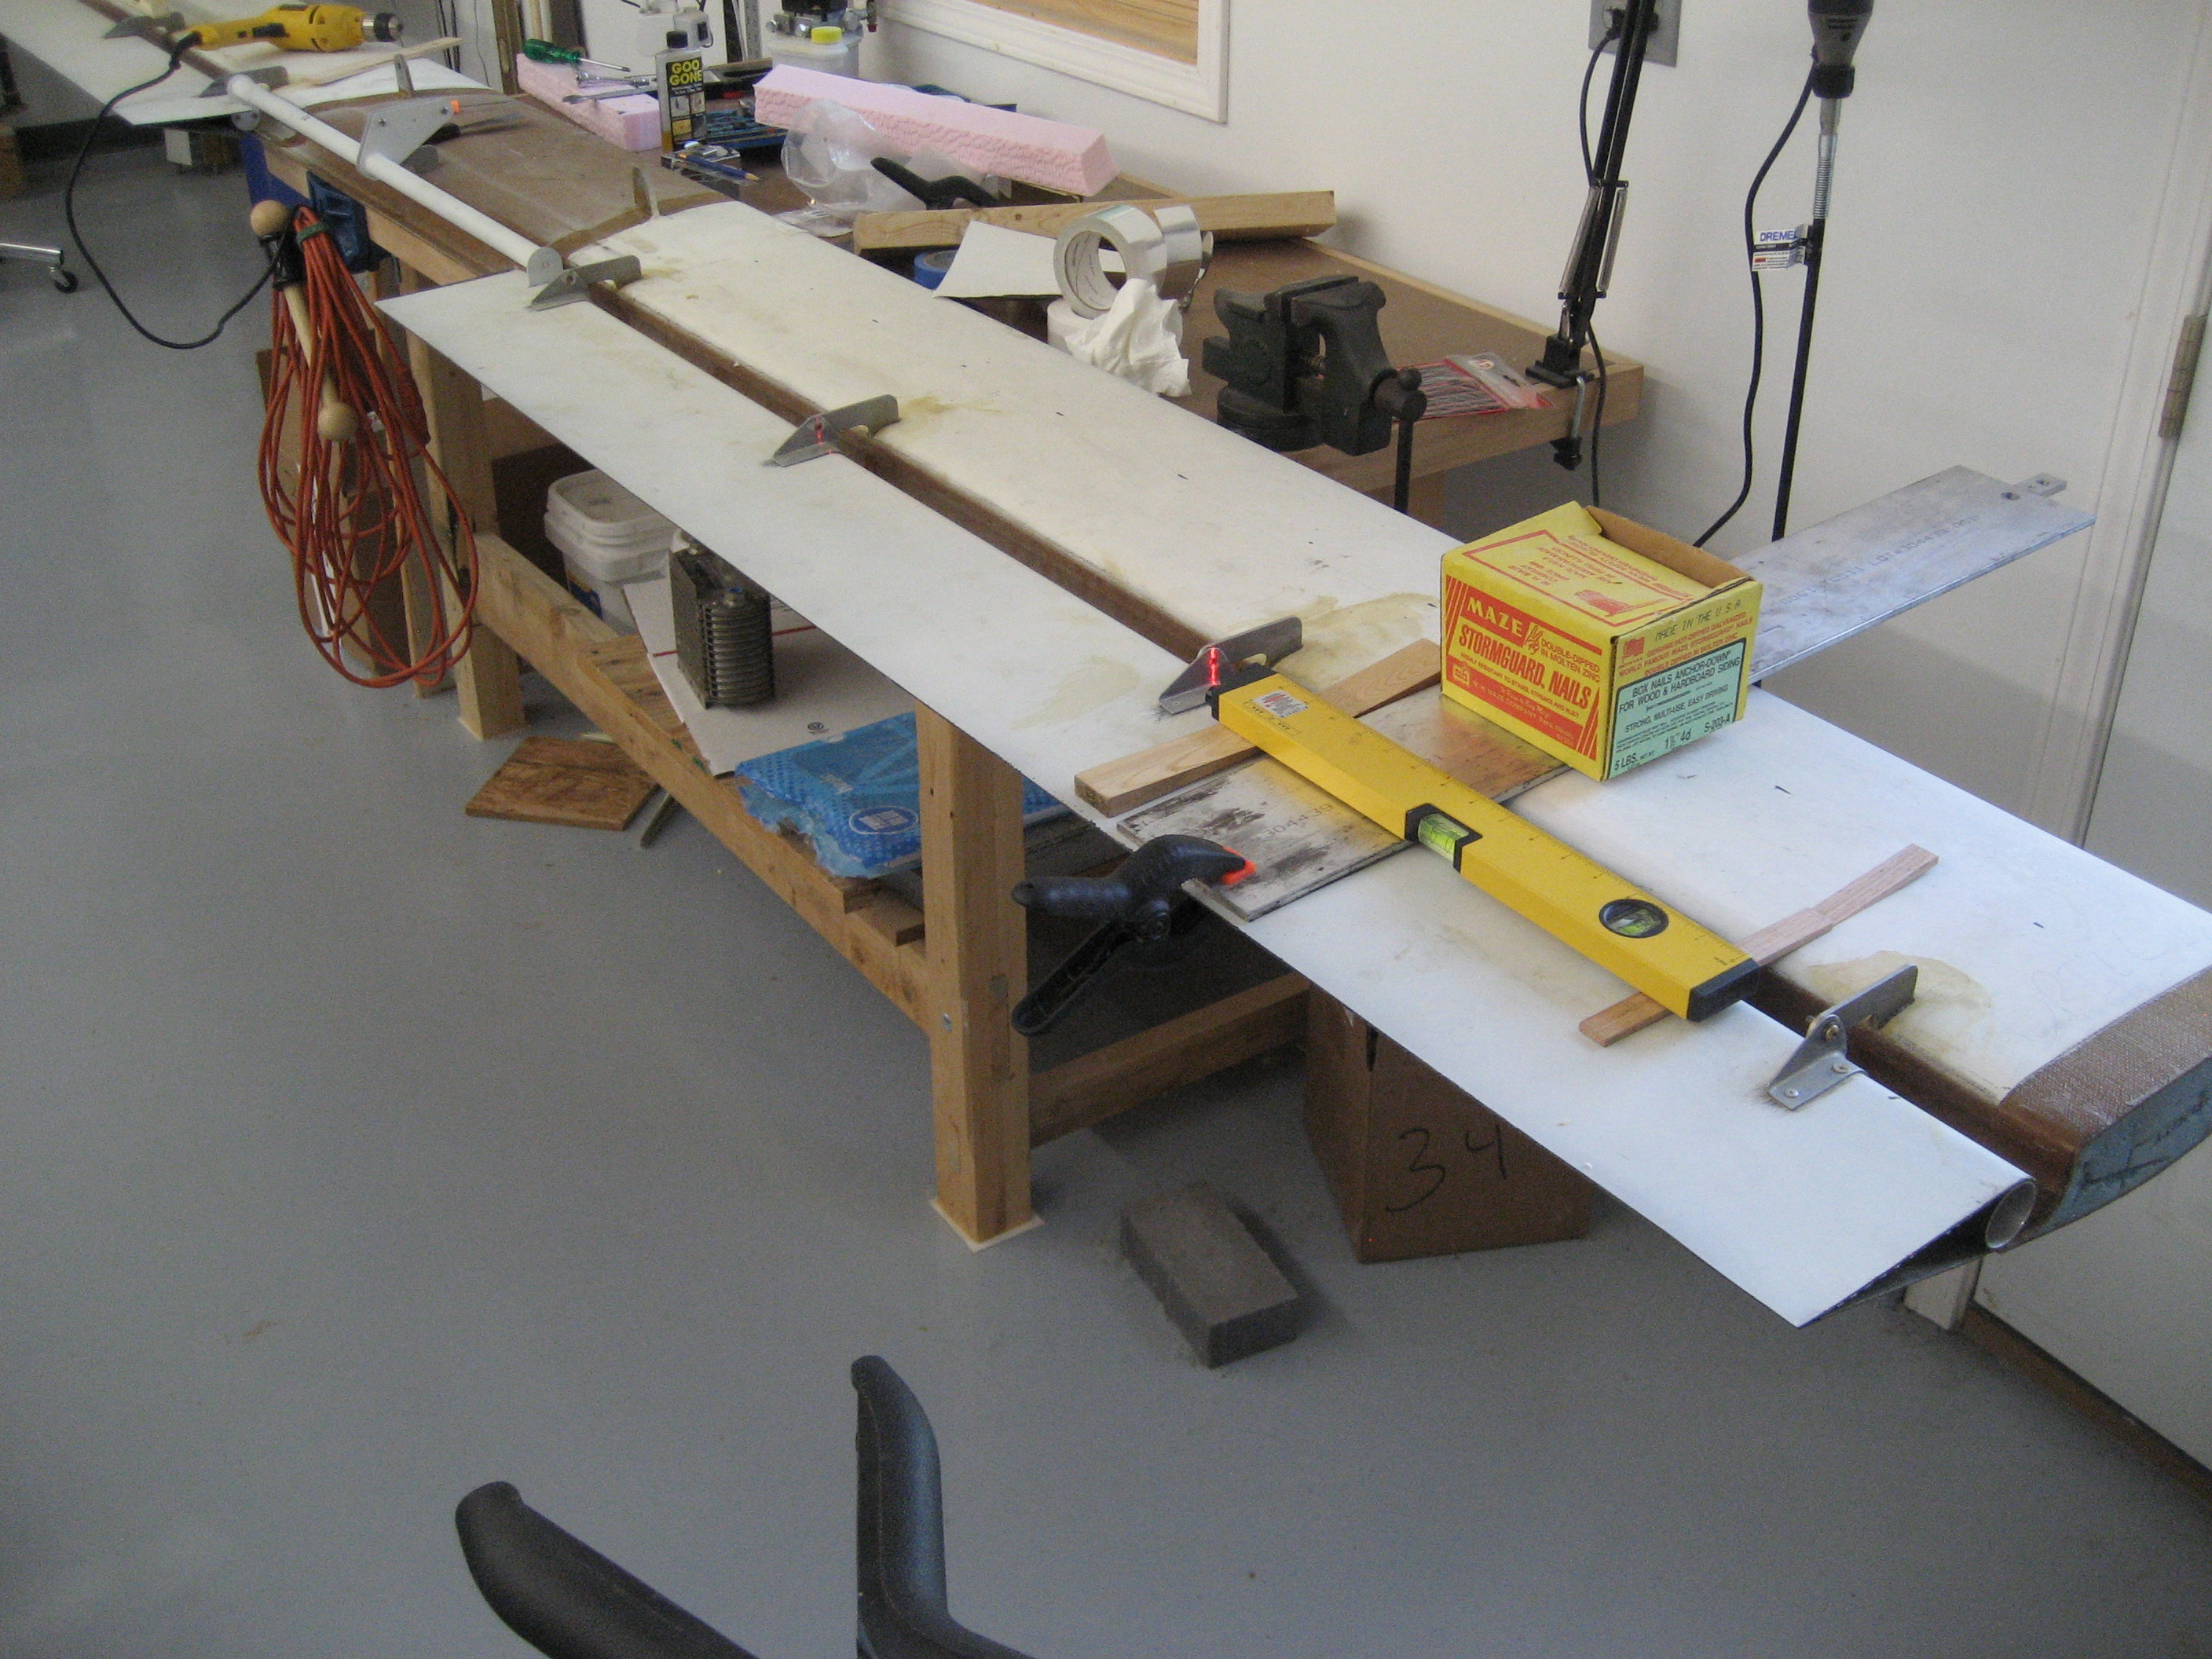
Then I mounted the elevators and torque tubes on the canard. I left the three inboard hinge screws out. I put the laser so that it would shine through the holes on the three hinges without screws.
My setup with the laser.
Here’s the laser shooting through the first hinge.
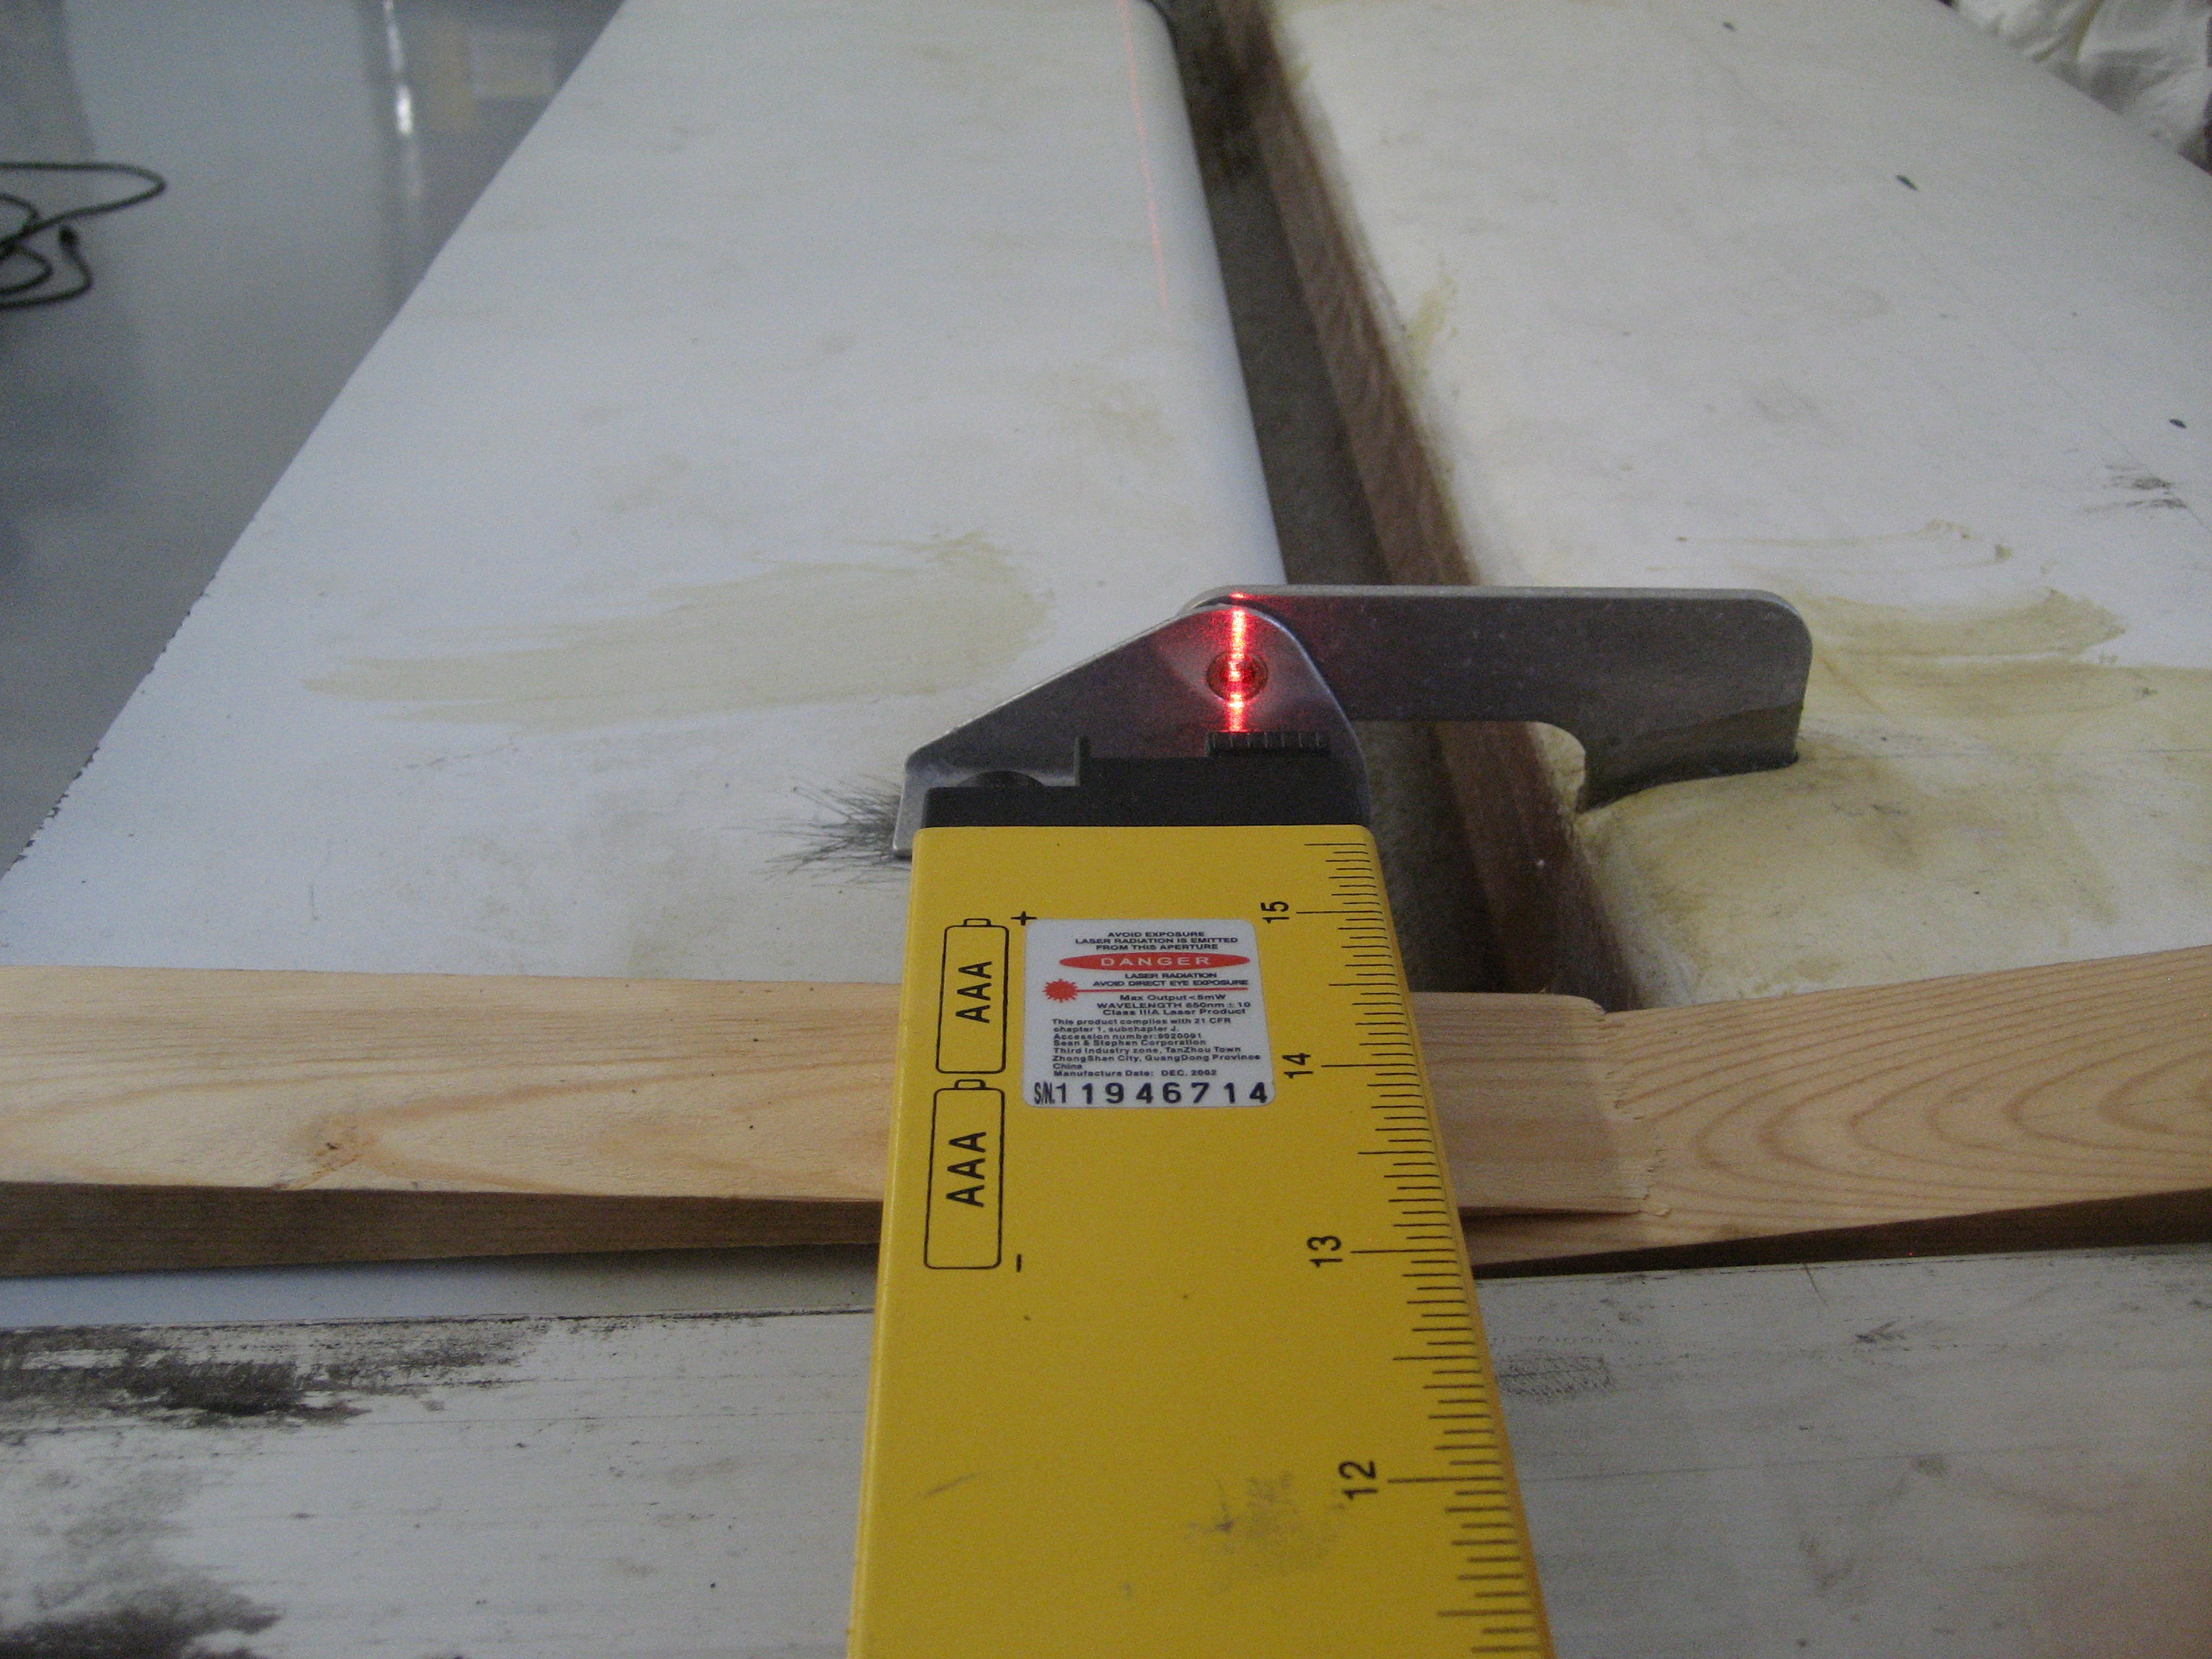
A little more to the right will have it dead-solid-perfect.
Once it’s in position, I drilled through the elevator and torque tube. Then put in the screw and nut.