- 11.1.5 – Premolded NACA Scoop Installation
- 11.1.5 – Premolded NACA Scoop Installation
- 11.1.5 NACA Duct modification
- 11.1 Engine Cowl Mod
- 11.1 Engine Cowl Mod
- 11.1 Engine Cowl Mod
- 11.1 Engine Cowl Mod
- 11.1 Engine Cowl
- 11.1.6 Oil Access Door
- 11.2.2 Counterweight Fairings
- 11.1.5 Premolded NACA Duct Installation
- 11.2.1 Canard Tip Installation
- 11.2.2 Elevator Counterweight Fairings
- 11.1.3 Upper Cowl Wing Flange
- 11.1.99 Cowling Baffle Treatment
- 11.1.2 Cowling attach mod
- 11.1.8 Cowling Attachments
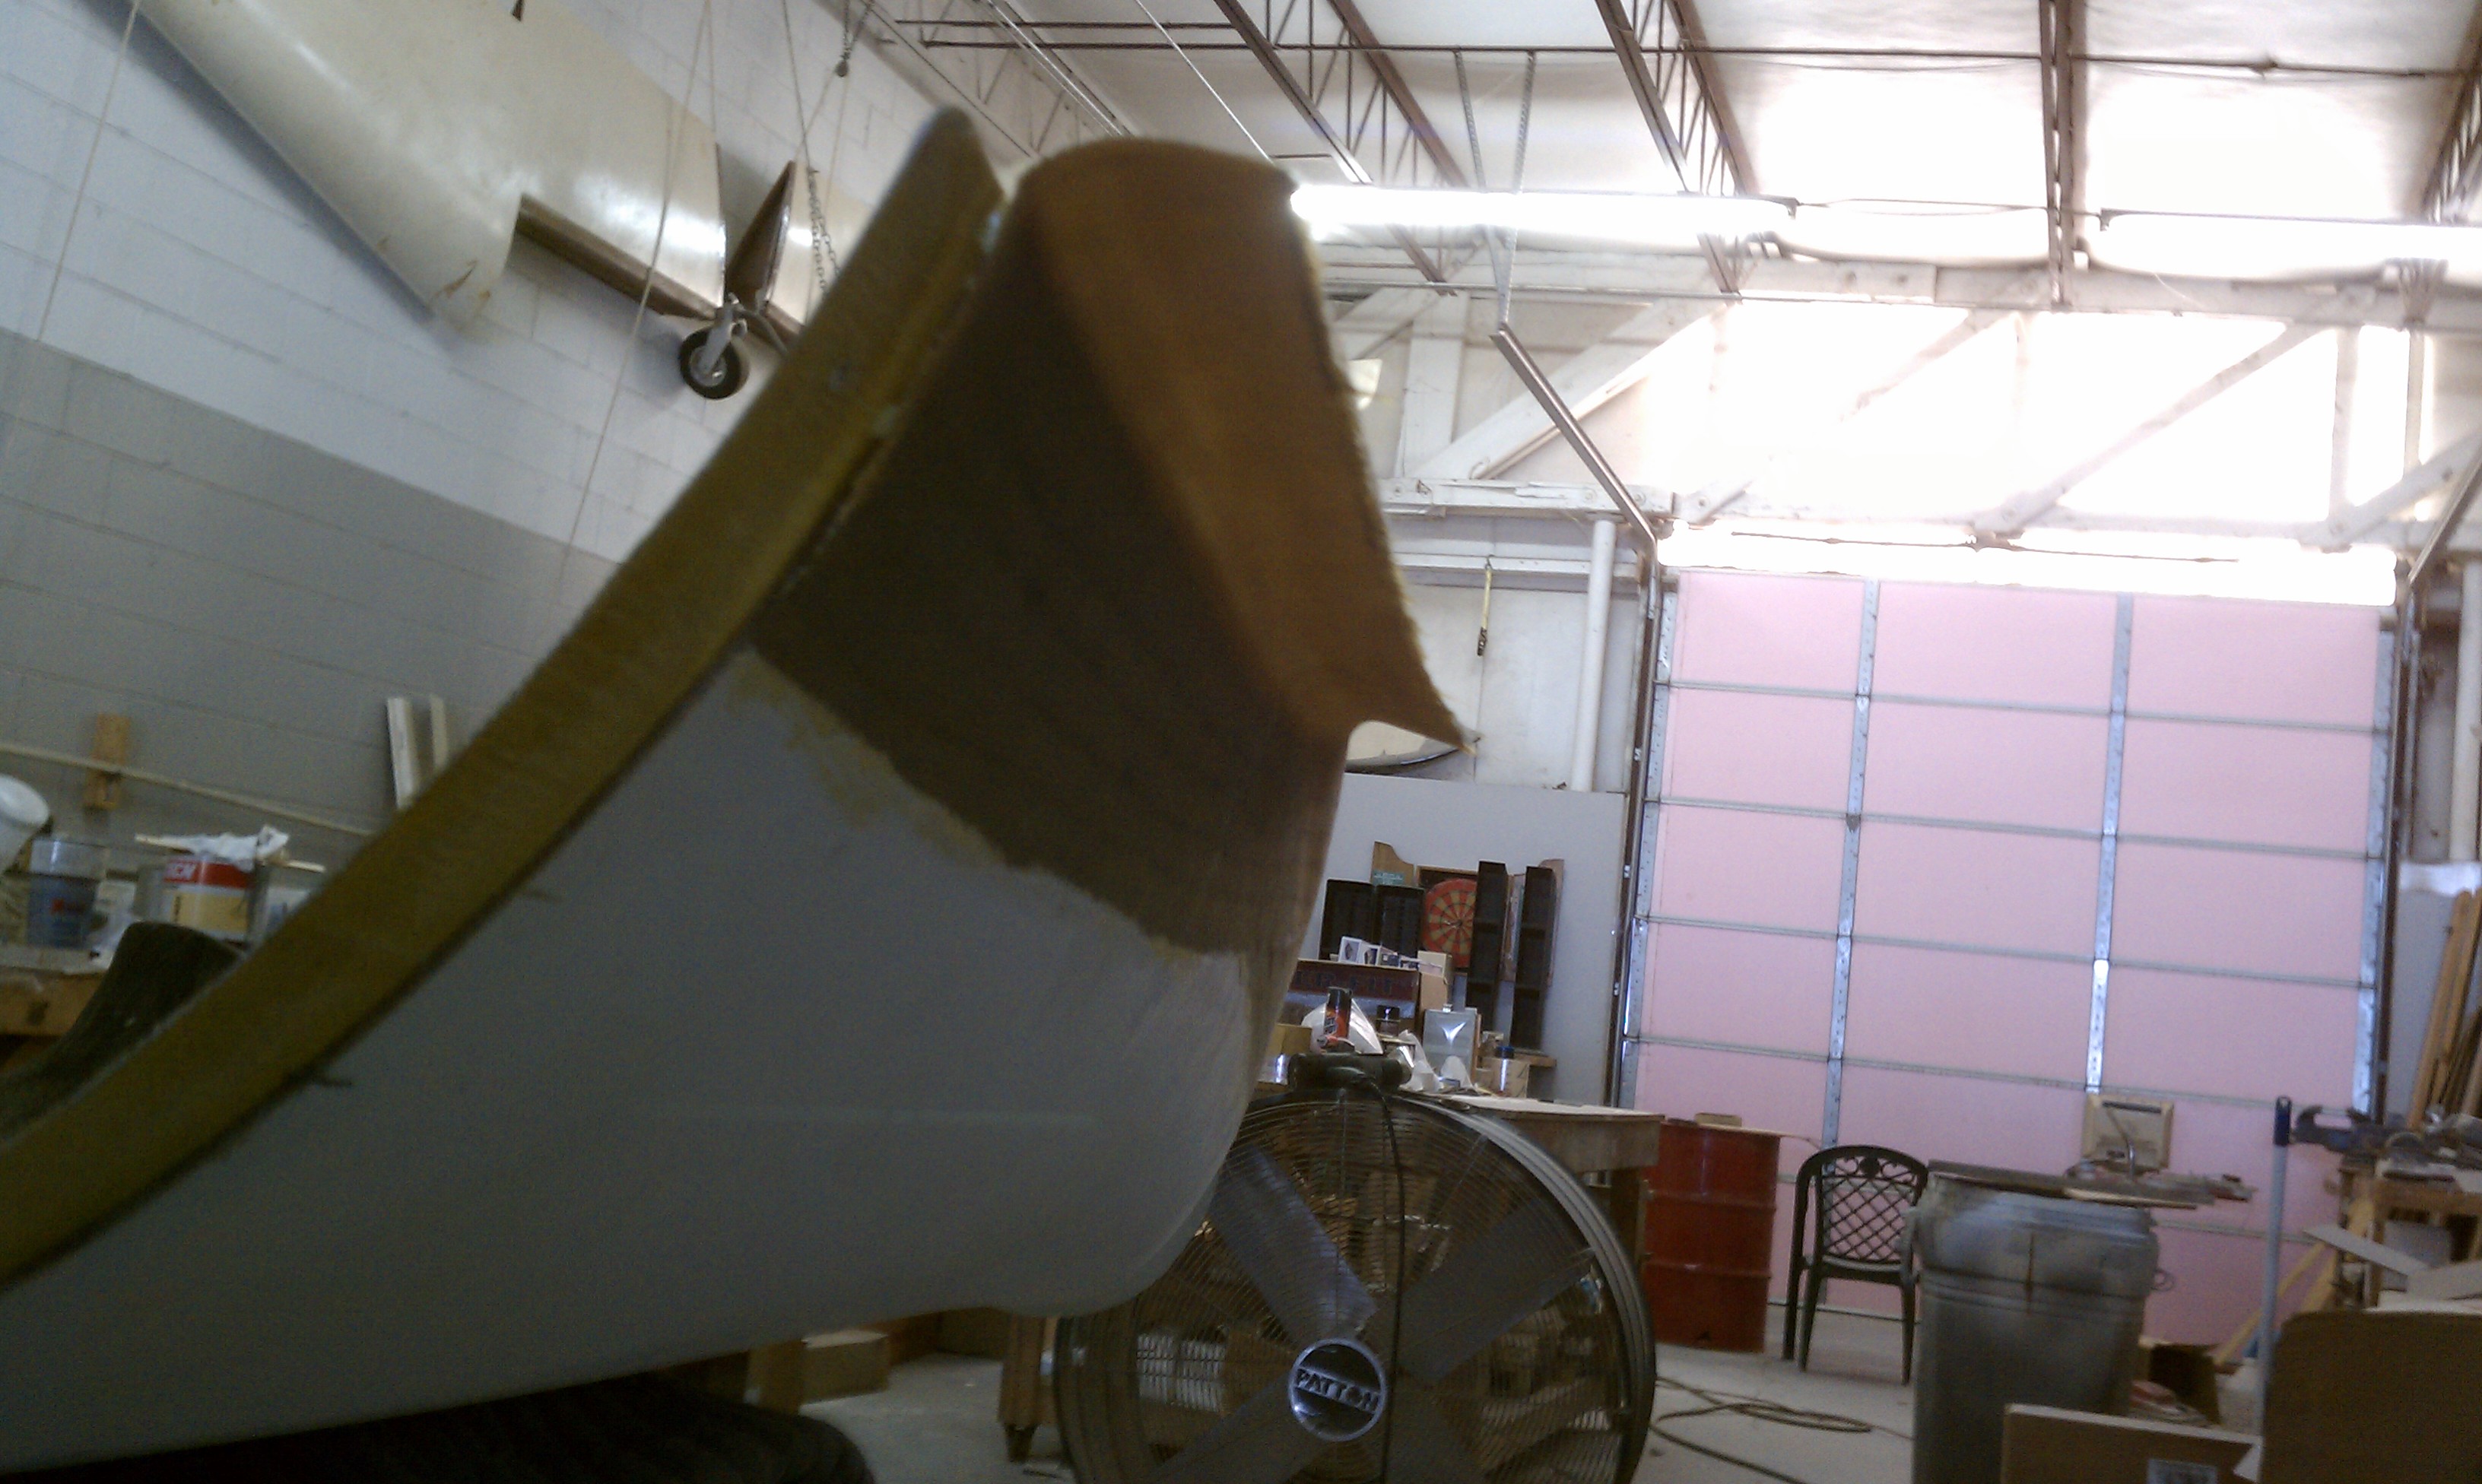
Before starting on the top of the wings, the upper engine cowl to wing root flange has to be created (The bottom was done when the plane was upside down).
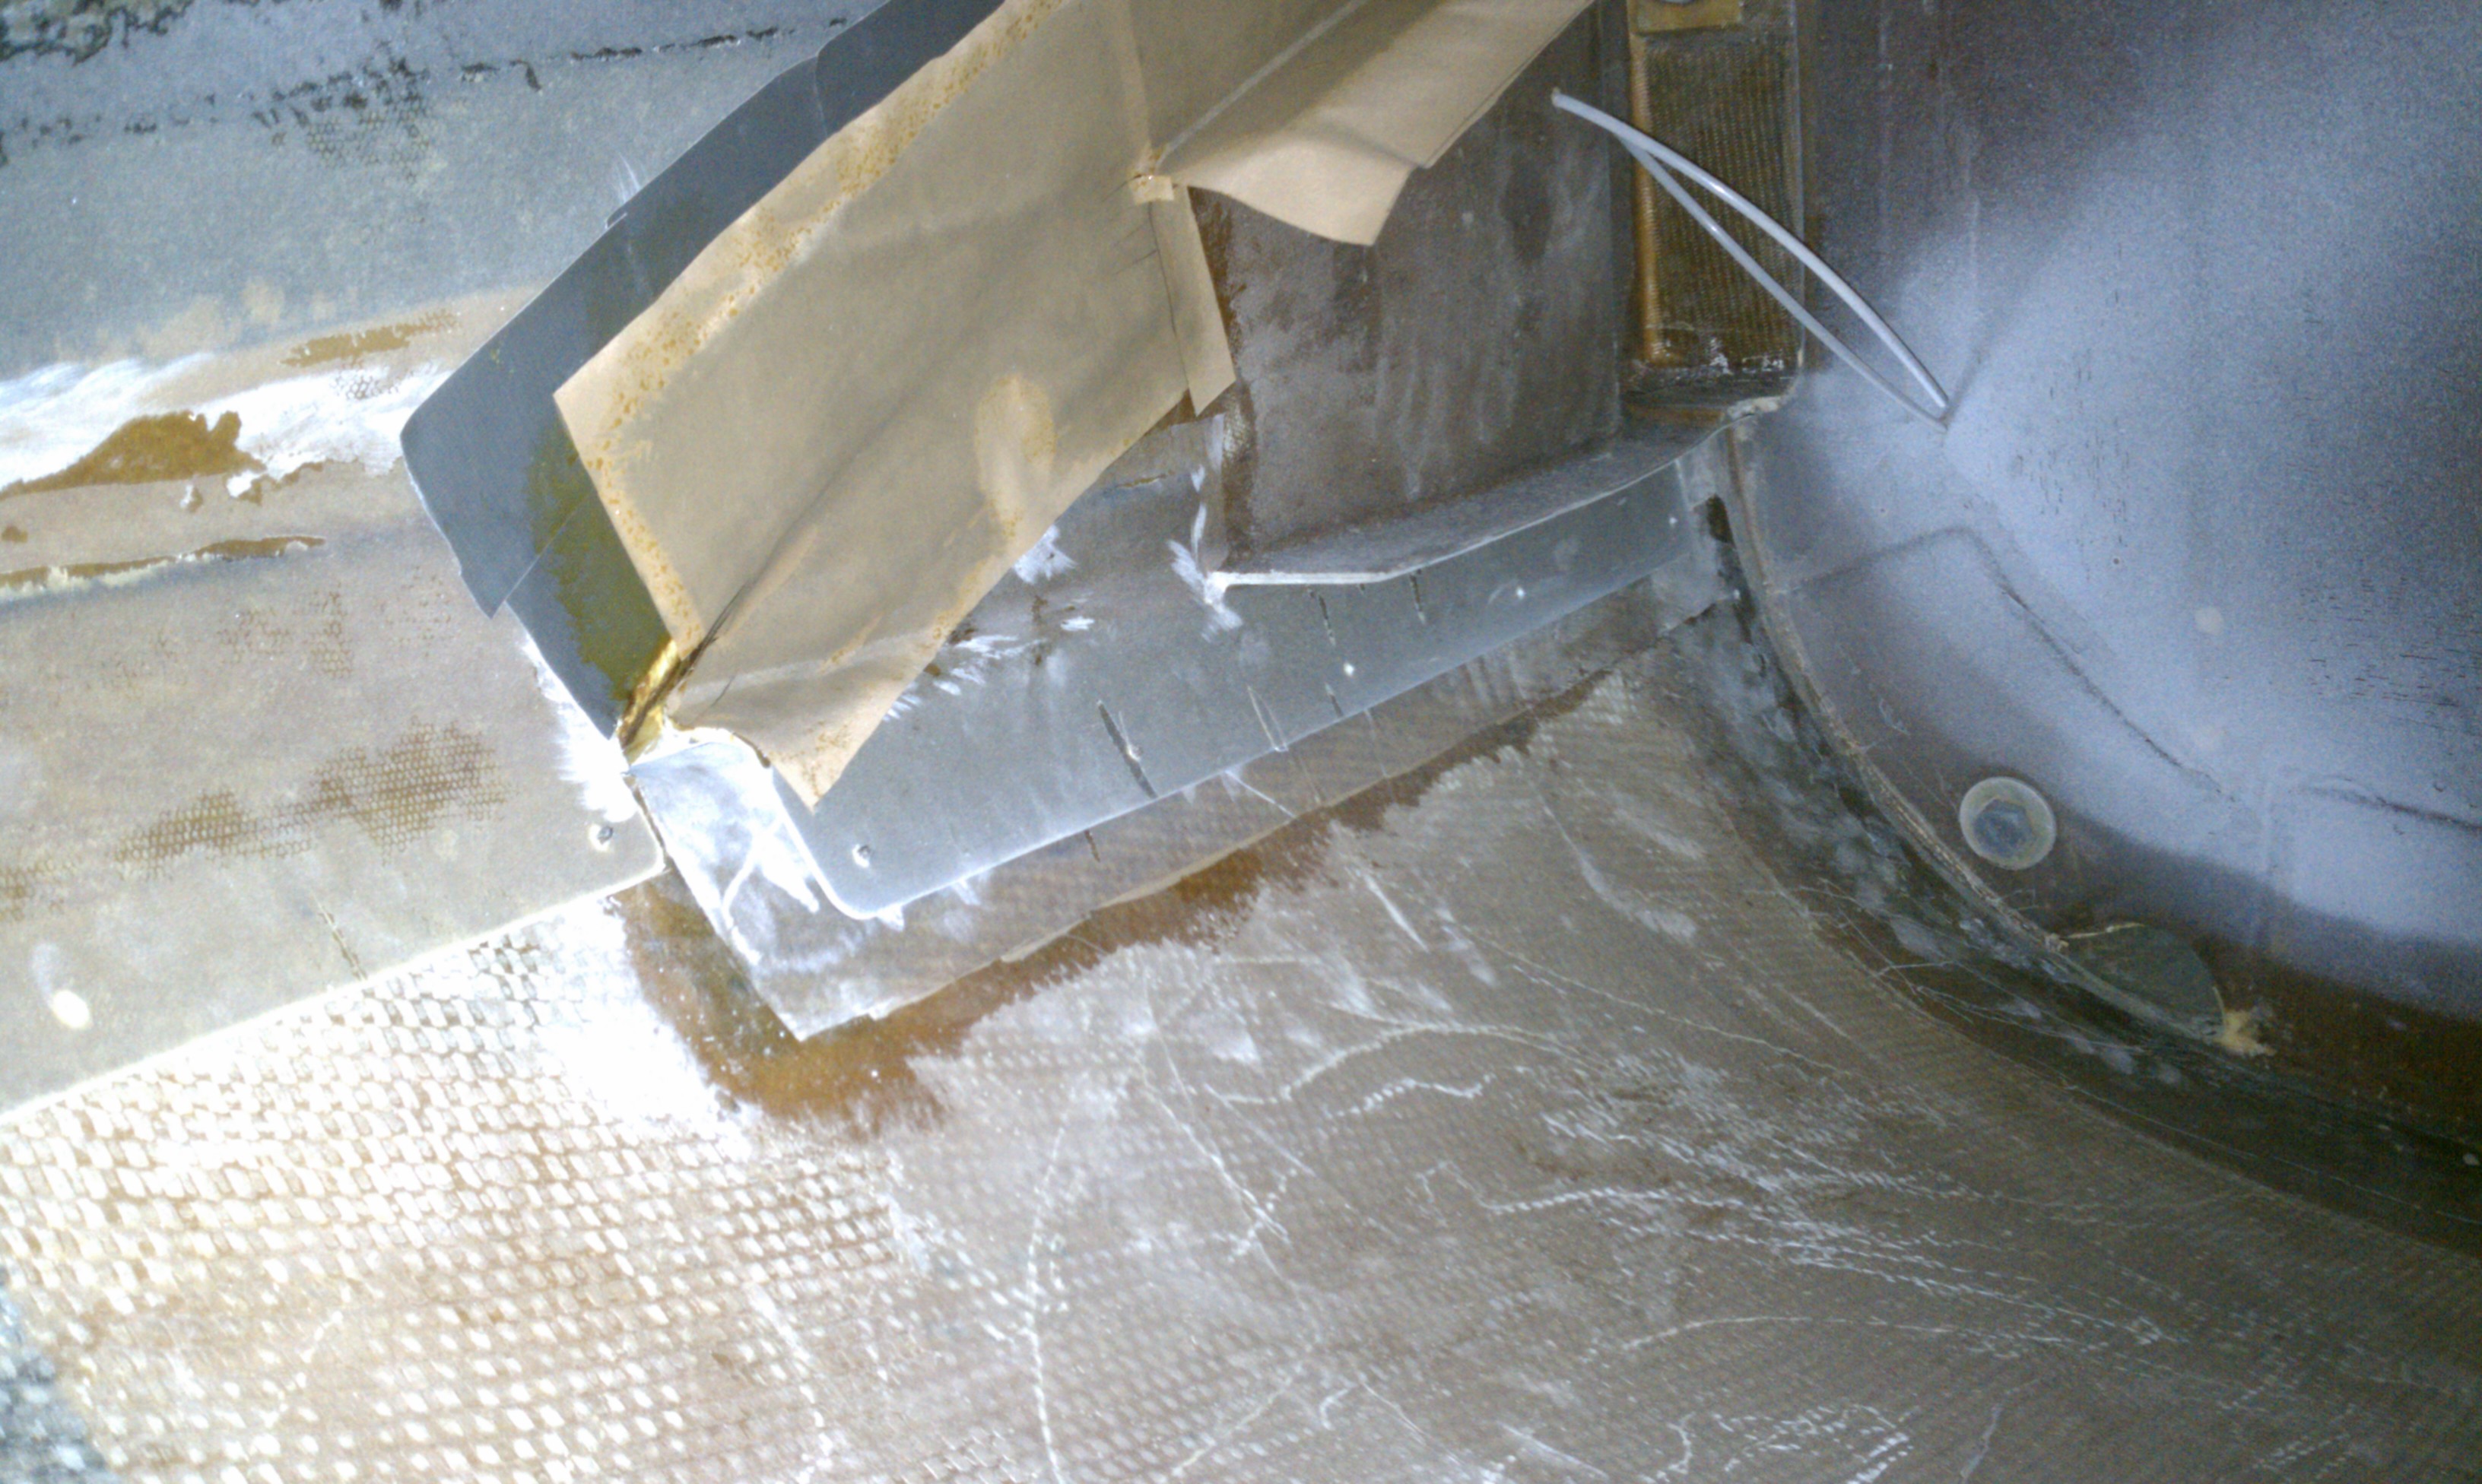
With the wings attached and the upper engine cowl mounted, duct tape is applied to the inside of the cowl so the layups won’t stick to the cowl. Then the layups are applied to the wingroot and extend up on the cowl.
Here’s a picture looking at the right wingroot from inside the engine cowl. The layups are covered with peel-ply and you can see the duct tape on cowl.
And for the left side
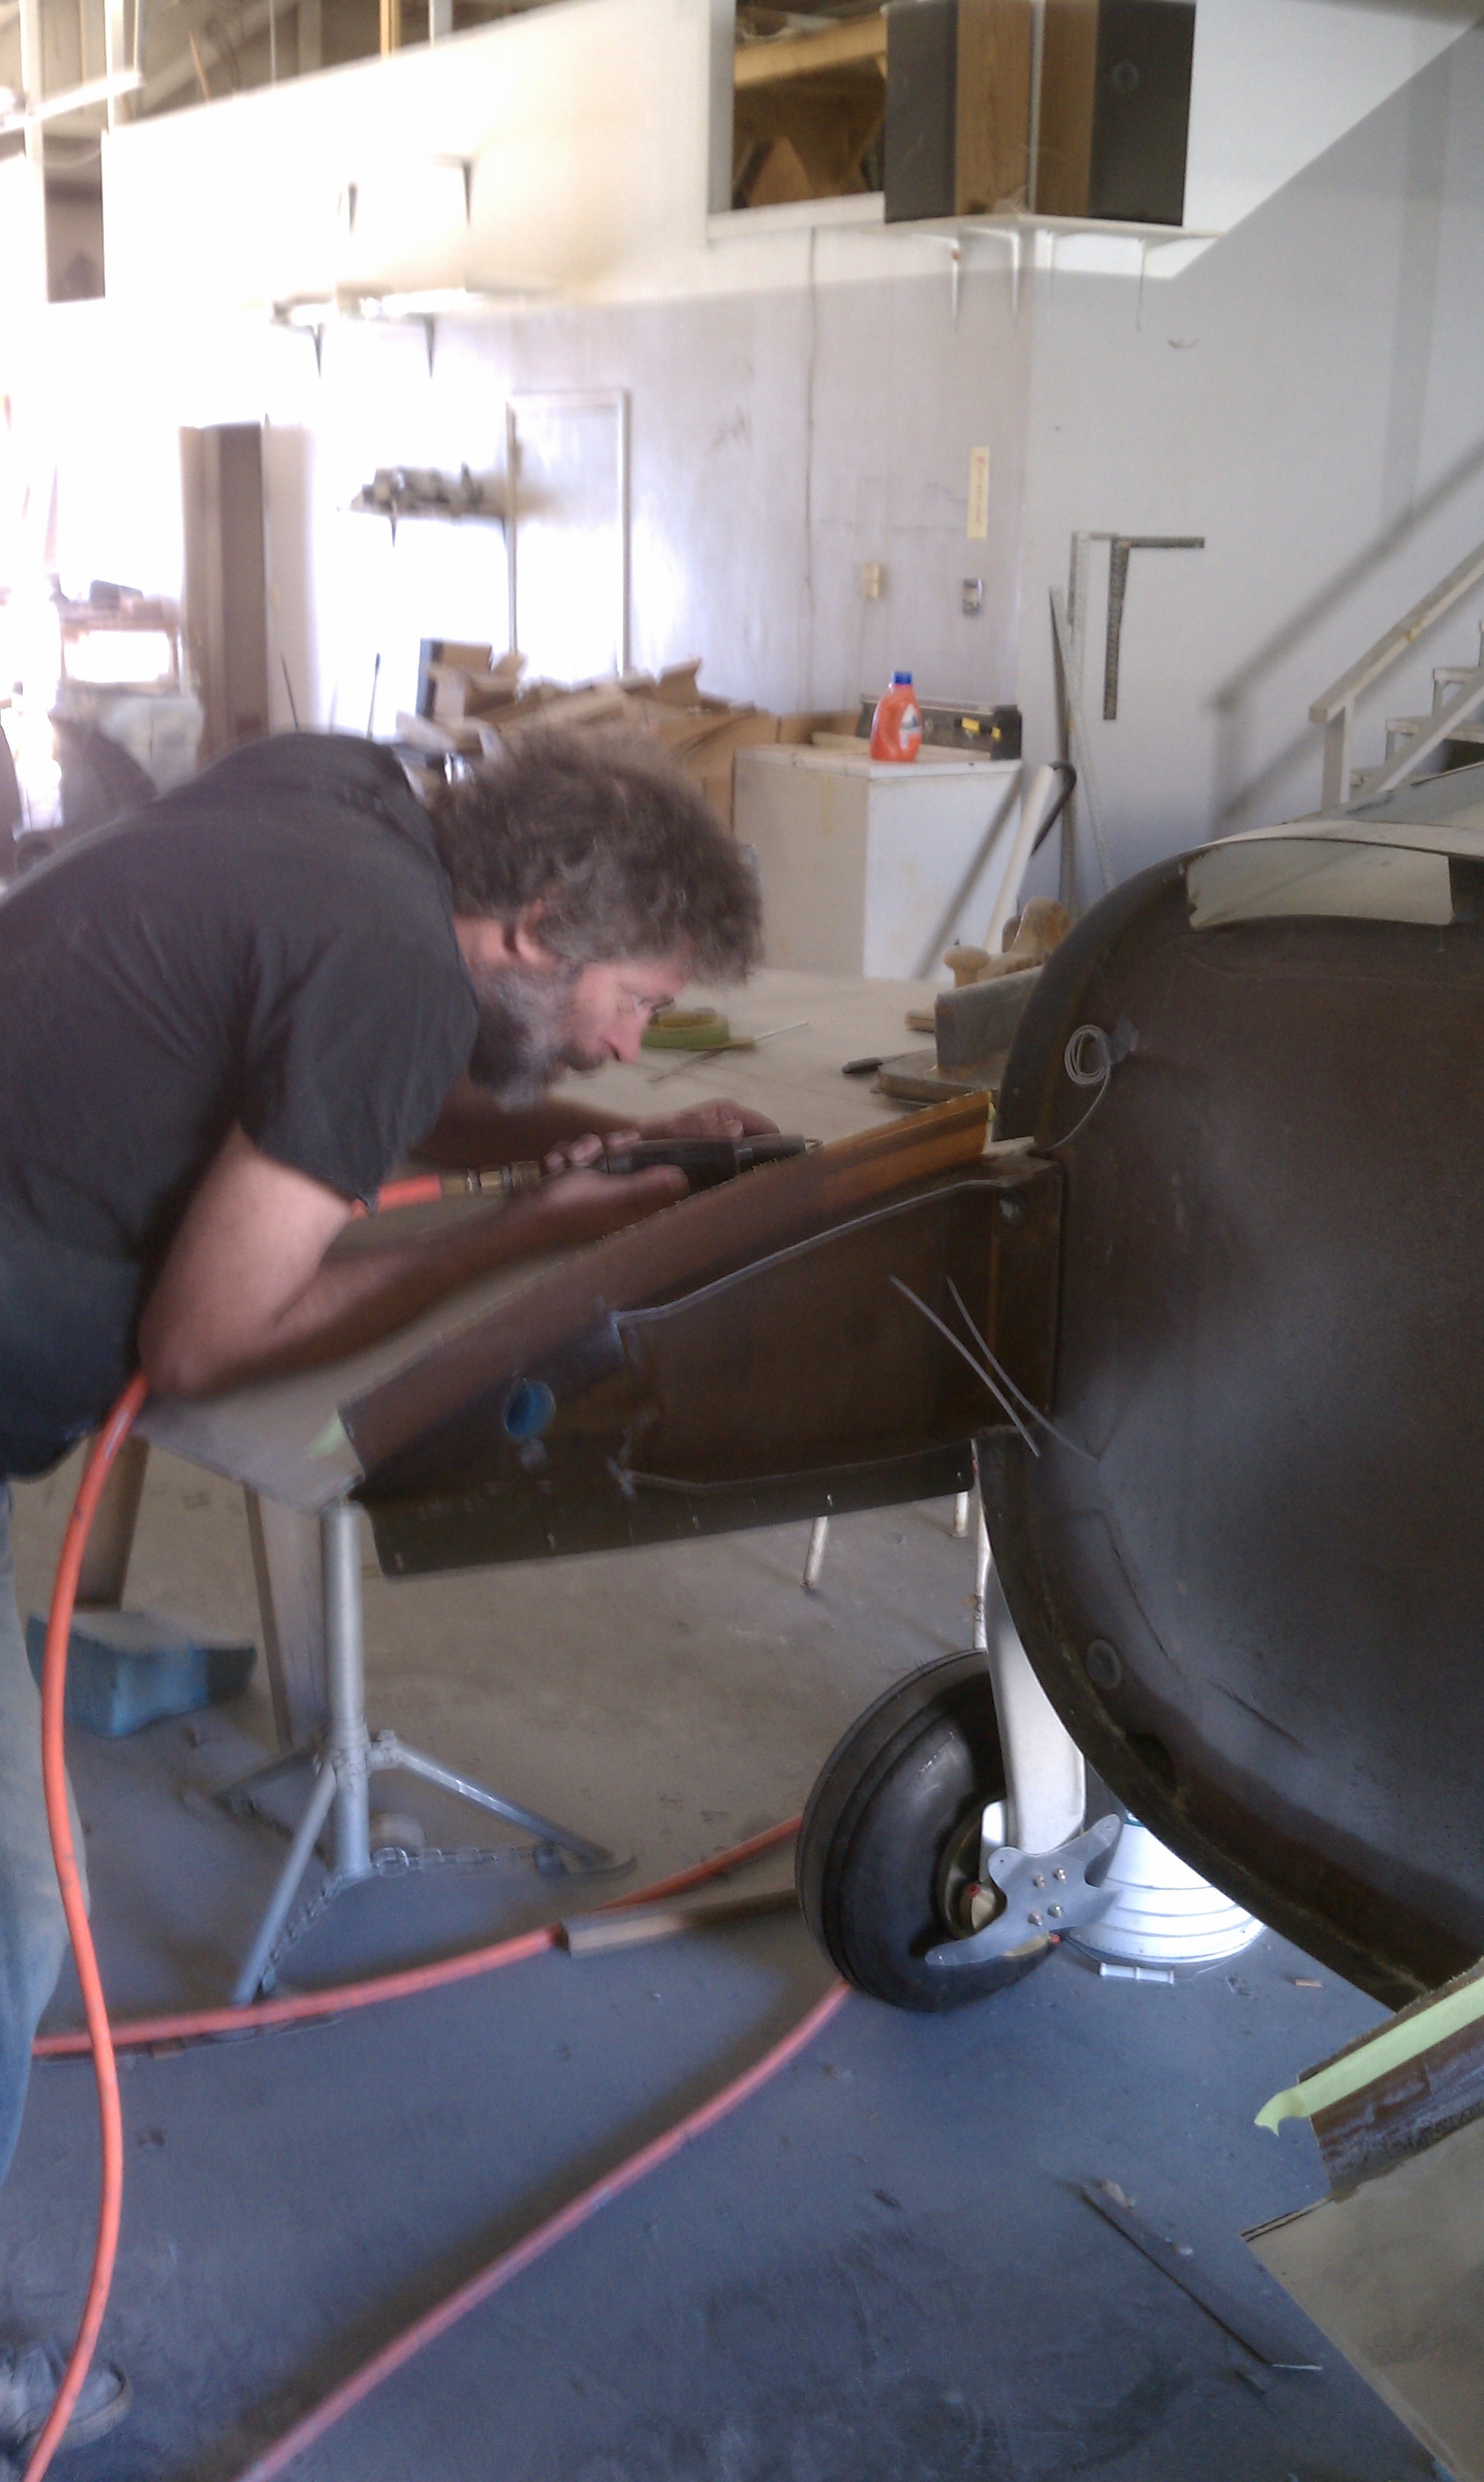
Once the layups cure, the cowling is removed and the newly created flange is trimmed.
This is Malcolm trimming the flange on the left wing.
Finished flange on the right side.

Once the cowling flange was cured and cut, we put the cowling back on and created a flange on the outside. This flange will lay on top of the wing. We were working pretty quick and I didn’t get a picture until it was cured and we had removed the cowling but the process is the same as for the lower cowling flange.
This is a picture of the flange on one side of the cowling (the cowling is upside down).