
- 11.1.5 – Premolded NACA Scoop Installation
- 11.1.5 – Premolded NACA Scoop Installation
- 11.1.5 NACA Duct modification
- 11.1 Engine Cowl Mod
- 11.1 Engine Cowl Mod
- 11.1 Engine Cowl Mod
- 11.1 Engine Cowl Mod
- 11.1 Engine Cowl
- 11.1.6 Oil Access Door
- 11.2.2 Counterweight Fairings
- 11.1.5 Premolded NACA Duct Installation
- 11.2.1 Canard Tip Installation
- 11.2.2 Elevator Counterweight Fairings
- 11.1.3 Upper Cowl Wing Flange
- 11.1.99 Cowling Baffle Treatment
- 11.1.2 Cowling attach mod
- 11.1.8 Cowling Attachments
I used the cowling to the fuselage attachment method described in the book. I thought about using approaches that other builders have used but decided to just get it done.
One of the things that I wish I had done was a captive flange at the fuselage attach point instead of a bunch of screws. Since I haven’t painted yet, I could to that but so far I’ve been deferring that decision.
But I do have one place on the lower cowl that I have to deal with. When the hole were being drilled in the lower cowling, one of them ended up being directly under the electric fuel boost pump. There’s not enough room for a regular nutplate. Even a a low profile tinnerman would probably not fit.
So I decided to do a captive flange under the fuel pump. FIrst I made a spacer with a couple layers of triax and BID. This has to be the same thickness as the cowl flange. Then I cut a piece of leftover titanium that would extend aft from the firewall past the fuselage flange by about a half inch. Next I drilled four holes through the fuselage, spacer and titanium. Finally I put a film of structural adhesive between all the parts and riveted them in place.

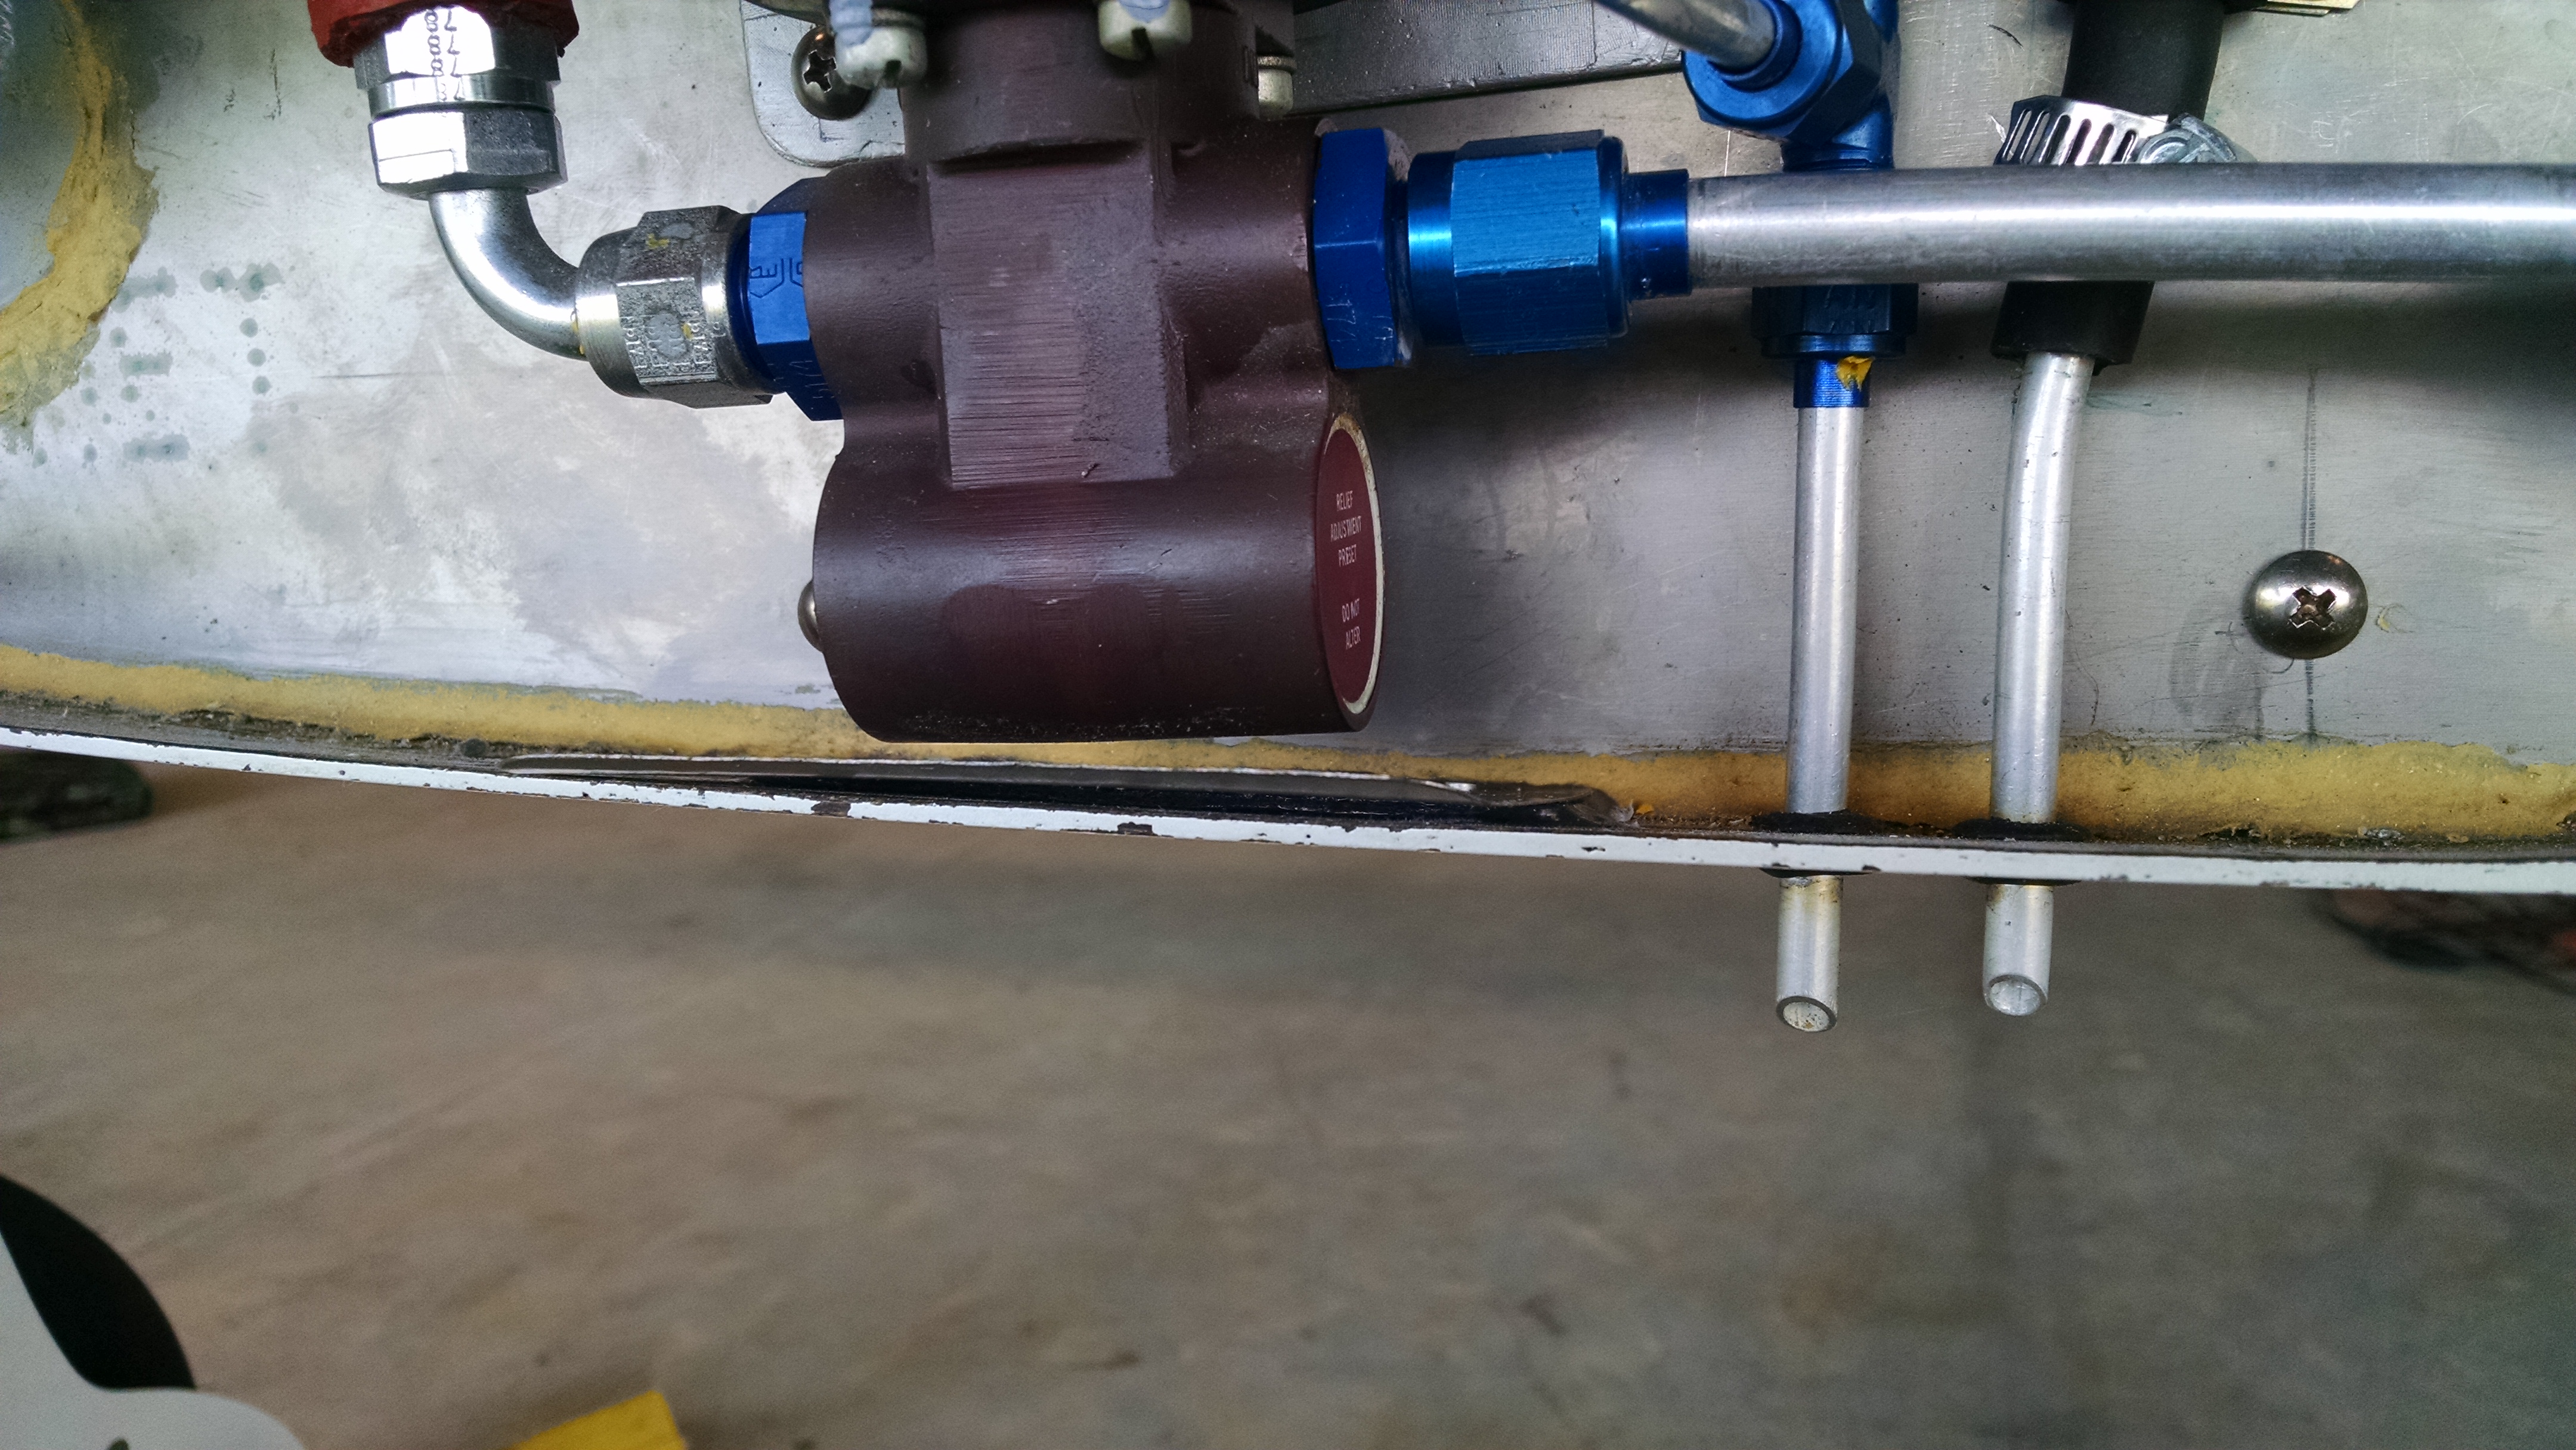
Filling the countersunk rivets will be done during paint prep in the fall.
If I like how this works, I may do this all around the fuselage/cowling attach area. Then maybe use piano hinge at the wingroot.