
- 5.5.1 Install Door Lift Gas Struts
- 5.5.1 Install Door Lift Gas Struts
- 5.5.1 Door Lift Gas Struts
- 5.5.1 Door lift gas struts
- 5.5.1 Install Door Lift Gas Struts
- 5.2.4 Door Hinge Installation (Modification)
- 5.2.3 Door Opening
- 5.3 Door Latch Micro Switches
- 5.3.1 Door Latches
- 5.5 Strake Extension Cutout
- 5.2 Correcting Door Fit
- 5.2.3 Door Fit (Improving)
- 5.3.6 Door Pin Sleeves
- 5.2.2 Door openings
- 5.1.4 Window Scratches
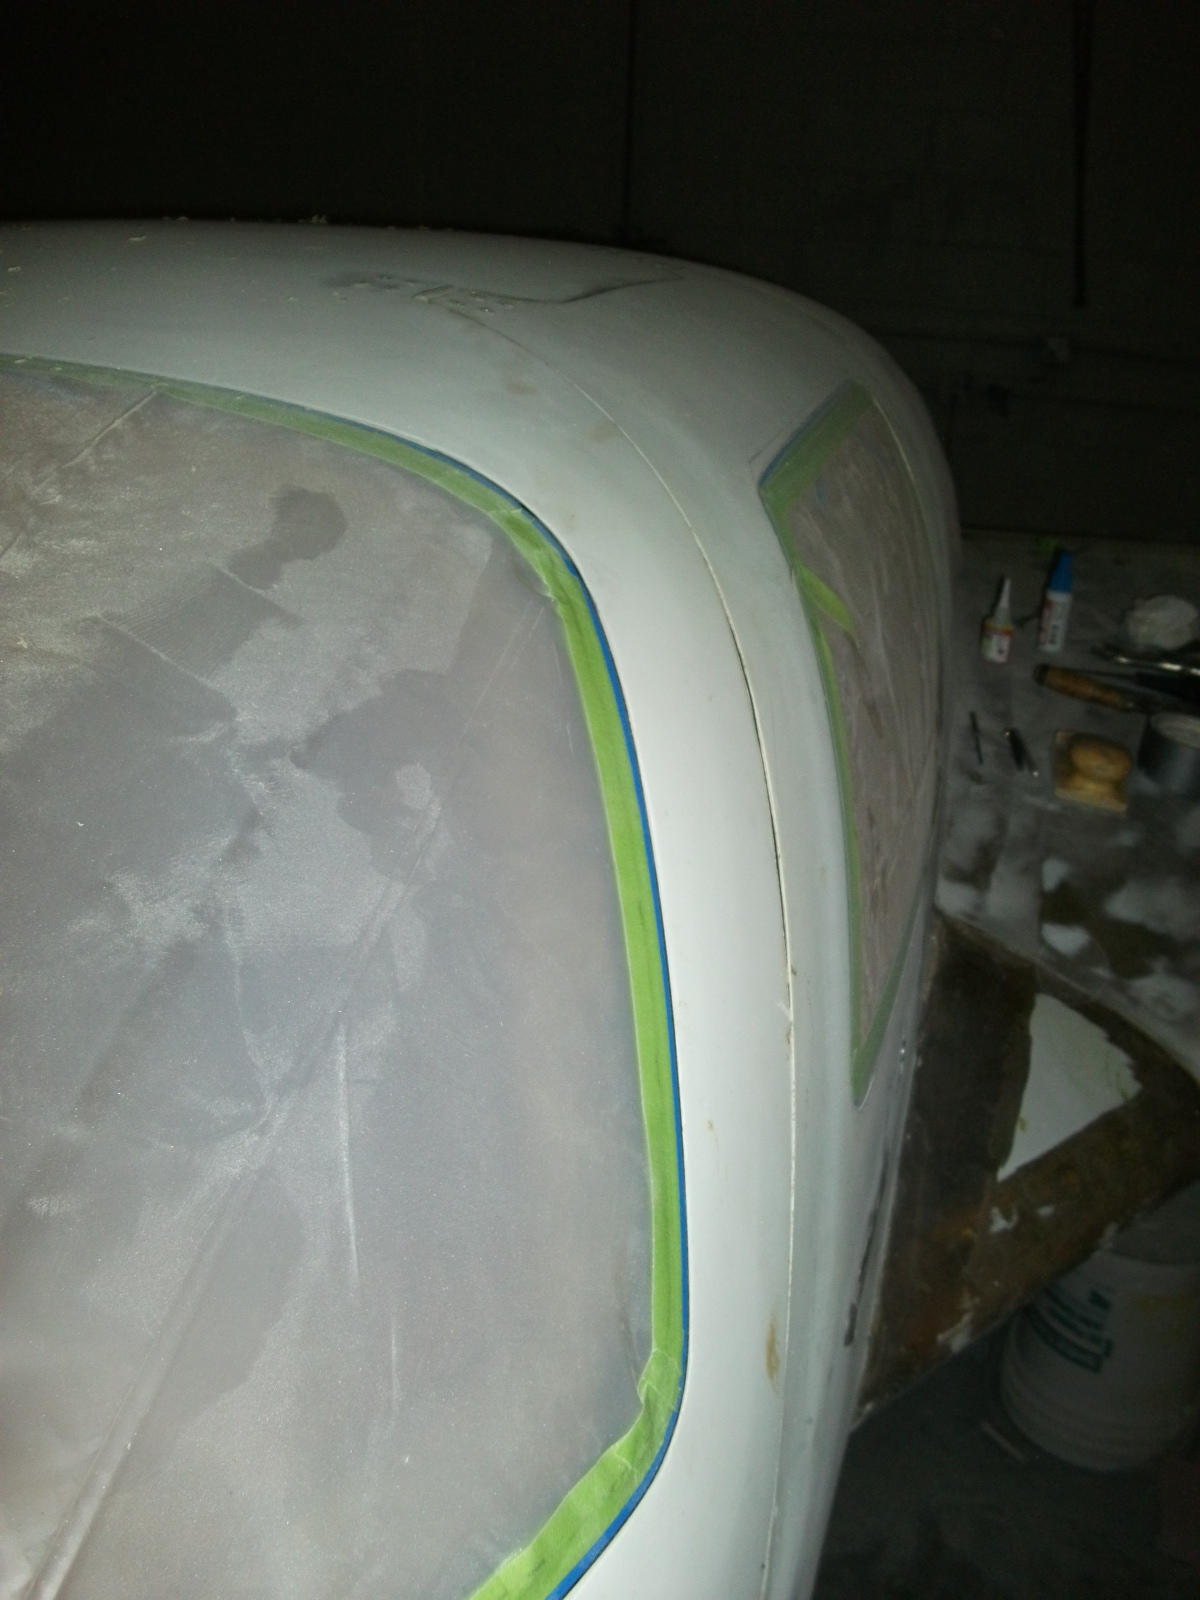
- 5.6 Improving door fit
|
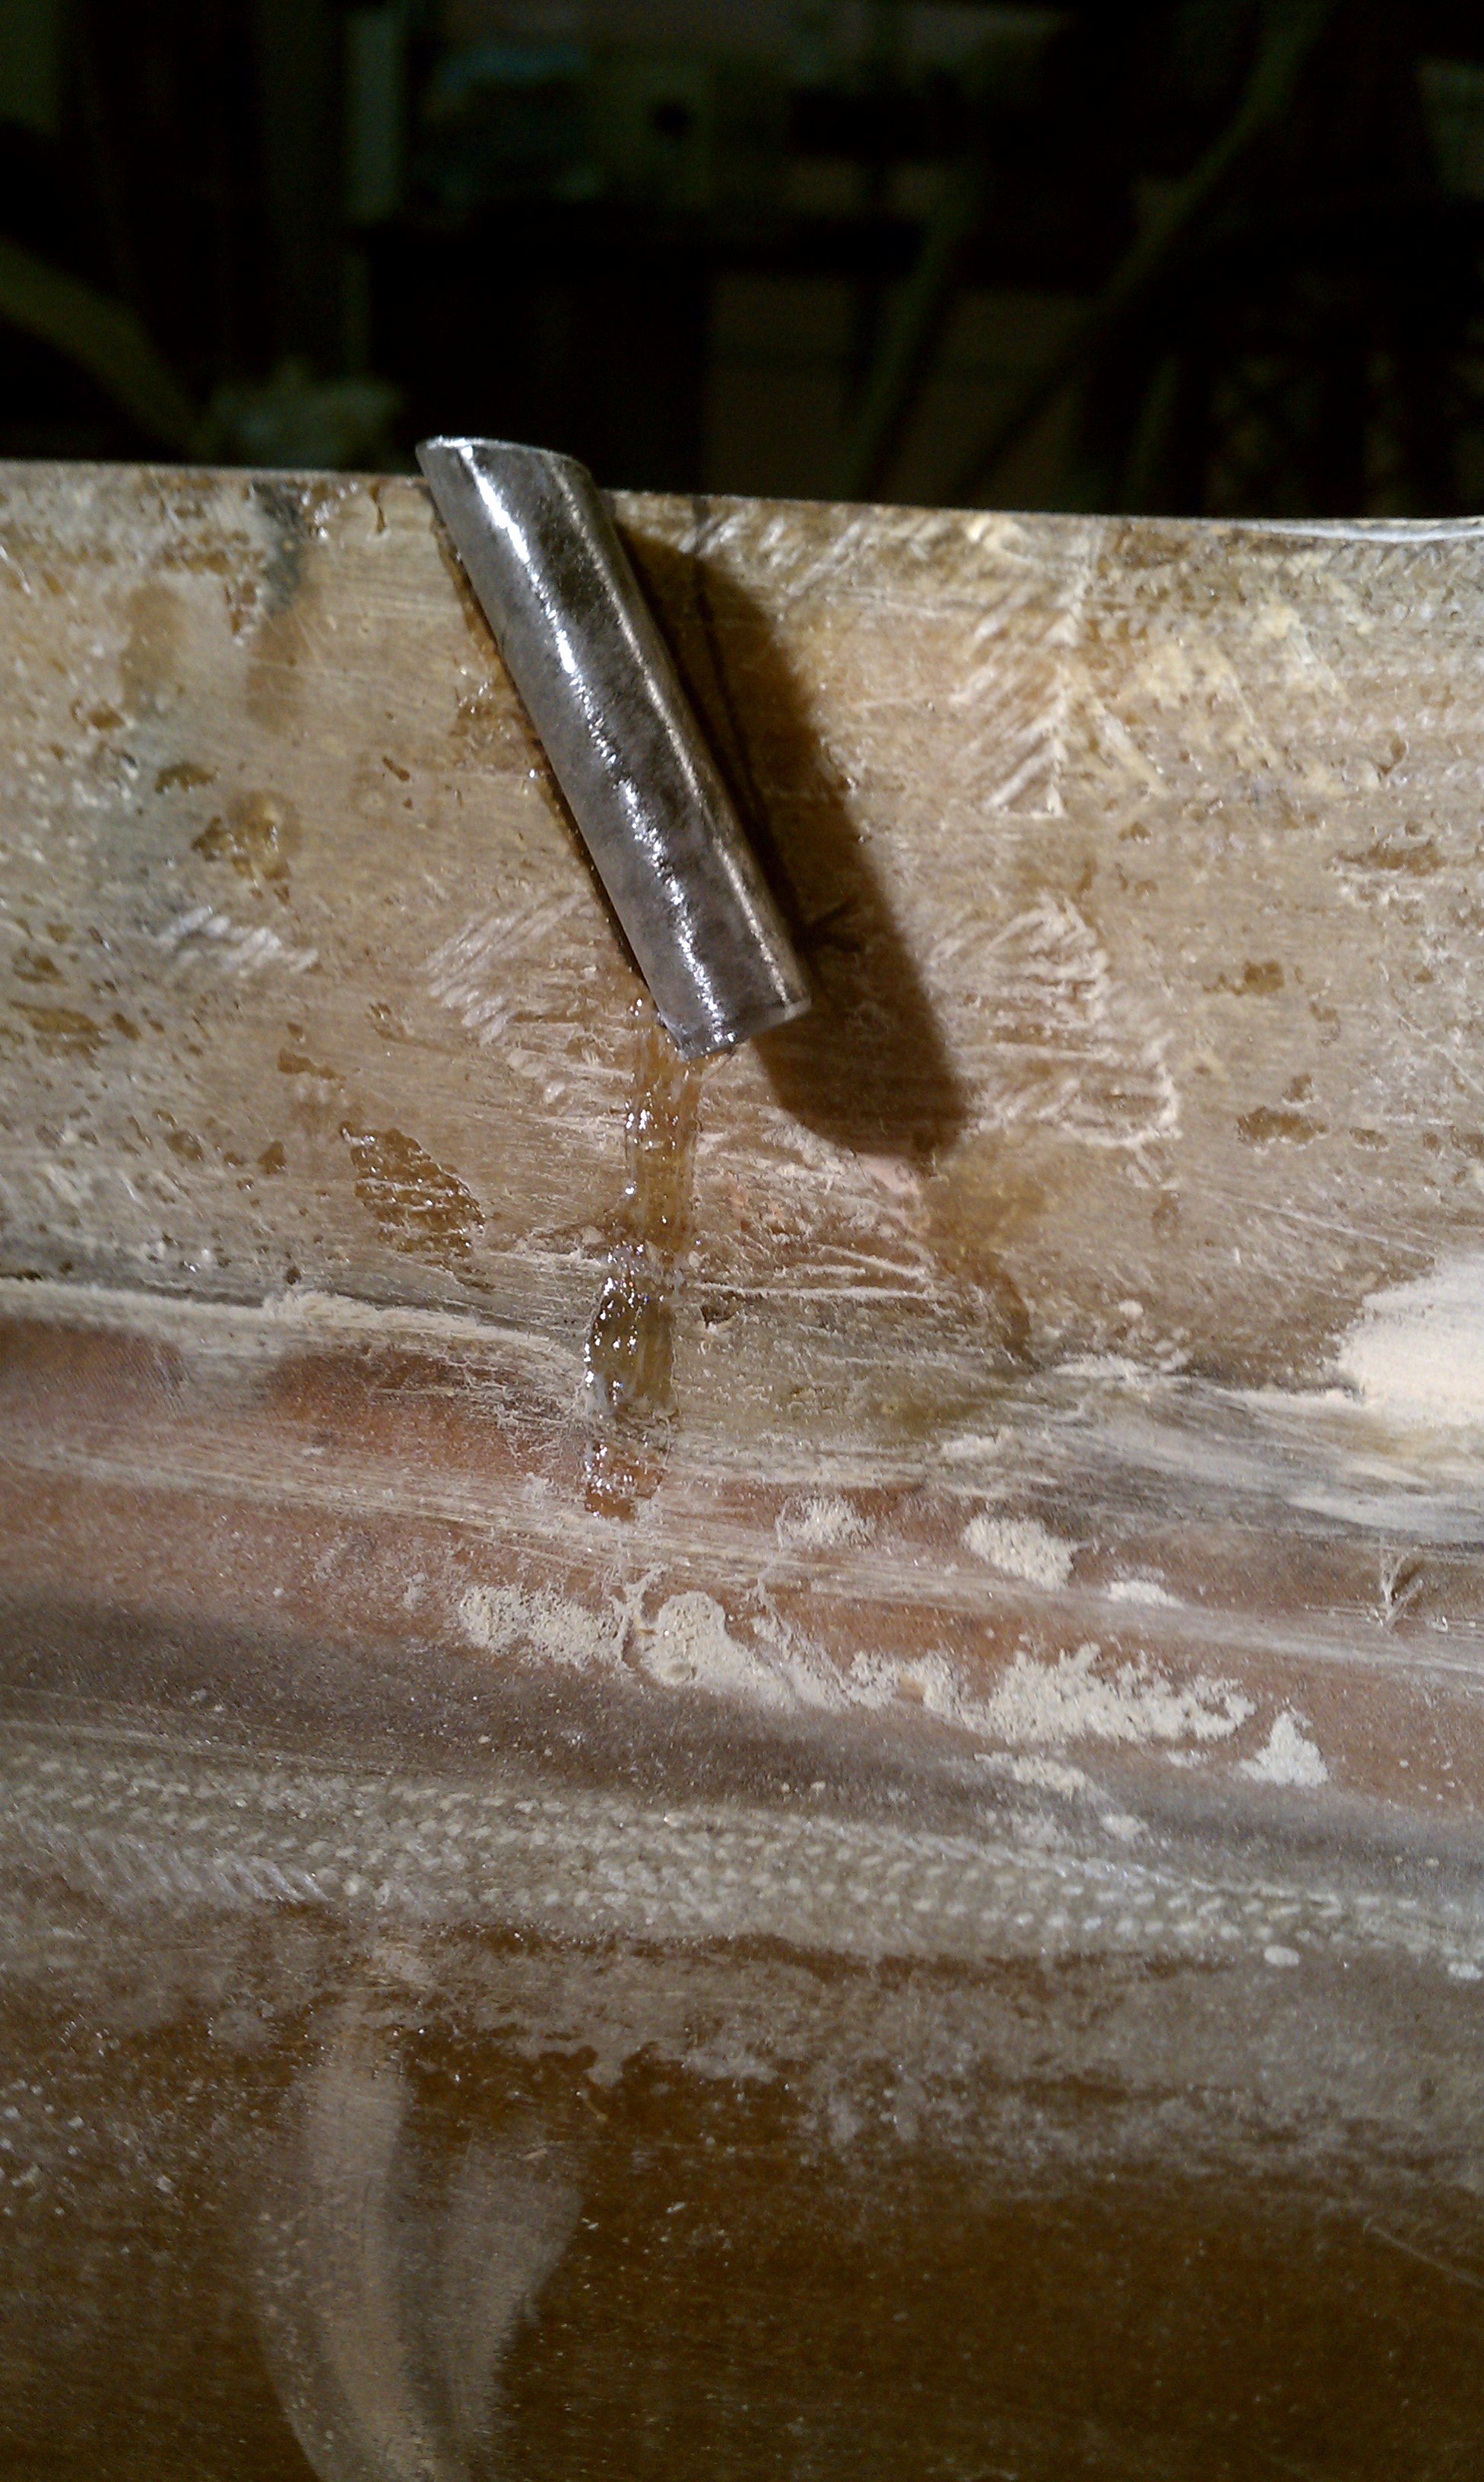
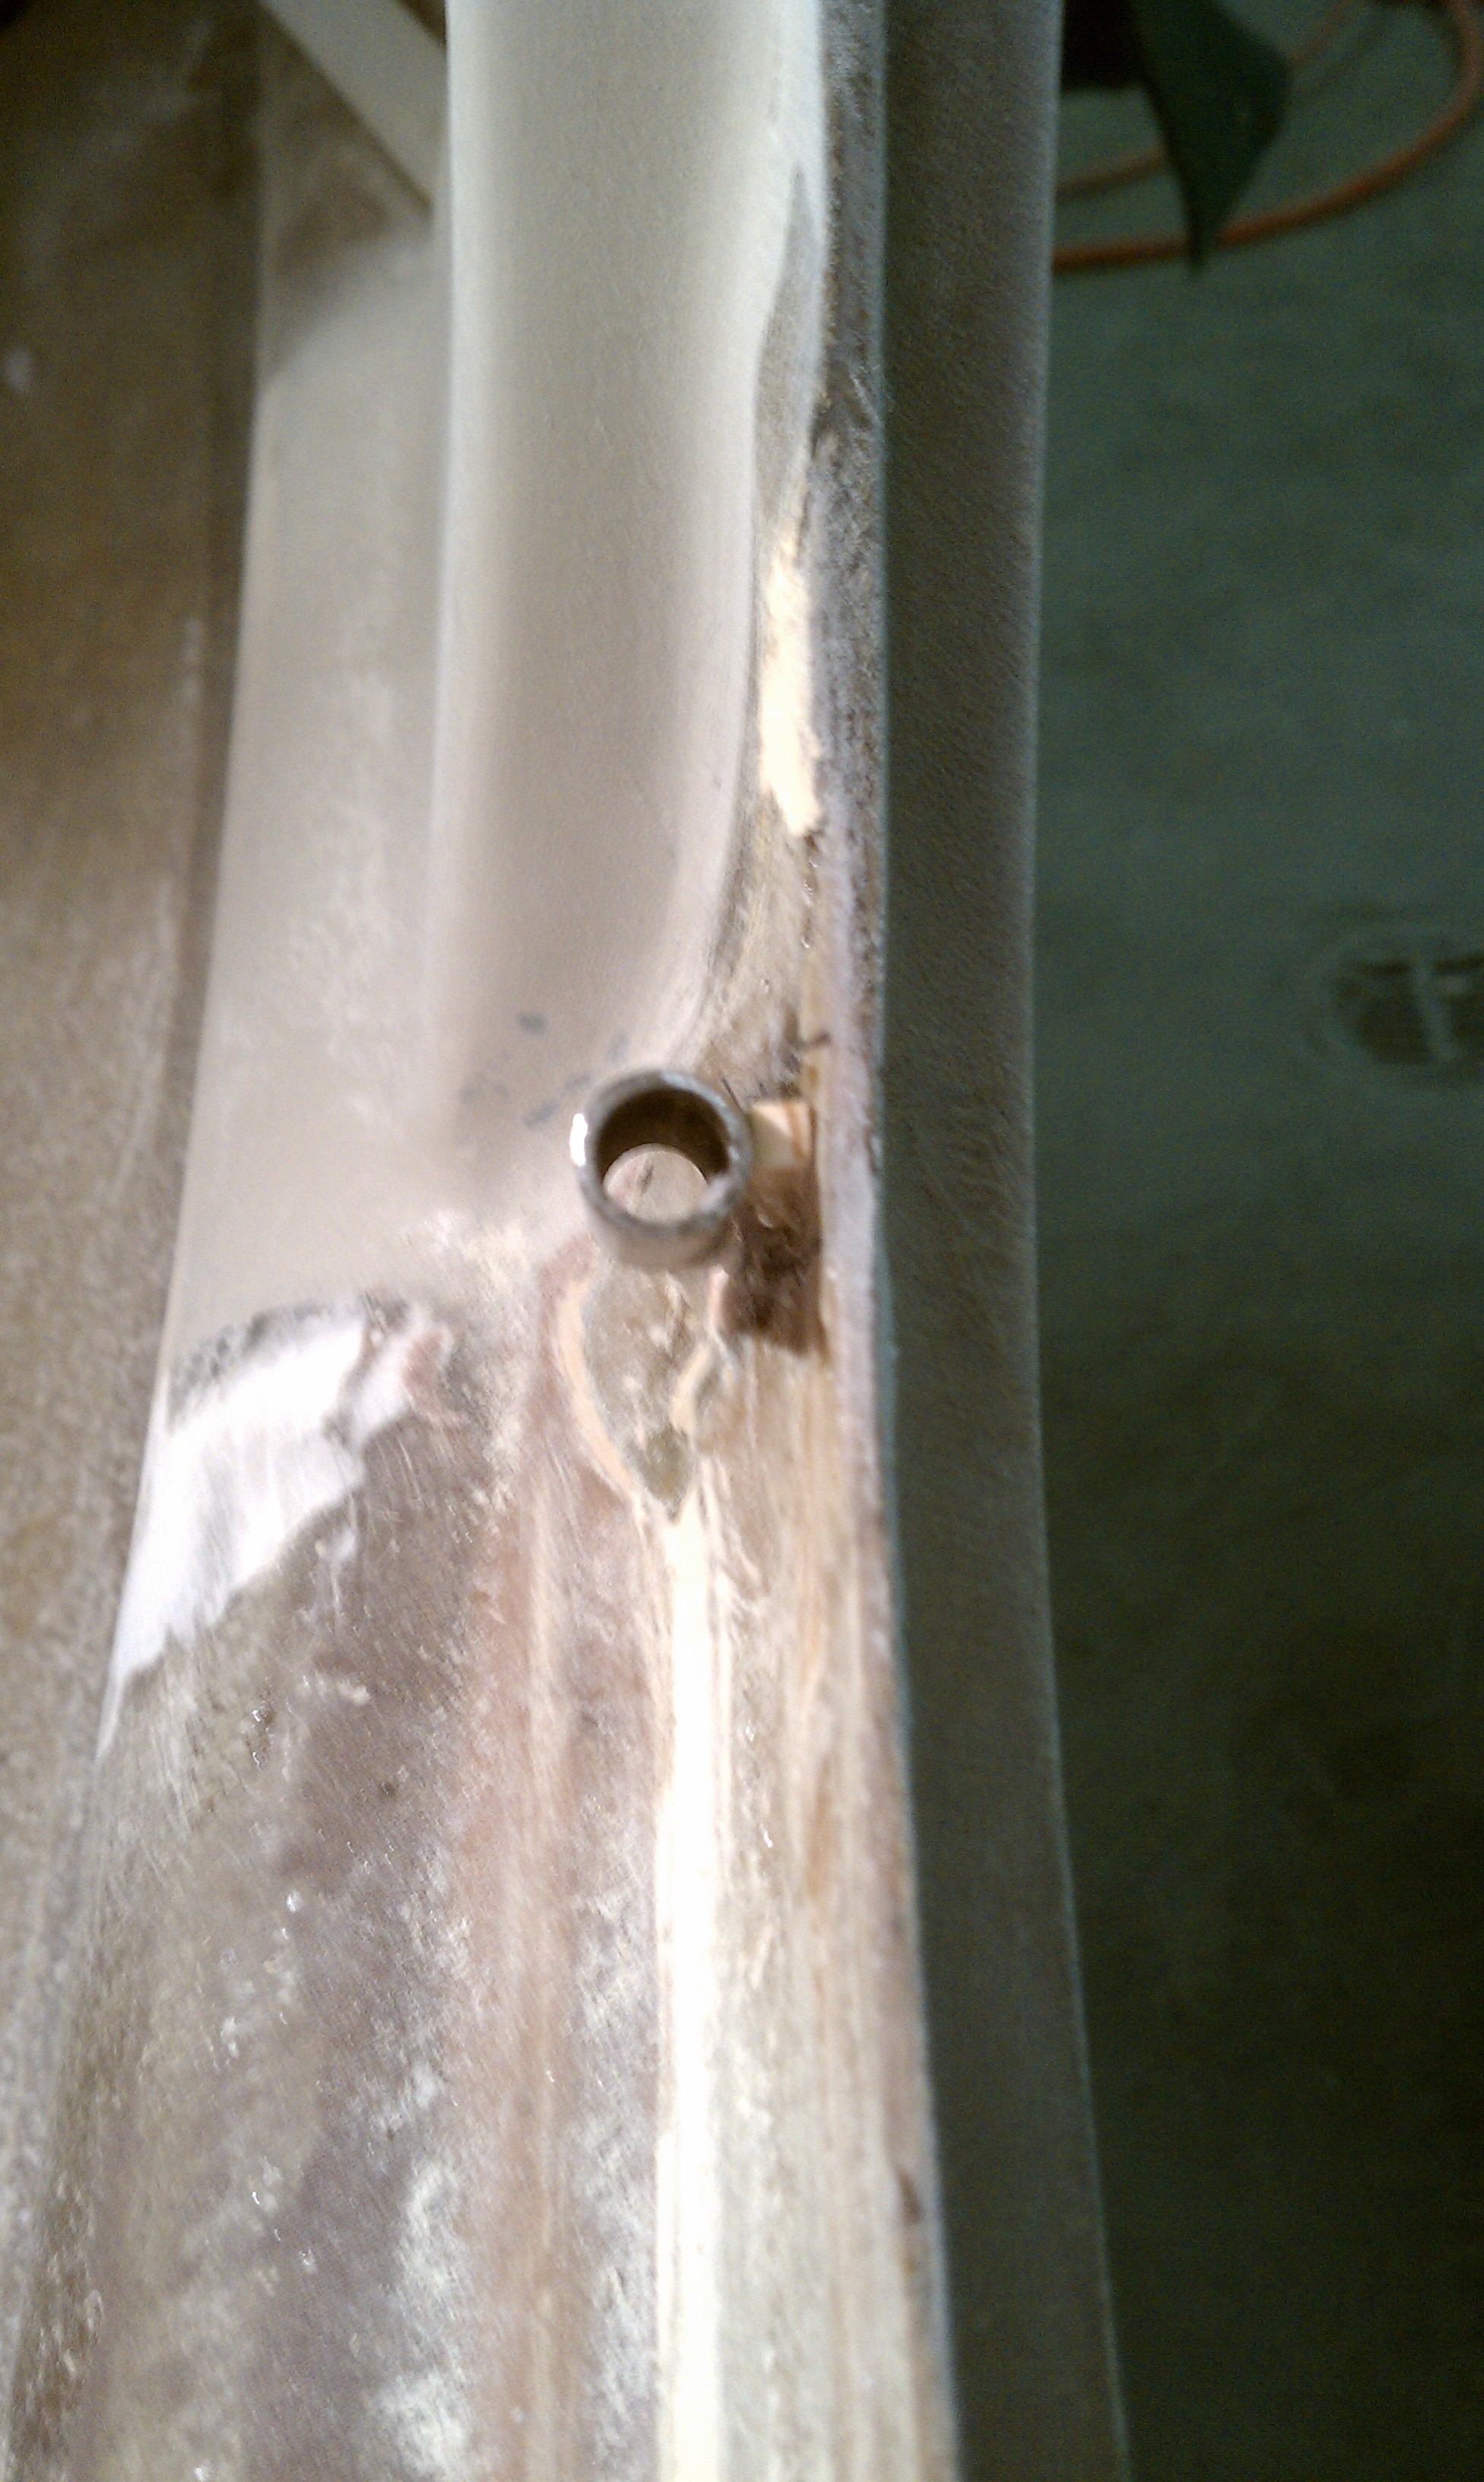
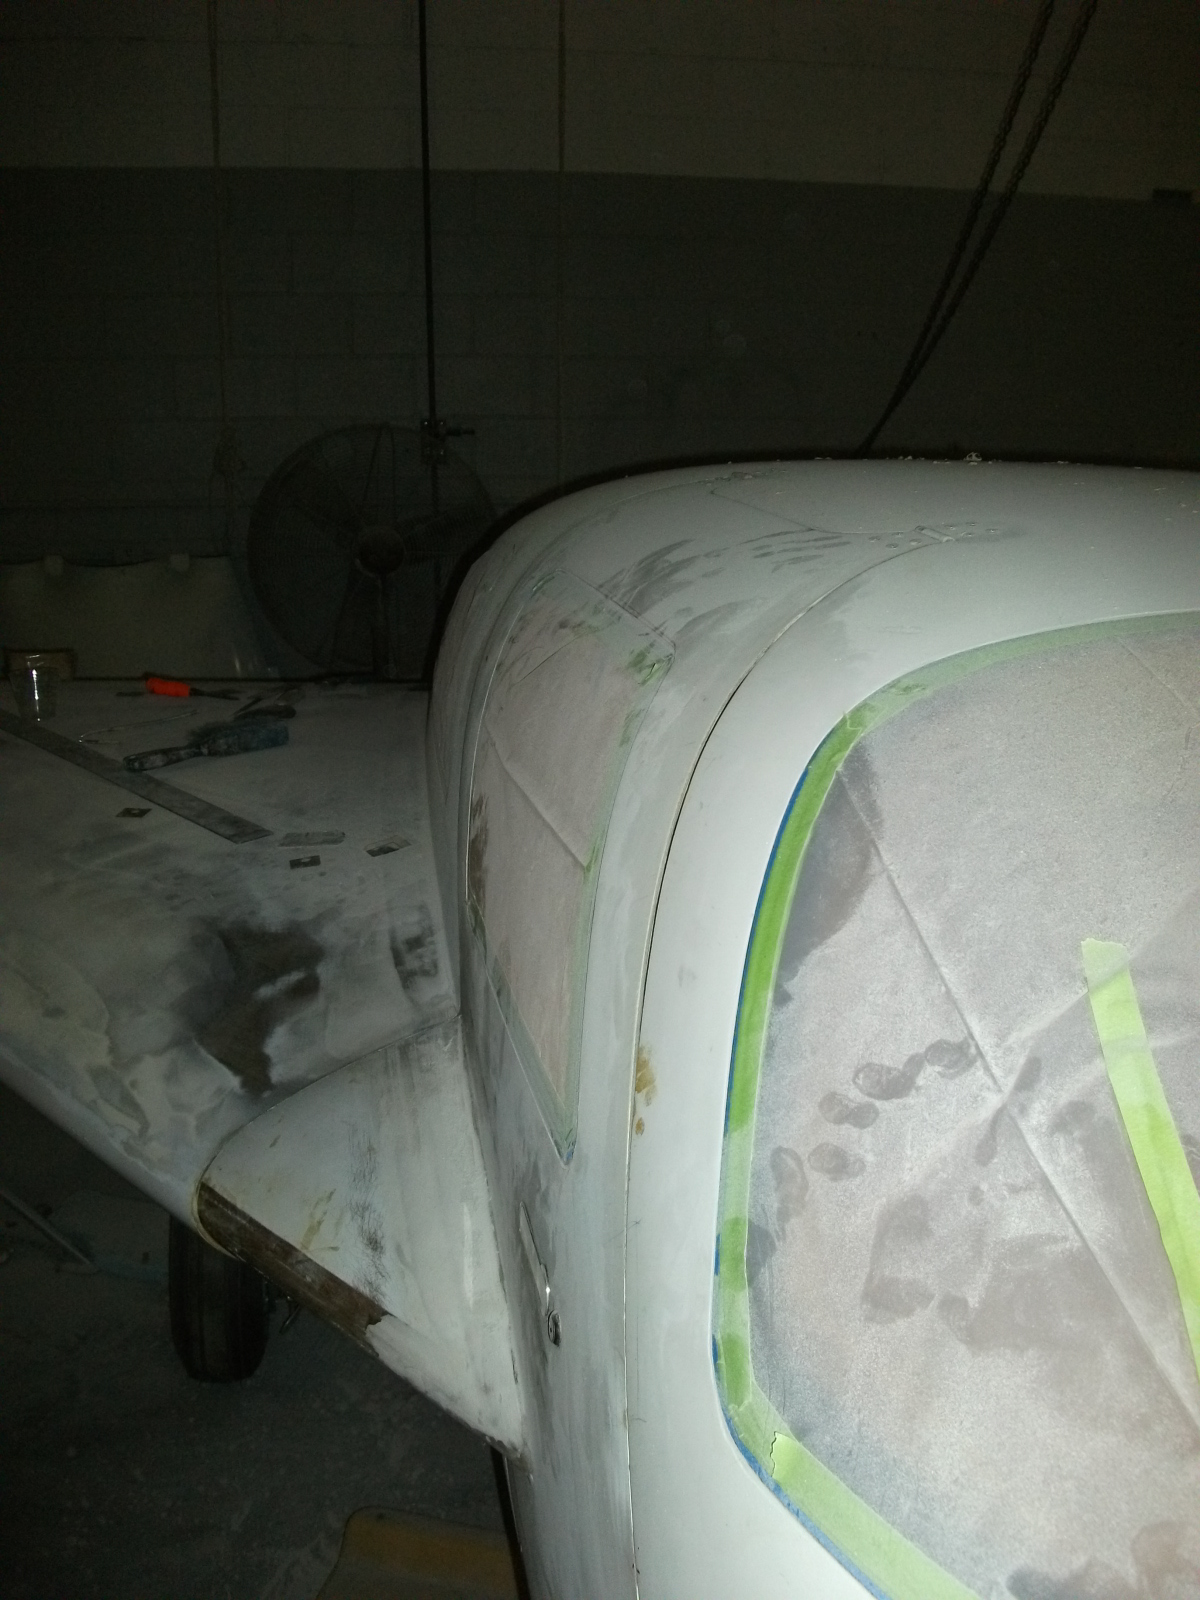
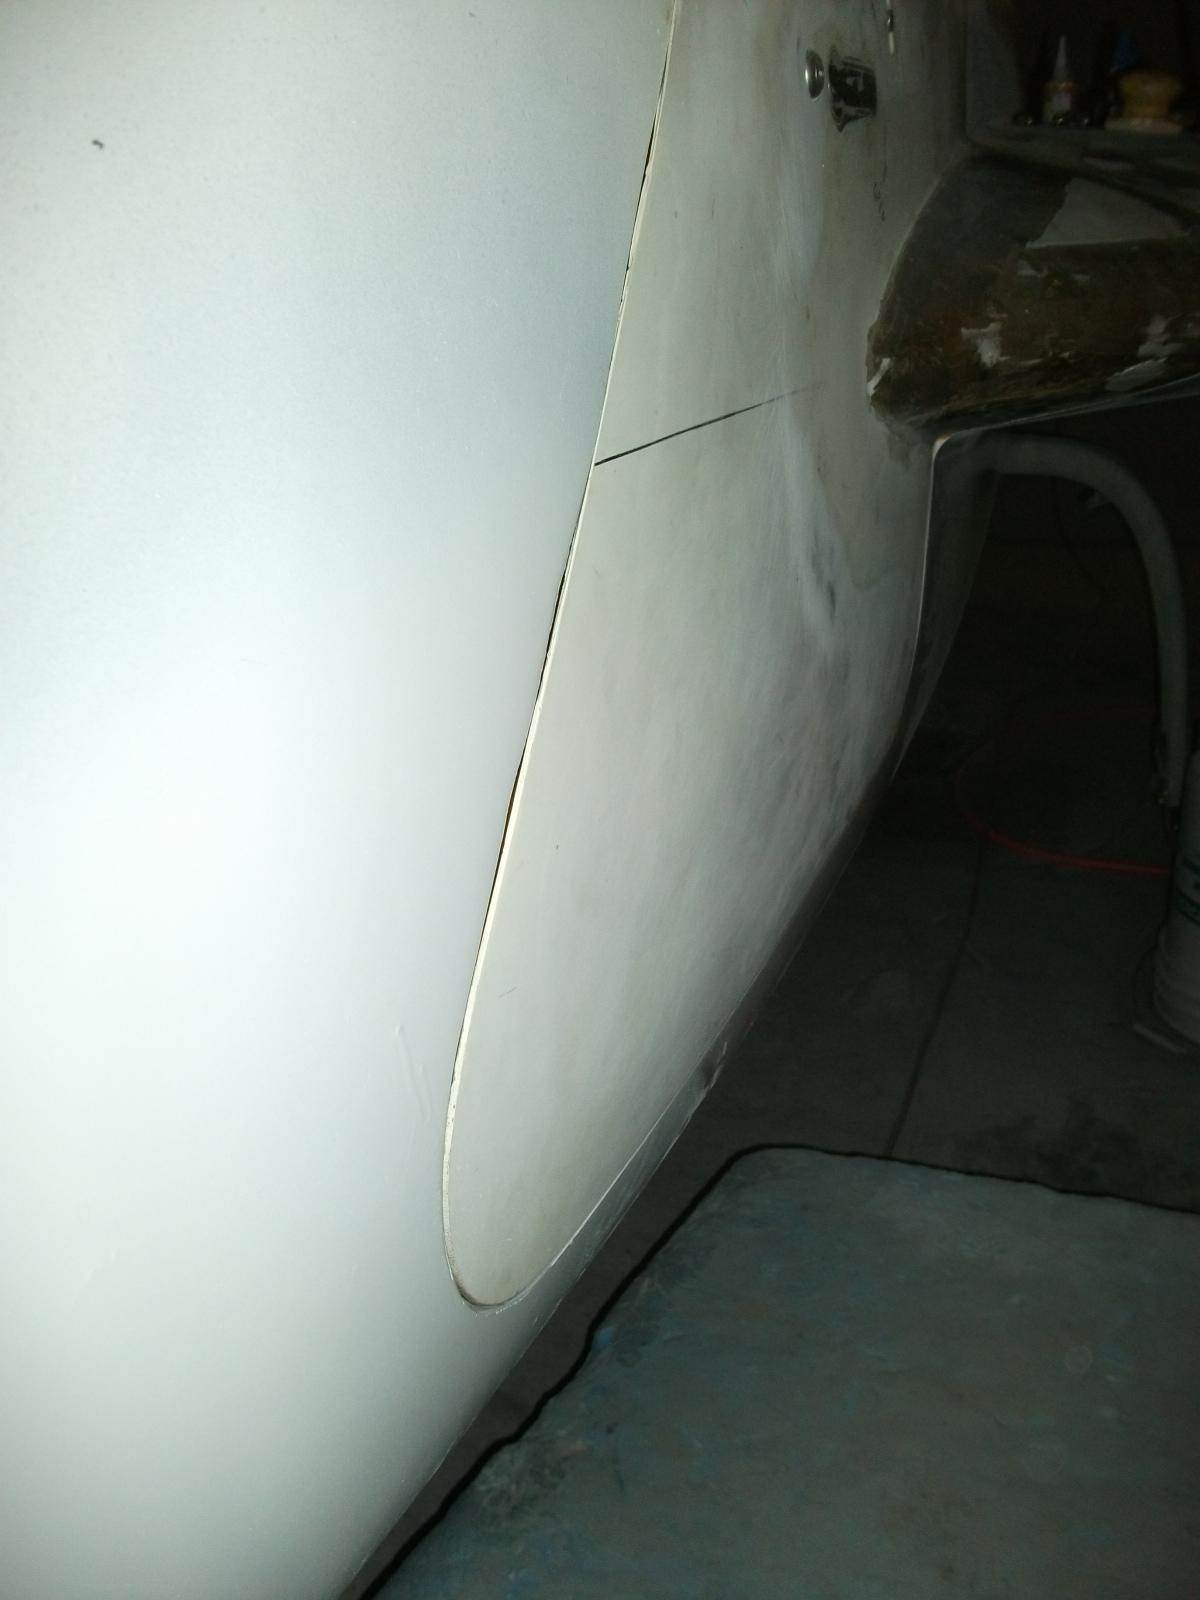
At this point, the doors have been “encouraged” into the correct position as much as possible. They’re still not done. To get the rest of the way will require the sleeves around the door frame to be reinstalled so that the latching pins will engage more smoothly. When I modified the door latch mechanism, these had to be removed. The first task is cutting new sleeves (4 for each door). Then with me inside, the door is closed and latched. Then Malcolm pushes on the door until it’s flush on the outside. While he’s holding it, I determine how much space exists between the door frame and the sleeve. Then it’s out of the plane and we temporarily glue a small wooden spacer (of the correct thickness to the sleeve. Then back into the plane, the door is closed and the sleeve/spacer is glued to the door frame. Here’s what it looks like.
This is temporary though. The sleeve can still move some. Now it gets potted in place with an epoxy/milled-fiber/cabo mix. Malcolm has a trick for making a nice end product for this assembly. Rather goop the epoxy around the sleeve and try to make it look nice, he had cover some thin cardboard with foil tape and cut to make a barrier. The first one needs to be open at the bottom for a micro switch. So a “cap” is put on the bottom of that sleeve. On the other sleeve, the bottom just gets covered over. Then the epoxy mix is spread over the sleeve. Once it’s cured, we sand it smooth and cover with 2xBID. The doors are officially “relaxed”. Into position, that is. Here are some pictures of the doors after a lot of time under the lamps.
I can’t tell you how pleased I am with the results. Before this process, it was looking like large amounts of filler would be required to make the door fit look good. This is just one of the advantages of having access to one of the premier Velocity builders. |


Thanks Malcolm!