
- 5.5.1 Install Door Lift Gas Struts
- 5.5.1 Install Door Lift Gas Struts
- 5.5.1 Door Lift Gas Struts
- 5.5.1 Door lift gas struts
- 5.5.1 Install Door Lift Gas Struts
- 5.2.4 Door Hinge Installation (Modification)
- 5.2.3 Door Opening
- 5.3 Door Latch Micro Switches
- 5.3.1 Door Latches
- 5.5 Strake Extension Cutout
- 5.2 Correcting Door Fit
- 5.2.3 Door Fit (Improving)
- 5.3.6 Door Pin Sleeves
- 5.2.2 Door openings
- 5.1.4 Window Scratches
- 5.6 Improving door fit
During the last trip, I had a lot of time (10 hours) to determine that there were leaks around the doors. I didn’t think these leaks would make a huge difference but since painting the plane is around the corner, I makes sense to do it now.
I identified two places around each door where I could detect some air movement. It was the same locations on both doors. The first was on the forward edge about six inches up from the bottom. The second location was at the very top of the rear edge.
When I looked at those locations, it was pretty obvious what was going on.
Here’s the forward opening on the pilot side door.
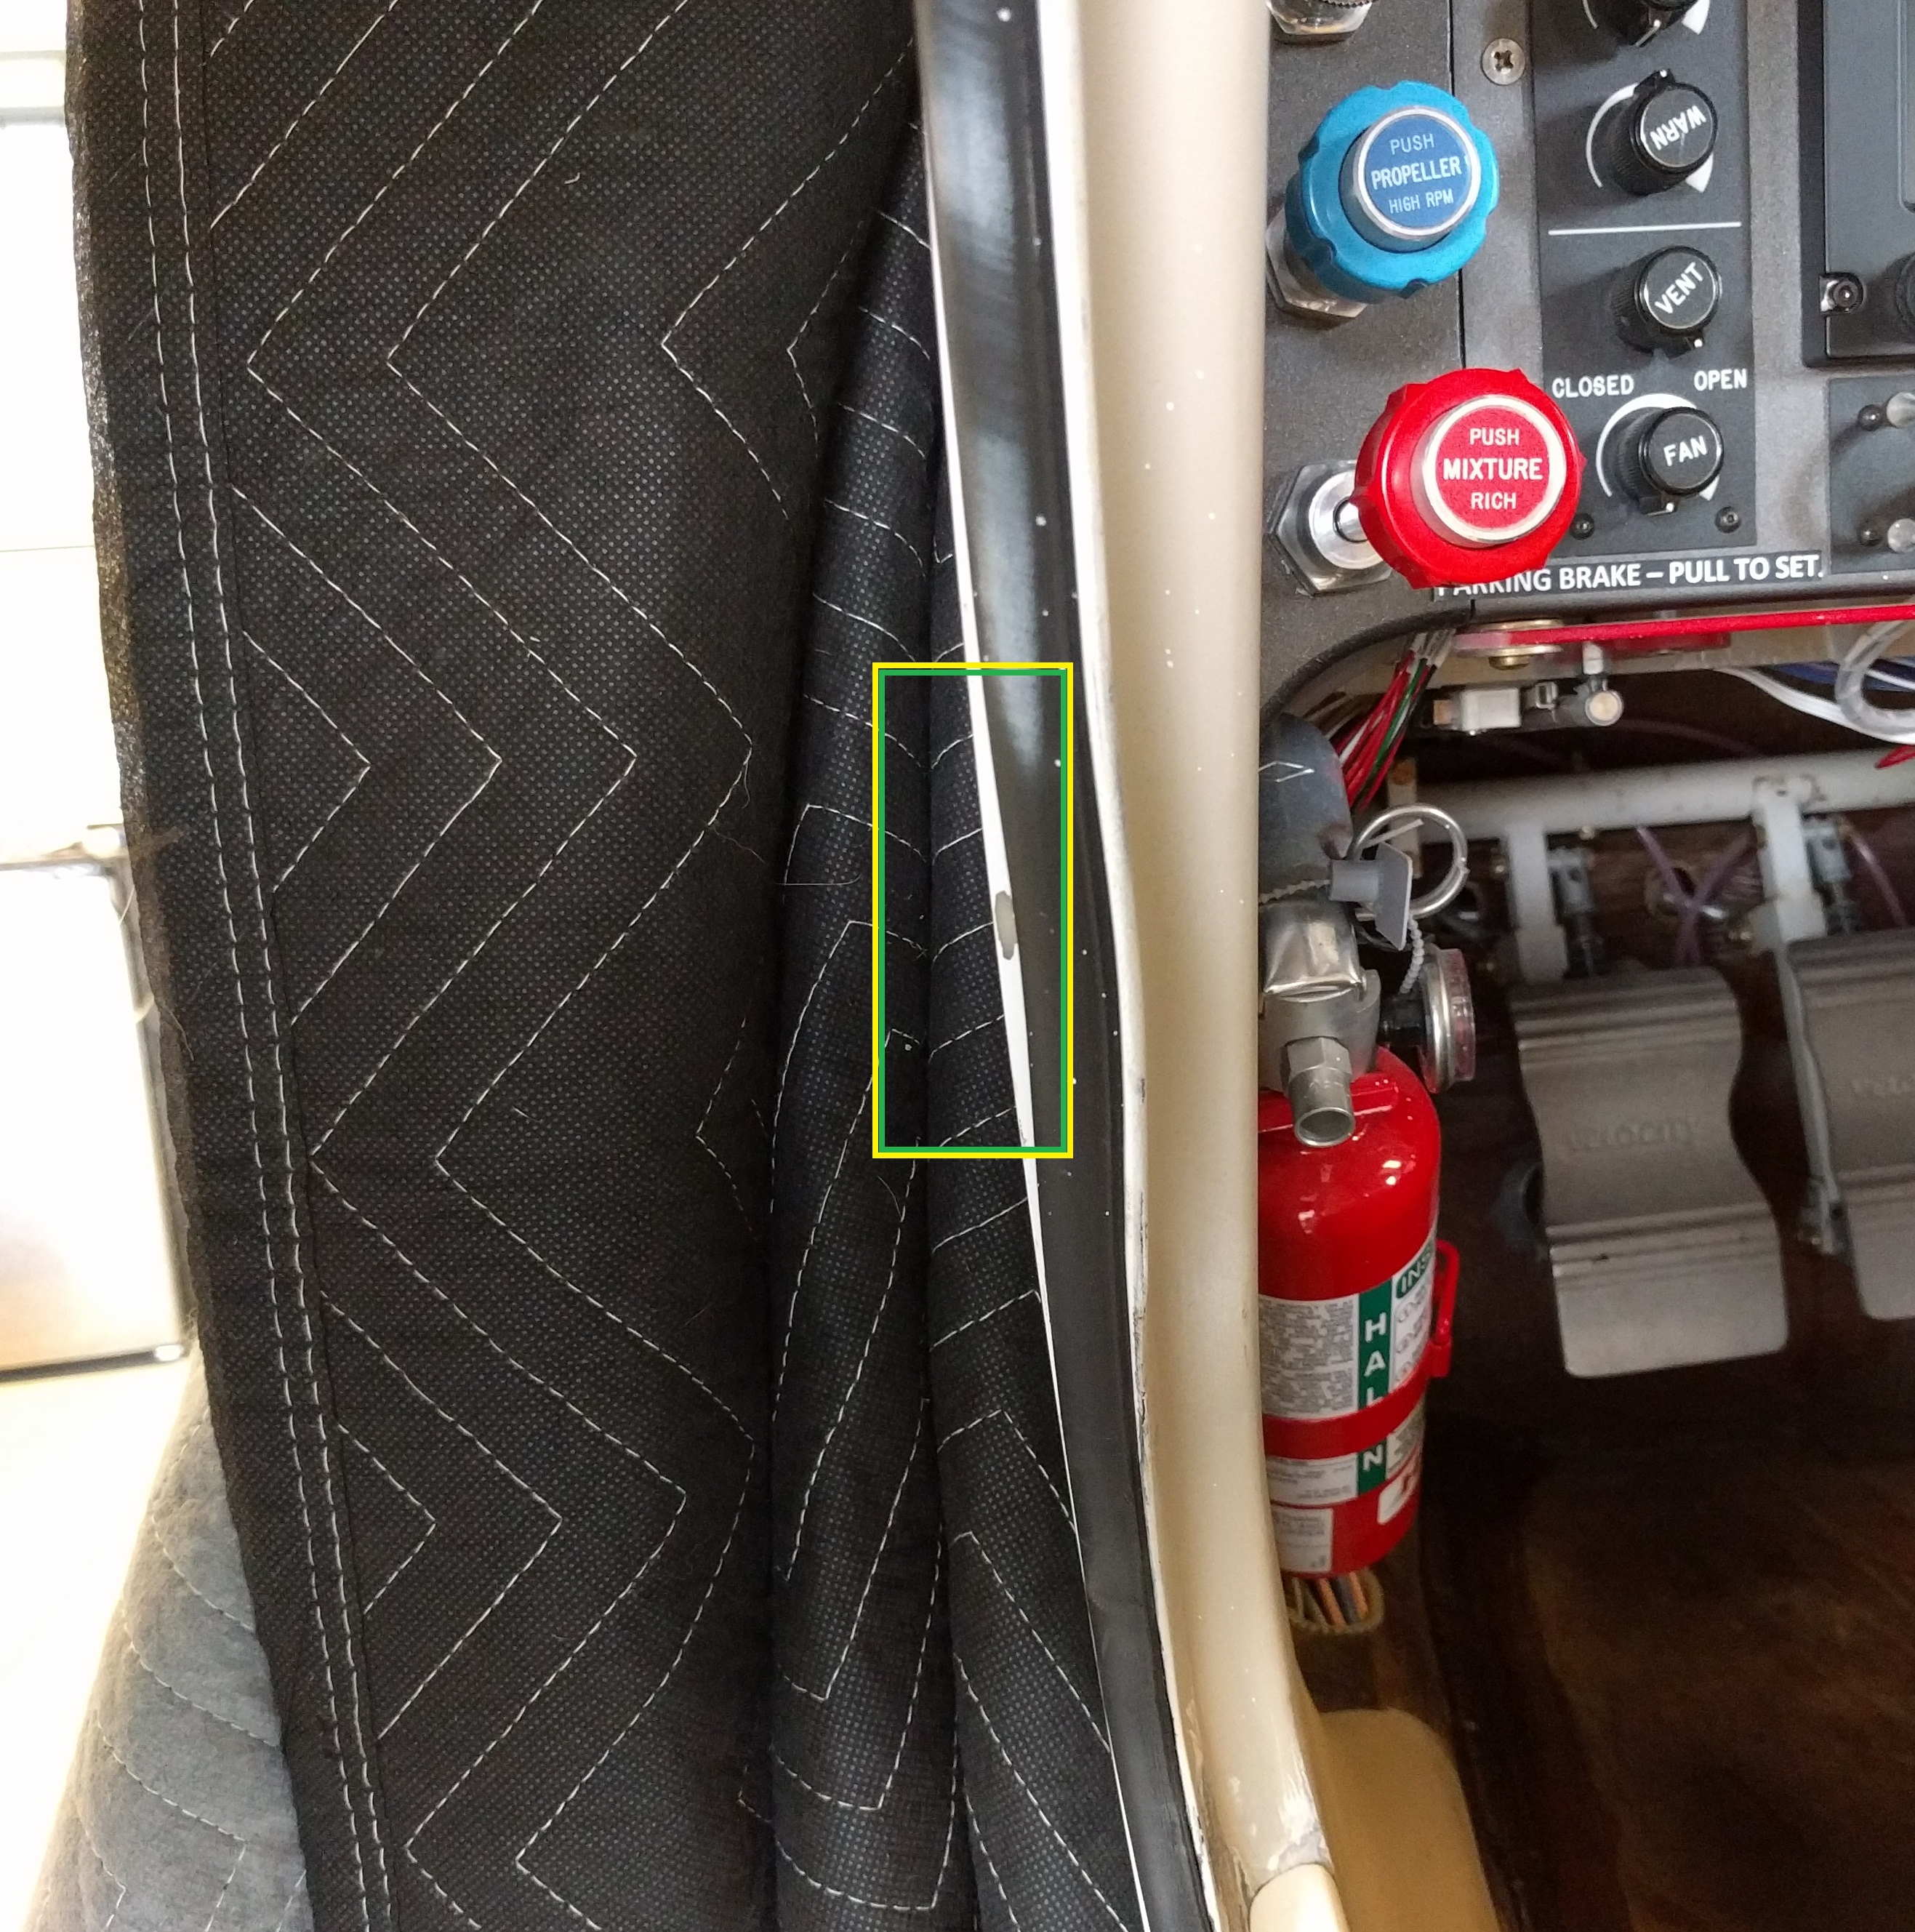
The flange isn’t straight (this is where the two fuselage halves are joined). Since the weatherstripping is following the flange, that is creating a gap between the weatherstripping and the door.
Top rear of the door opening.

Same issue as the forward edge but over a larger area.
There are two possible fixes:
1) Increase the thickness of the door at these points.
2) Increase the thickness of the flange on the fuselage side.
Now method 1 is just plain wrong. In addition to that, it would make the door heavier. Although not by much… But still heavier.
So I pulled the weatherstripping off in the affected areas and mixed up some epoxy with cab-o-sil and micro. Applied it, sanded it so I had the proper dimension and reapplied the weatherstripping.
Here’s the forward edge of the co-pilot door.

There was one other thing that I had to address.
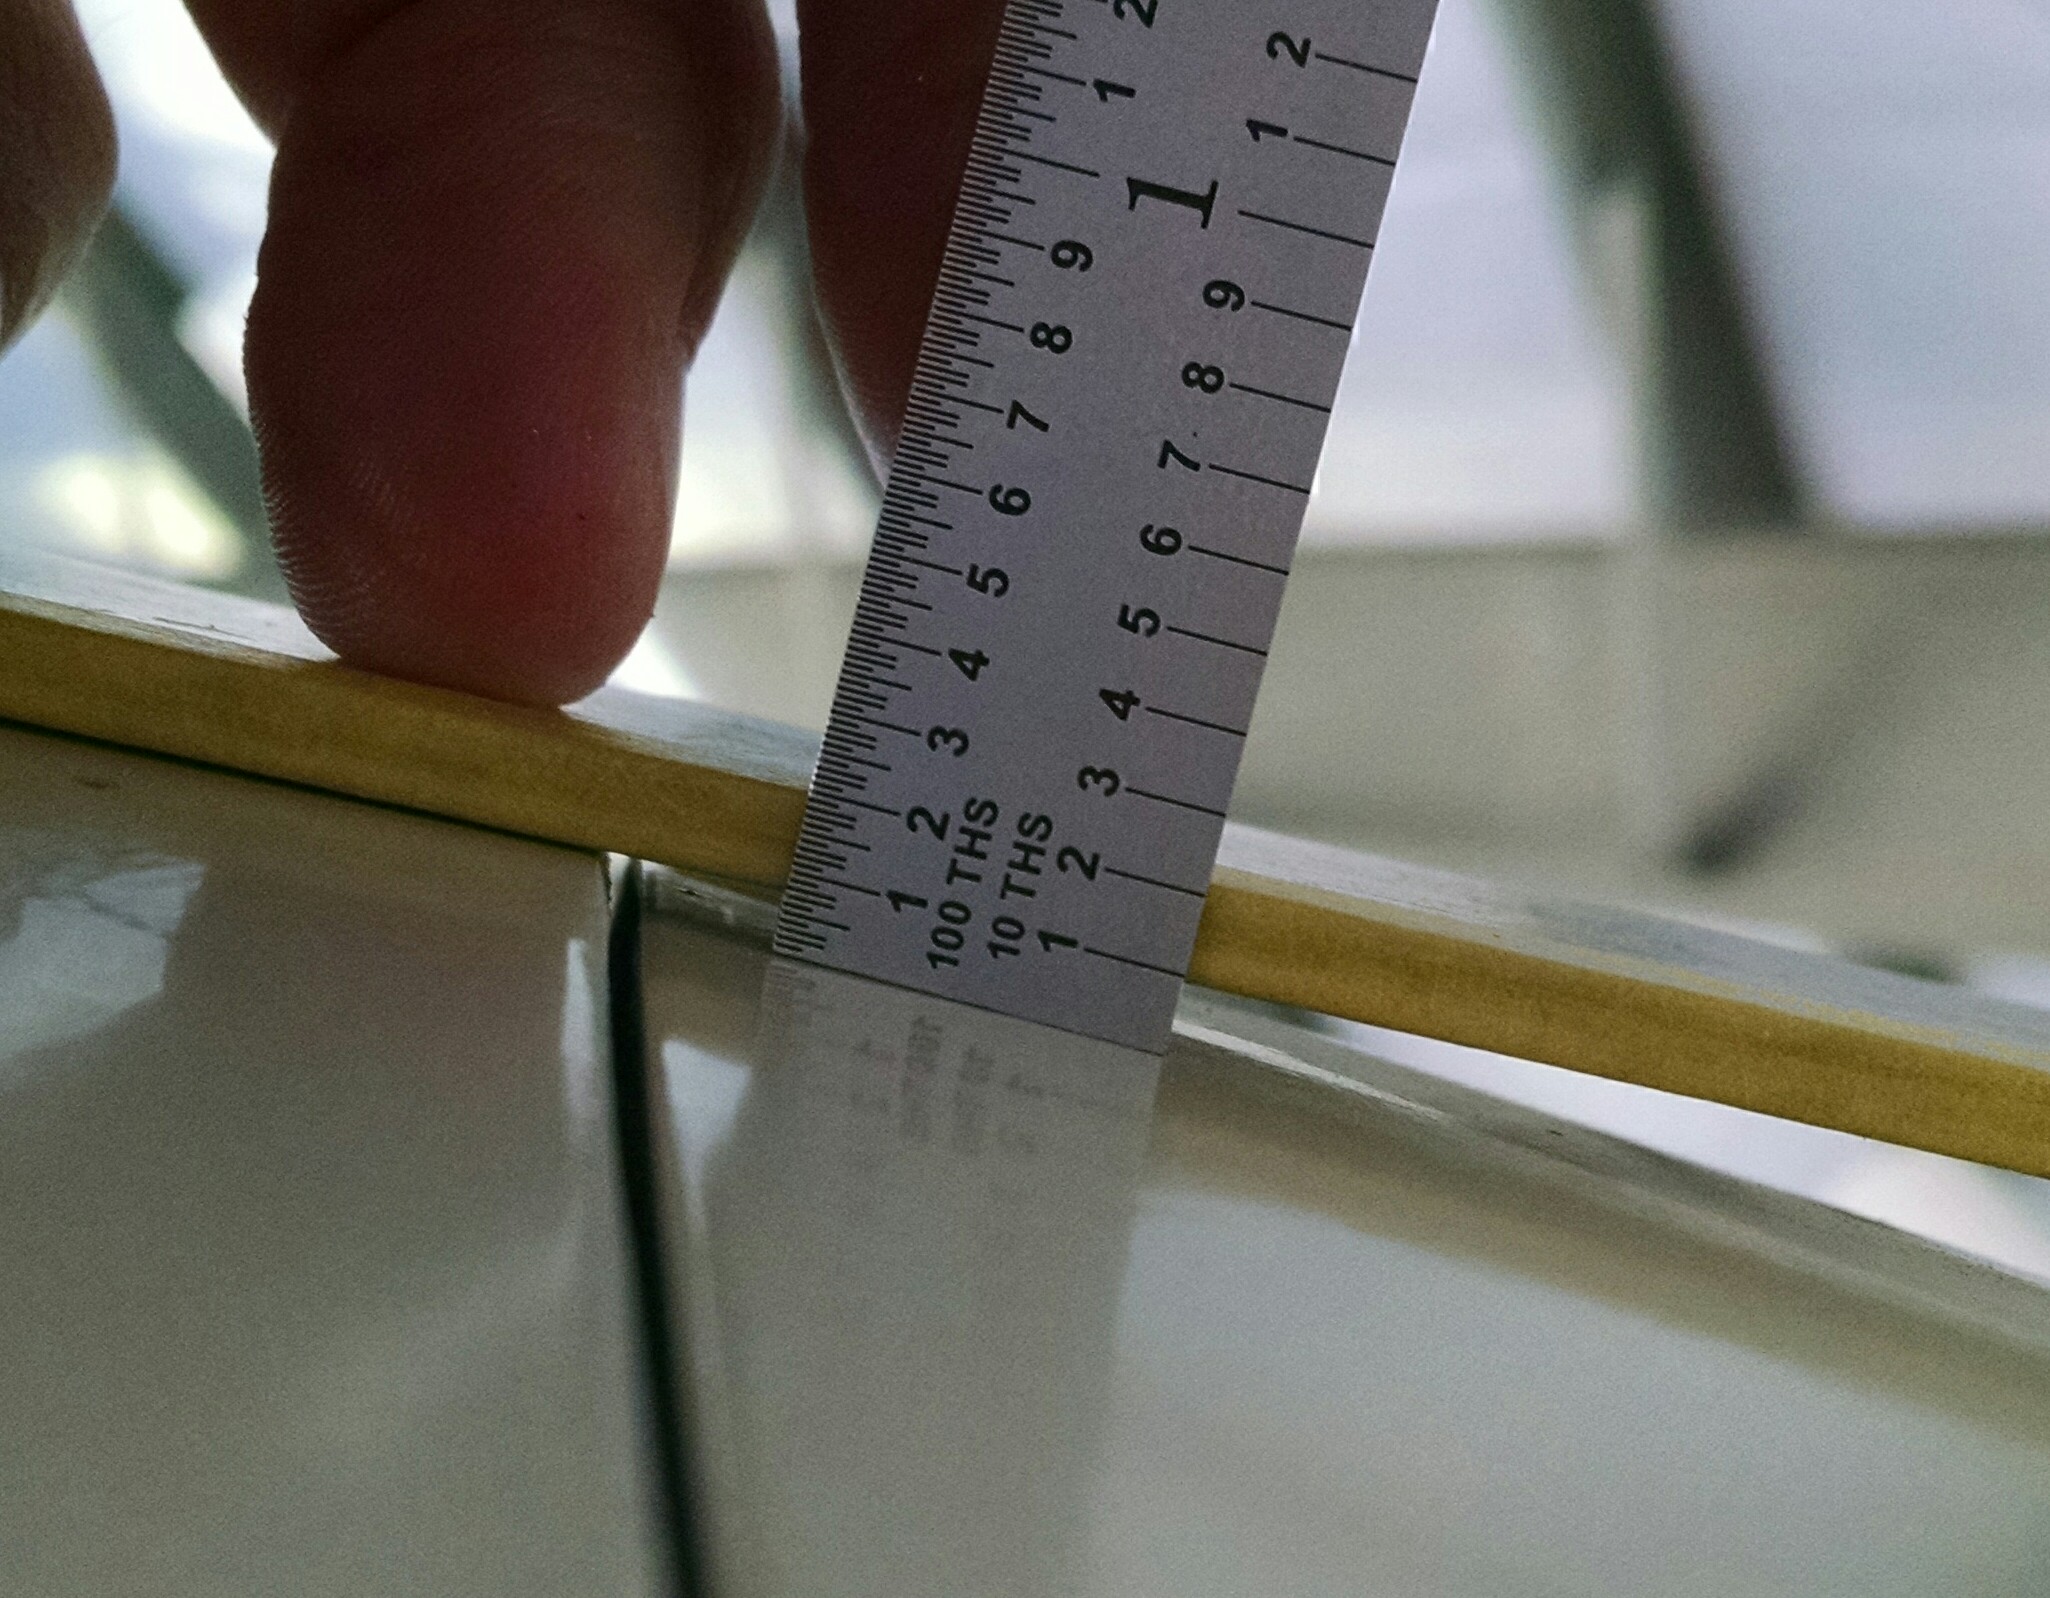
The outside of the upper, forward edge of the door was sitting proud of the fuselage. Not much. Maybe a strong 16th of an inch. If the leading edge was below the fuselage, I would probably leave it be. But with it sticking out into the airflow, I thought that in addition to drag, it was probably generating some noise as well.
Scott recommended using polyester resin for this type of fill. The advantage is that you can paint directly over it.


I masked the area with tape, mixed up the resin, added some micro and cabo to thicken it, and then applied it. I did one more fill to get just right and then some glazing putty (polyester as well) to finish up.
Now the doors are perfectly fair with the fuselage. During this time, I was also making some changes to the nose oil cooler/heating and made a quick flight to test those changes.
The difference was surprising! Before there was always a lot of wind noise and some whistling. I assumed it was from the openings for the main landing gear. Once I installed the vanity panel, that seemed to help a little. But on this flight, it was significantly quieter! (And faster. Everything you do makes the plane faster. Soon I’ll be indicating 300knots… in the climb!)