- 6.5.2 – Rudder Pedals
- 6.7.1 – Spar Positioning
- 6.1.5 Keel Hardpoints
- 6.8.1 – Canard Reinforcements
- 6.1.3 Keel Access Holes
- 6.2.3 Front Seats
- 6.3.1 Assemble Rudder Pedals
- 6.3.1 Brake Lines
- 6.3.1 Brake lines
- 6.3.1 Brake Lines
- 6A.3.1 Toe Brakes
- 6A.3.1 Parking Brake
- 6.6.2 – Install Landing Gear Selector
- 6.2.2 Safety Harness Hardpoints
- 6.9 Overhead Fresh Air Plenum Modification
- 6.9 Overhead Fresh Air Plenum Installation
- 6.3.7 Keel Installation (prep)
- 6A.3.1 Rudder Pedal Assembly
- 6.3.7 Keel Installation
- 6.7.2 Main Spar Installation
- 6.7.3 Main Spar Triax Layups
- 6.2.1 Seat Hardpoints
- 6.1.2 Keel Access Cover Flanges
- 6A.3.1 Rudder Pedal Installation
- 6.6.2 Install Instrument Panel
- 6.2 Assemble Seats
- 6.8 Doghouse Edge Finishing
- 6.8 Canard Reinforcements
- 6.8.2 Doghouse Attach Points
- 6.5.4 Install Nylaflow Tubing for Rudder Cables
- 6.3.7 Install Aft Keel Section
- 6.9 Overhead Plenum Lights
- 6.0 Aft Carbon Beam (Remediation)
- 6.9 Overhead Fresh Air Plenum
- 6.9 Overhead Fresh Air Plenum Painting
- 6.0 A-Pillar Beam (Overhead Switch Panel)
- 6.3.2 Front Seat Assembly
- 6.3.2 Front Seat Rails
- 6.3.2 Seating modifications
- 6.2.2 Safety Harness Replacement
- 6.2.2 Safety Harness Replacement
- 6.3.2 Seat rails and hardpoints
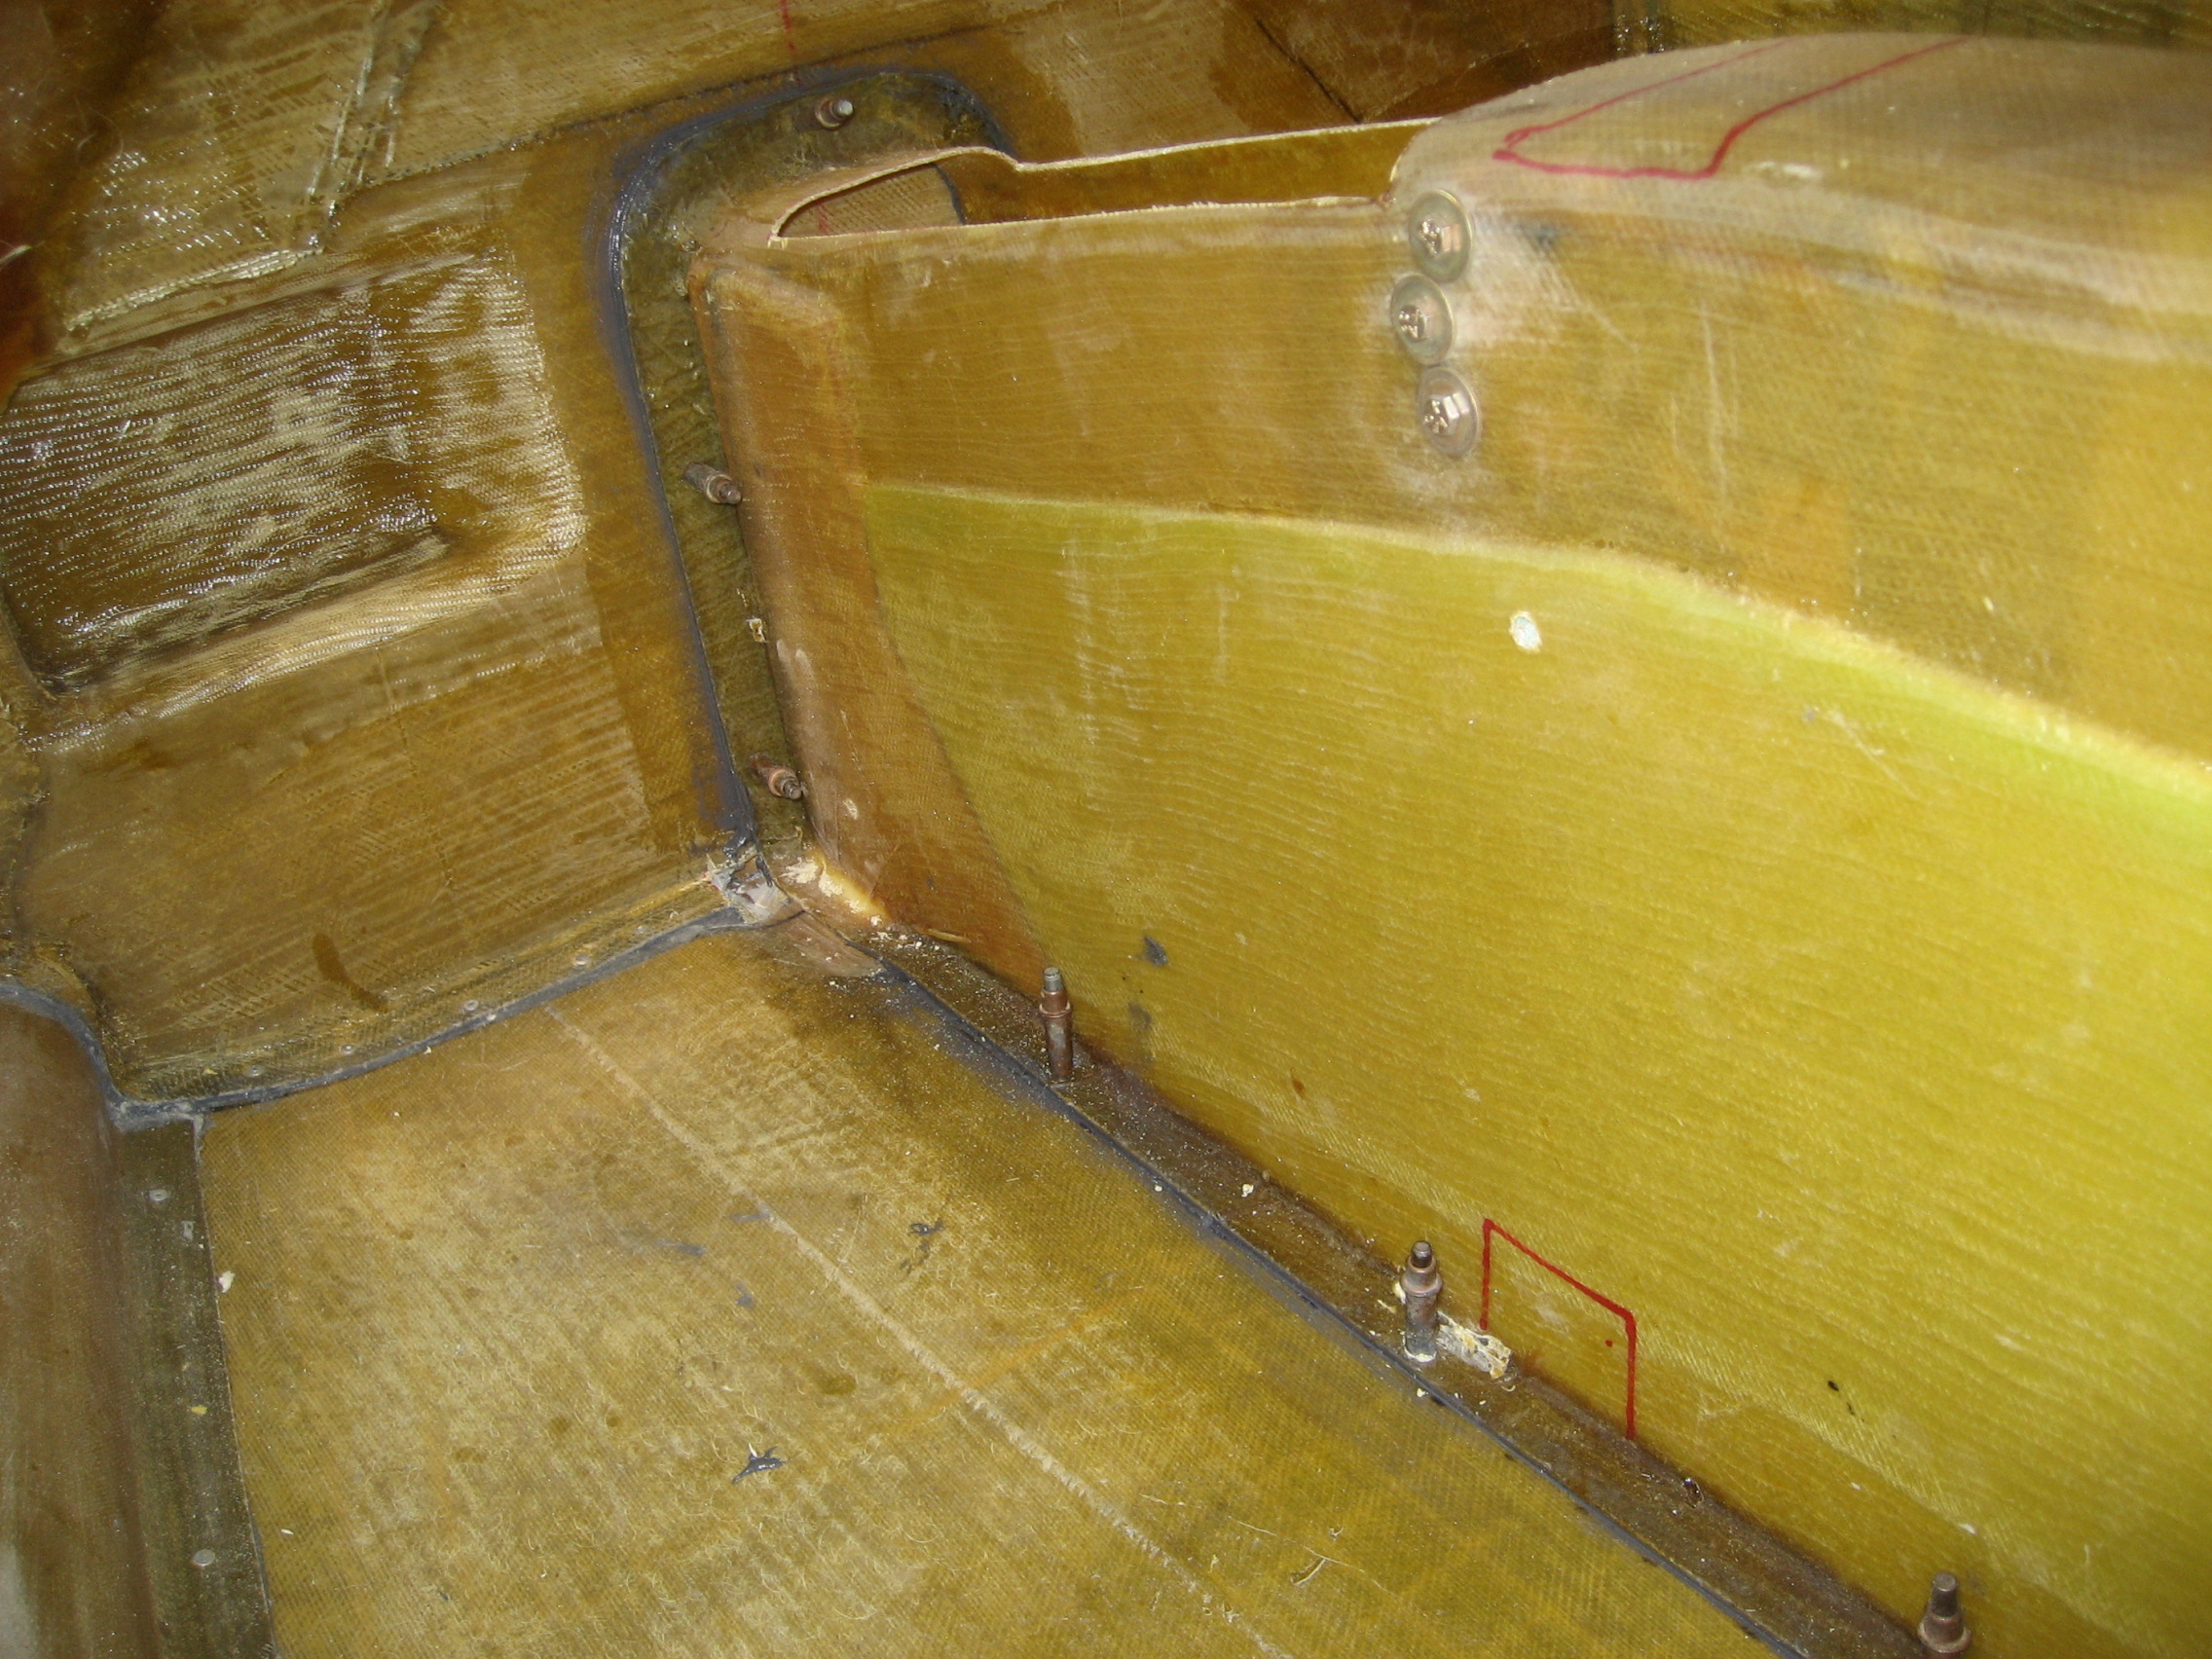
Now that all the inspection panels have been created and the hardpoints put in, it’s time to install the keel. This is pretty significant since moving around inside the fuselage will be much more difficult once the keel is in.
The location of the keel is marked on the floor of the fuselage and then the front section of the keel in put in position. Holes are drilled in the flanges to hold it in place with cleco’s. Then the position is verified again. Once I’m certain that it’s right, I removed the keel, mixed up a batch of structural adhesive and applied it to the flanges. Then the keel is put back into position and the cleco’s are put in place to hold keel in place while the adhesive cures.
Once the adhesive cures, the cleco’s are removed.
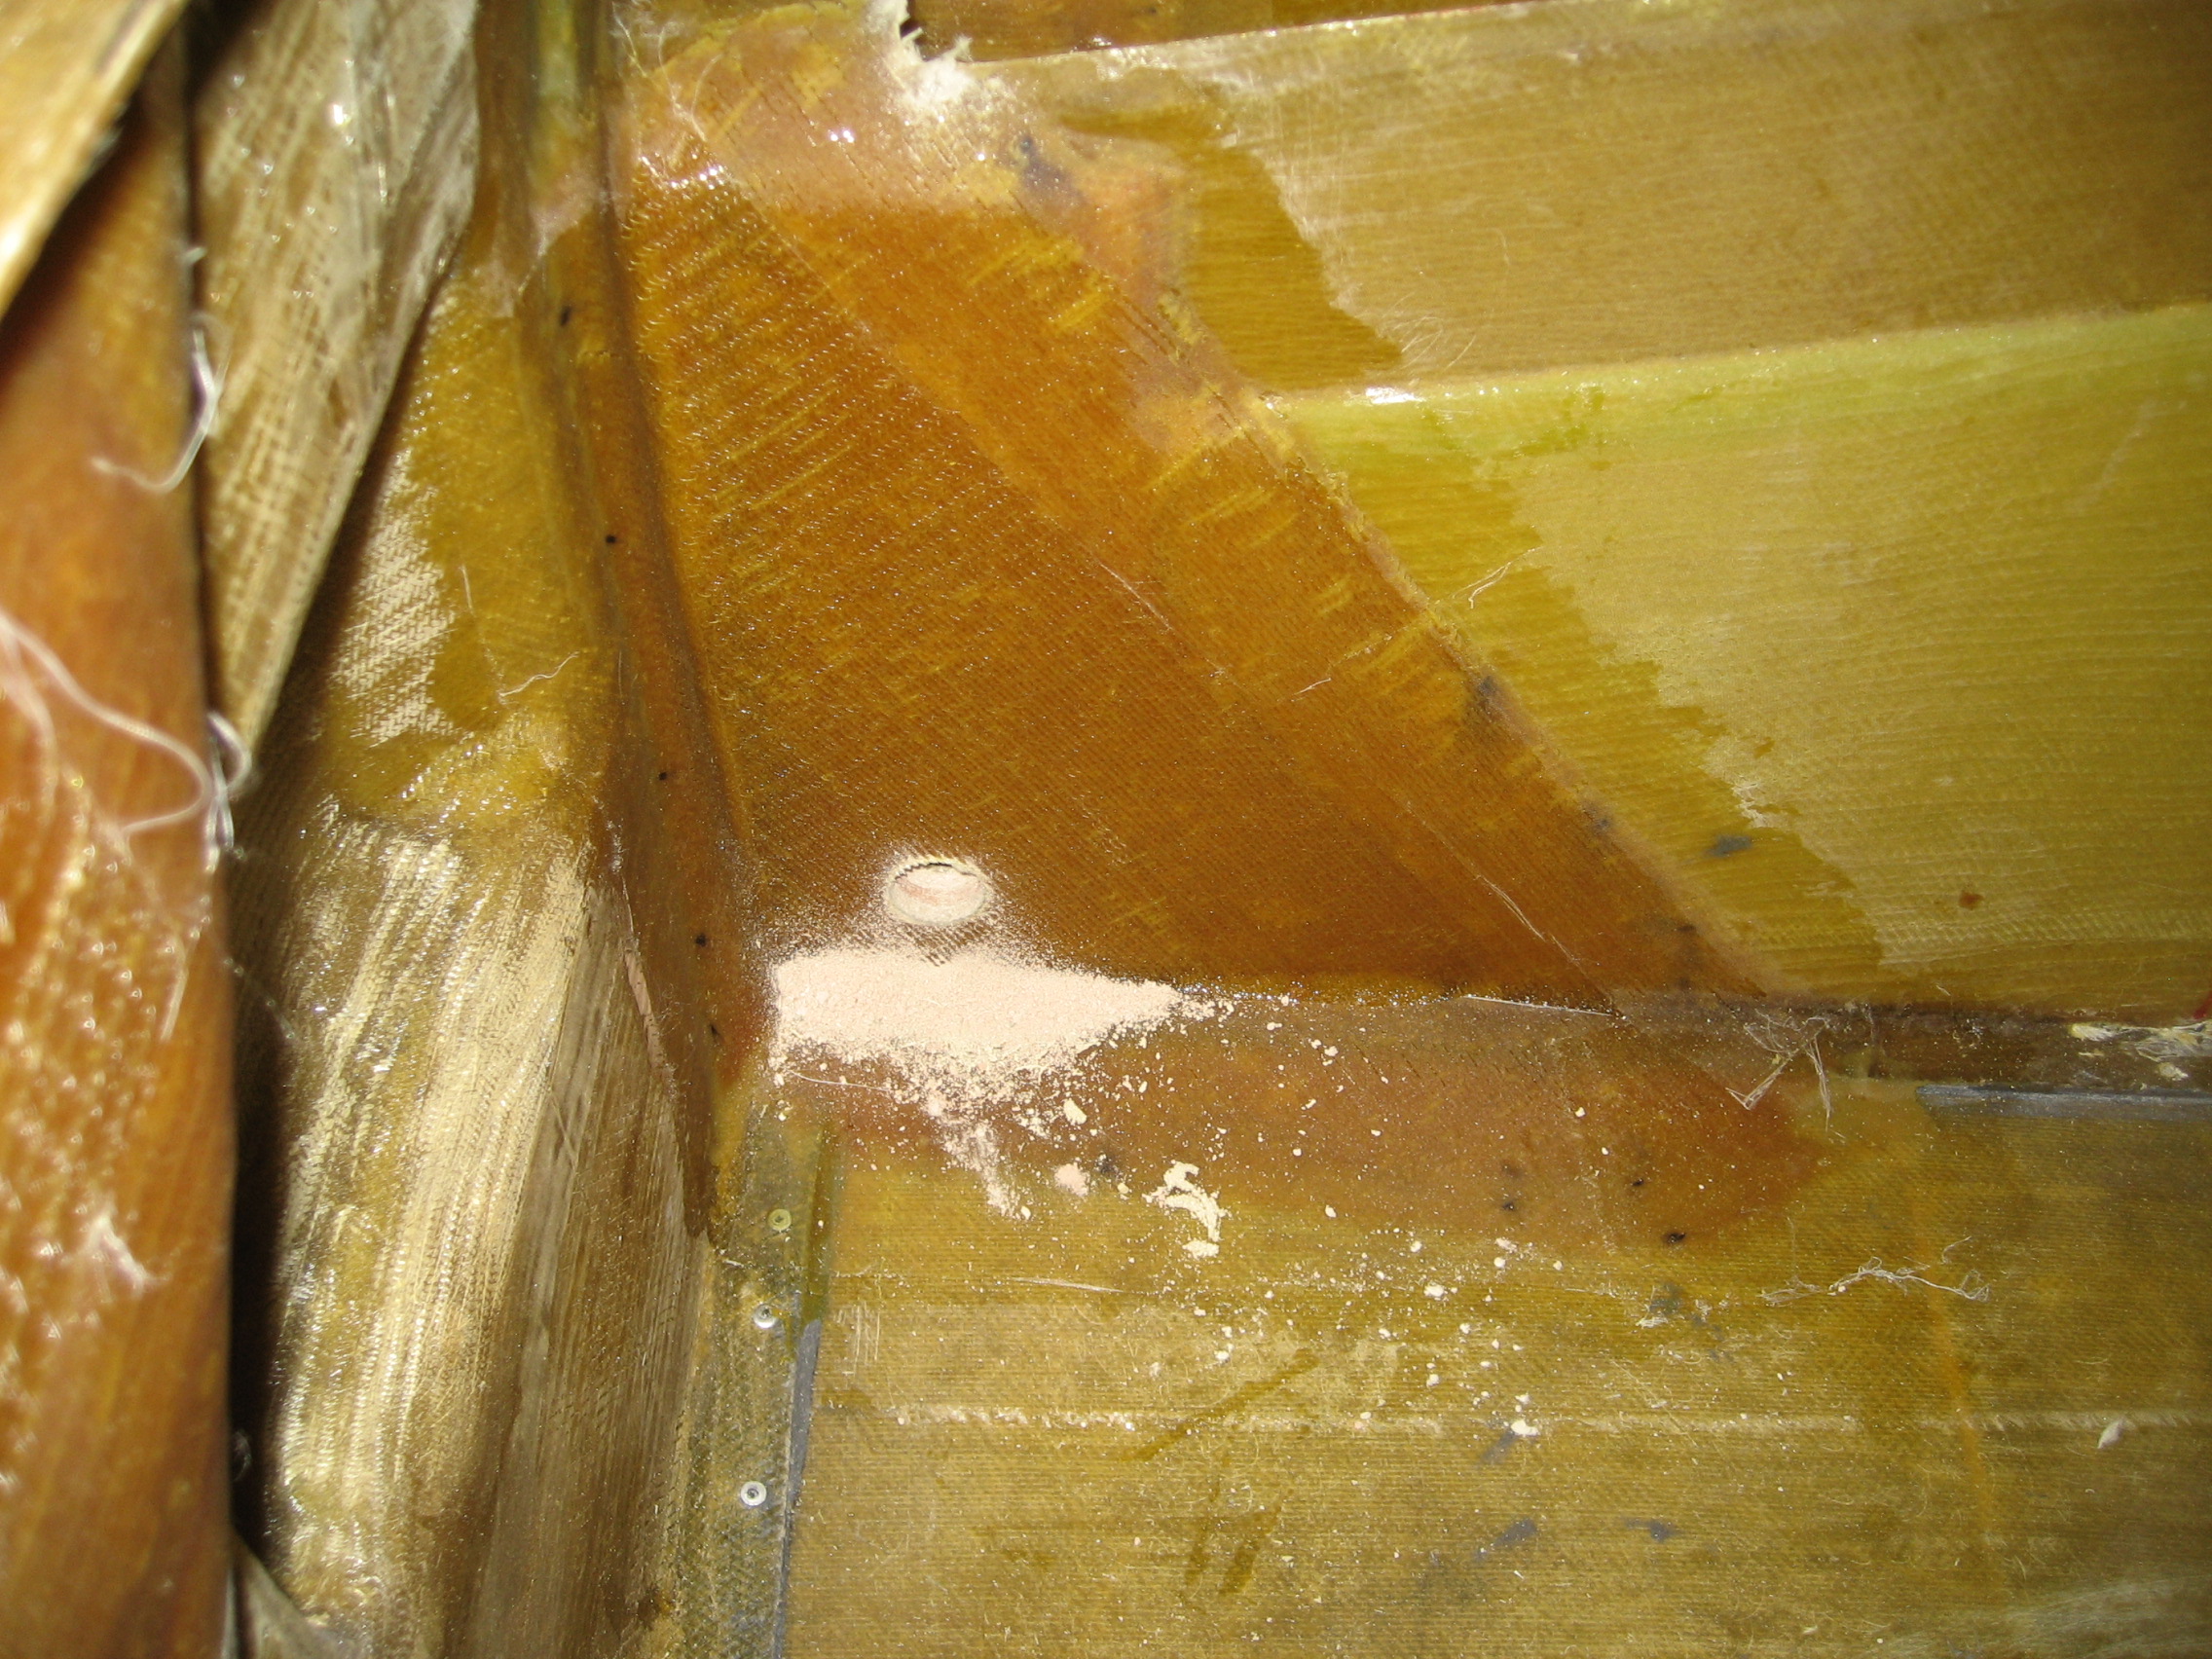
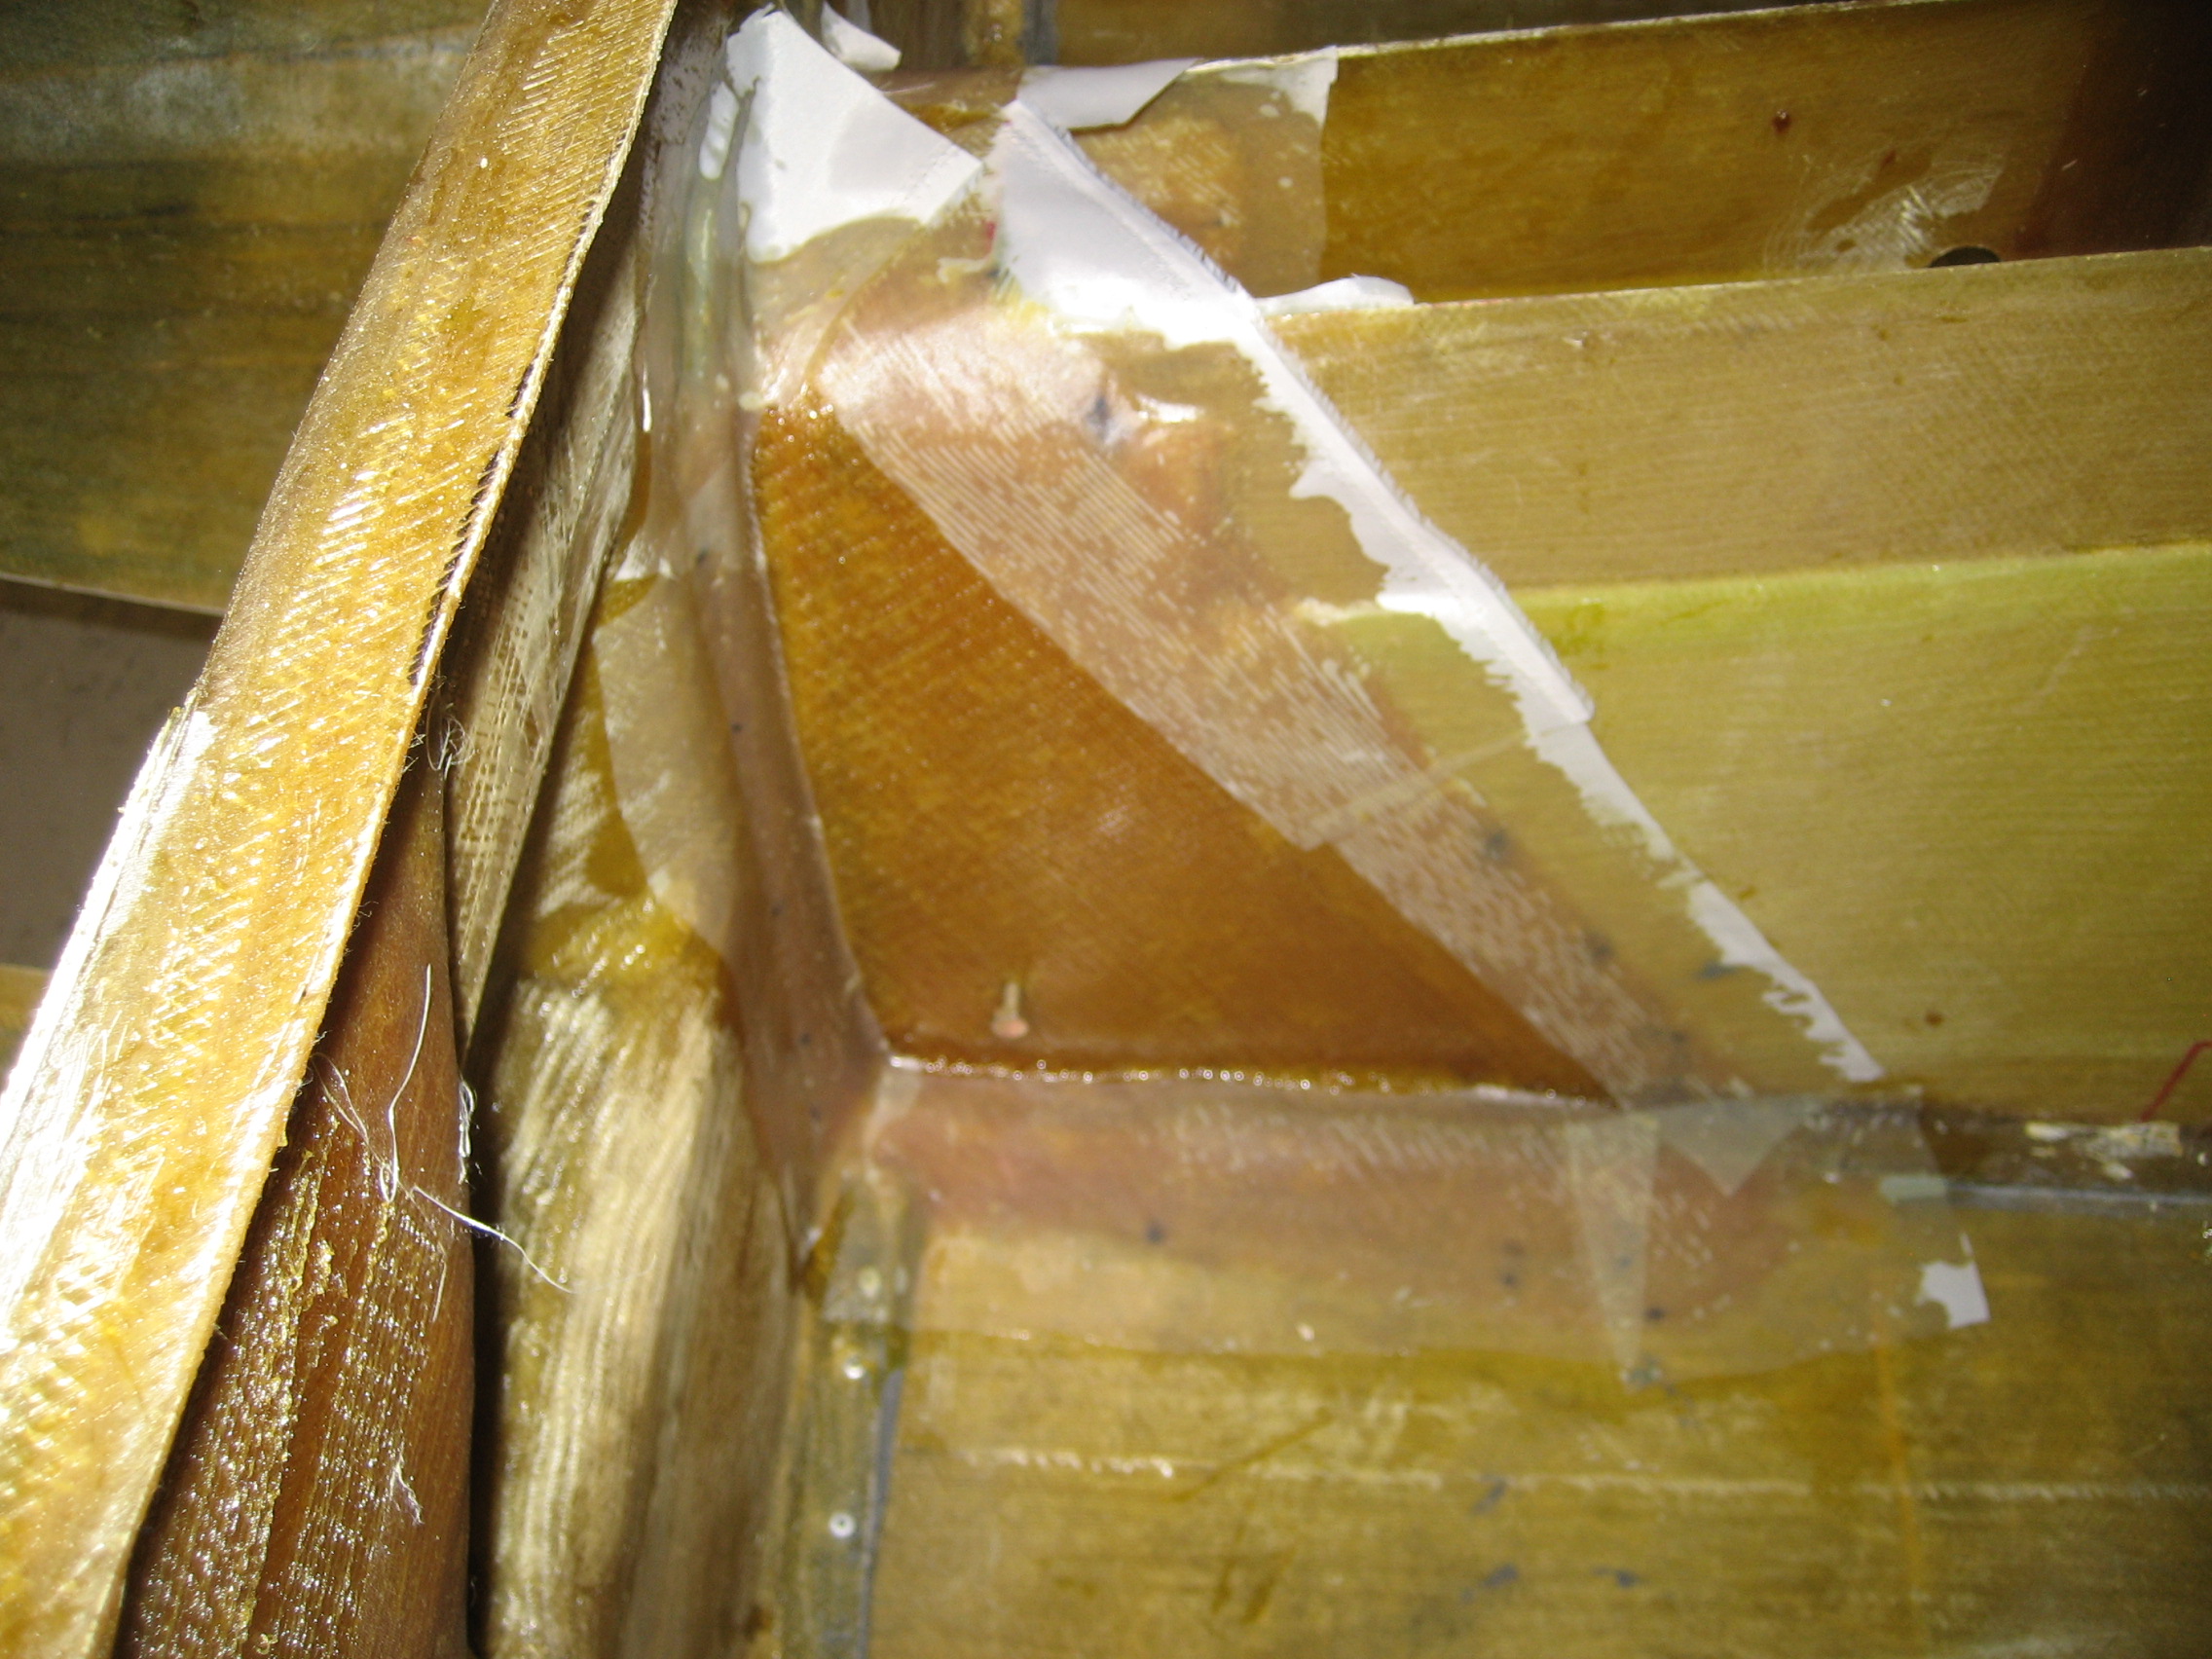
From inside the keel looking forward at the canard bulkhead.

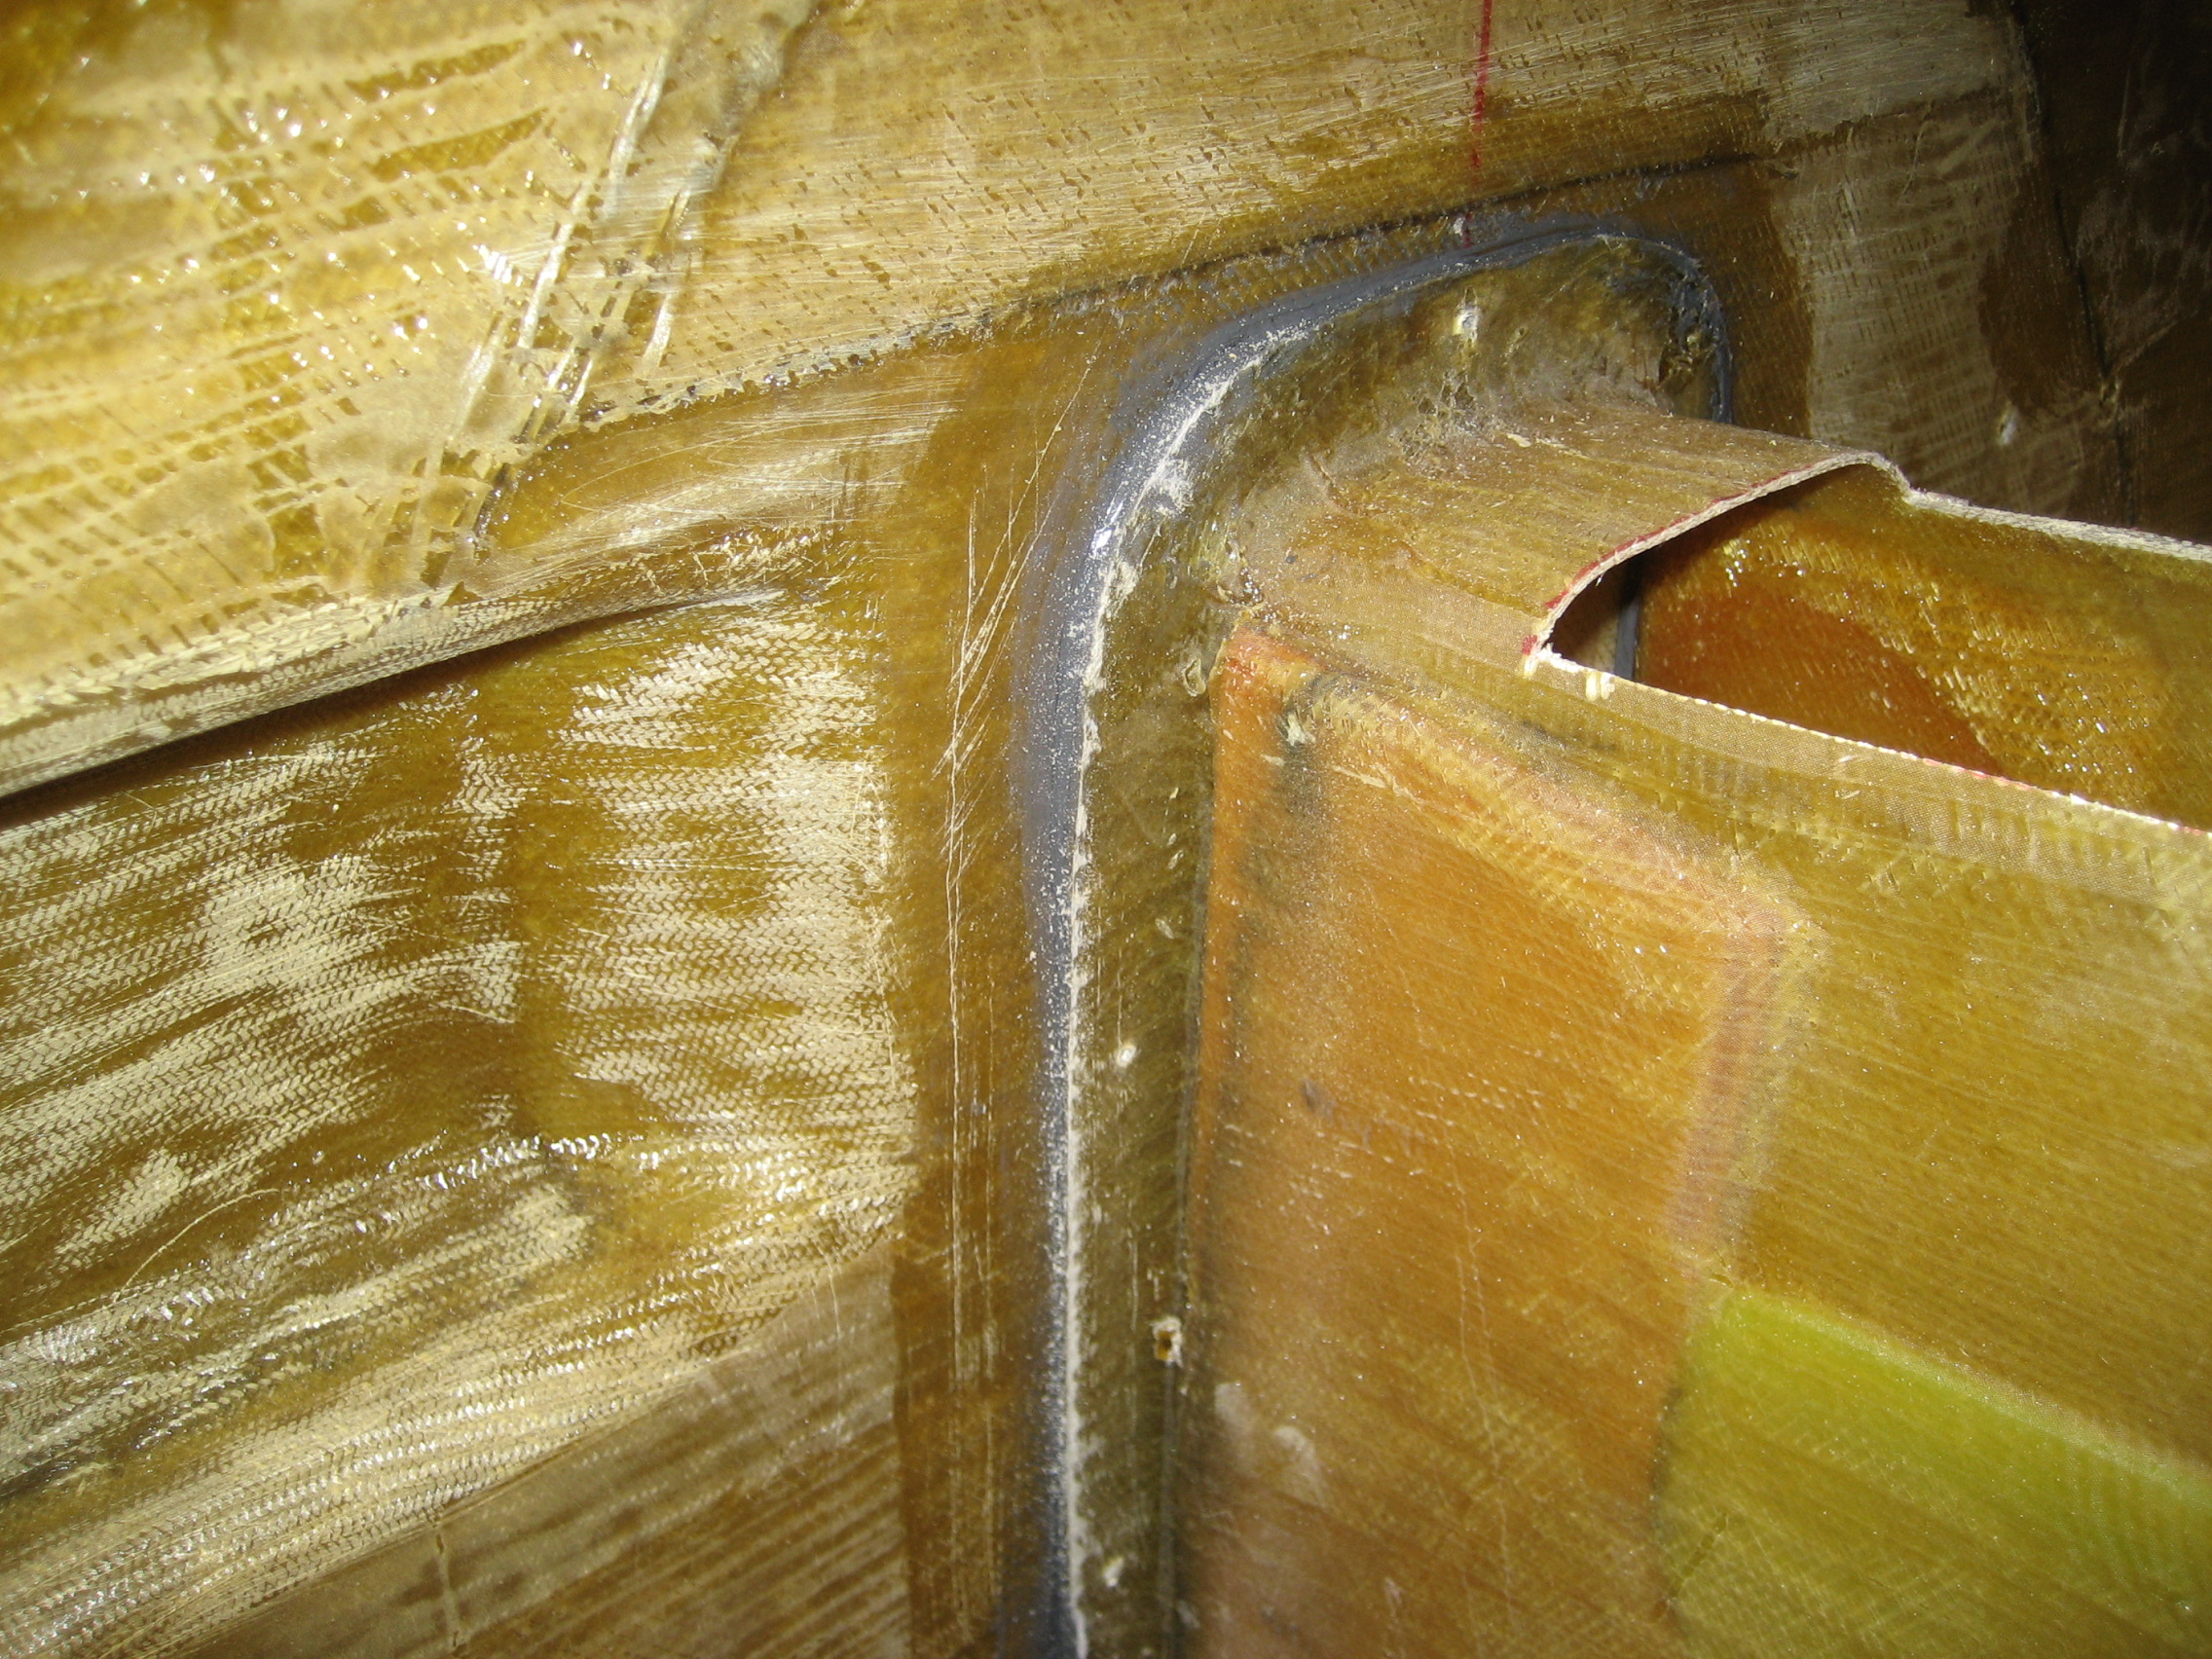
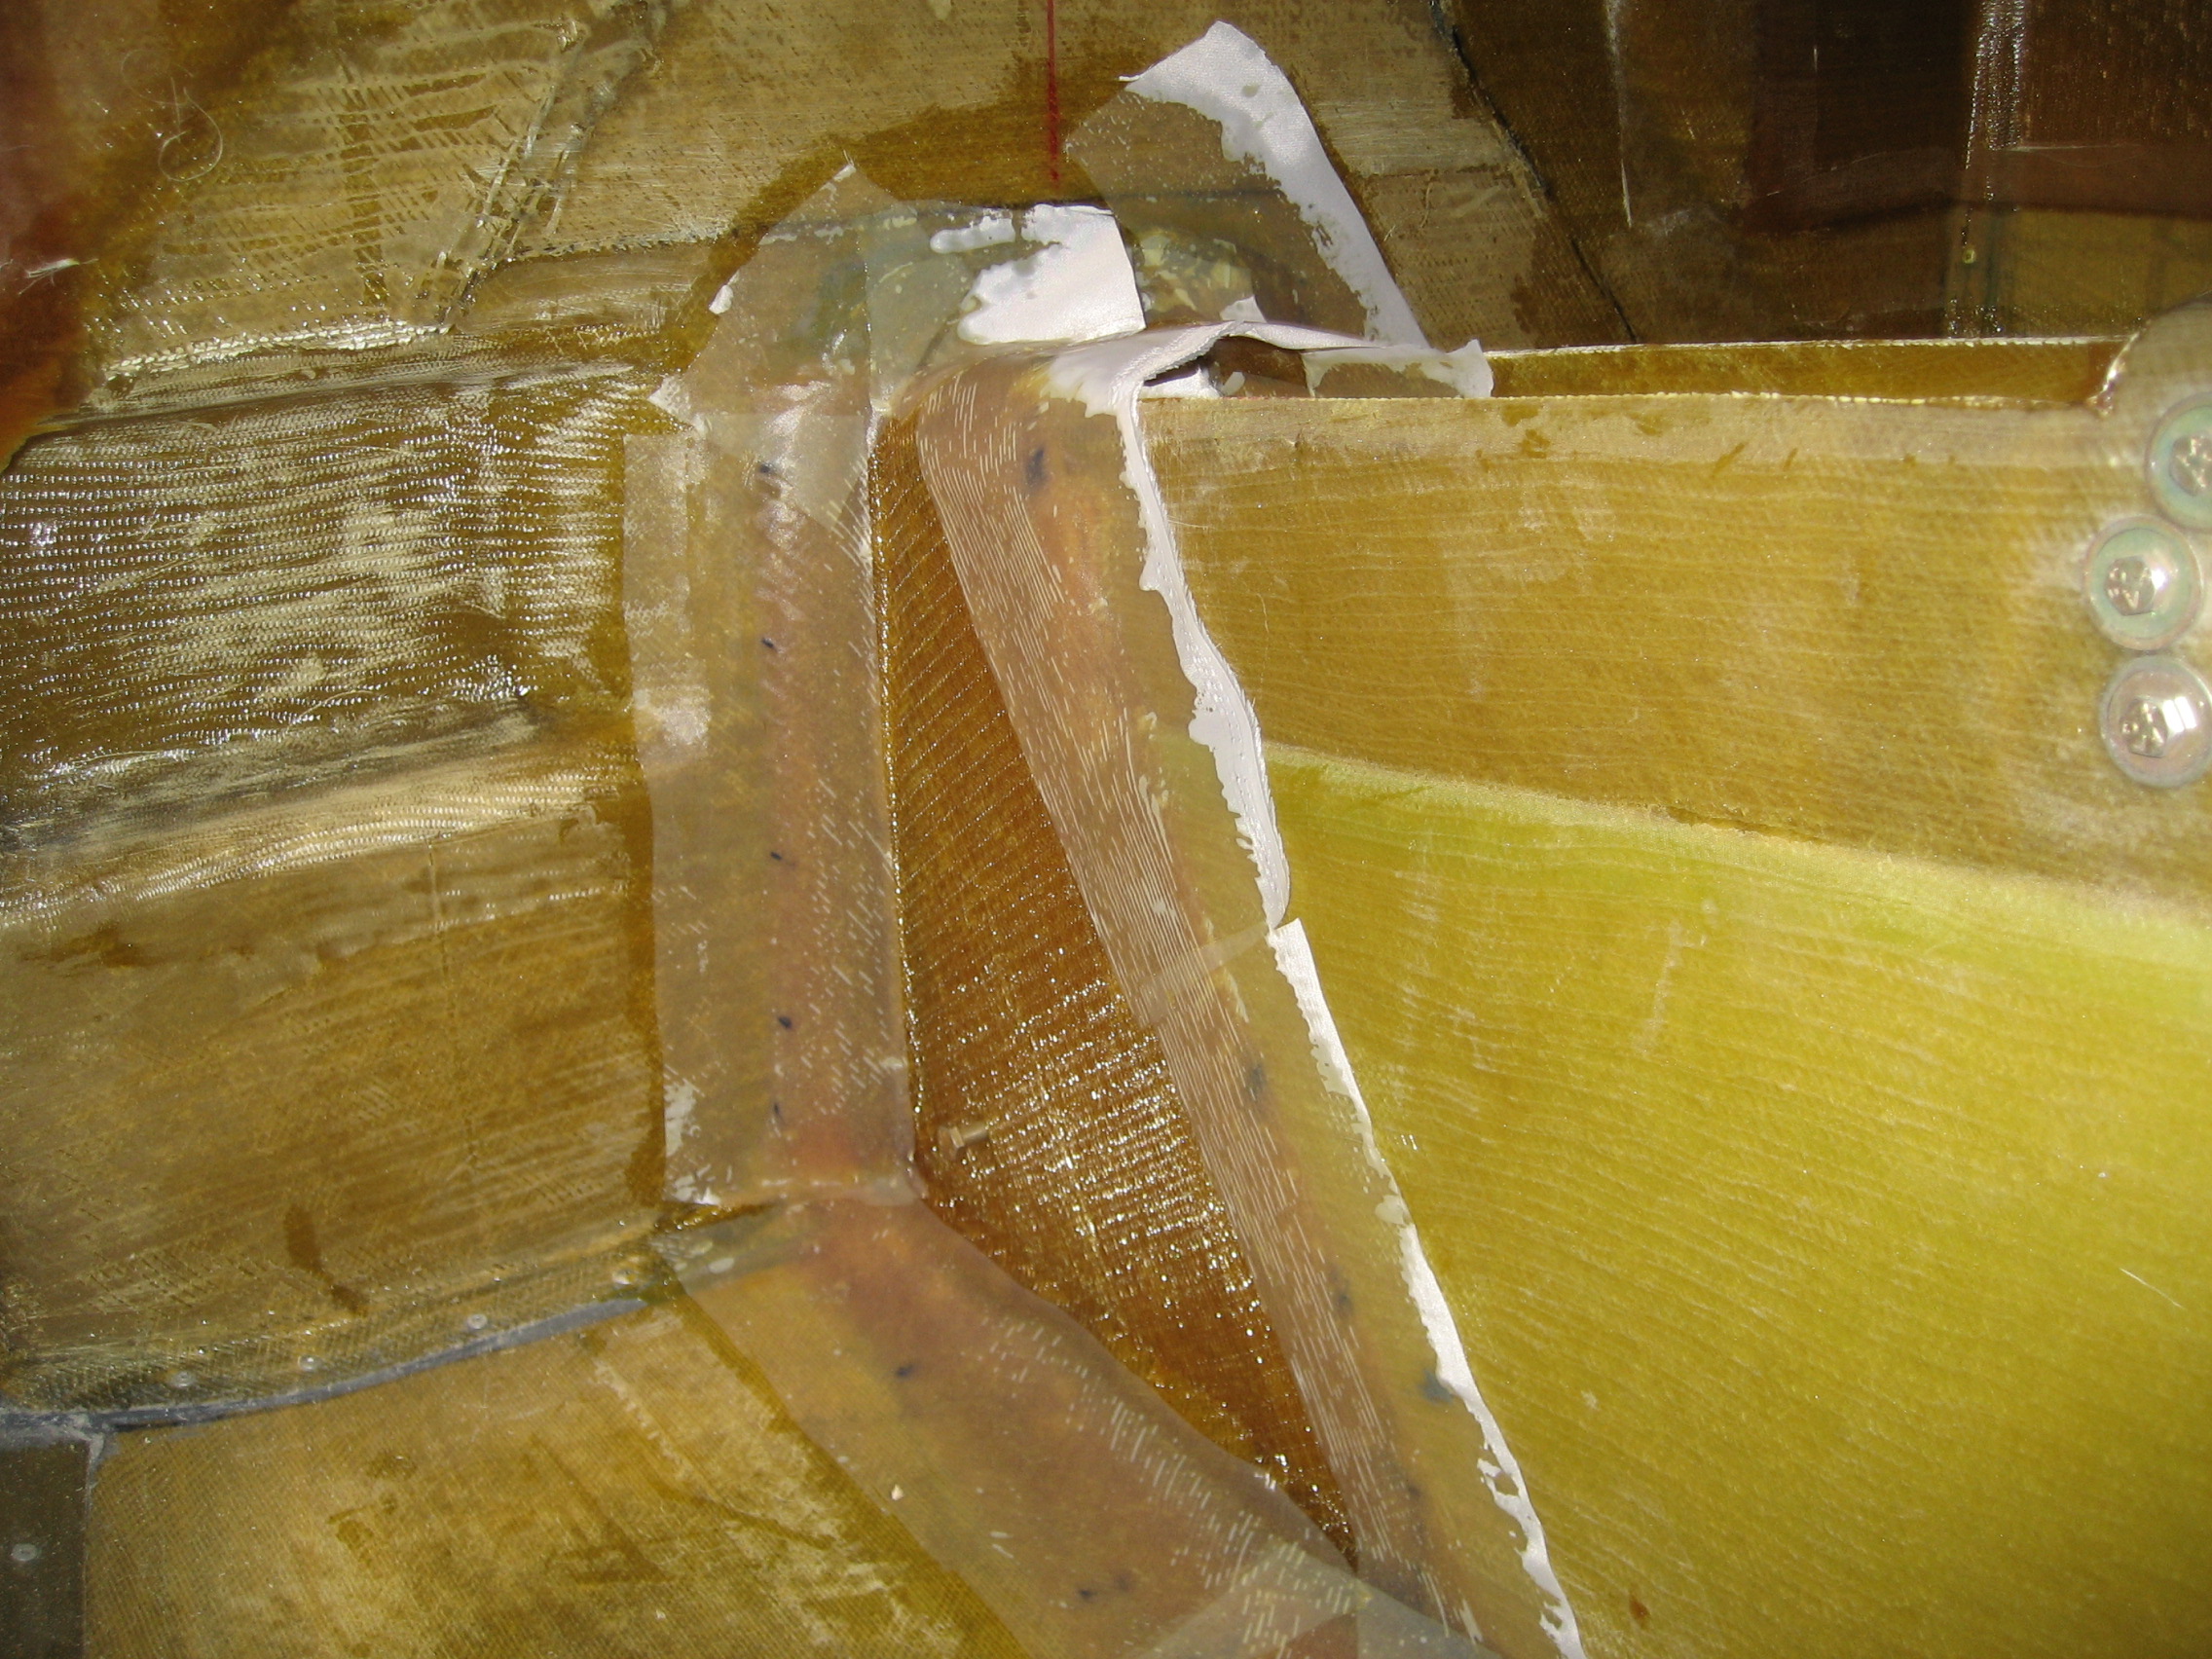
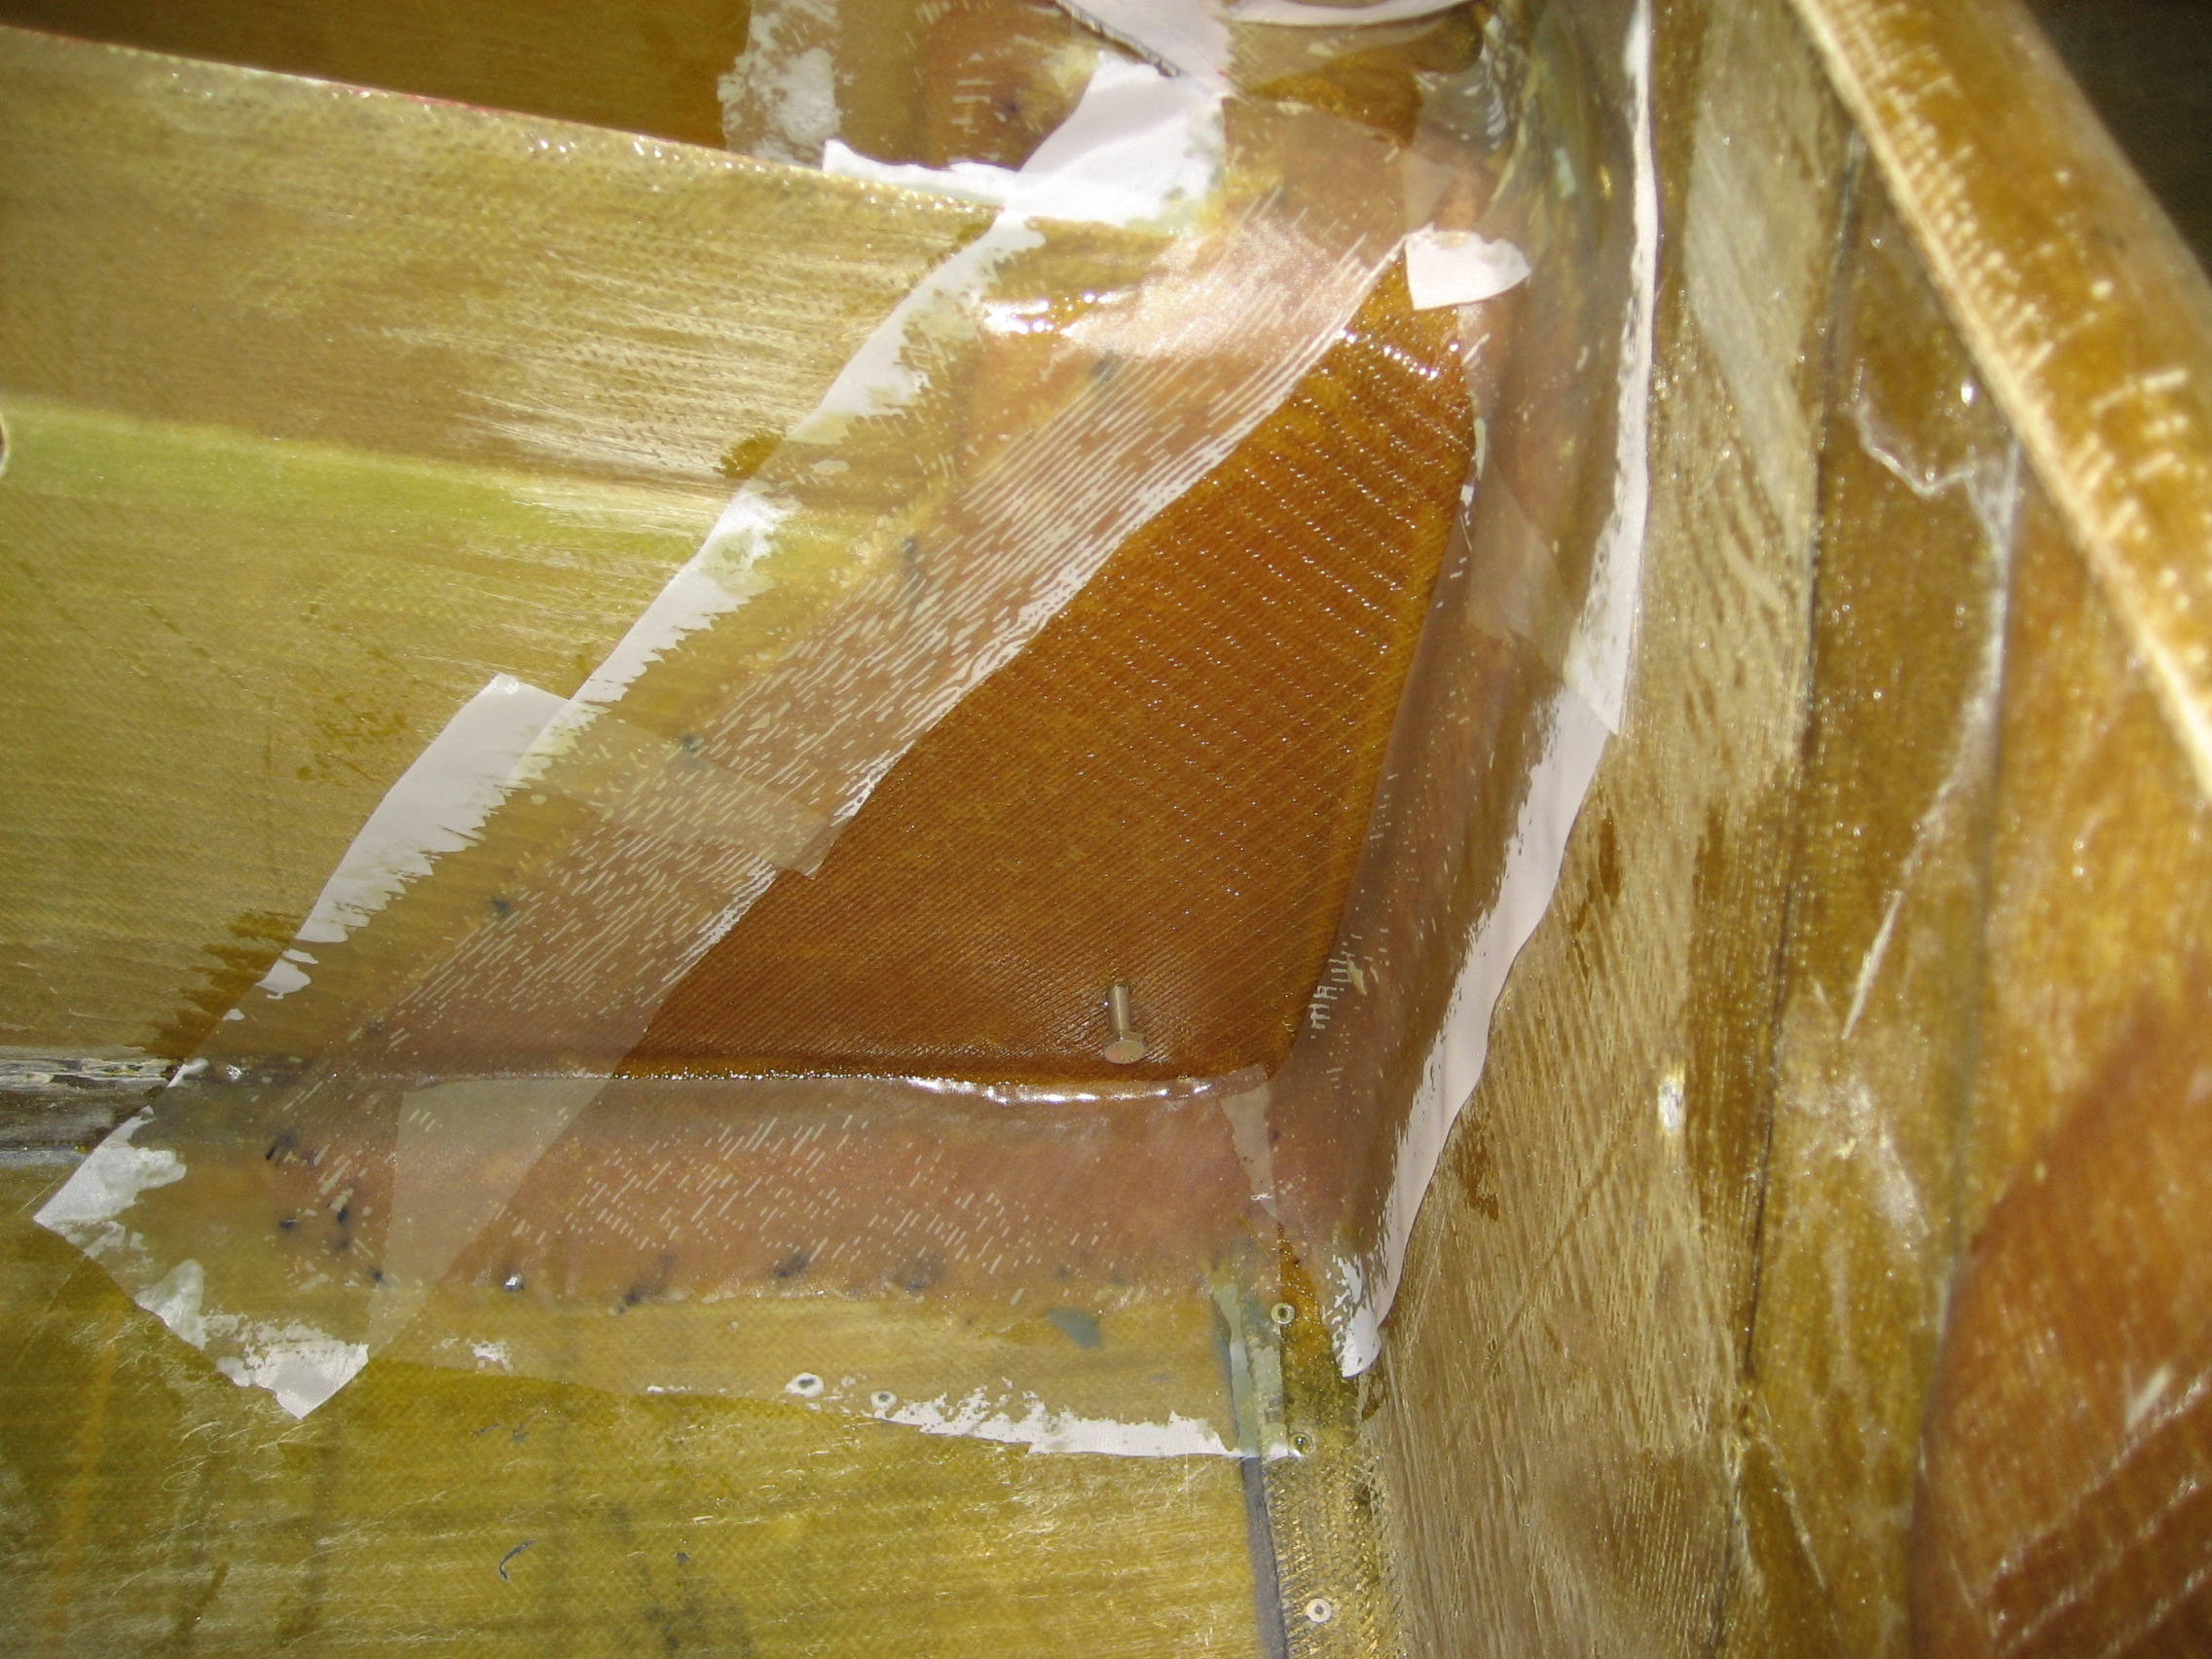
Then it’s time for lot’s of heavy layups. Most of these go around the front of the keel where it attaches to the canard bulkhead.

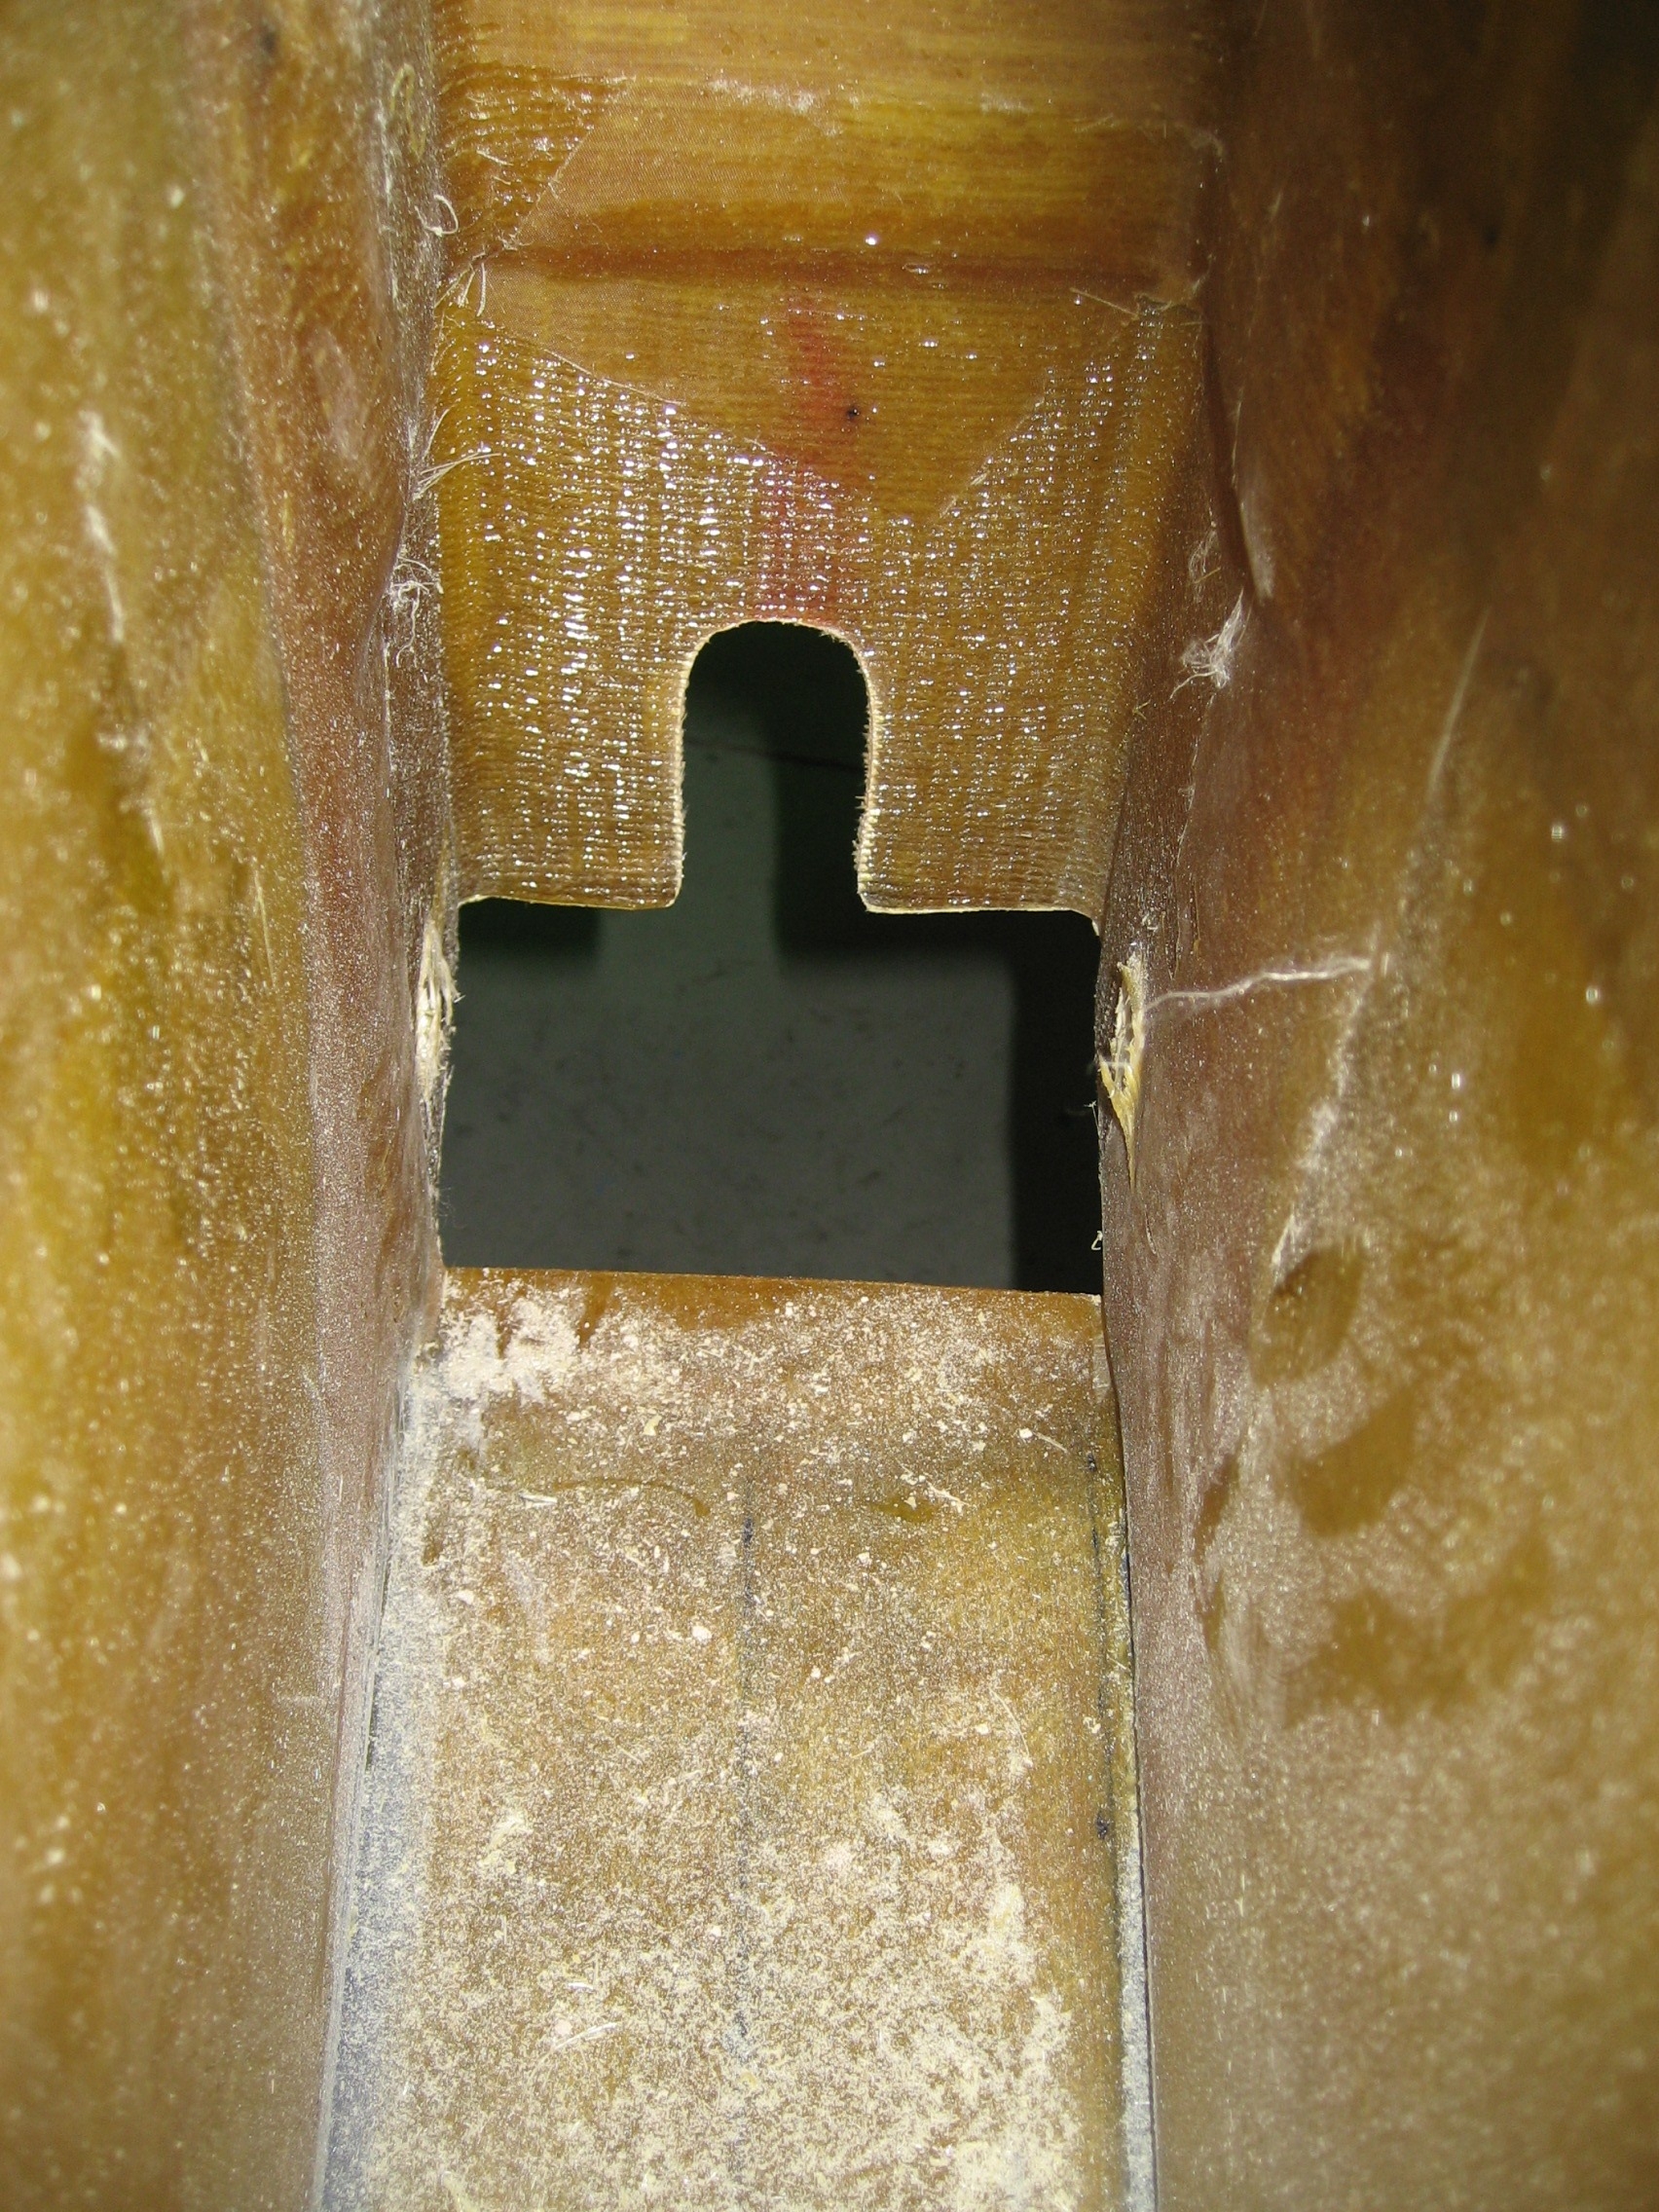
Once those layups have cured, the holes for the nose landing gear have to be opened back up.