- 9.7.1 Fuel Line Installation
- 9.7.1 Fuel Sump Drain
- 9.7.1 Fuel vent lines
- 9.7.1 Fuel supply line
- 9.7 Fuel Shutoff Valves
- 9.5.1 Sump Tank Hardpoints
- 9.5.1 Sump Tank Hardpoints
- 9.5.2 Install Sump Tank Cover
- 9.0 Strakes
- 9.2.3 Lower Strake Alignment
- 9.3.1 Fitting Wheel Well
- 9.3.2 Baffles and Bulkheads
- 9.4.2 Fitting Upper Strake
- 9.4.3 Upper Strake Installation
- 9.5.5 Sump Tank Installation
- 9.4.1 Fuel Cap Remediation
- 9.7 Fuel Shutoff Valves
- 9.99 Fuel Imbalance
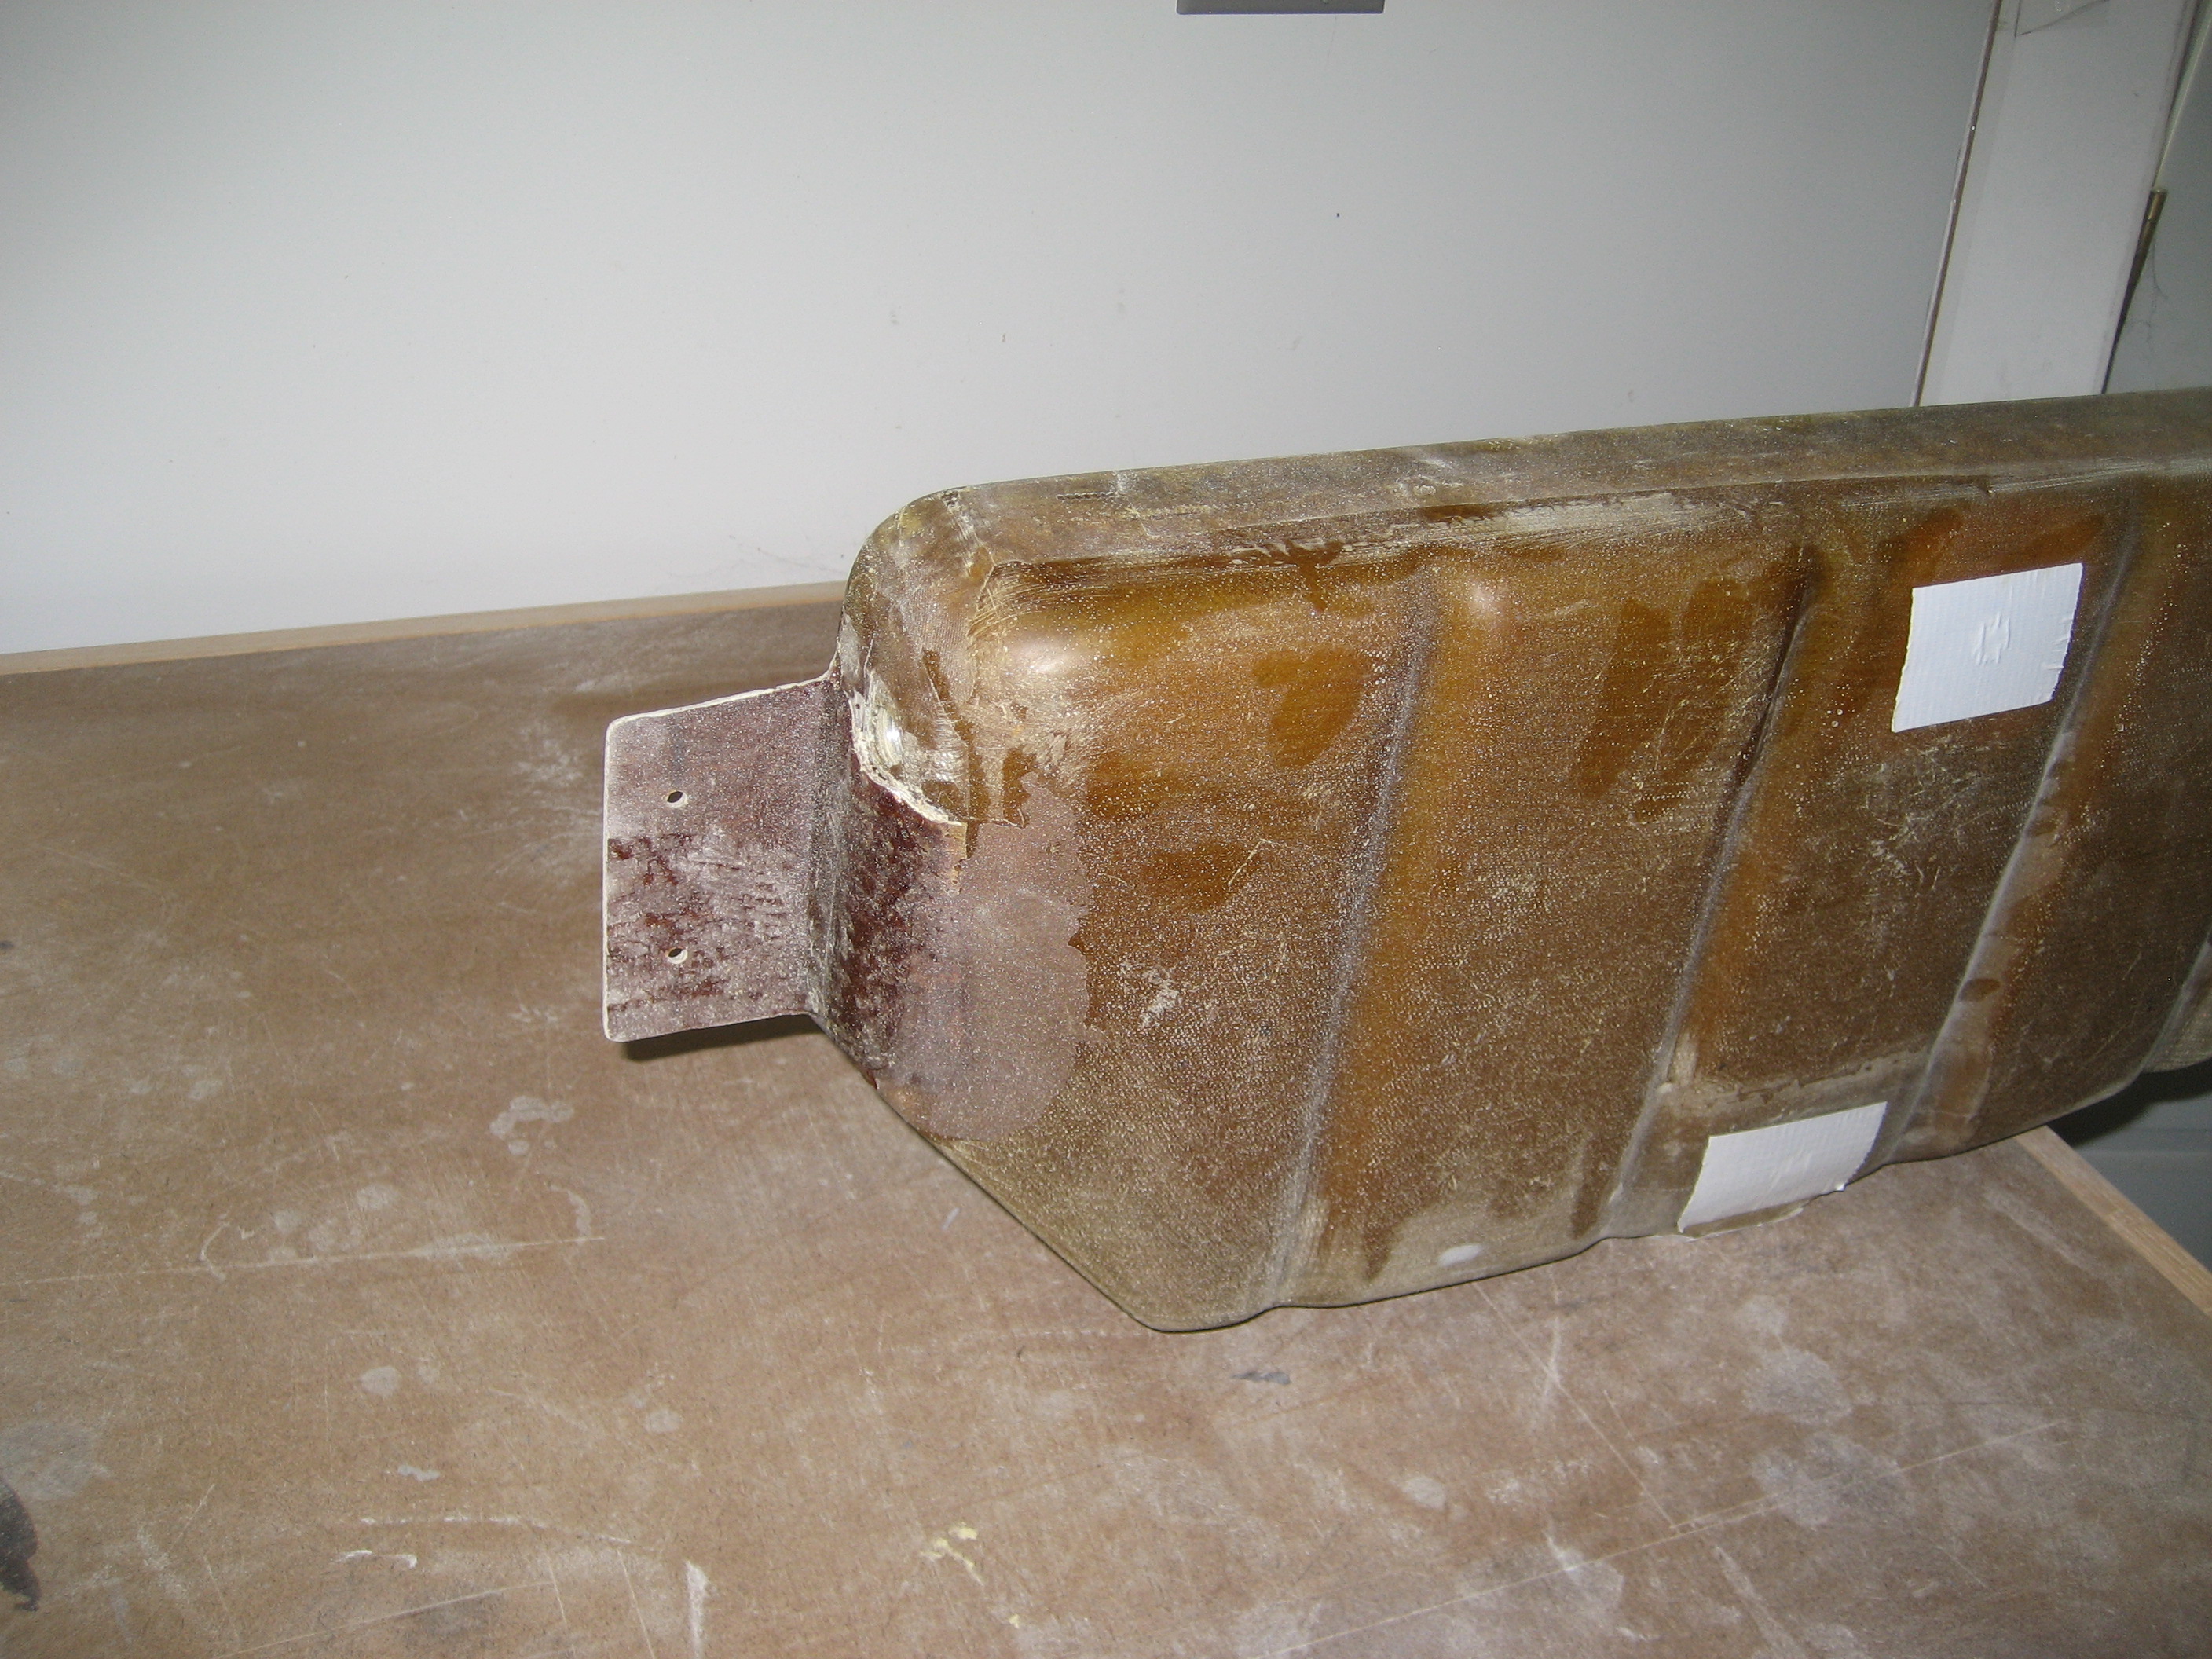
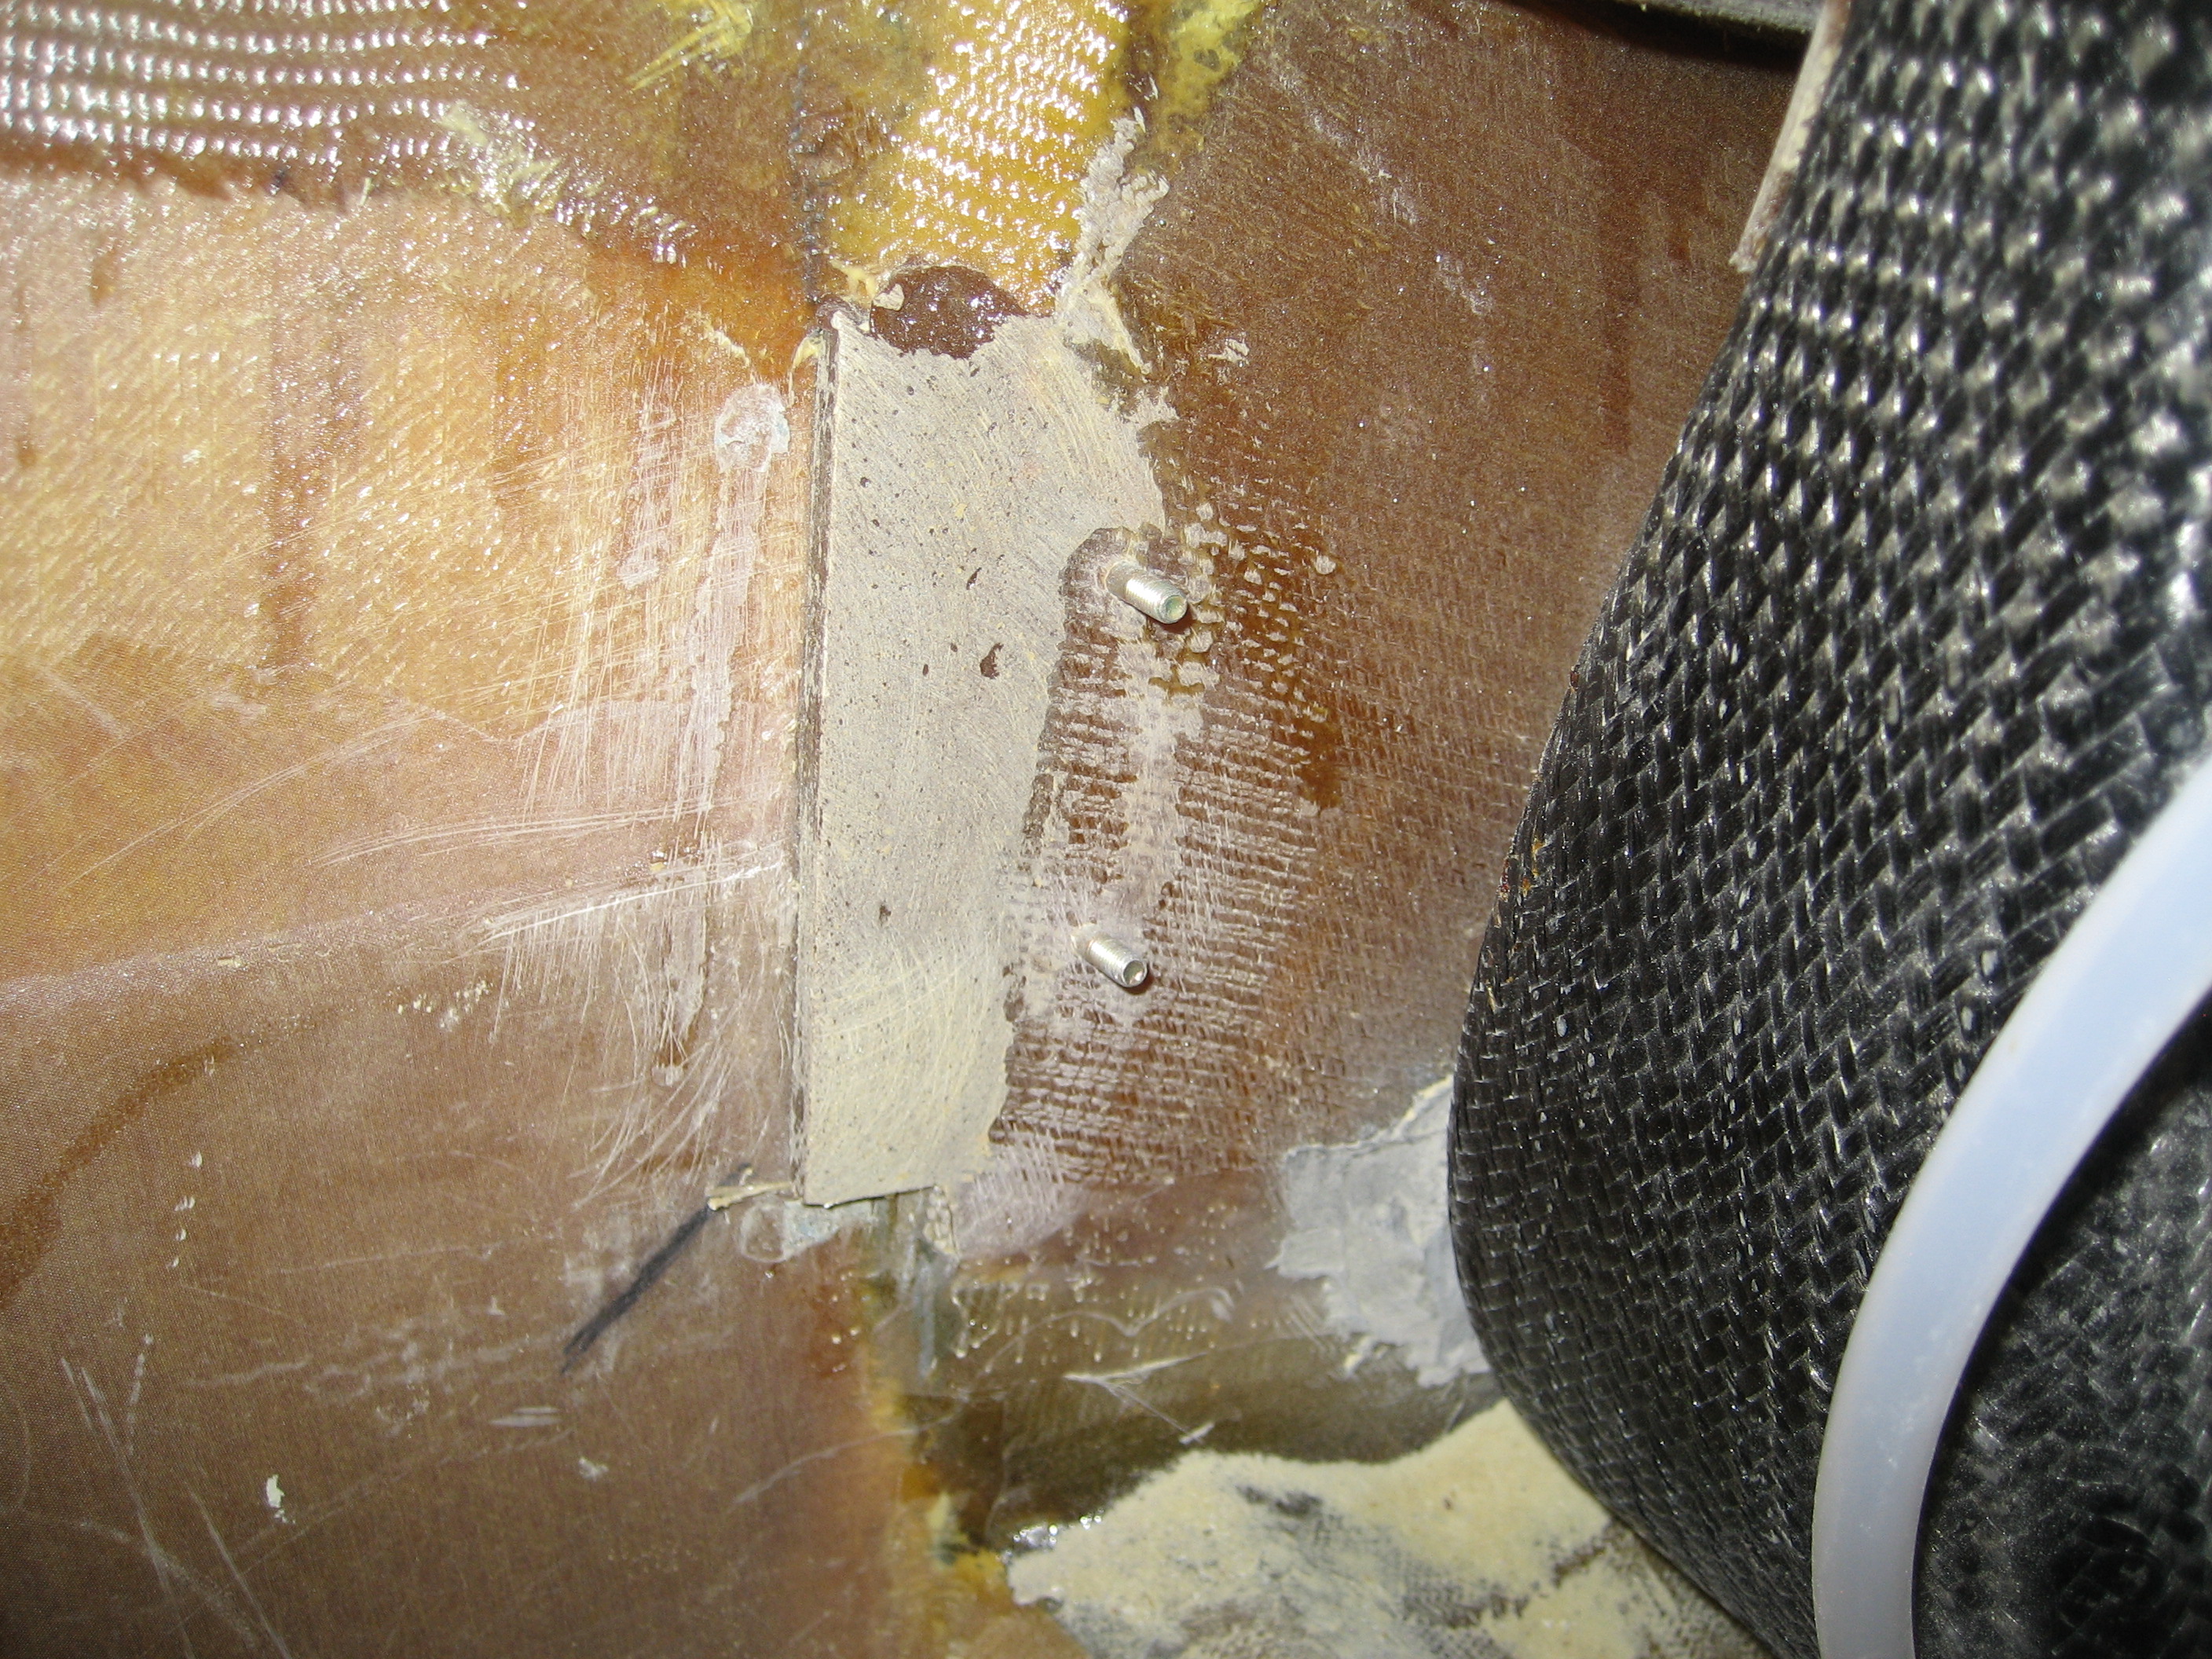
When I went to mount the sump tank, I had another surprise. This one was somewhat self inflicted. When I created the mounting tabs on the sump tank (according to the manual), I made them flush with the back of the tank.

The problem is that the surface where the tank mounts is not flat. Part of the transverse bulkhead layup extends out to where the tabs are. In this picture one edge of the sump tank is just to the right of the center of the picture. I could have left the original tabs on, but then the tank would be sticking out about a quarter inch from the firewall. So I ground off the old tabs.

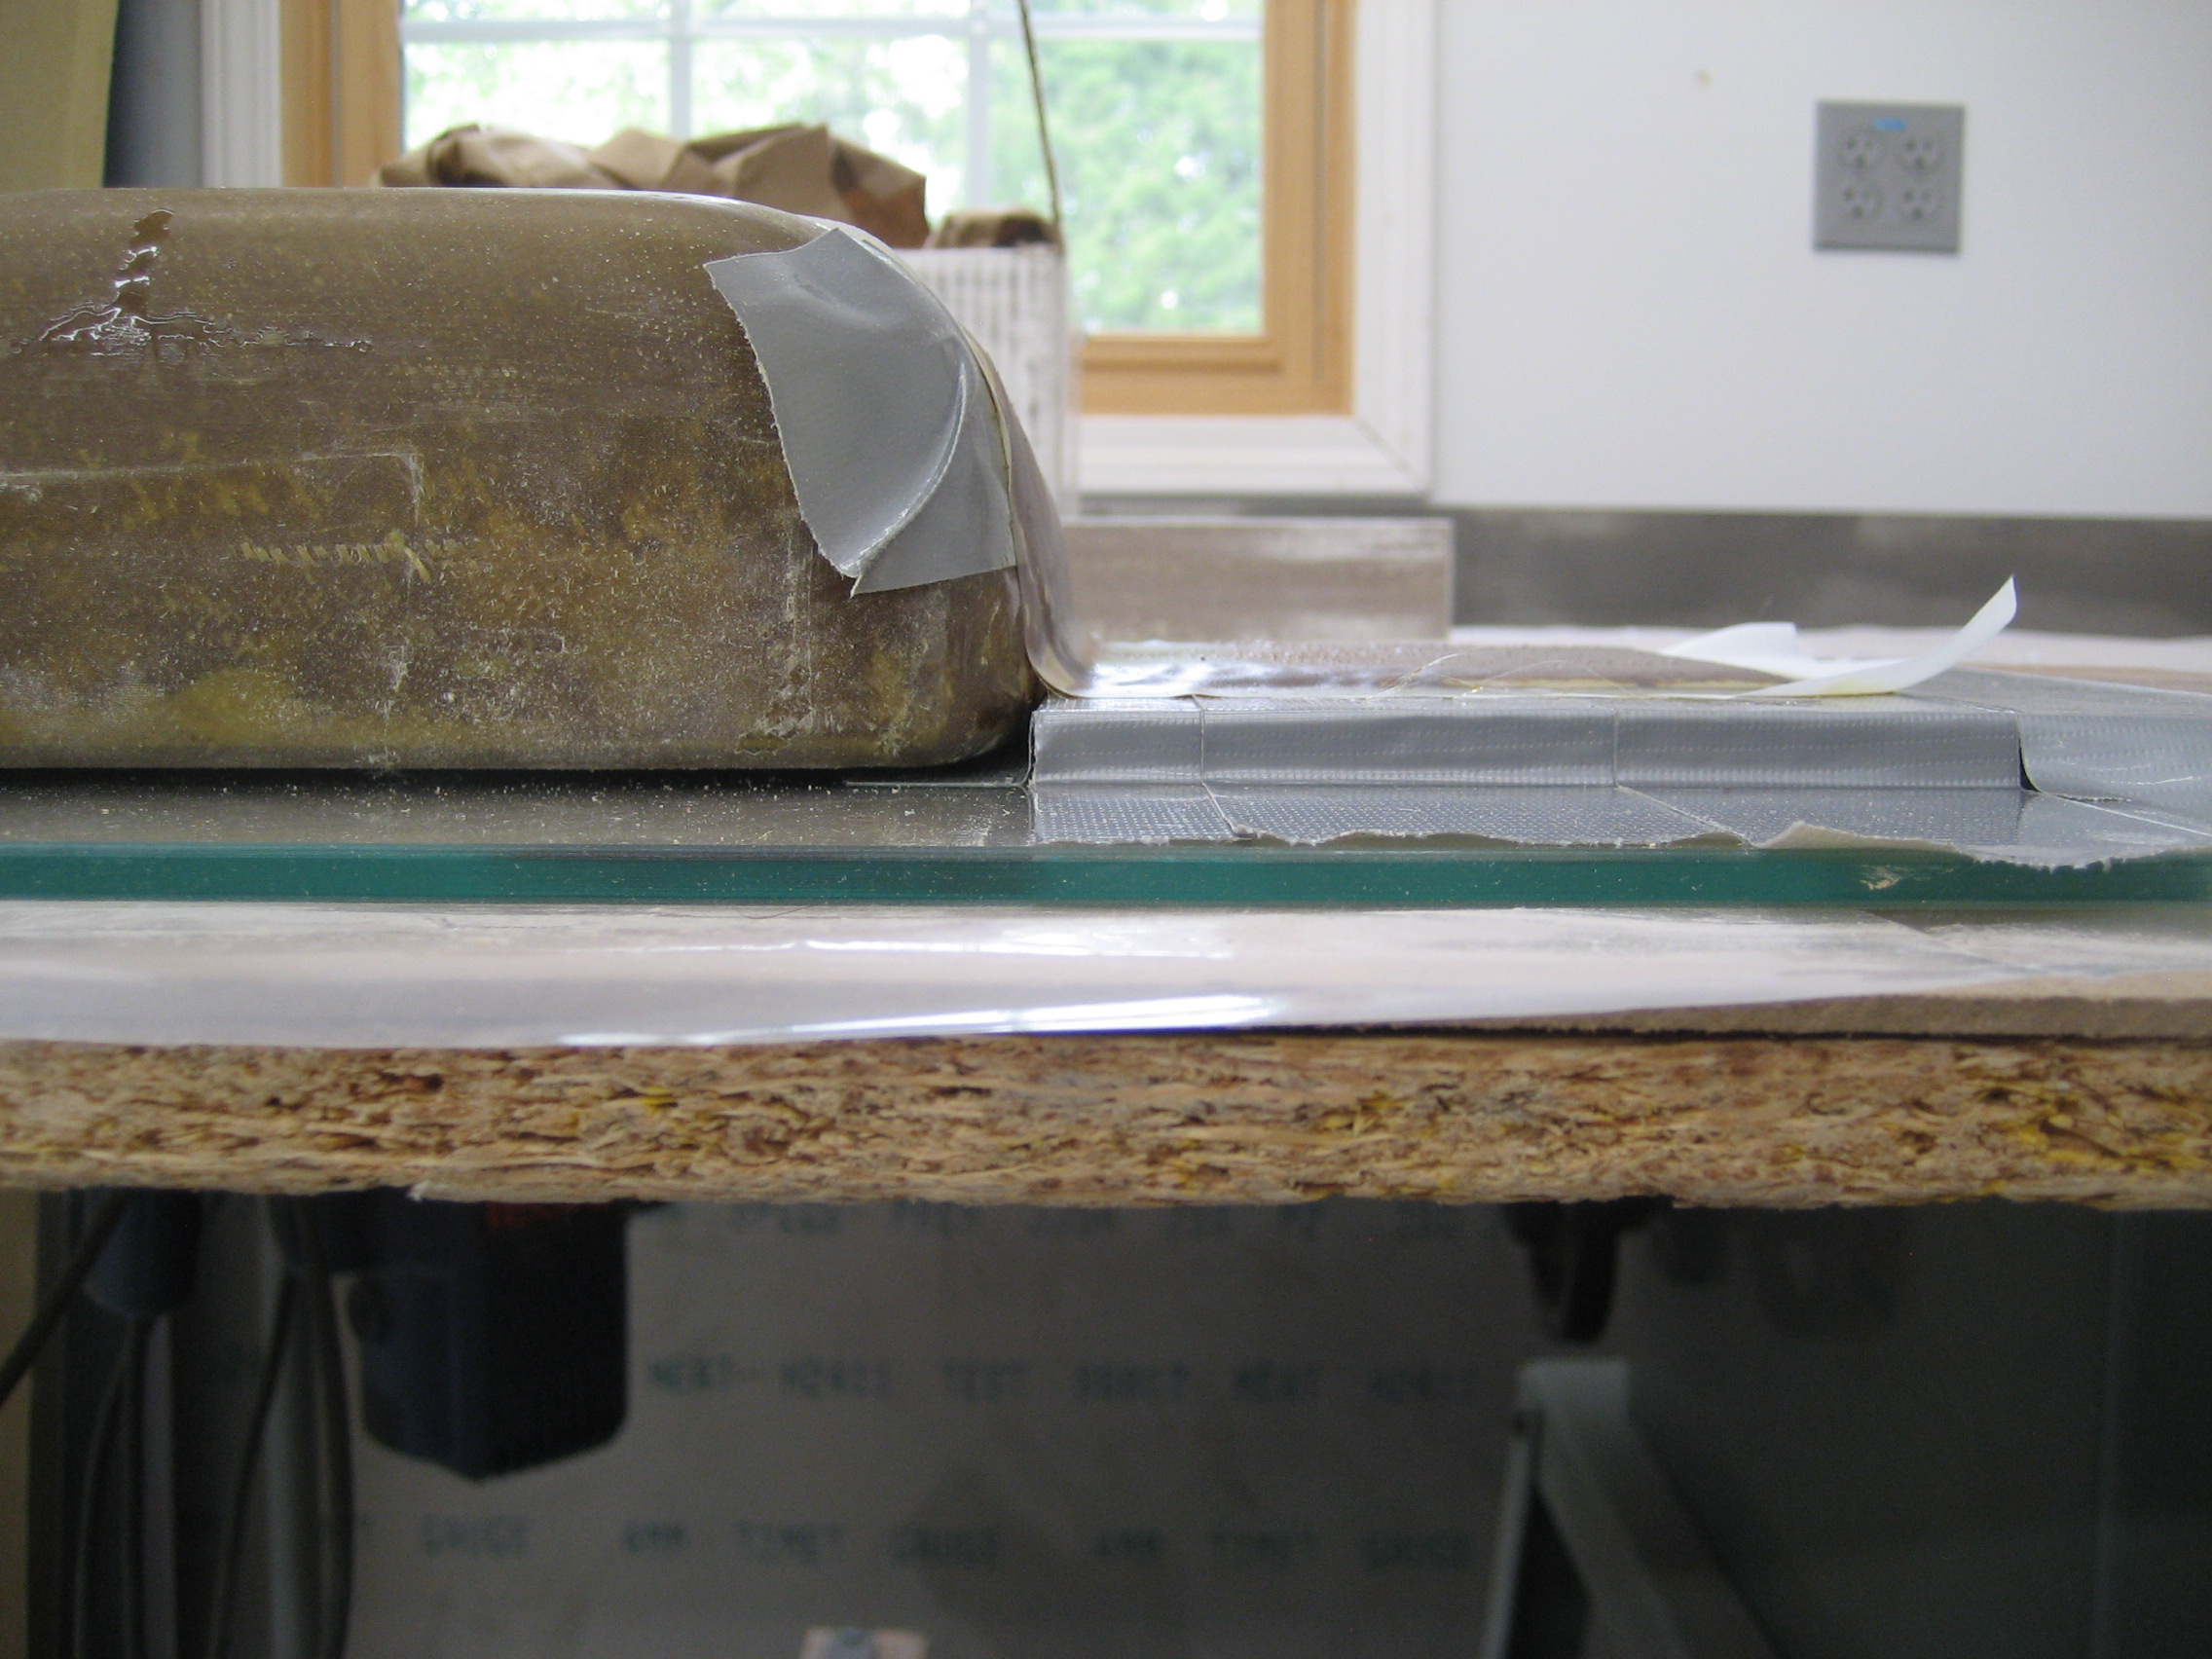
And made some offset tabs. So I got my handy sheet of “Layup glass” (A Hangar 18 term for a big sheet of glass that you wax up) and made some risers for the mounting pads.


Then I put the glass and epoxy down and let it cure.
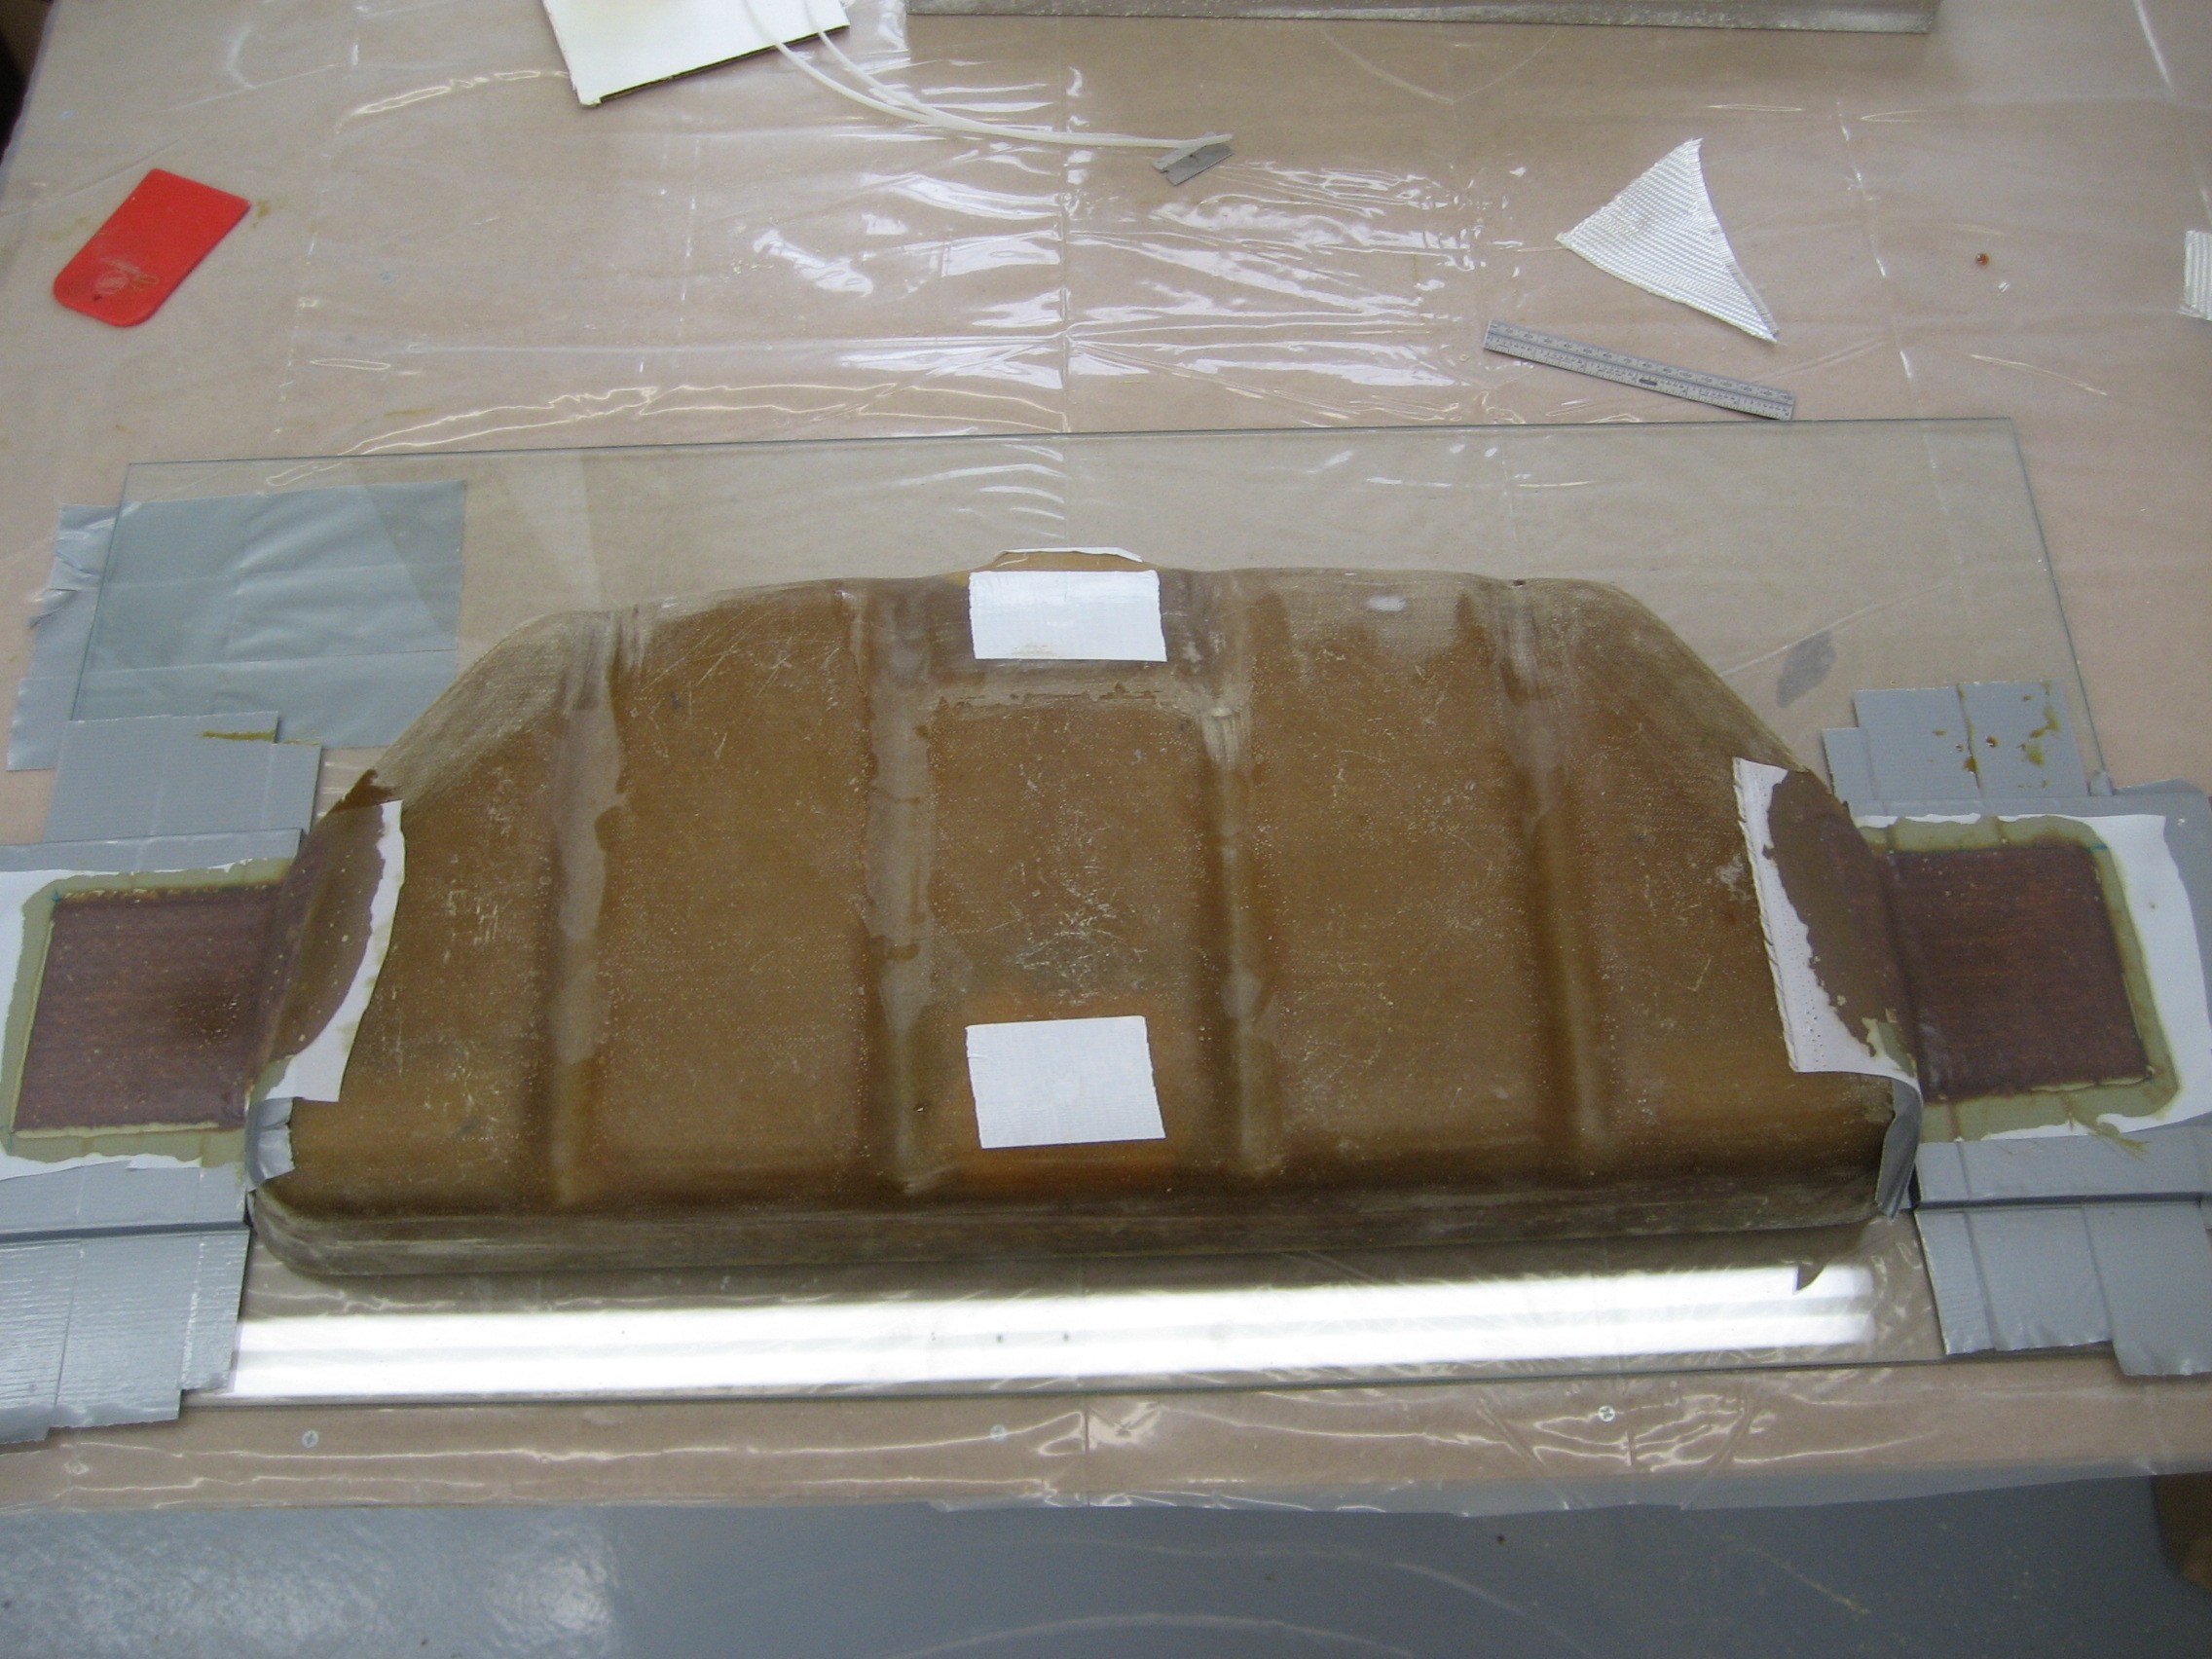
Finished sump tank with offset mounting tabs
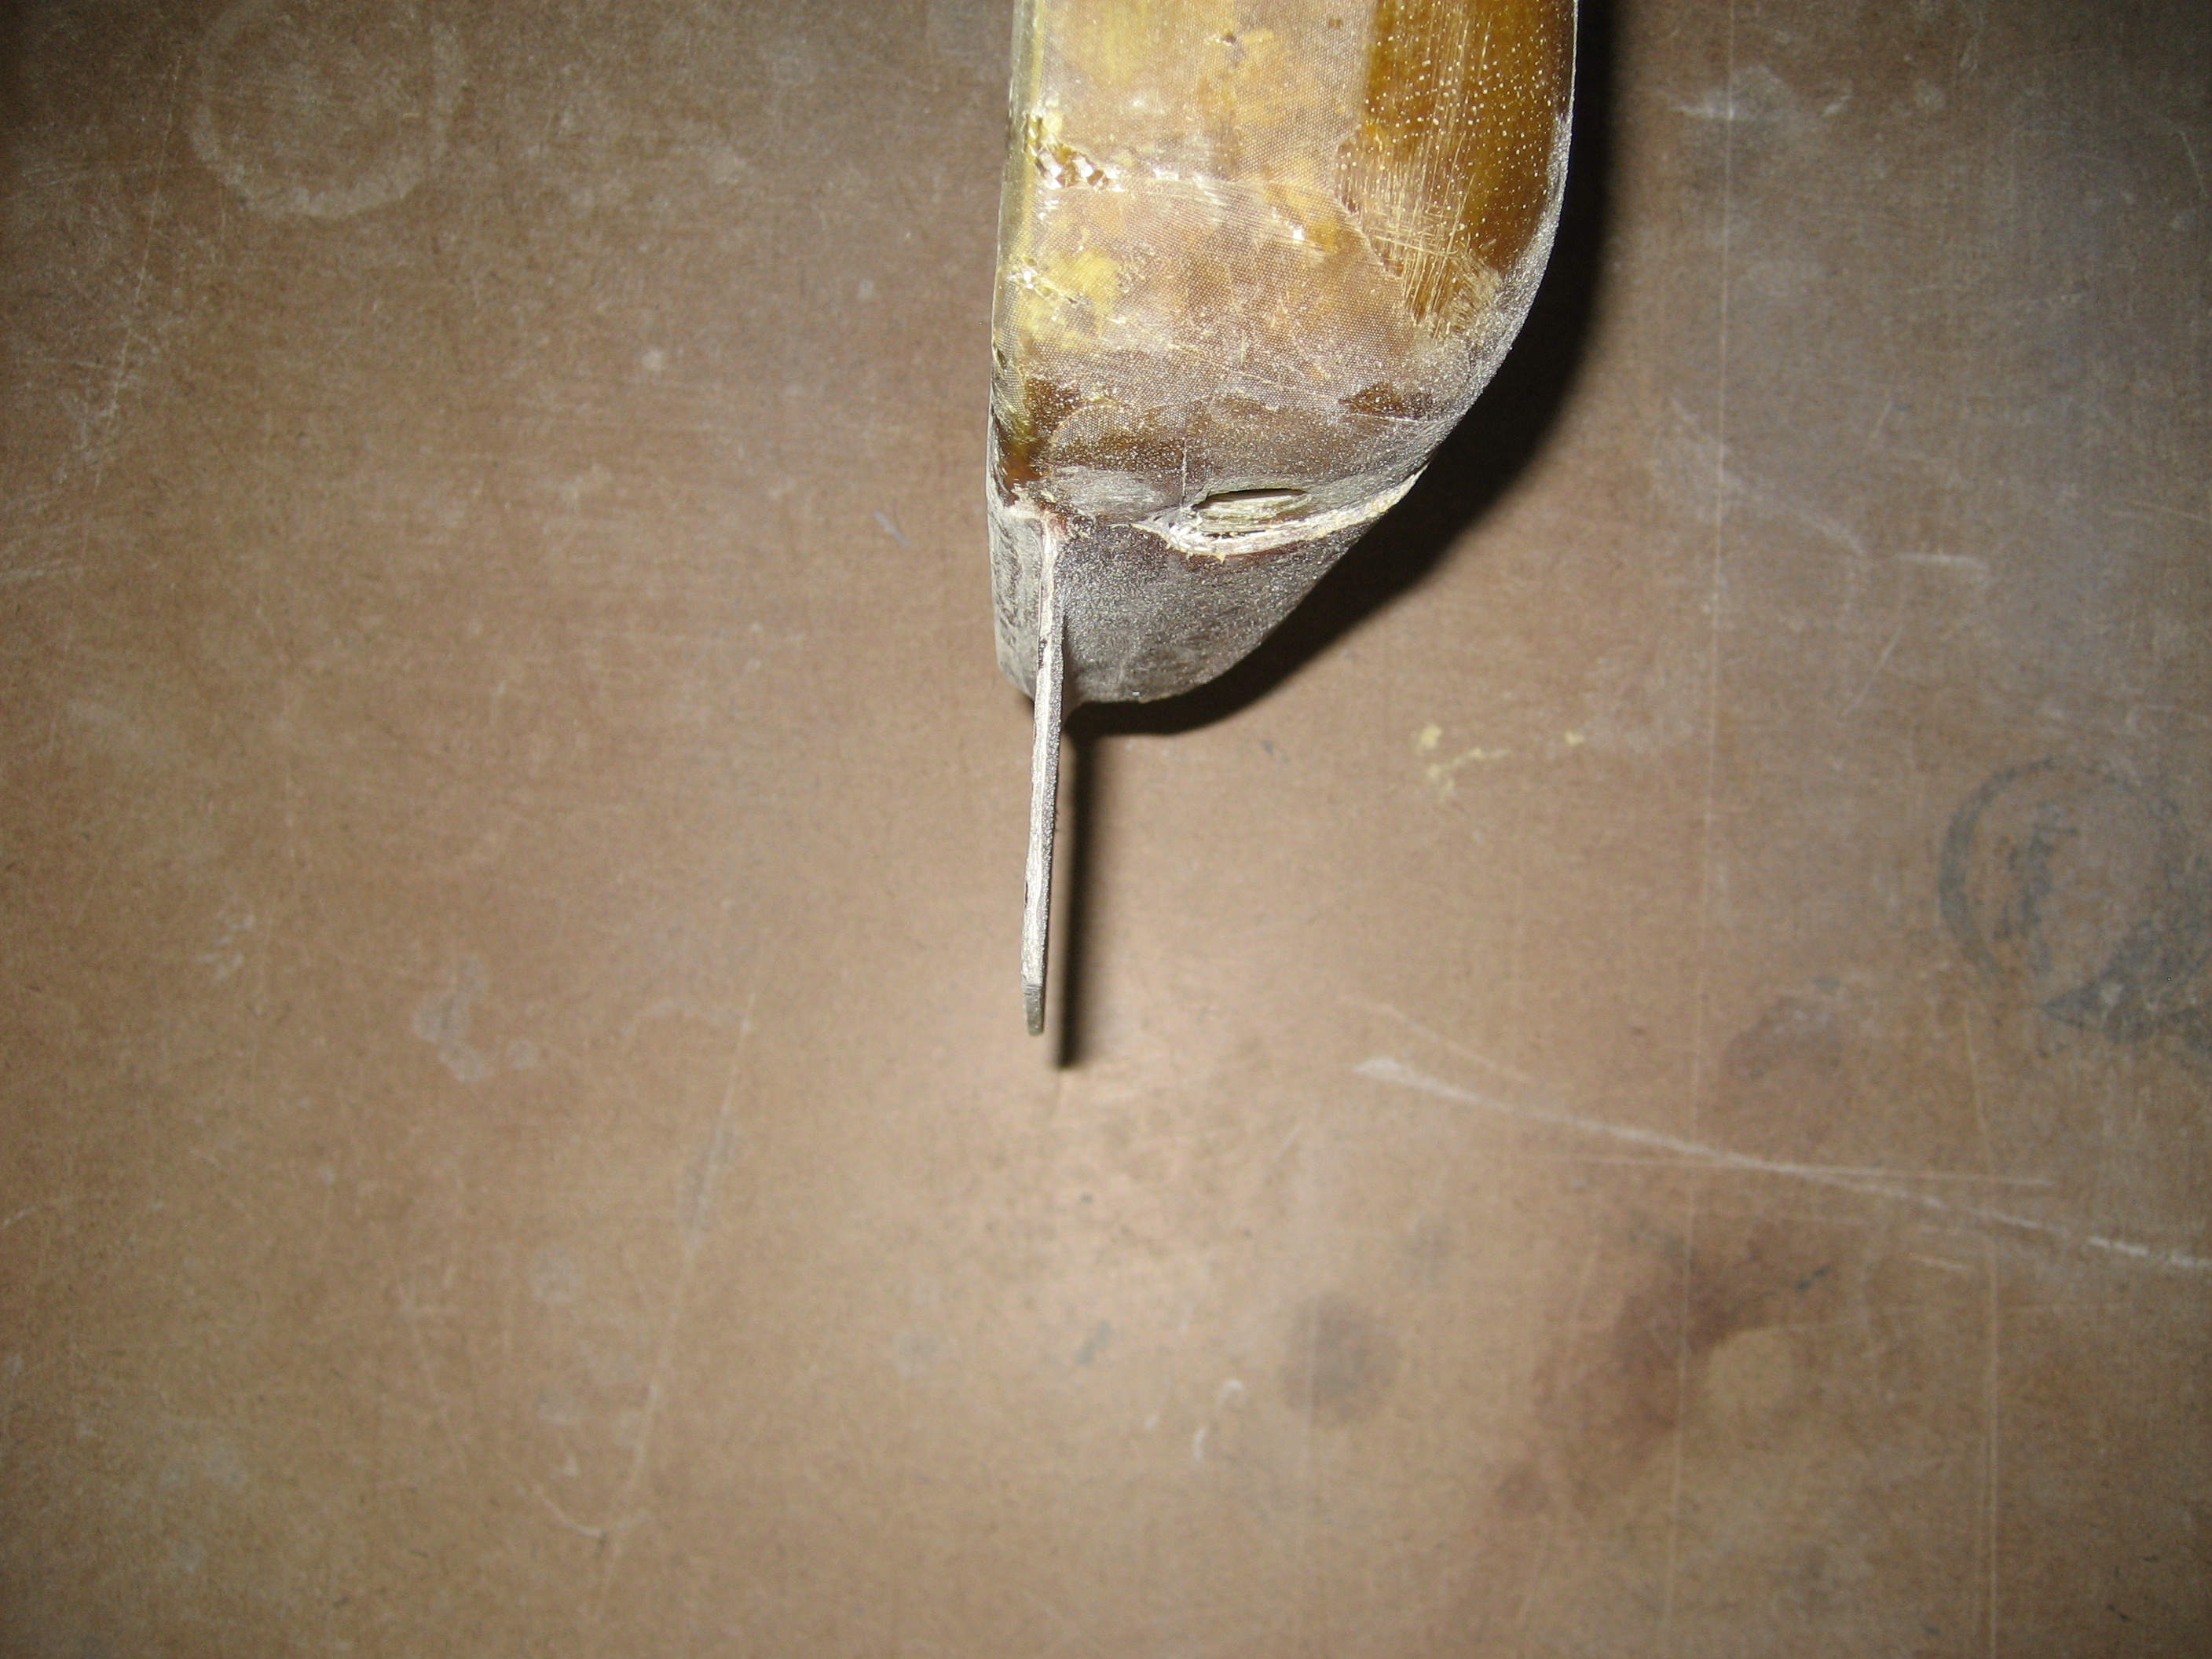
To mount it you’re supposed to drill through the firewall and use a four bolts and nuts. But then you need two people to loosen or tighten the bolts. So I used a Hangar 18 trick. After I drilled the holes, I enlarged them on the firewall side so the head of the bolt would be lower than the surface. Then I put the bolts in and covered the heads with epoxy/micro.
Firewall side showing two countersunk bolts with epoxy.

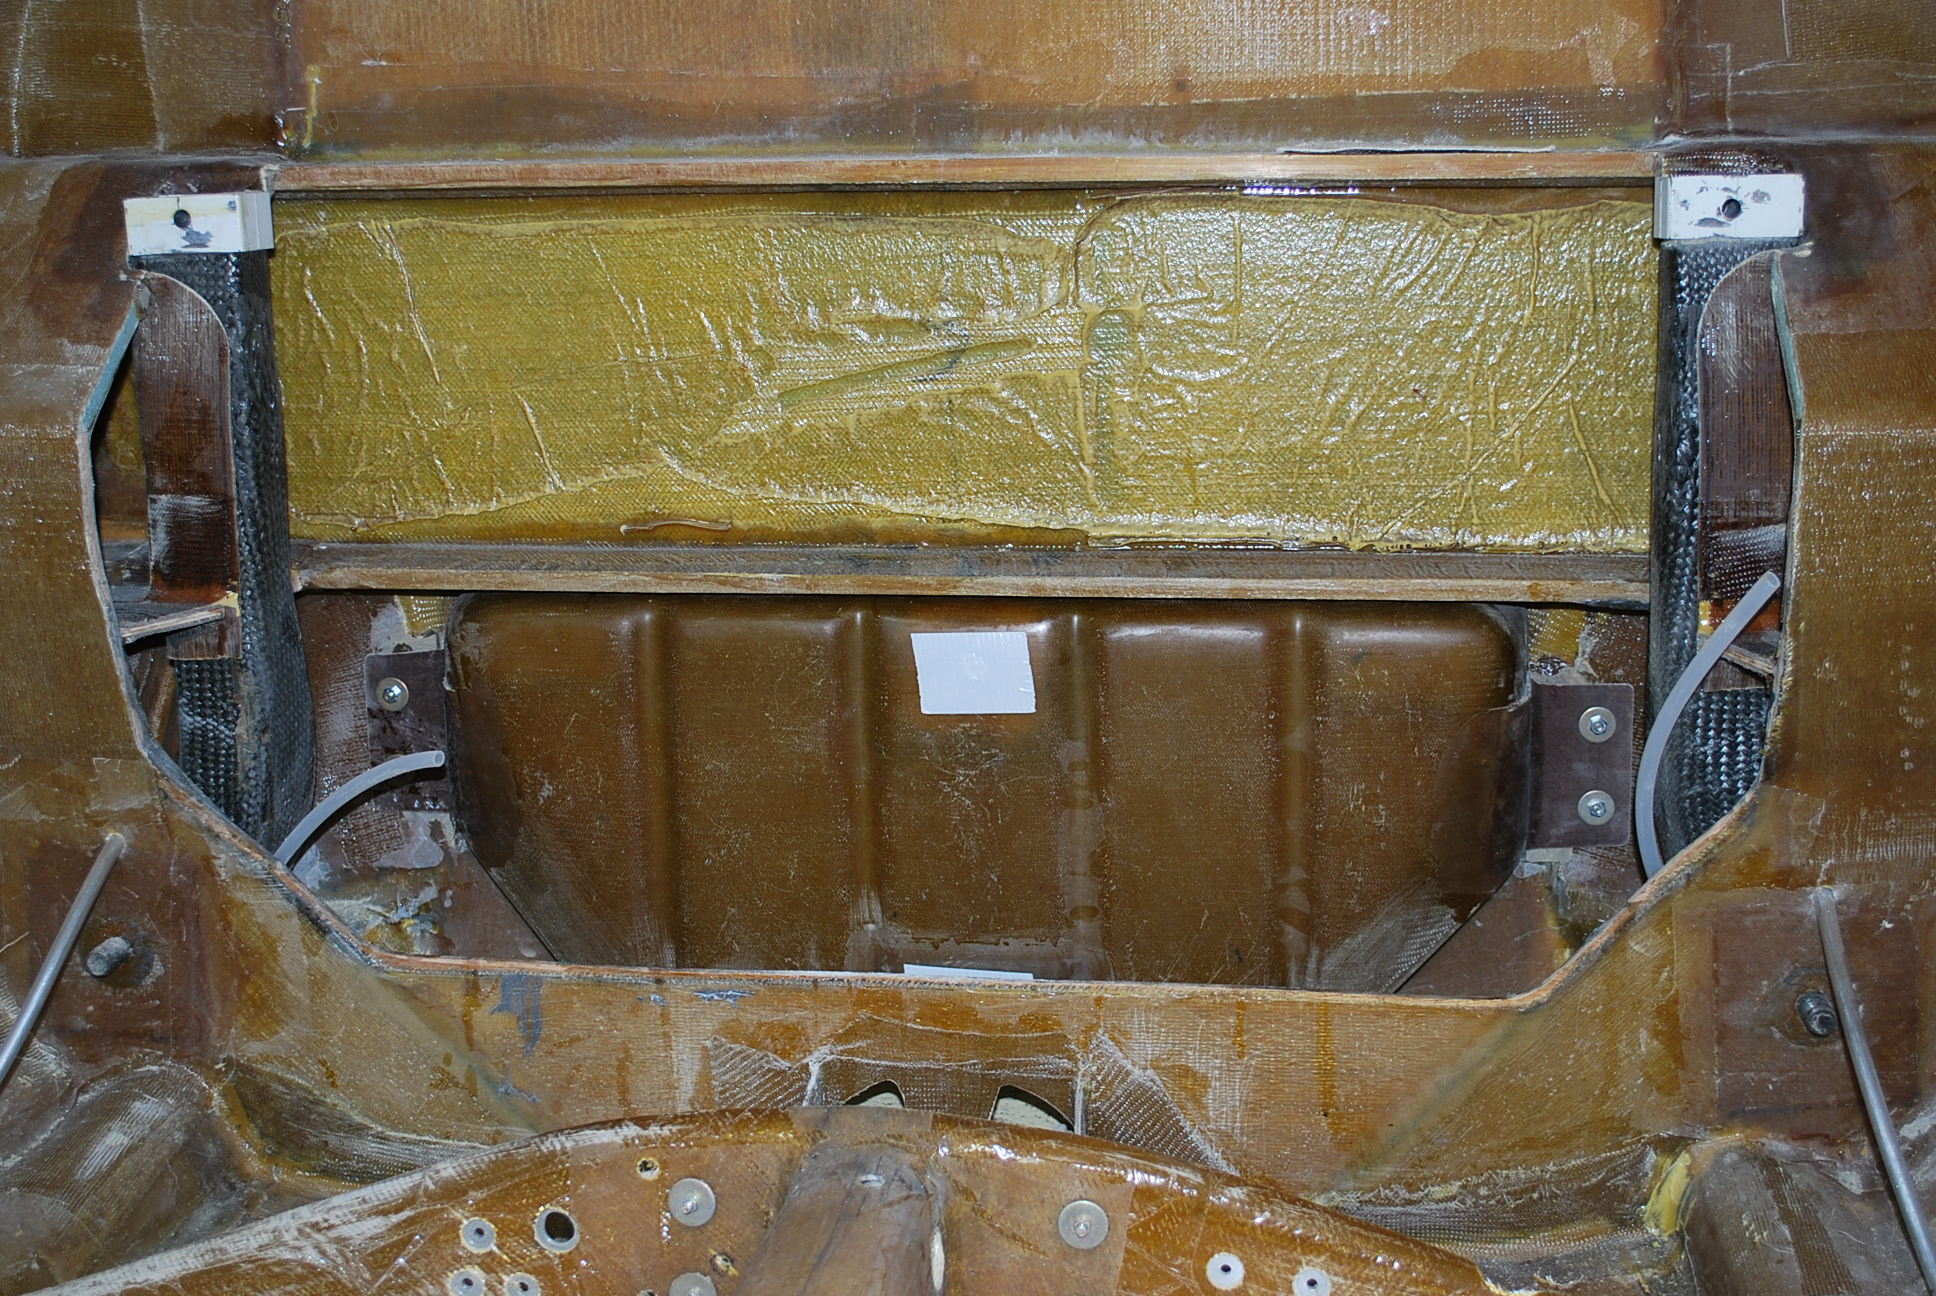
Inside left view with the two bolts.
Sump tank installed and bolted in position.