00 The Velocity is coming home!

This entry is part 12 of 28 in the series 00 - Prep/Logistics

So 18 months ago when Ann saw a move south was imminent, we had to figure out what to do with the airplane. The chances of finding a house with a shop big enough for the plane was not very likely. So the plan was to ship it to Malcolm. I could make the short (40 minute) flight from NW Atlanta to work on it while I was trying to find a place for the plane. Or if we never found a place for it, I could always commute..

But the move didn’t happen. And shipping it all the way back up here was too much money. And there was a possibility that we would be moving at some point soon. So we waited. And I flew down to Greenville as often as possible. Logistics were a pain. I drove the explorer down and left it at the airport so I would have transportation when I was there. Whenever I had a class to teach that was anywhere near (400 miles is “near”, right?) Greenville, I would spend a couple days working on the plane with Malcolm. It took me a while but I eventually found a nice place to stay and got into a groove of heading down to South Carolina.

At this point, there doesn’t look like there’s any chance of move so we made the call to bring the plane back home.

The big day is scheduled to be February 25th. I’ll fly down (commercial) on the 22nd and finish up a couple tasks and then start prepping the plane for the trip back north.

I really can’t say enough good things about Malcolm. His glass work (fiberglass, that is) is just spectacular. And his eye on finish work is beyond reproach. After looking at other planes at Oshkosh and Sun-n-Fun, my plane (in primer) looks WAY better than quite a few finished (and painted) airplanes. The guy is a freaking artist. If the plane hadn’t spent the last 18 months down there, I probably wouldn’t be nearly as far along as I am now. By my estimation, 1 hour of “Malcolm time” is the equivalent of 8 hours (or more) of my time.

It’ll be nice to walk out to the shop whenever I want but without a doubt, things won’t move at the same pace as when me and Malcolm are working together.

00 The trip home

This entry is part 15 of 28 in the series 00 - Prep/Logistics

I flew down (commercial) on Wednesday into GSP. Thursday morning I took a cab to GYH (Donaldson Airport) and picked up the Explorer.

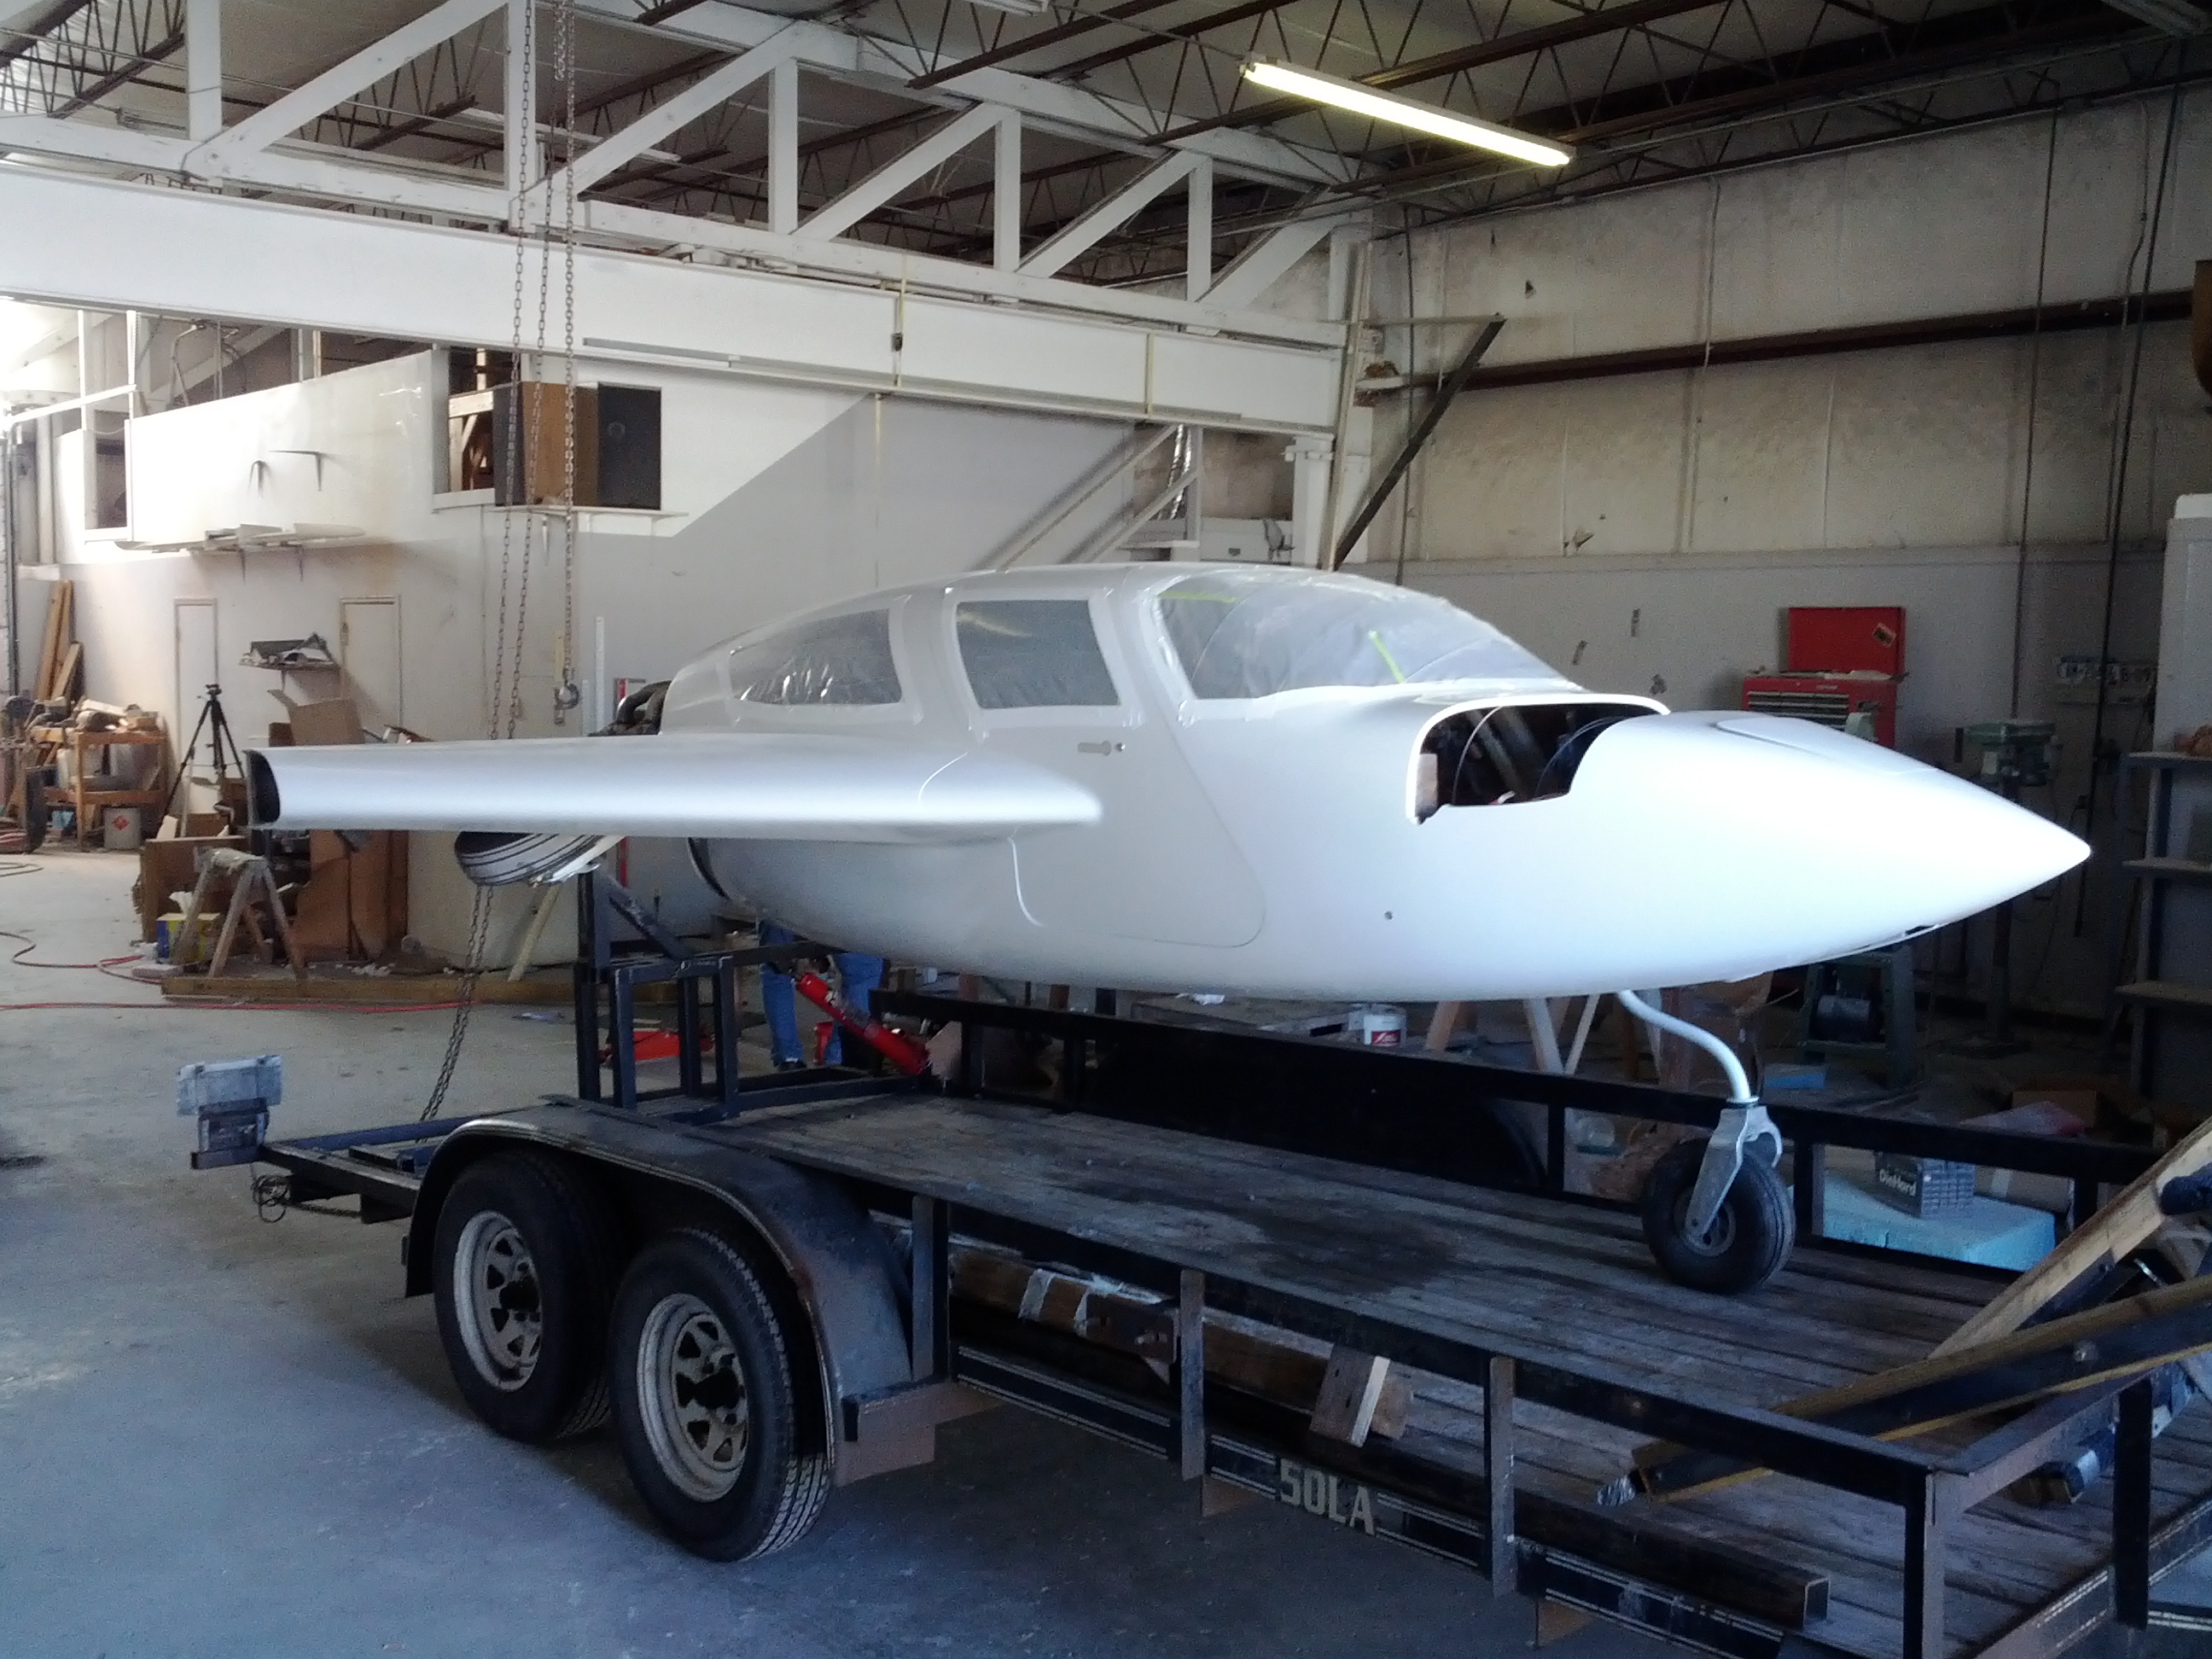
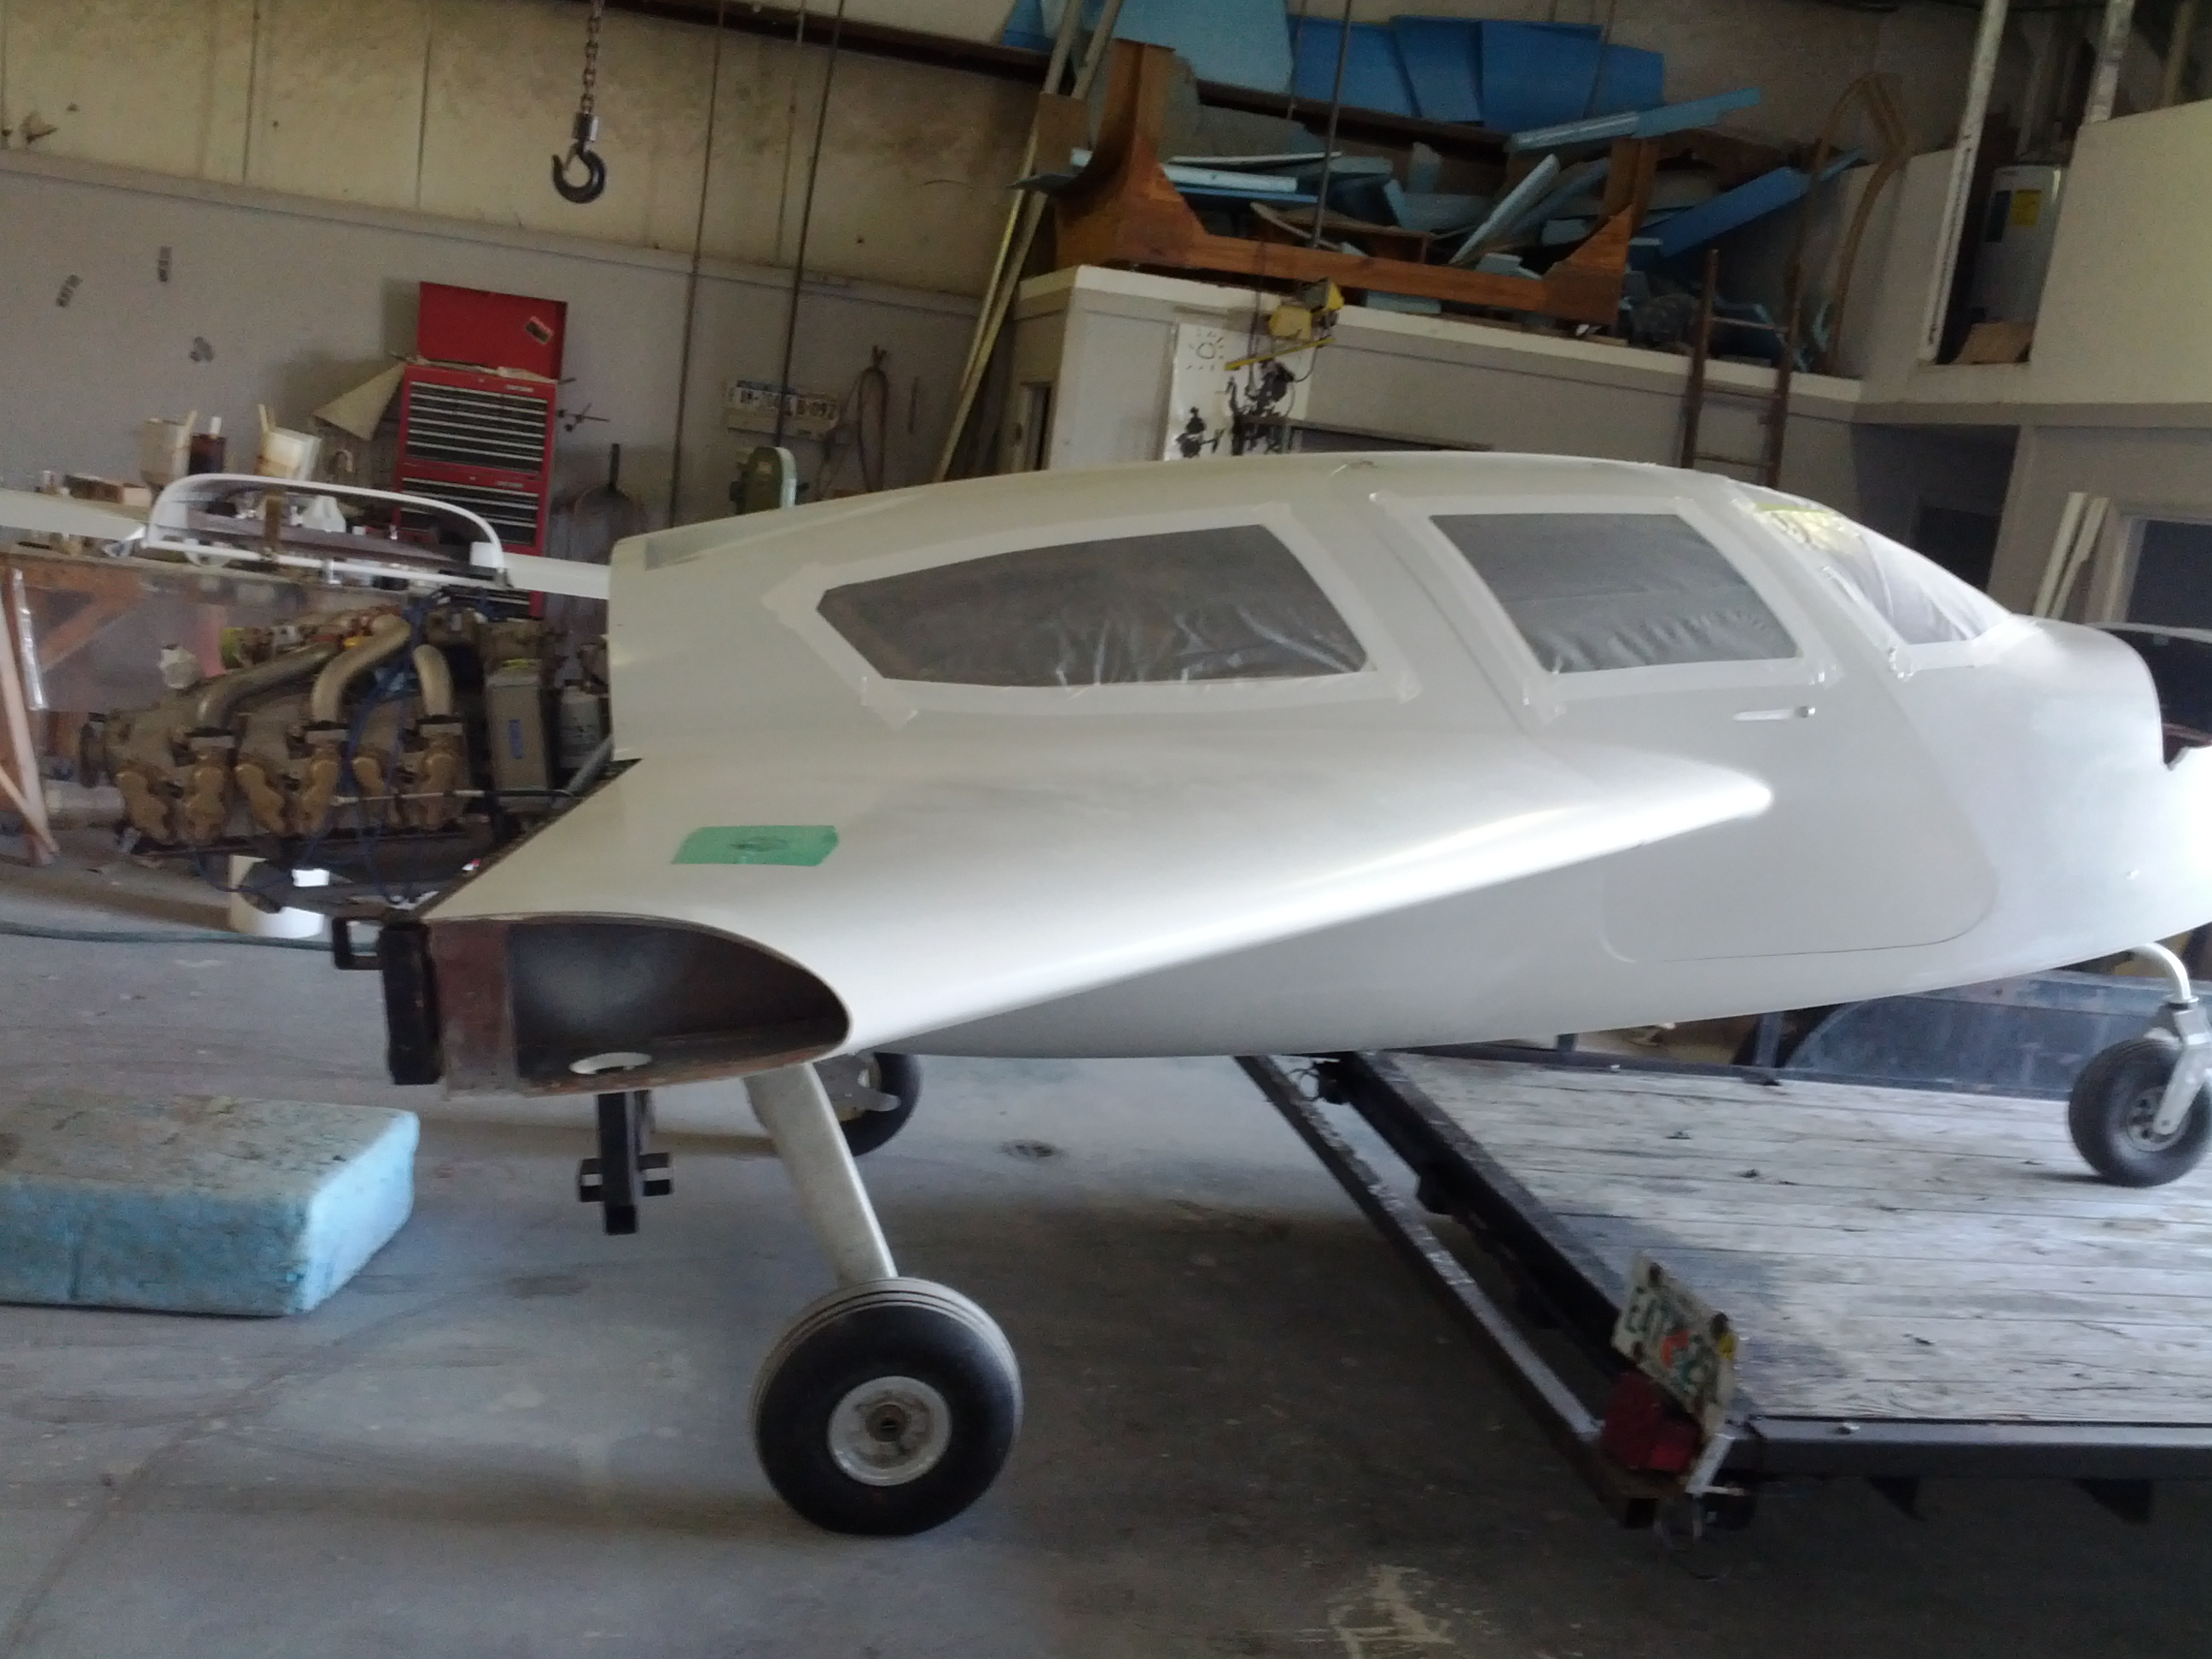
Me and Malcolm spent the next three days finishing up some tasks and then I loaded up all the little stuff (boxes, parts, etc.) into the Explorer. Travis arrived on Sunday morning and we started loading the plane on his trailer. This is a relatively new rig that lets him carry the plane with the engine attached. Earlier versions required removing the engine.

First we had to bolt on a mounting bracket.

Then the front of the plane is lifted onto the trailer.

Next, the back of the plane is raised up with jacks (and in this case, Malcolm’s chain hoist). Once the back of the plane is high enough, Travis backs the trailer up until the plane is in position.

Then a receiver mount is placed under the bracket and the plane is lowered. The landing gear is then retracted.

Under the back of the plane you can see the orange hydraulic jack that will tilt the plane over to it’s transport position.


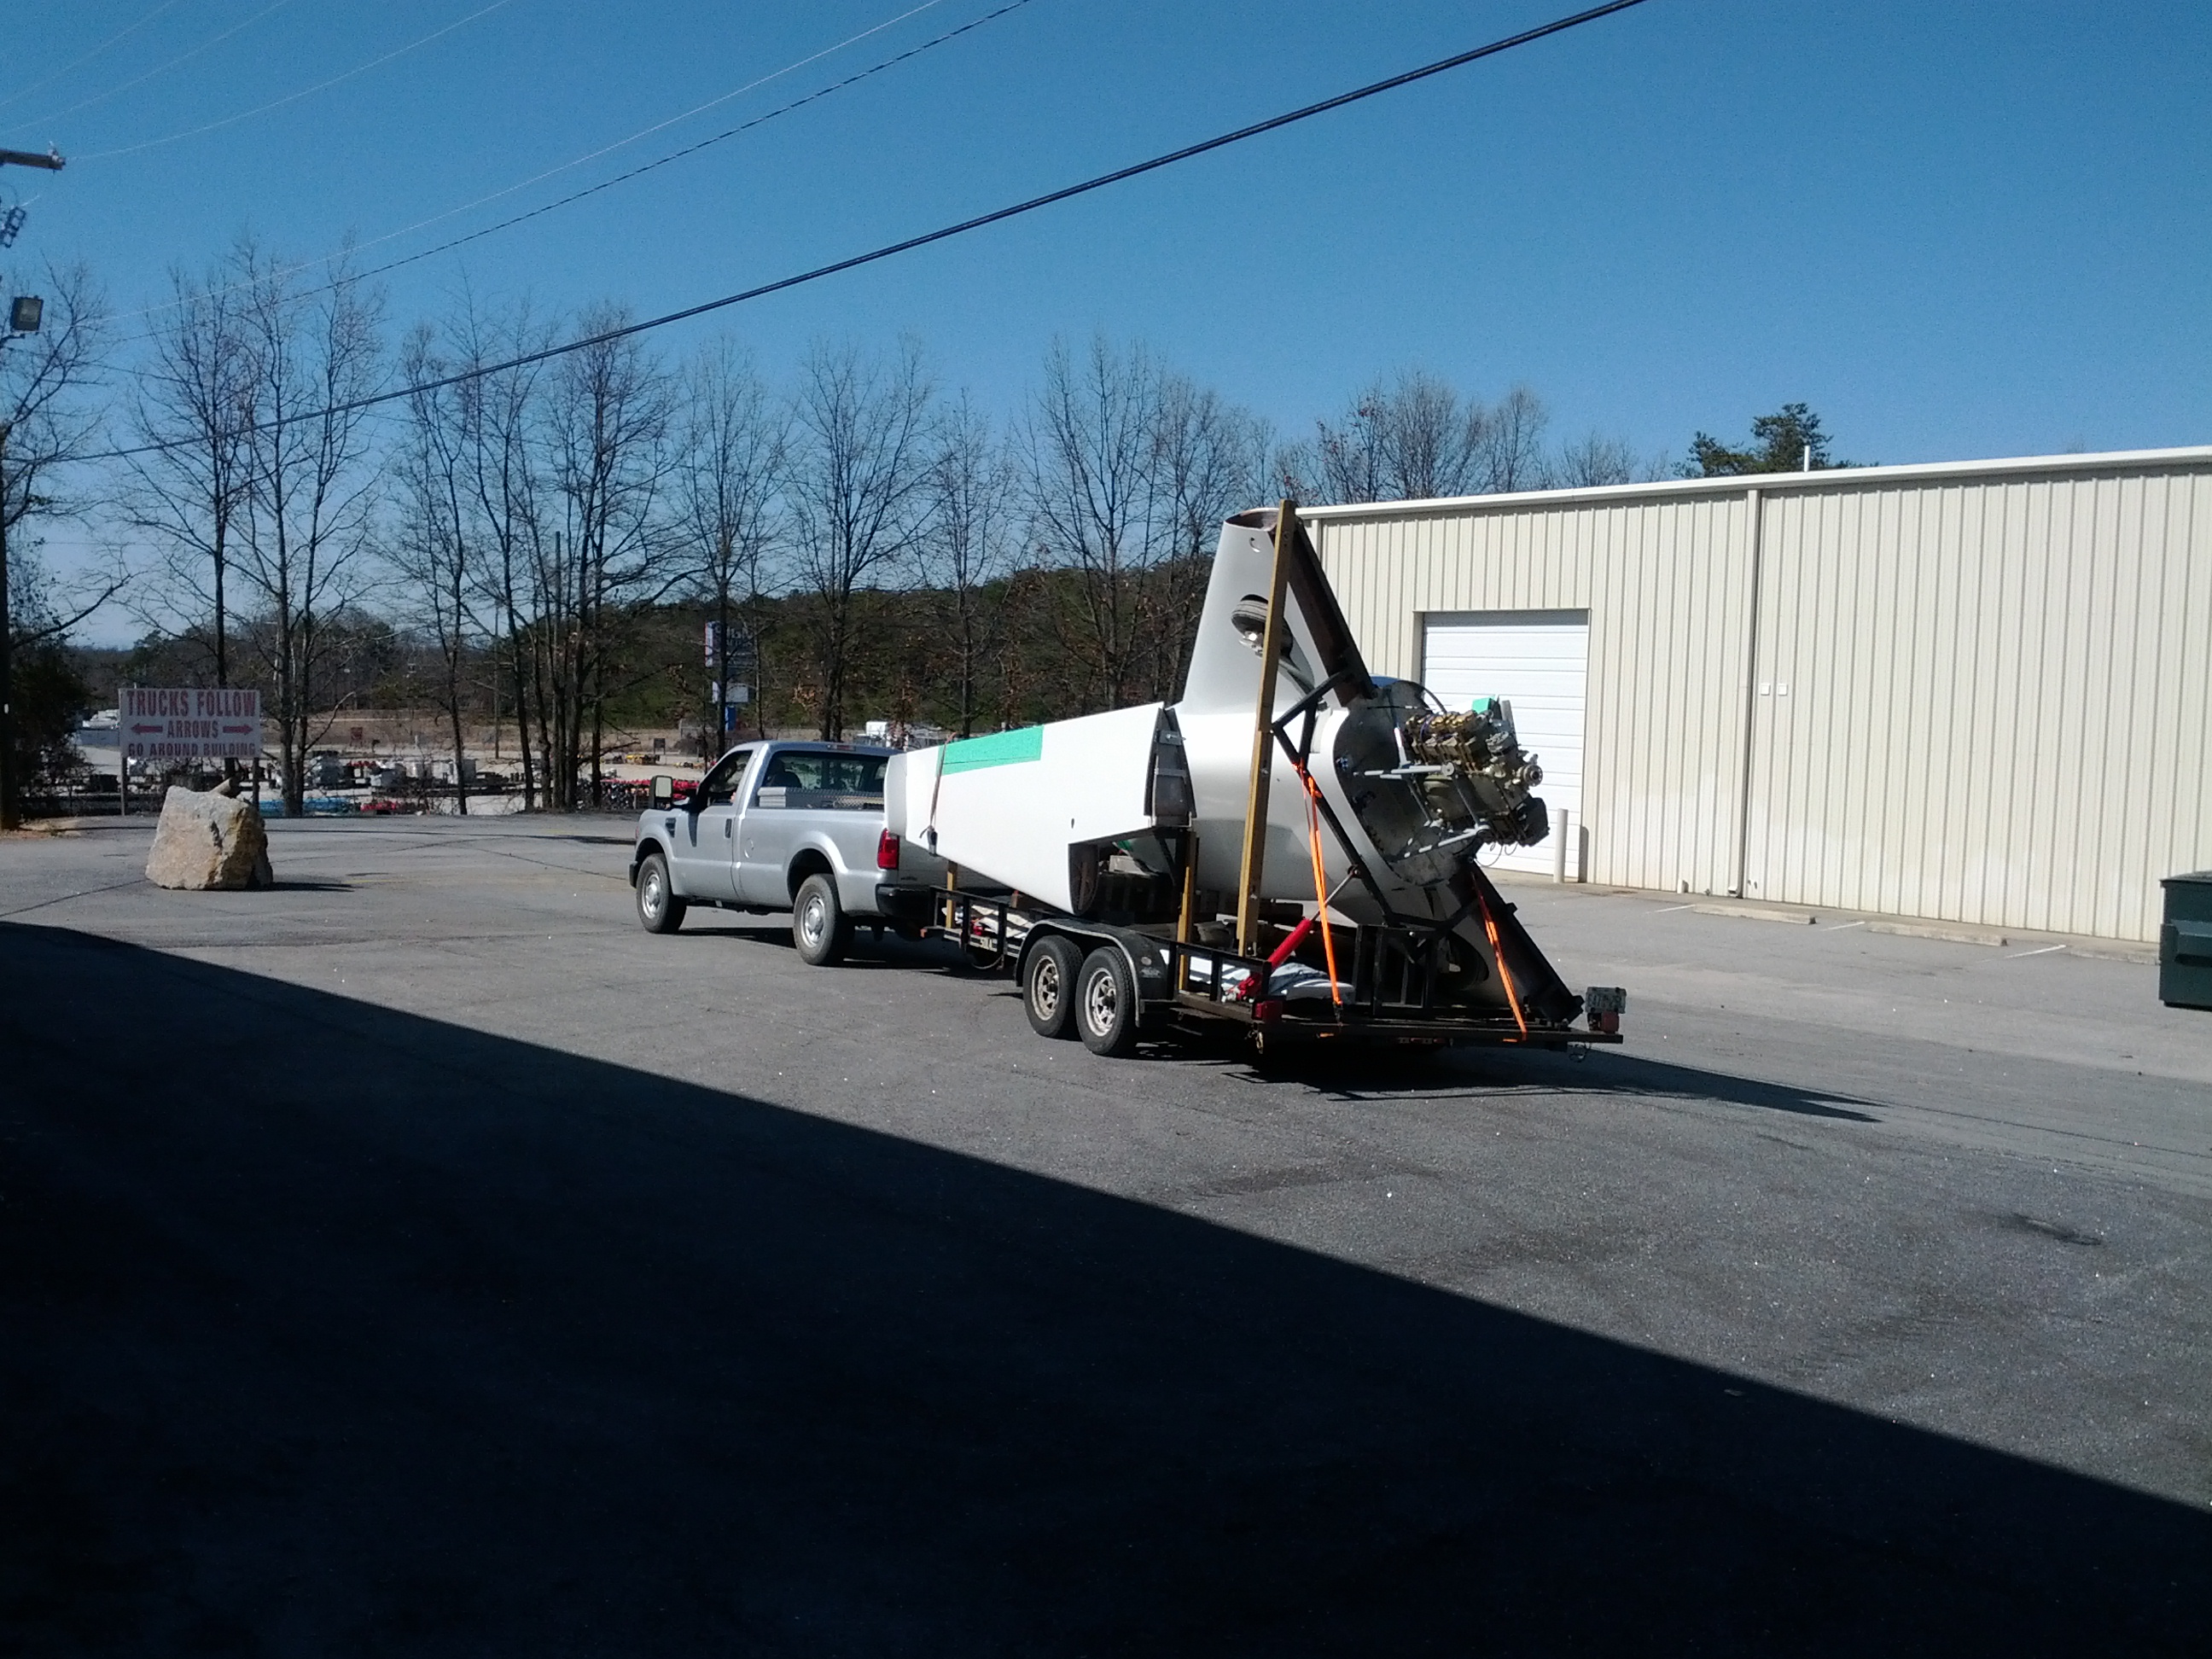
One of Malcolm’s business neighbors is in the industrial surplus business. He gave me a roll of this green plastic material. We think it’s used for protecting cars during transport. So I put it anywhere I thought the plane might get beat up or if I wanted to seal something. I wasn’t sure it would stay on, but I figured that it wouldn’t hurt.

Finally, we loaded up the wings.

Travis pulled out as soon as the plane was loaded.

I hung around for a few minutes and then it was time for me to hit the road.

I left about 3pm on Sunday. I ended driving all the way home. I got in a little after 1am.

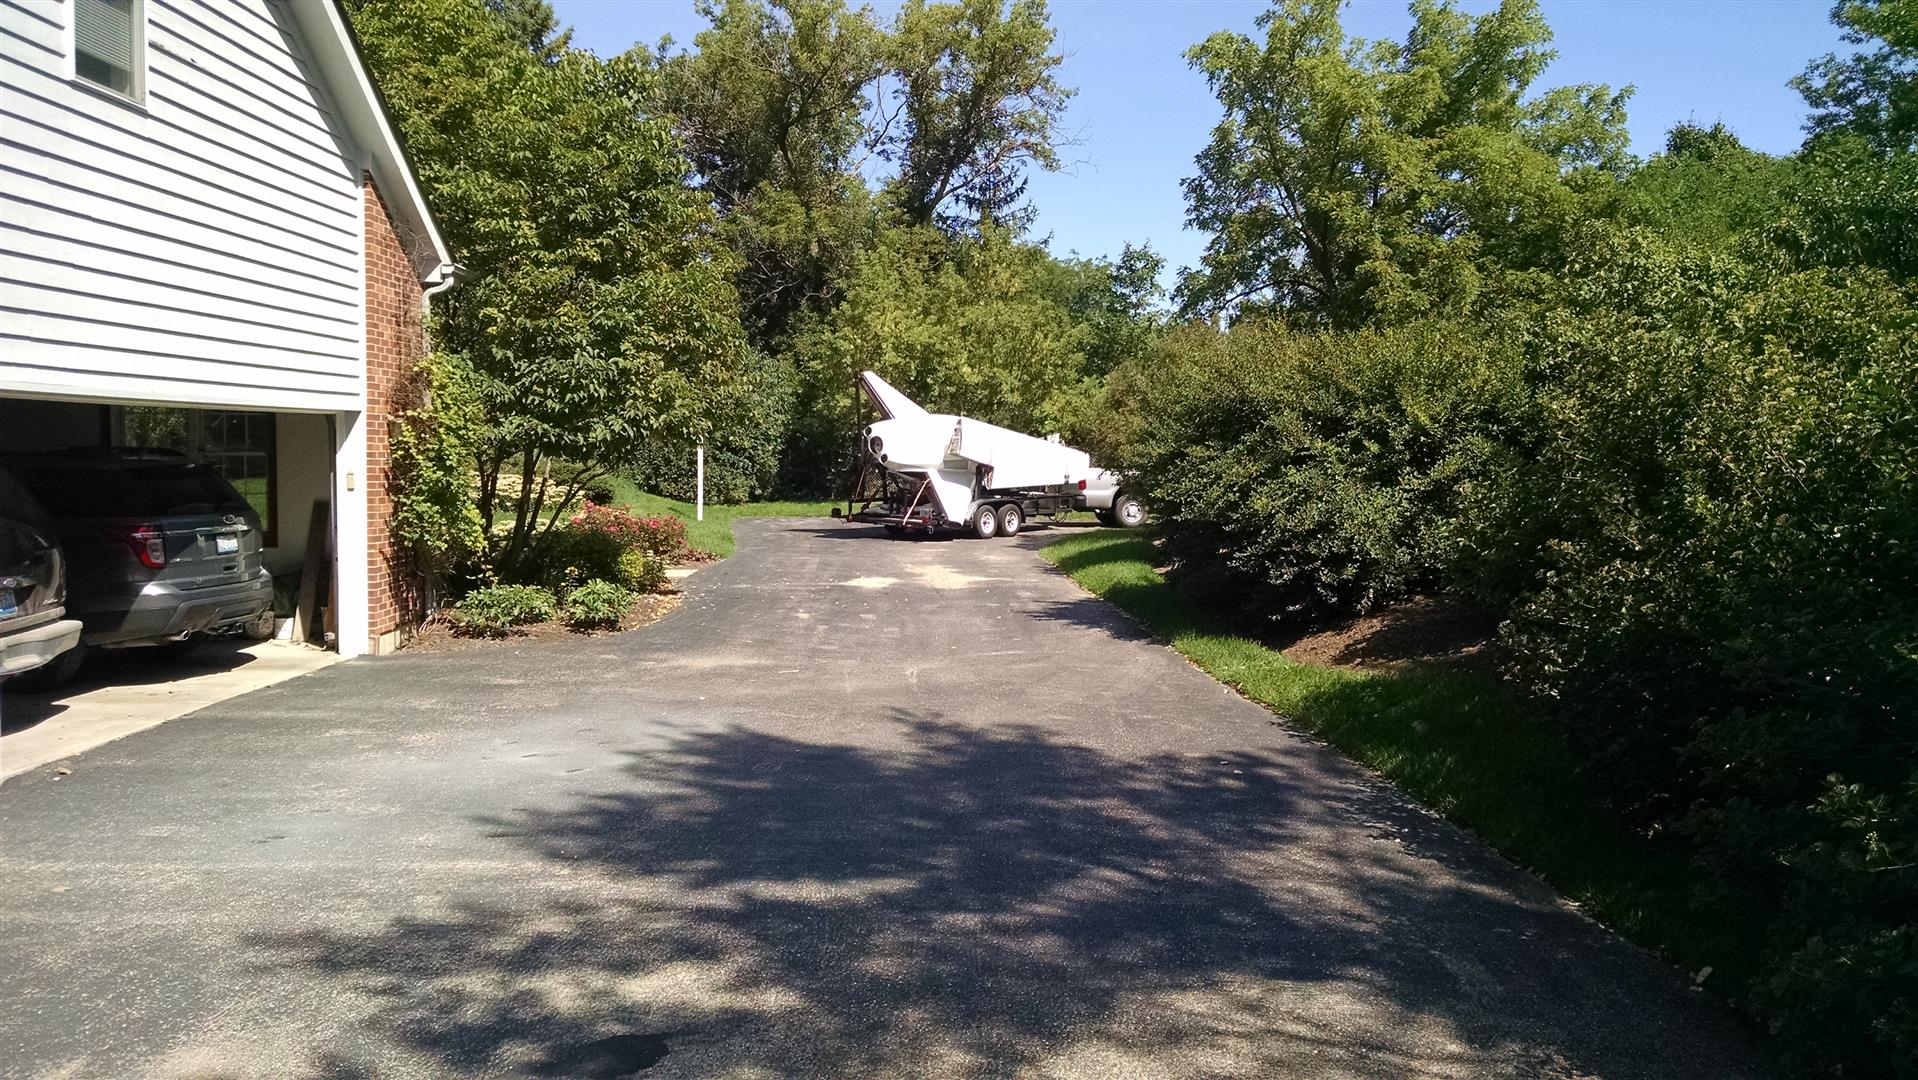
Travis showed up around 9am the next morning. We were in get it done mode and it was just us so there aren’t any pictures of the unloading.

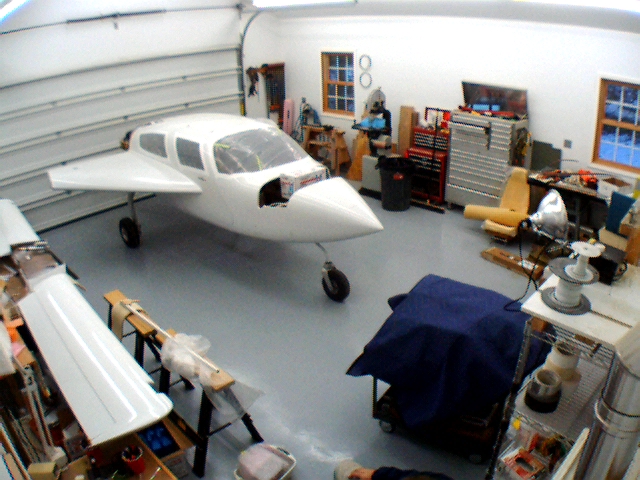
But here’s the last picture from the shop cam before it left 18 months ago.

And there’s the first picture from the shop cam after the return.

It’s kind of hard to tell, but it’s a HUGE difference.


00 – Flow chart

This entry is part 18 of 28 in the series 00 - Prep/Logistics

The first section of the manual is a “Flow Chart” which lists all the “tasks”. There are 169 tasks on the list. I have marked 161 of the tasks as “done”.

Seems like I should be almost done.

I guess this is why I see emails from other builders with signature lines that read “95% done, 50% remaining”.


00 Flow chart – Year end

This entry is part 17 of 28 in the series 00 - Prep/Logistics

   1.    ✔︎  Read chapter one of your manual and review the construction DVD’s
   2.    ✔︎  Cut out Doghouse
   3.    ✔︎  Cut out and install premolded NACA scoops
   4.    ✔︎  Install Overhead plenum NACA (do not install plenum until flipping airplane)
   5.    ✔︎  Fit keel in airplane and then remove to install control system
   6.    ✔︎  Install wood hardpoints for control system in keel
   7.    ✔︎  Cut out and layup inspection covers in keel
   8.    ✔︎  Install nut plates to hold inspection covers
  12.   ✔︎   Cut out nose gear door hinges
  13.   ✔︎   Install top Triax pads on firewall for Continental engine
  14.   ✔︎   Complete fiberglass portion of nose gear door installation
  15.   ✔︎   Install Heater flapper valve and aluminum outlet tubes in oil cooler exit
  16.   ✔︎   Cut out oil cooer inlet and outlet ducts
  17.   ✔︎   Install front oil cooler ducts
  18.   ✔︎   Install rear aileron control bracket to keel rear section
  19.   ✔︎   Install aileron torque tube and control stick in keel
  20.   ✔︎   Mid bearing support installed in keel
  21.   ✔︎   Install main gear and nose gear cylinder
  22.   ✔︎   Install AN fittings into main and nose gear cylinders (tape over the ends)
  23.   ✔︎   Install flexible hydraulic lines between nose and main gear cylinders
  24.   ✔︎   Fit and install battery tray
  25.         Fit and install Landing Light Assembly (no landing light in the nose)
  26.   ✔︎   Structural Adhesive front of keel in place
  27.   ✔︎   Install front keel stiffening layups
  29.   ✔︎   Install nose gear bushing plates
  30.   ✔︎   Glass edges of canard cutout to seal it
  31.   ✔︎   Fit and fair in nose access cover
  32.   ✔︎   Install nose gear gas spring and shock assembly
  33.         Install nose gear door cylinder and assembly
  34.   ✔︎   Install RG hydraulic power pack
  35.   ✔︎   Install MG pulley and cable assembly
  36.   ✔︎   Install rudder pedals
  37.   ✔︎   Fit instrument panel into airplane
  38.   ✔︎   Install seat hardpoints
  39.   ✔︎   Use Velocipoxy and micro to fair in back of windows
  40.   ✔︎   Construct sump tank
  41.   ✔︎   Glass side of canard bulkhead opposite the flange
  42.         Install sequence valve assembly
  43.   ✔︎   Install Dump Valve
  44.   ✔︎   Install nose gear guides
  45.   ✔︎   Install hydraulic power pack
  46.   ✔︎   Install hard lines for RG system
  47.   ✔︎   Install Center Spar
  48.   ✔︎   Triax reinforcements between the center spar and the gear bulkhead.
  51.   ✔︎   Place airplane on jacks and remove main gear
  52.   ✔︎   Cut out fuselage to allow main gear retract, complete transverse bulkhead
  53.   ✔︎   Install main gear bushings
  54.   ✔︎   Triax over main gear bushings
  55.   ✔︎   Permanently install steel bushings in gear legs and make aluminum spacers
  56.   ✔︎   Install straws on MG for brake lines
  57.   ✔︎   Install canard attachment reinforcements (triax)
  58.   ✔︎   Install Canard bushings
  59.   ✔︎   Complete all canard Triax reinforcements
  60.   ✔︎   Install hinges on elevators
  61.   ✔︎   Install hinge arms in canard
  62.   ✔︎   Attach canard tips
  63.   ✔︎   Install concentric torque tube
  64.   ✔︎   Install counterweights
  65.   ✔︎   Check balance of elevators
  66.   ✔︎   Install elevator pitch trim actuator
  67.   ✔︎   Install main gear
  68.   ✔︎   Install main wings prep for strake install
  69.   ✔︎   Temporarily install doors (hinges do not have to be completed yet)
  70.   ✔︎   Fit lower strake
  71.   ✔︎   Cut out baggage access opening
  72.   ✔︎   Install lower strake bottom
  73.   ✔︎   Fit top strake
  74.   ✔︎   Remove wings to provide more space
  75.   ✔︎   Glass dyvinicel sheet to make fuel tank baffles
  76.   ✔︎   Cut out opening for gear and wheel well
  77.   ✔︎   Fit gear and wheel well
  78.   ✔︎   Cut out baffles a little larger than templates
  79.   ✔︎   Glass top flange on wheel well
  80.   ✔︎   Fit baffle bottoms to bottom strake
  81.   ✔︎   Fit baffle tops to top strake
  82.   ✔︎   Reposition all baffles in bottom strake and tack in place
  83.   ✔︎   Glass bulkheads and baffles to lower strake
  84.   ✔︎   Install hardpoint for fuel vent and main fuel line
  85.         install sight tubes
  86.   ✔︎   Install fuel caps in strake top
  87.   ✔︎   Seal fuel tank with 2 coats of Jeffco or EZ-poxy
  88.   ✔︎   Coat strake top with Jeffco or EZ-poxy in fuel tank area
  89.   ✔︎   Cut wing access bolt hole
  90.   ✔︎   Practice fuel strake top installation with partner
  91.   ✔︎   Install strake top
  92.   ✔︎   Cut wing from strake
  93.   ✔︎   Remove wings
  94.   ✔︎   Cut leading edge from strake that will go on the door
  95.   ✔︎   Install door and glass leading edge of strake to it
  96.   ✔︎   Install outboard end stake reinforcement
  97.   ✔︎   Finish glassing fuel tank bottom seams-back of spar-strake top and bottom
  98.   ✔︎   Pressure check each main fuel tank
  99.   ✔︎   Complete finish work between strake top and fuselage
100.   ✔︎   Reinstall wings
101.   ✔︎   Complete finish work between strake top and wing
102.   ✔︎   Remove wings
103.   ✔︎   Flip airplane
104.   ✔︎   Finish glassing on exterior of fuel tank top seams
105.   ✔︎   Complete finish work between strake bottom and wing
106.   ✔︎   Complete glass work between strake top and inside of baggage well
107.   ✔︎   Install overhead fresh air plenum
108.   ✔︎   Fit main gear doors and install attach brackets onto gear legs
109.   ✔︎   Fill sand and prep gear legs for primer
110.   ✔︎   Complete all finish work on bottom of airplane.
111.   ✔︎   Prime and prep for paint
112.   ✔︎   Remove wings
113.   ✔︎   Flip airplane back onto it’s gear
114.   ✔︎   Install sump tank
115.   ✔︎   Install fuel plumbing between main tanks-sump tank-firewall fitting
116.   ✔︎   Install Fiberfrax and stainless steel on firewall
117.   ✔︎   Install oil lines to forward oil cooler
118.   ✔︎   Install rudder cable nylaflow in airplane from pedals to the firewall
119.   ✔︎   Bond in rear keel (whale tail) section and install rear aileron bellcrank in keel
120.   ✔︎   Install Aileron push/pull cables through firewall
121.   ✔︎   Install Aileron torque tube
122.   ✔︎   Install Aileron bellcrank and bearing brackets in wing root
123.   ✔︎   Install Rudder hinges
124.   ✔︎   Install rudder horn
125.   ✔︎   Install rudder return spring
126.   ✔︎   Install Aileron hinges
127.   ✔︎   Install rudder cable in airplane and wing nylaflow
128.   ✔︎   Install rudder pulley and cable adjuster between firewall and wing root
129.   ✔︎   Install winglet bottom
130.   ✔︎   Fit top and bottom cowling and flange
131.   ✔︎   Install Door hinges
132.   ✔︎   Install secondary lock in door
133.   ✔︎   Install key lock
134.   ✔︎   Fit door trim panels
135.   ✔︎   Install door gas springs
136.   ✔︎   Assemble seat backs to bases with seat hinges
137.         Install seat belt hardpoints
138.   ✔︎   Remove wings
139.   ✔︎   Engine installation.
140.   ✔︎   Fit fiberfrax and stainless to firewall and install
141.   ✔︎   Install front oil cooler lines and bracket on firewall
142.   ✔︎   Install secondary oil cooler
143.   ✔︎   Install electric fuel pump
144.   ✔︎   Plumb aluminum lines between firewall bulkhead fitting and fuel pump
145.         Install wiring
146.   ✔︎   Mount the engine mount on the engine
147.   ✔︎   Mount the engine on the firewall
148.   ✔︎   Fabricate oil access door
149.   ✔︎   install oil and fuel line plumbing from the airframe to the engine
150.   ✔︎   Install engine senders on firewall and wire
151.   ✔︎   Plumb flexible lines between engine and senders
152.   ✔︎   Jack airplane up and fit brakes to gear legs
154.         Check for toe in and camber. Shim axle to correct
158.         Installed prewired panel
159.         Connect panel wiring to premade harness Harness instruction
160.   ✔︎   Install Throttle , Mixture and Prop control cables
161.   ✔︎   Install pitot tube
162.   ✔︎   Install Static port
163.         Install Pitot/Static system tubing
164.   ✔︎   Install engine cooling plenum and runners to NACA scoops
165.   ✔︎   Cut exhaust exit in cowling
166.   ✔︎   Trim exhaust tubes and permanently install on engine
167.   ✔︎   Install prop and trim or modify rear cowling as necessary to fair in
168.   ✔︎   Install canard
169.   ✔︎   Complete control stick to concentric torque tube installation

00 Moving

This entry is part 14 of 28 in the series 00 - Prep/Logistics

The plan was to move the Velocity to the Lake In The Hills Airport (3CK) sometime around June. Then the wings and prop would be installed, the engine started and taxi testing would begin.

But we’re moving to Florida.

This has been on the horizon for a while but I was hoping to finish before the move took place.

Now the big problem is that there is no hangar space in Panama City, FL (and the hangars they do have are double the cost of my Chicago area hangar… go figure that out!).  I’ve been on the waiting list for about a year and so far nothing.

There’s an airport with hangar space about an hour NW of Panama City, but if I moved the Velocity there, it would be an hour drive each way and I would have no resources at that field (at 3CK, I’ve got an A&P/IA, avionics tech and some other people that I know who I can call on for help).

So we made the decision to move the Velocity to Sebastian, FL. That way, I will have the resources of the Velocity factory, transition training will be easier and when it’s time for the first flight, I won’t have to fly John Abraham (test pilot) out to Panama City.

Of course the down side is that I’ll be spending 5 days a week in Sebastian until I’m done. 🙁

Travis is scheduled to arrive on the 28th of this month to pickup the Velocity and transport it down to Sebastian. We’re going to be loading up the truck and moving down to Panama City around the 3rd or September.

So for the past month or so, I’ve been trying to get as much done as possible and prepping the plane for transport.

00 Heading to Mecca

This entry is part 19 of 28 in the series 00 - Prep/Logistics

So we got moved down to Panama City, FL the first week of September. Then there was a diving vacation in Cozumel about a week later (was planned previously).  The last full week of September I flew Delta to Chicago to bring the Cessna down (got a hanger at Calhoun County Airport which is about an hour drive away).

Yesterday I picked up a small u-haul trailer and loaded up my tools, parts and supplies. Tomorrow I’ll make the 6.5 hour drive to Sebastian and begin (what I hope is) the final push.  I’ll only be able to stay a few days before driving back.  At some point soon, Ann will drive down and I’ll fly down in the Cessna. Then we’ll both fly back.  That way I’ll have a vehicle down there while working.


00 Registration

This entry is part 21 of 28 in the series 00 - Prep/Logistics

I submitted my application for registration about a month ago.

Then about 2 weeks ago I received the application back because I used “Aircraft” instead of “Airplane” in the type field,

over the weekend, I received the registration. I now have a registered airplane!

621CM-BL