14.1.2 Tie Downs

This entry is part 22 of 38 in the series 14 - Final Assembly / FInishing

The last item is the main wing tie downs. When you park your plane for any length of time, you need to tie it down. The factory supplies a pair of screw eyes that you bolt to the bottom of the ends of the center spar. But that just looks bad. Two big honkin’ rings hanging off the bottom of the wing. So builders have gone with a pivoting ring that’s spring loaded so that it’s recessed. This is the same type that’s used on my Cessna. I, however, went with plan “C”. A retractable ring that uses gravity instead of a spring. Springs fail, gravity doesn’t.

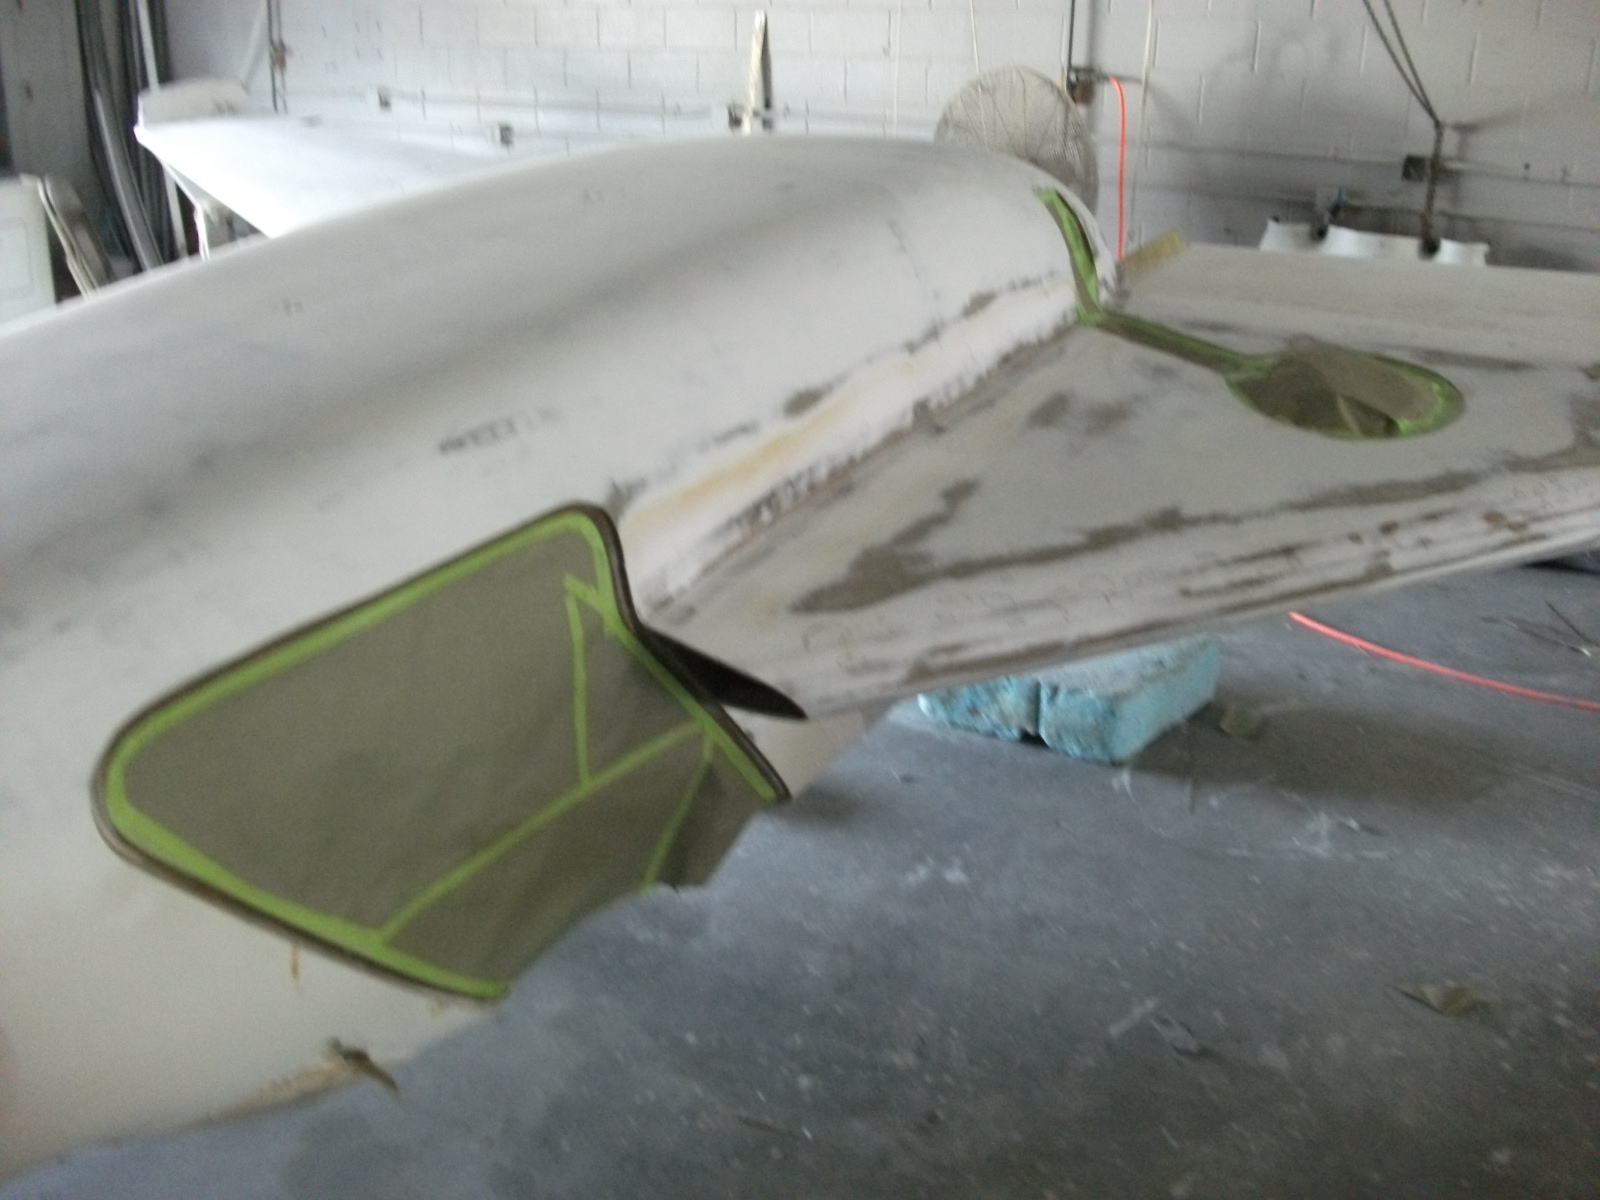
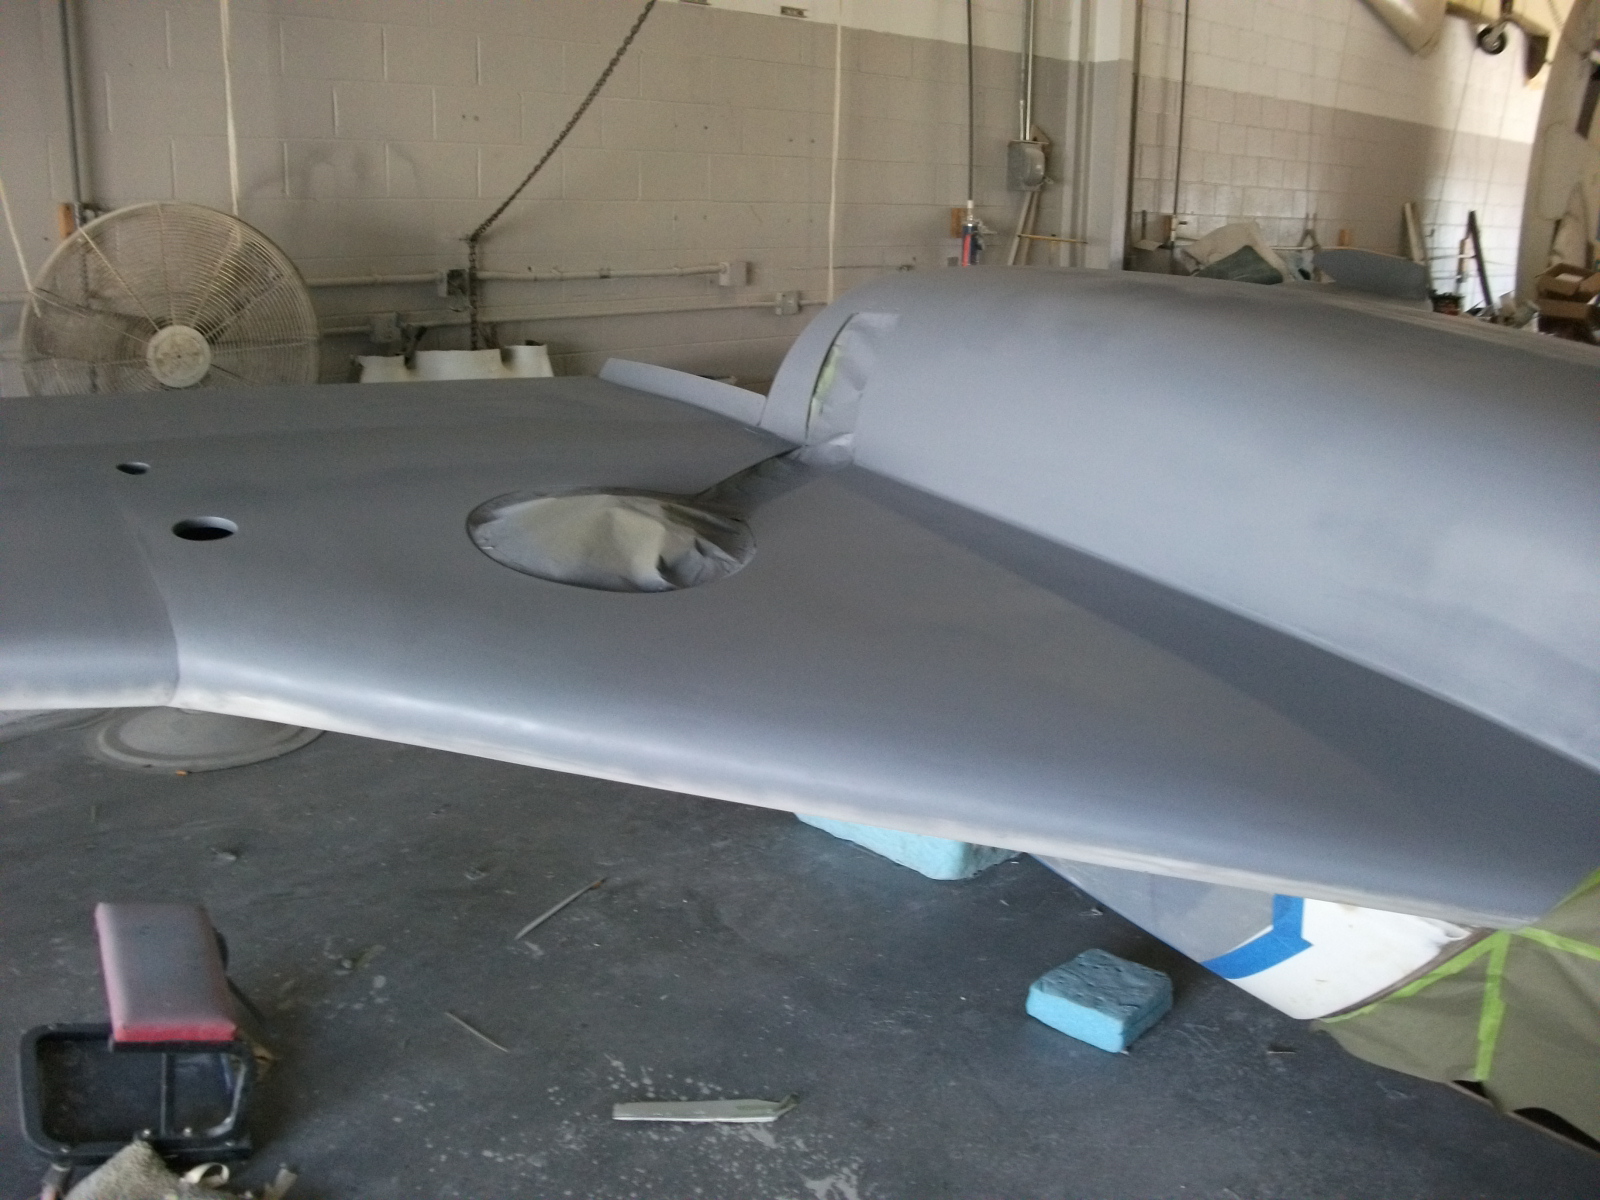
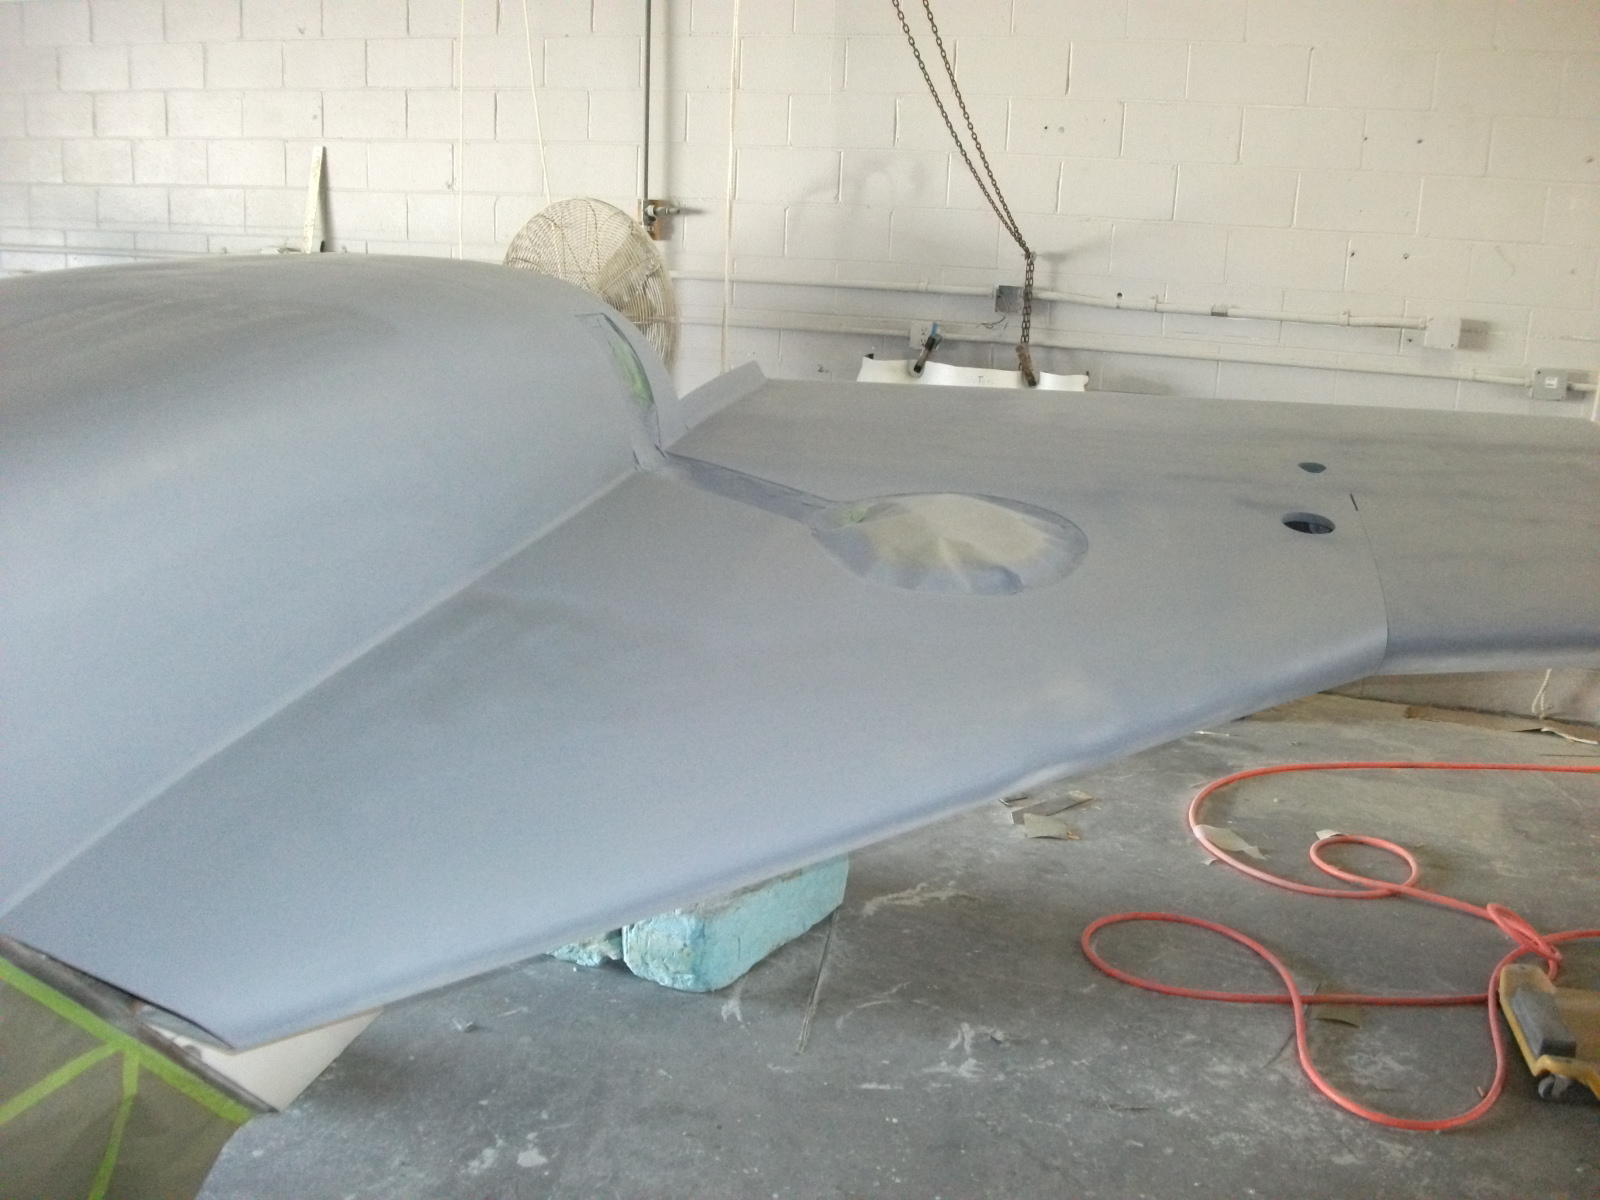
Here’s the tie-down ring when not in use.

2009-07-28 1439 IMG_9049

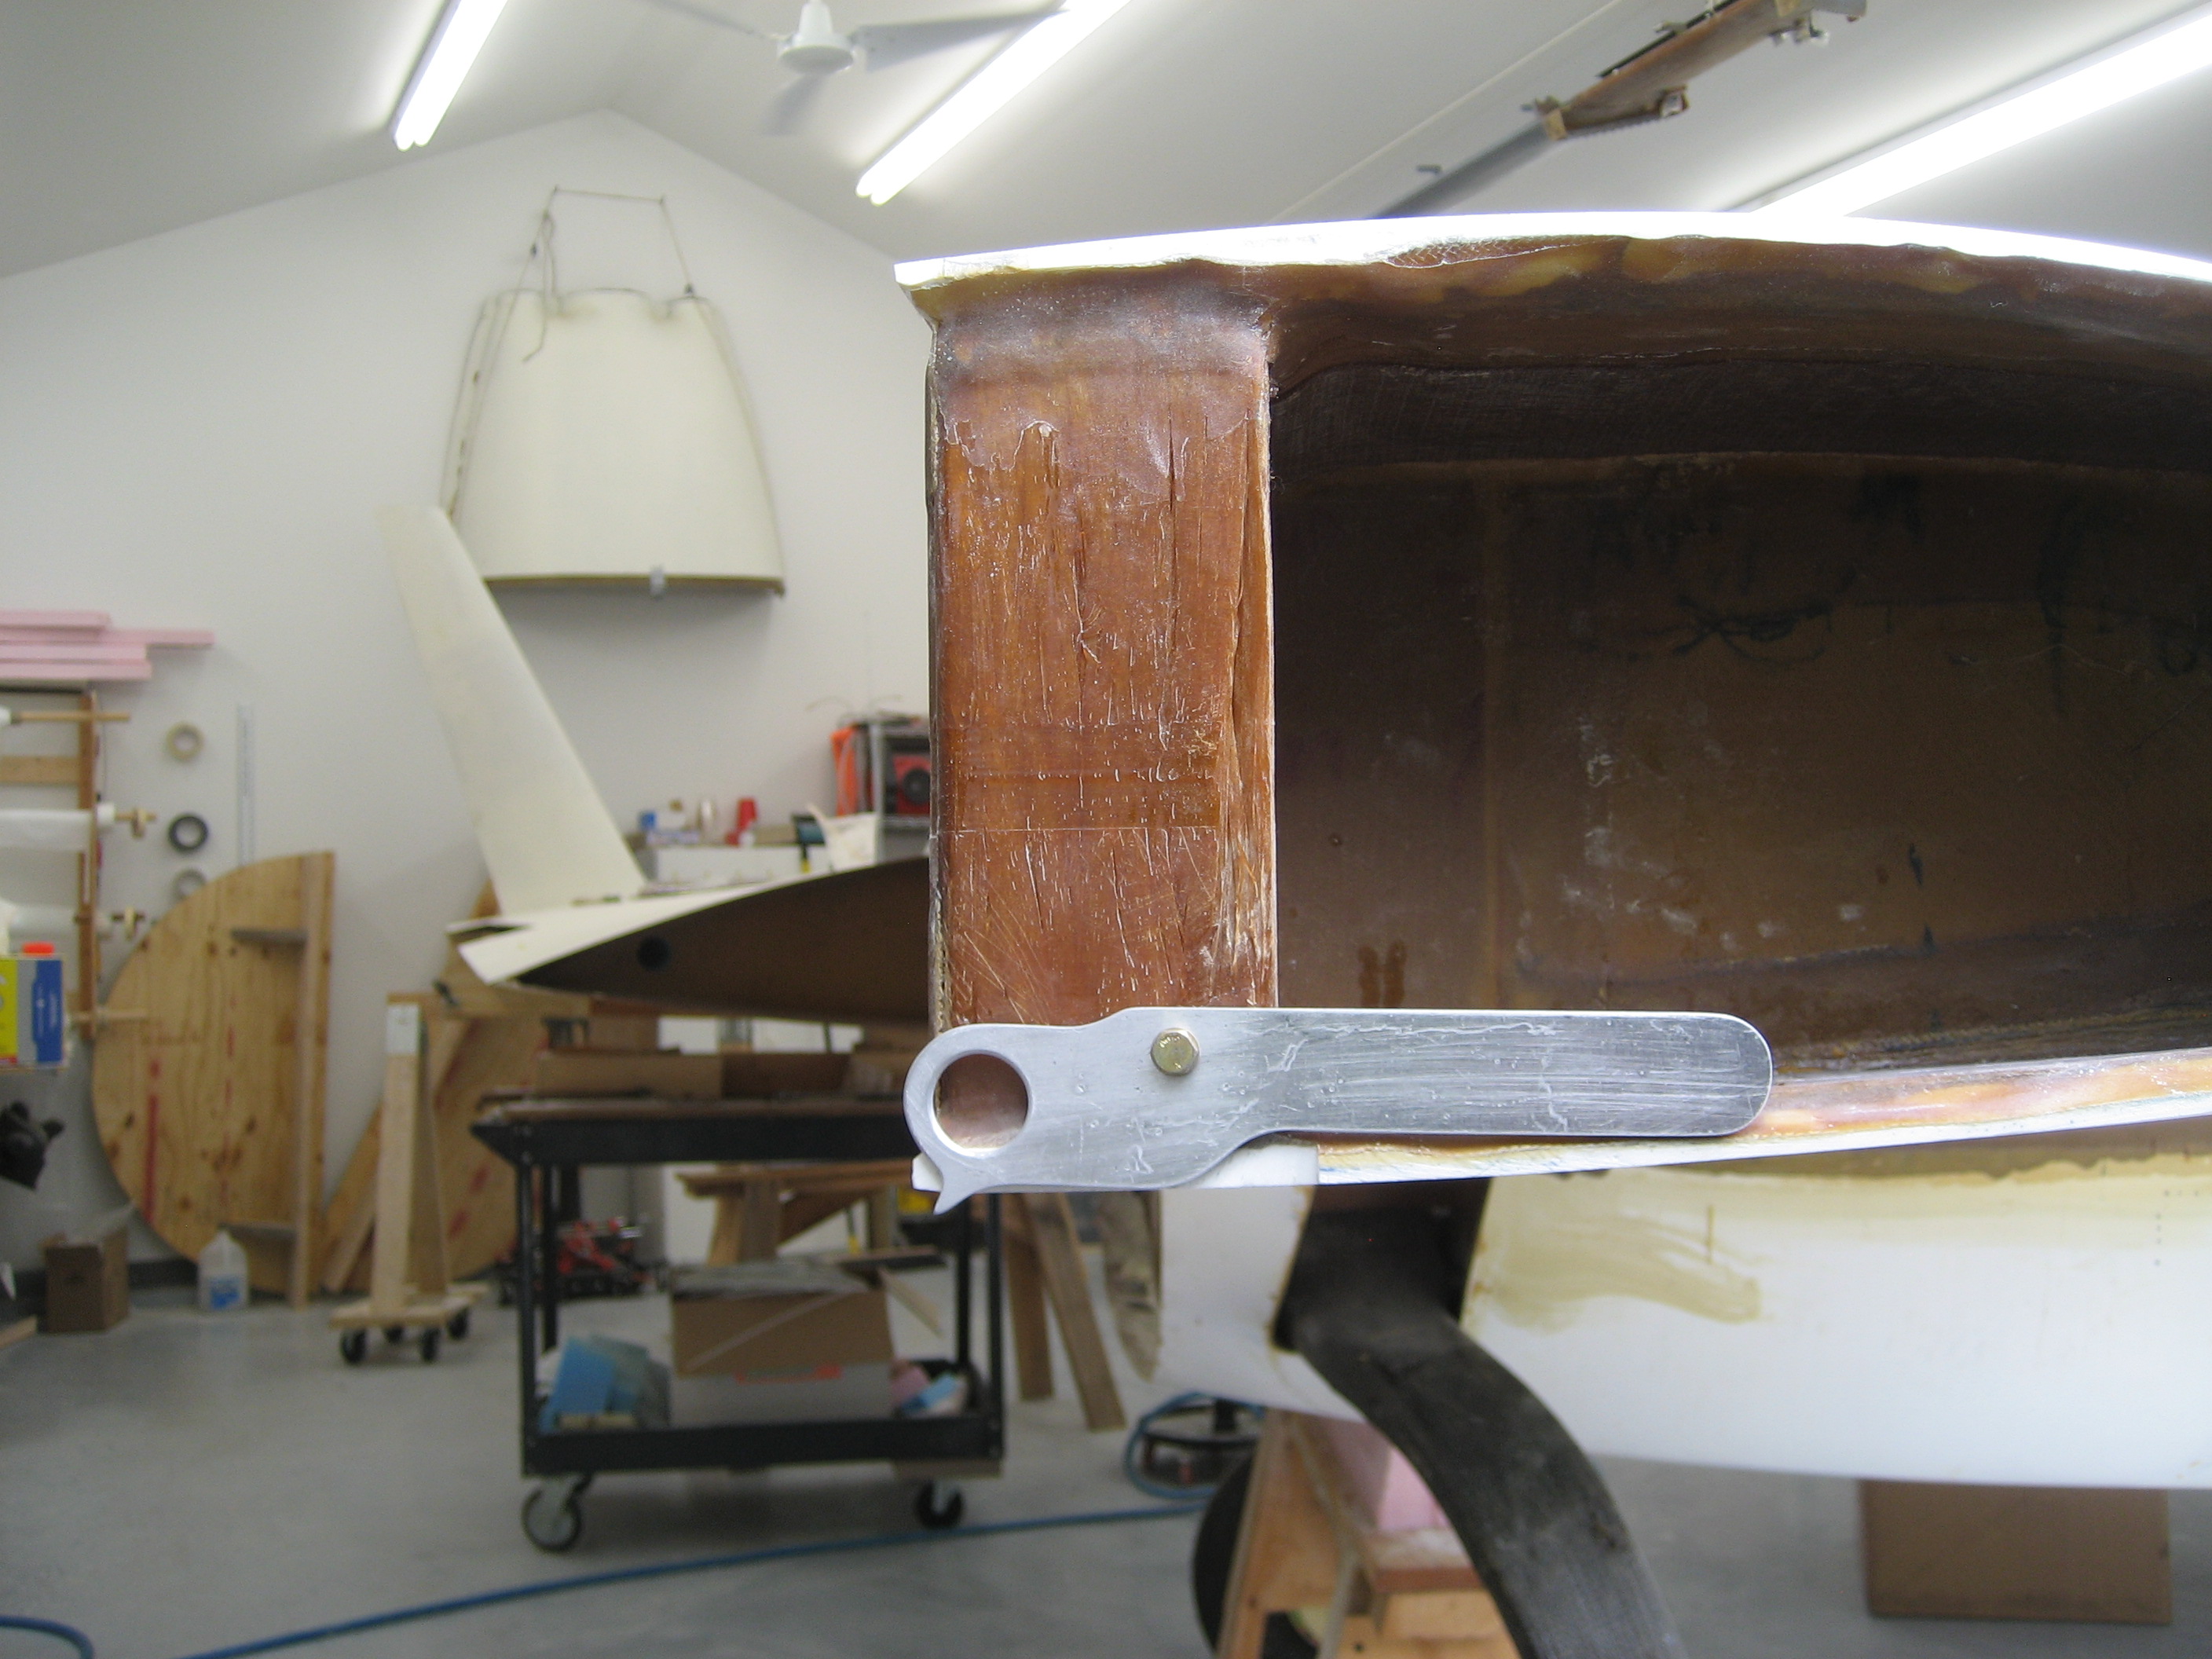
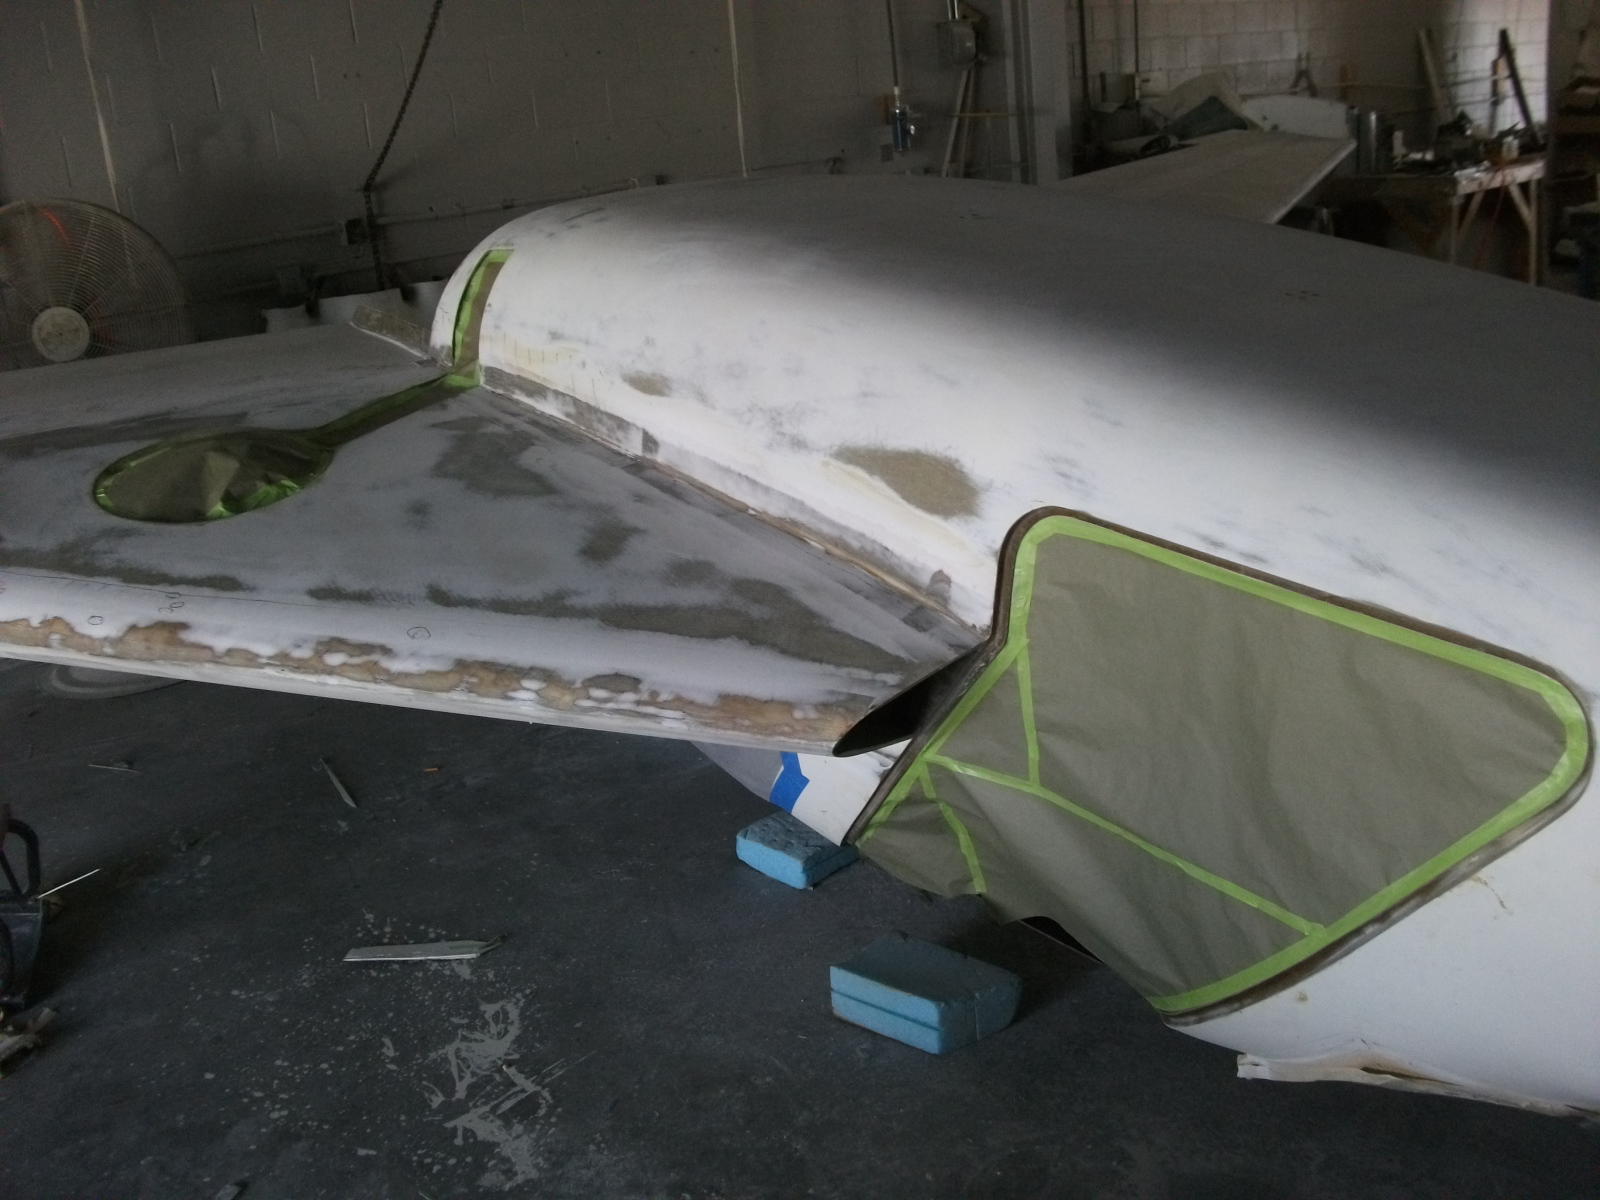
When the wing is on, only the little tip will be sticking out. Snap it with your finger and pull it down and the ring is exposed.

2009-07-28 1439 IMG_9048

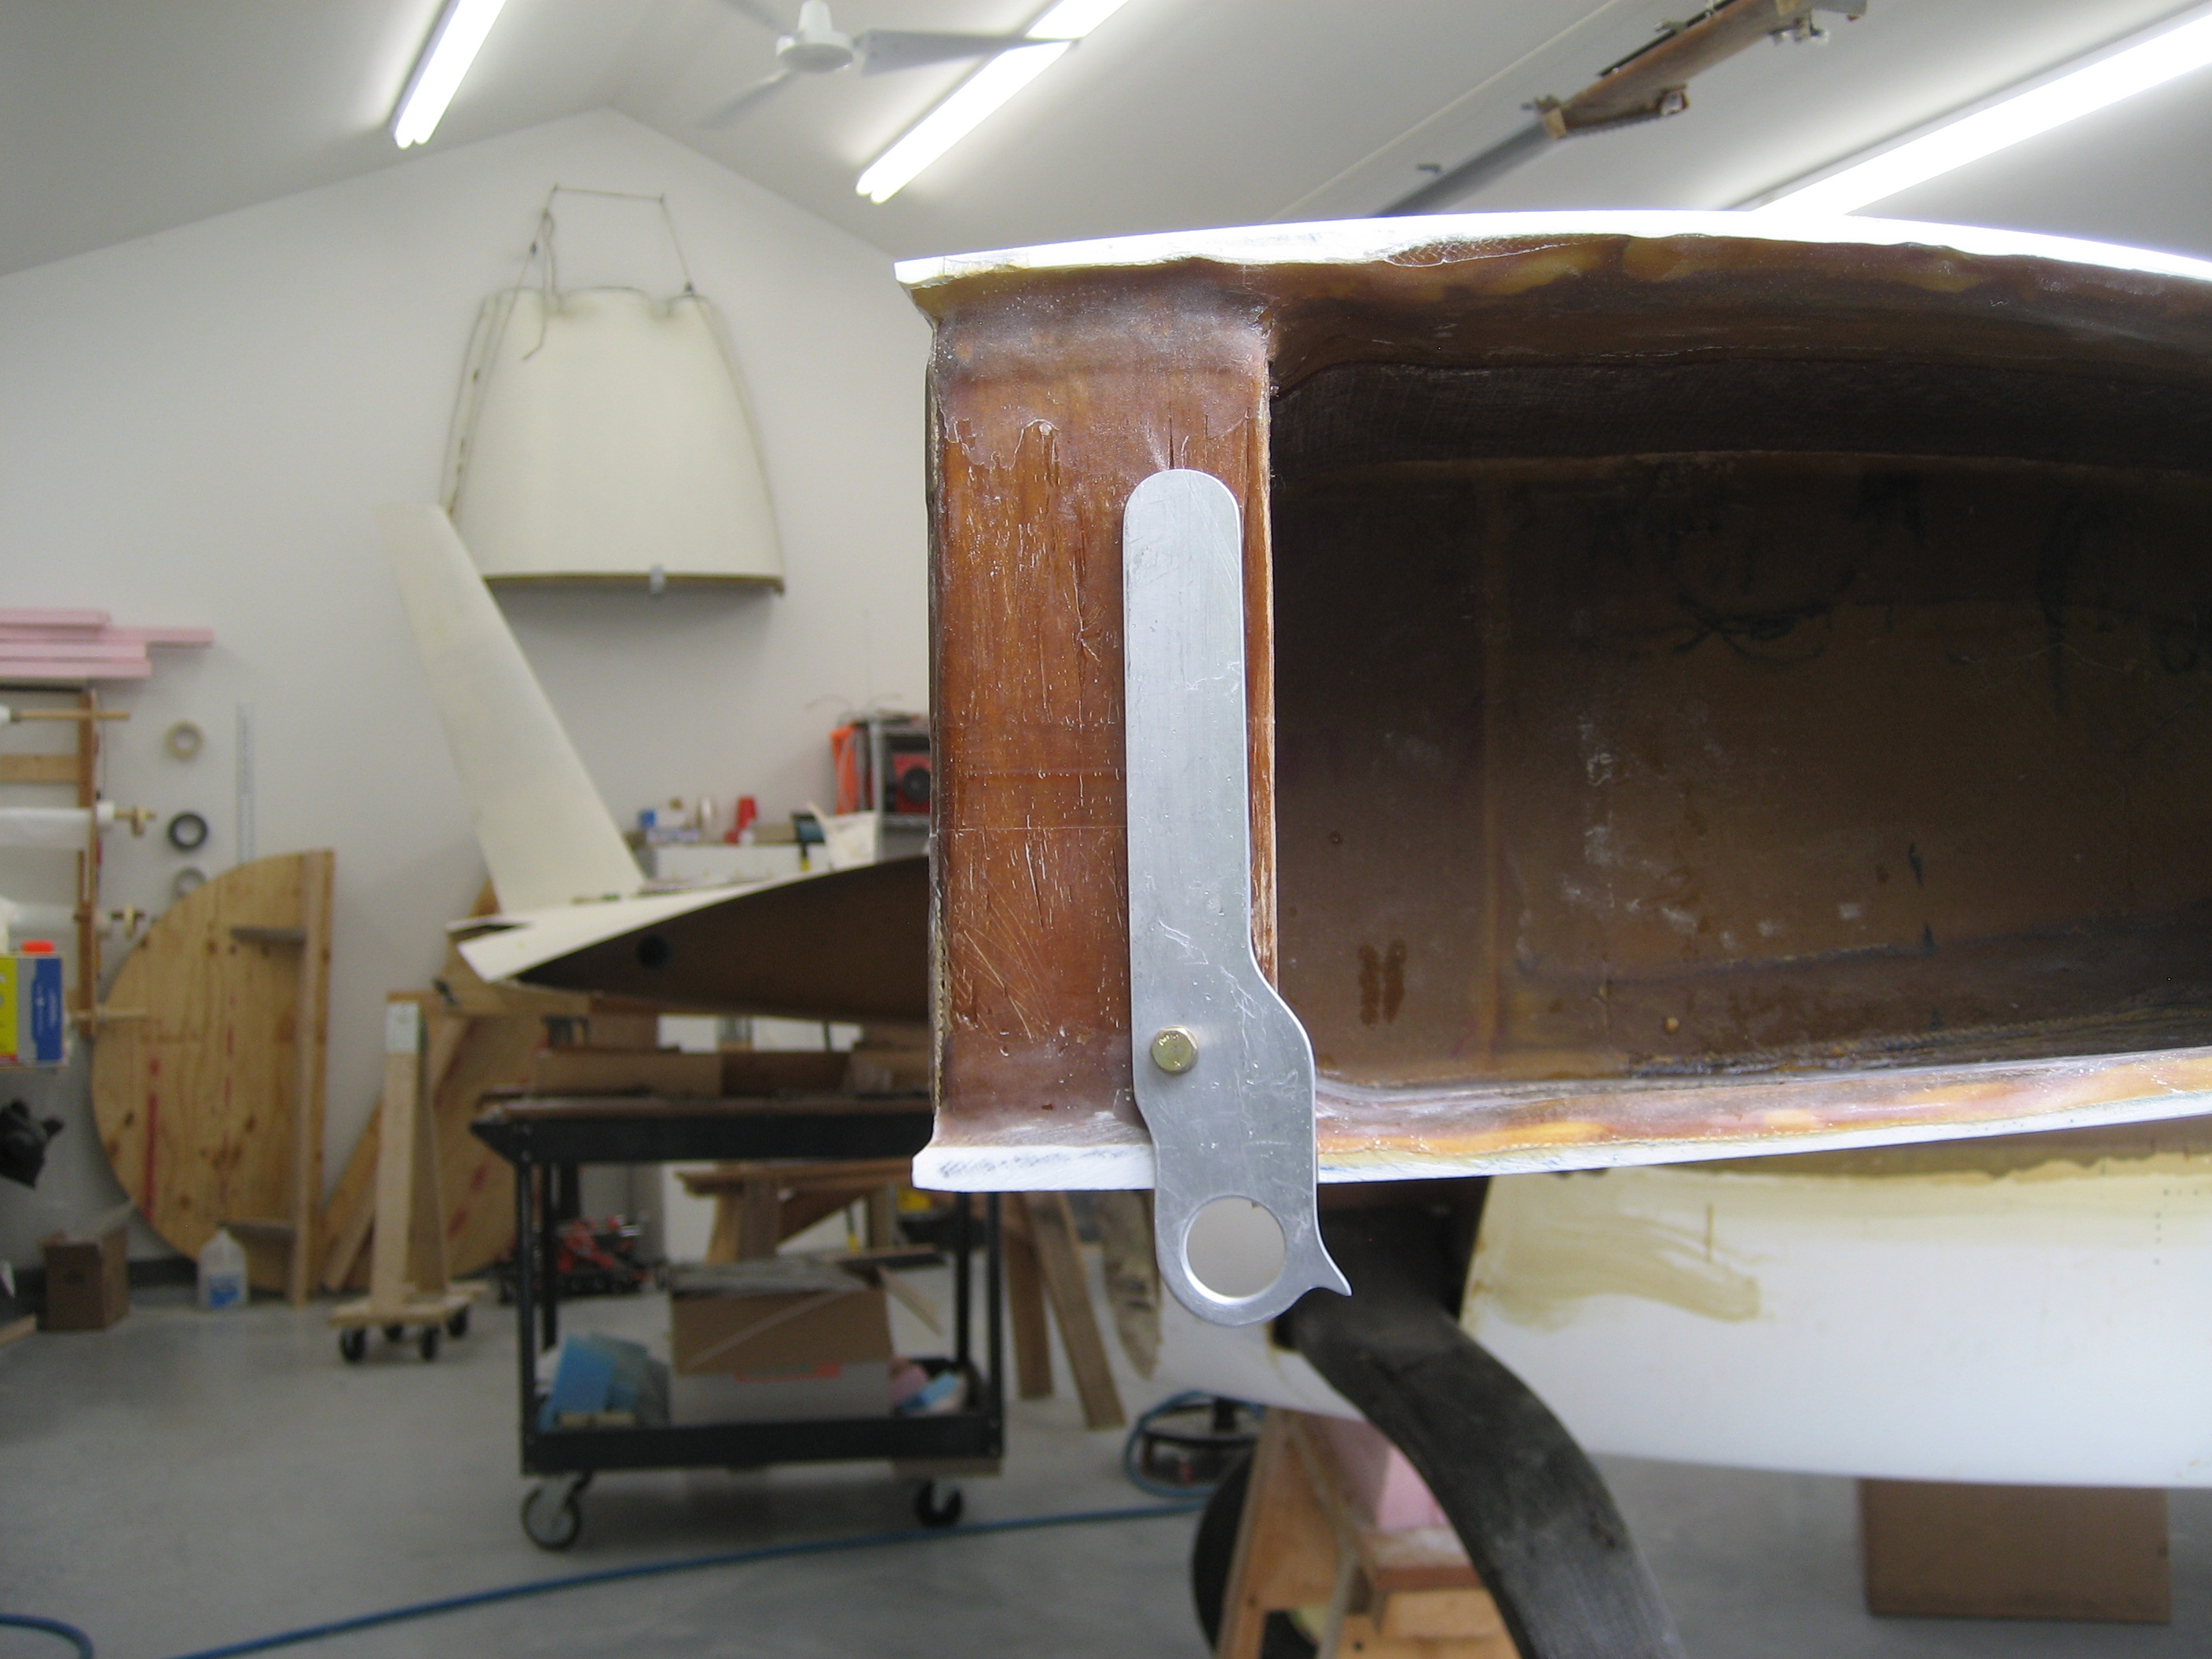
With no rope through the hole, gravity pulls it back to the recessed position. 

14.2.1 Finishing Bottom of Airplane

This entry is part 23 of 38 in the series 14 - Final Assembly / FInishing

Now that the cowling (lower) is done it’s time for the PITA part. Sanding, filling, sanding, filling, sanding, filling. This is what I did to the top of the strakes and wings last year. Some people don’t flip the plane and do this on their backs. I can’t even imagine the difficultly of doing that.

First a quick sanding to remove any real bad areas.
Left winglet (remember, it’s upside down)
2010-08-17 1552 MC 035

Left wing and strake (looking from rear).
2010-08-18 1200 MC 041

Then comes finding the low spots. Just like the top, a spline (in this case a 6′ piece on hinge rod is used) to find the obvious low spots. Then they’re marked so we know where to fill.

The outlined area with the lines are low spots.

2010-08-18 1625 MC 0422010-08-18 1625 MC 0432010-08-18 1624 MC 0452010-08-18 1623 MC 0462010-08-18 1623 MC 0472010-08-18 1623 MC 048    2010-08-19 1153 MC 066 2010-08-19 1153 MC 067

The line I cut on the bottom between the strake and wing didn’t meet with Malcolm’s standards (I was laying on my back when I did it). So it’s going to be redone.

Laying a straight-edge as a guide will make for a really straight line.
2010-08-20 1352 MC 065

Malcolm has some aluminum stock he uses to make perfectly straight seams between the strake and wing.
2010-08-20 1552 MC 0702010-08-20 1553 MC 069

And the fill goes on.

2010-08-22 1834 MC 0732010-08-22 1834 MC 0742010-08-22 1835 MC 075  2010-08-23 1056 MC 077 2010-08-23 1055 MC 076 2010-08-22 1834 MC 072

And then it gets sanded off. Malcolm really likes my Hutchins orbital air file. I think that I may have to fight him for it when we’re done. 🙂

2010-08-26 1240 MC 0872010-08-23 1642 MC 080 2010-08-23 1642 MC 081 2010-08-24 1652 MC 082 2010-08-24 1652 MC 083 2010-08-24 1653 MC 084

Then it’s time to find and mark the low spots again.
2010-08-27 1543 MC 0972010-08-26 1614 MC 0942010-08-26 1613 MC 093

The wing mounting bolt access holes also get cleaned up now
2010-08-27 1544 MC 098

And now it’s time to get ready to prime.
2010-08-30 1526 MC 105 2010-08-27 1546 MC 101 2010-08-30 1525 MC 102 2010-08-30 1525 MC 103 2010-08-30 1526 MC 104

First coat of gray primer.
2010-08-31 1510 MC 107 2010-08-31 1510 MC 108 2010-08-31 1511 MC 109 2010-08-31 1511 MC 111

And sand to create “the spotted dog” effect.
2010-09-03 1605 MC 118 2010-09-01 1721 MC 113 2010-09-02 1801 MC 114

Next we’ll fill any remaining low spots and put on another coat of gray primer. Then it’ll be time for the finish white primer.

The white primer is supposed to have a very nice semi-glossy finish and Malcom says to fly it with that for a while. But painting airplanes is a pain and it’s soooooo much easier to do now. So I’m still on the fence as to whether to leave it in primer or not.

14.2.3 Final Primer on Lower Fuselage

This entry is part 24 of 38 in the series 14 - Final Assembly / FInishing

Now that the bottom is in full spotted dog effect, the radius between the fuselage and the strake is done. I don’t understand why we waited until after the first coat of primer, but that’s how Malcolm says he does it.

2010-09-08 1606 MC 122

And the lower winglet to wing intersection gets the radius is done.

2010-09-08 1607 MC 124

Here are the main gear doors and the main gear mini-doors.

2010-09-08 1609 MC 130

And here we have the bottom of the plane and parts after the final coat of gray primer.

2010-09-16 1656 MC 135C2010-09-16 1656 MC 135E

2010-09-16 1657 MC 135F 2010-09-16 1657 MC 135G 2010-09-16 1658 MC 135I

At this point I went over the bottom with a flashlight and pencil marking all the little tiny pinholes. Then we filled them filler. Once that set up we did a final sanding of the spots and repeated about four more times.  Malcolm’s philosophy is with every pass, you get 90% of the flaws. So by the time we were done, we had (hopefully) filled 95% of the flaws in the surface

 2010-09-16 1659 MC 135L 2010-09-17 1636 MC 135M 2010-09-17 1636 MC 135N 2010-09-17 1637 MC 135O 2010-09-17 1637 MC 135P 2010-09-17 1637 MC 135Q2010-09-17 1637 MC 135R

Then we got ready for white primer.

2010-10-15 1124 IMG_0727 2010-10-15 1123 IMG_0723 2010-10-15 1123 IMG_0724 2010-10-15 1123 IMG_0725 2010-10-15 1124 IMG_0726

Here’s a picture taken from “the loft”. It’s the only way I could get the whole plane in the picture.

2010-10-15 1125 IMG_0728

I’ve never been that good spraying so I deferred to Malcolm. I did the mixing making sure that Malcolm always had paint for the gun.

 2010-10-15 1211 IMG_0730 2010-10-15 1345 IMG_0732 2010-10-16 0935 IMG_0736

Once the paint had cured I decided that flying in this primer was going to be just fine.  The finish of this primer is better than the paint on the Cessna.

2010-10-16 0936 IMG_07382010-10-16 0937 IMG_0740

14.2.1 Windows

This entry is part 26 of 38 in the series 14 - Final Assembly / FInishing

We removed the tape and plastic from the outside of all of the windows and cleaned them.
2010-10-29A

Malcolm has an eye for detail. He immediately noticed an imperfection where the windows had been installed in a couple of places.

This is the right/rear window. See the problem? Neither did I. 🙂  2010-10-29B

If you look at the line at the upper edge of the window you’ll notice that it’s not exactly… smooth. It has a little “bump”. That’s the imperfection. 🙂

There was another one at the upper corners of the windshield. One was more rounded that the other. I couldn’t see that one. But Malcolm got a piece of cardboard and traced the upper/left corner onto the cardboard and cut the shape out. Then he flipped it over and put on the upper/right corner and sure enough, it didn’t match.

Both of these problems are easily fixed. The reason for removing the plastic and tape around the windows is so the transition between fuselage and window can be filled and painted. So what we’ll do is tape so that part of the window will be covered with paint creating the new line.

 Here’s the plane with the windows masked off with new plastic.2010-11-01A

14.2.1 Finishing Upper Airplane

This entry is part 27 of 38 in the series 14 - Final Assembly / FInishing

When I was working on the strake-wing joint on the top, I did the co-pilot (right) wing first. I concentrated on the area where the wing meets the strake. When I did the Pilot (left) side, I discovered that there was a “valley” that ran the length of the wing. I spent a LONG time filling and fairing in that wing. I was going to fix the right wing later.

Well, it’s later.

First we checked the left wing. I was pleased when Malcolm declared it good.  But even so, we hit the entire wing with sanding boards and got it more better. 🙂

Then is was time for the other wing. We spent the better part of a day sanding off all the excess filler. Then we “splined” the wing. Where the spline doesn’t touch the wing is a low spot. You mark those spots and then move the spline over and repeat. And repeat, and repeat and repeat. The result gives you and idea where the low spot is that needs fill.
2010-11-02D

Next comes fill and sand. At least it only needs to be done on one wing.

14.2.1 Strake Extension

This entry is part 25 of 38 in the series 14 - Final Assembly / FInishing

Where the strakes meet the door and fuselage, there’s a small space. Most people put a partial cover over it and use it for storage. There’s really not much room and it’s open to the elements so I decided to simply cover it up. So I cut a thin piece of plywood, glued it in place and then covered it with a later of BID.
2010-11-29D

14.2.1 Top side finish

This entry is part 13 of 38 in the series 14 - Final Assembly / FInishing

Since we’re now working on the tops of the wings (where they will be easy to view (as opposed to the underside)) it’s important that they are as close to perfect as we can get them. We already did some extensive sanding and removed a bunch of unnecessary filler, but there are still some low spots. And Malcolm (ever the perfectionist) wasn’t happy with my strake-wing joints.

So first we located (again) the low spots and marked them. Then we put in the aluminum “dams” that Malcolm uses to retain and improve the joint.

Here’s a picture of the pilot side strake/wing with the aluminum in place

Same side from the back.

CoPilot side.

The gap along the back was really high so we knew there’d be no filler going on there.

Right wing with low spots marked.

Then it’s time to add the Resin Research resin and microballoon.

Right wing with a layer of filler.

At the wing/strake joint

Right wing aft of the strake.

While I thought the doors were fine (especially compared to how they were), they still weren’t “good enough”. So some fill had to be added around the upper/aft edge of the co-pilot door.

Here’s the pilot side wing-strake joint.

And then the filler has to be sanded down. 🙁

But now the tops of the wings and strakes are as good as they can be made until we get some primer on it. Once the surface is is close to being smooth but in full “spotted dog” mode, the variations in texture make it difficult to determine if you’re feeling a low spot or a change in surface texture. So once the entire surface is primed, we’ll block it out and see if there are anymore low or high spots. Until then, there not much more to do with the wings.

14.2.1 Window transistion

This entry is part 11 of 38 in the series 14 - Final Assembly / FInishing

The transition between windows and fuselage needed a lot of work. The windows are noticeably lower than the adjacent fuselage. So it was time to sand (again). Fortunately, there are only three windows.

Here’s the “before” pilot side rear window.

Here’s the after picture of the same window. Notice that much of the white filler close to the window has been removed.

After of the right side of the windshield.

Co-pilot side rear window.

14.2.1 The ugly nose

This entry is part 10 of 38 in the series 14 - Final Assembly / FInishing

“That’s an ugly nose”. I don’t have a picture of it, but the nose of the plane isn’t the best looking thing. Malcolm says it looks like it has an overbite (the top sticks out a little further than the bottom). The fix is kind of weird. A thick mixture of micro and cabo is plopped on to the nose.

Once it hardens, it’s sanded to a point. This is one of those “artistic” things that I’m not very good at but Malcolm excels at.

The artist reviewing his work. 🙂

Then the point is knocked down and rounded over to make a “proper” nose.

14.2.1 Photo op

This entry is part 9 of 38 in the series 14 - Final Assembly / FInishing

During all of this I realized that I’ve never had the wings and canard on at the same time.

Time for a picture!

Unfortunately, the lighting and the flash don’t make for a great picture but you get the idea.