13.4 – More Static Port Fun

This entry is part 67 of 67 in the series 13 - Electrical / Instruments

UPDATE:

Well, that didn’t work very well.

Currently I’m back to my original design with some minor changes.  The original static port was bonded in place.  My new one is held in place with an AN bulkhead fitting nut. And instead of .75″ in diameter, it’s 1″ in diameter.  I adjusted the height of the dam behind the opening and by doing low altitude passes over the runway at high and low speeds, I have got the altitude error down to about 10′.  I still get the altitude “drop” when I rotate at takeoff, but the rest of the time, the error appears to be minor.

So I’m calling it done.

————————————

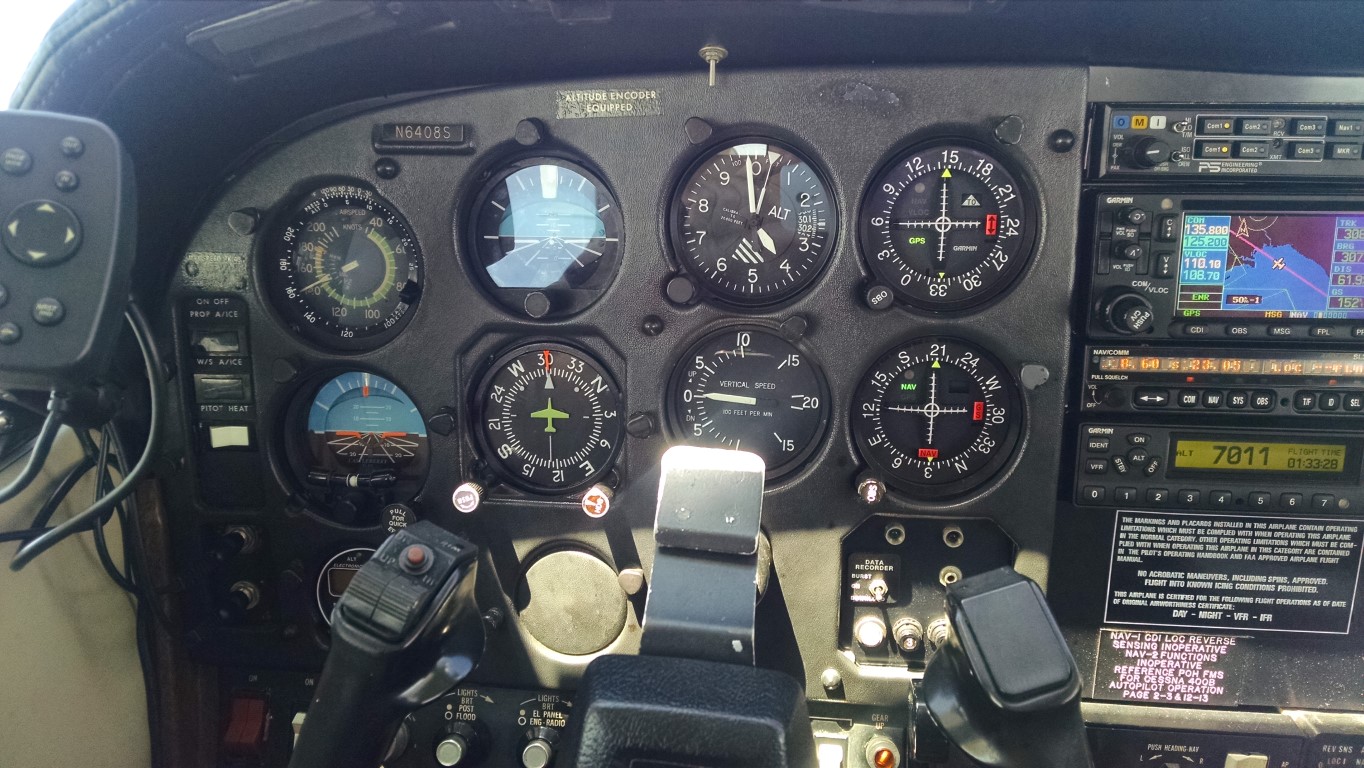
The other day during takeoff, I just happened to glance at the altimeter.  Normally, the altimeter is not something you’re concerned with during the takeoff roll.  But just before the wheels left the ground, I noticed that the altimeter was reading 50′ lower than the field elevation.

After reviewing the flight data for the past 30 or so flights, I discovered that the altimeter would go from the field elevation when the plane was stopped to 50′ – 60′ below at 70KIAS.

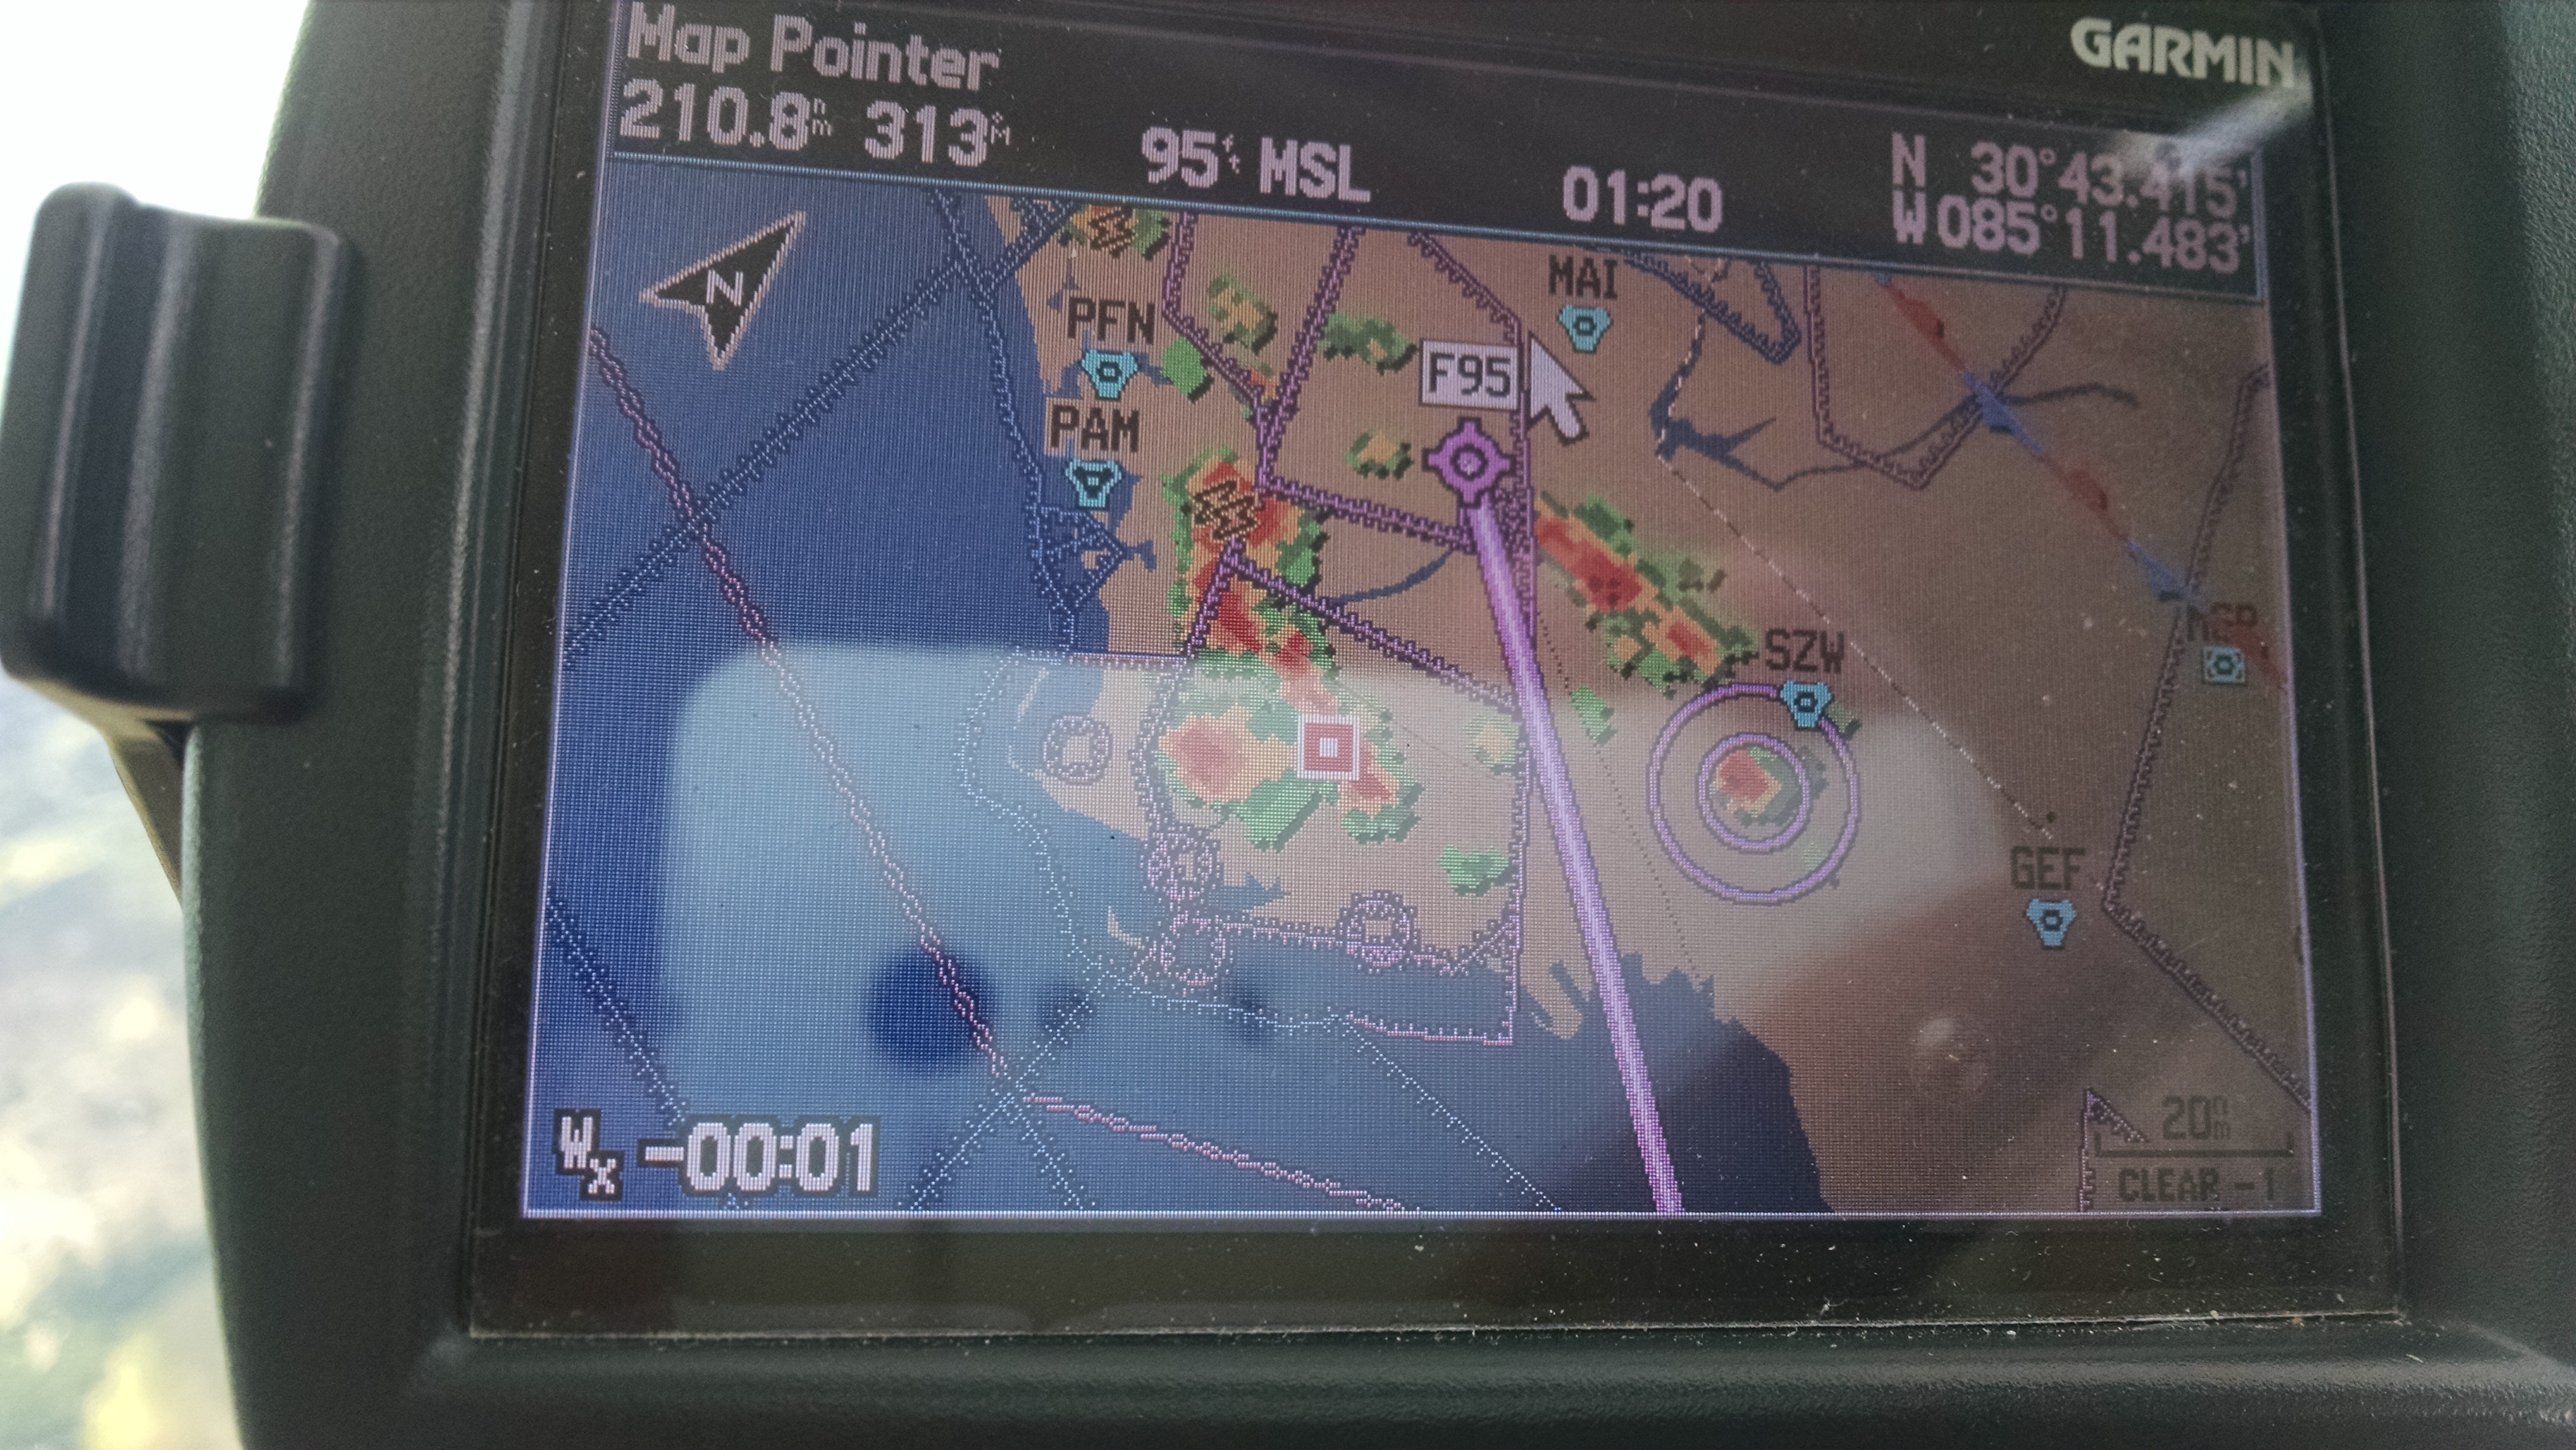
I thought that I had the static port error taken care of.  But once I saw this, I did a constant altitude, increasing airspeed test.  The GPS altitude should remain constant, but it didn’t.

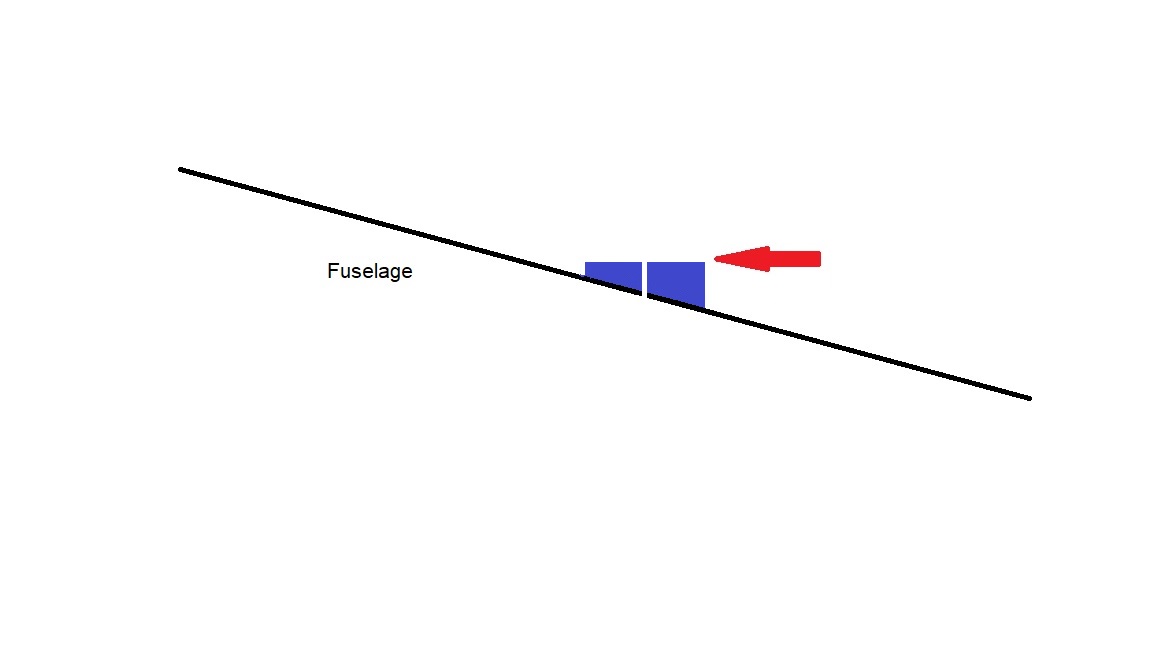
After thinking about it, I thought that the angle of the fuselage may be a factor.  All the other planes that I’ve looked at have their static ports located where they are perpendicular to the airflow.  In some cases where the fuselage tapers back towards the tail.  But never at the front where the fuselage width is increasing. I think that’s because in that position, the static port could be subjected to ram air.

SP1

The location of the static port on a Velocity is where the fuselage tapers to the nose at a 15 degree angle. I think that the airflow may be affecting the pressure subjected to the port. Now it’s possible the boundary layer may factor in here but as I’m not a fluid dynamics guy, I really don’t know.

But here’s my idea. If I could match the angle of the static port to that of the airflow, I may be able to get a null pressure area.

SP2

So I put some 1″ aluminum stock in the lathe and got to work. While I was at it, I decided to make another change.  The current port is bonded in place.  So changing it is a bit of a pain. The new static port will be held in place with a nut from a bulkhead AN fitting.

Here’s the new static port:IMG_20180524_180133

IMG_20180524_180129


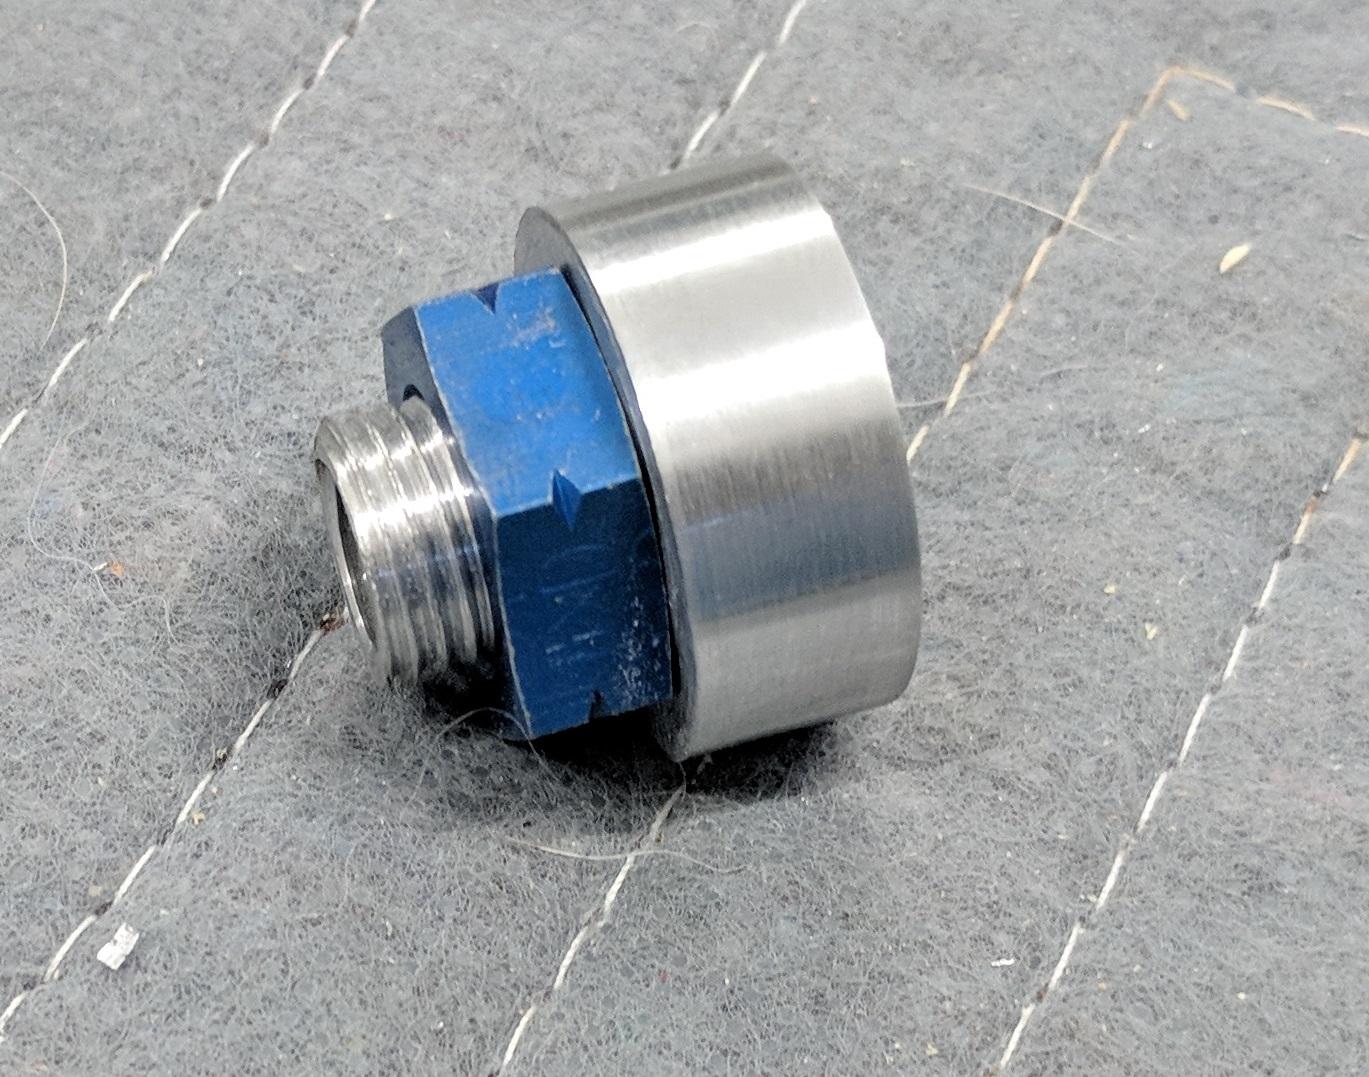
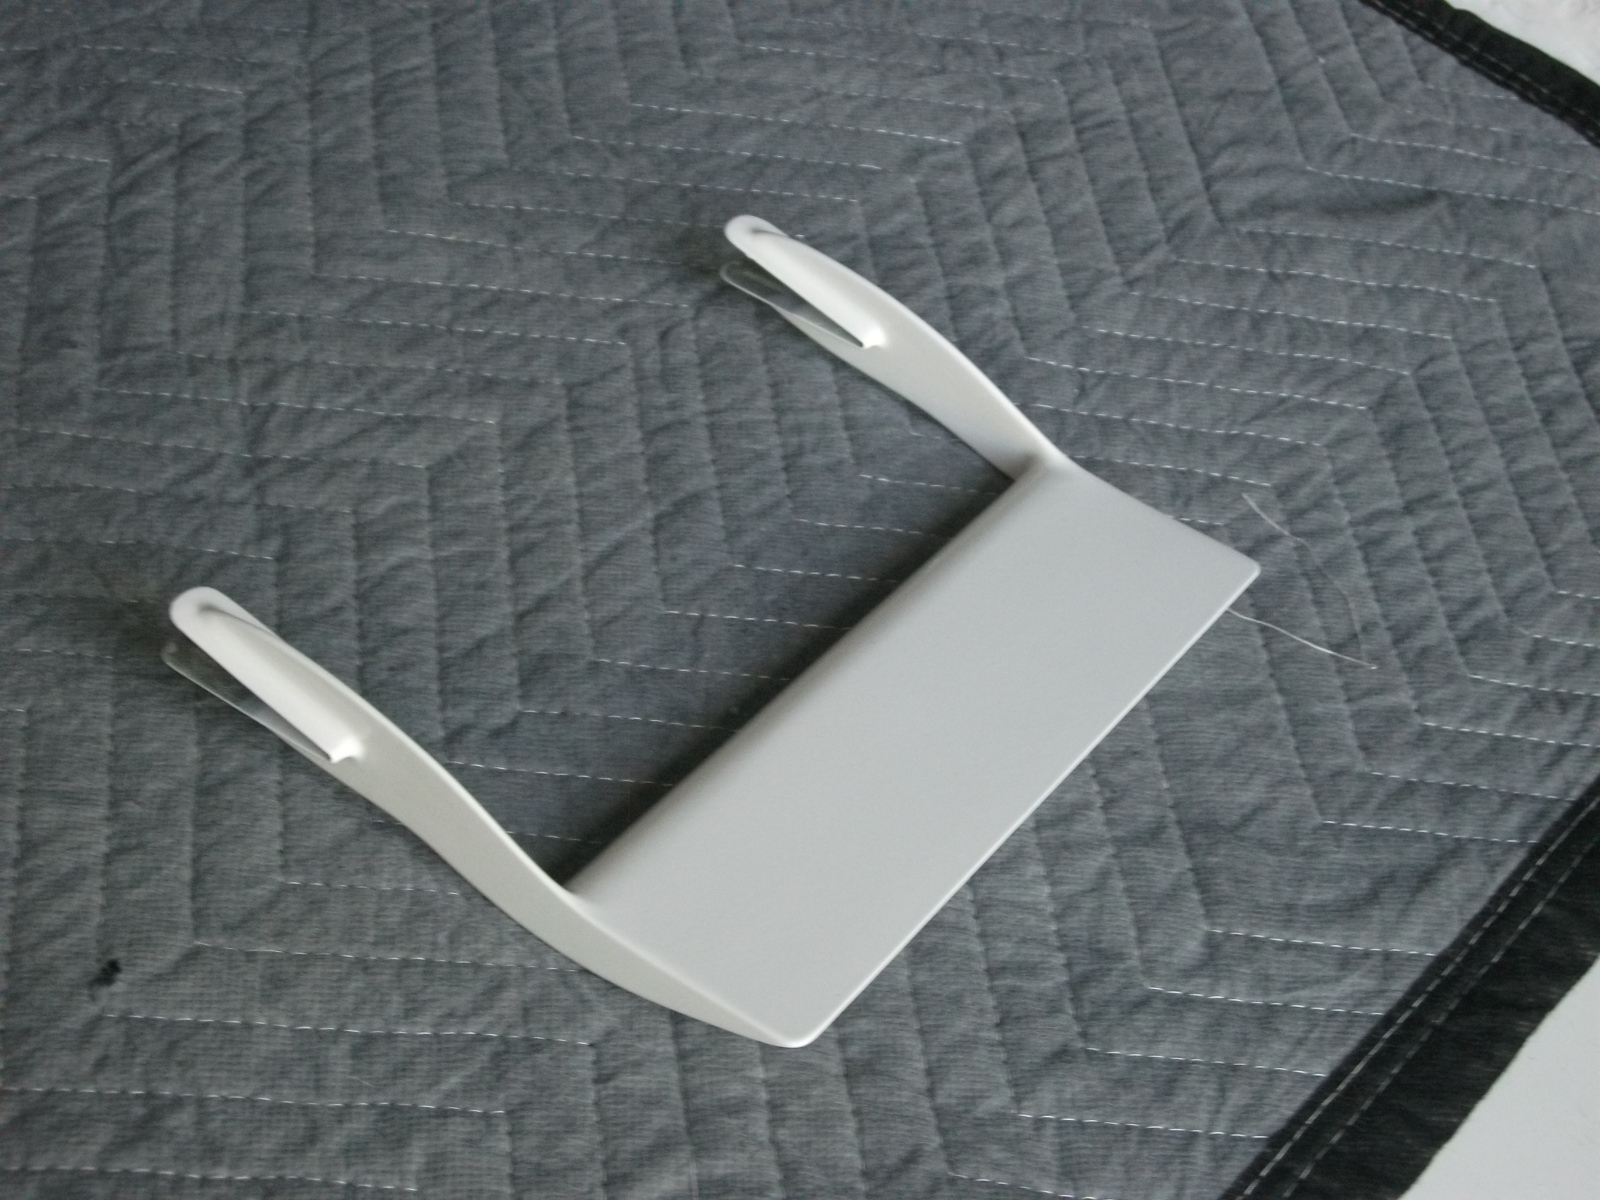
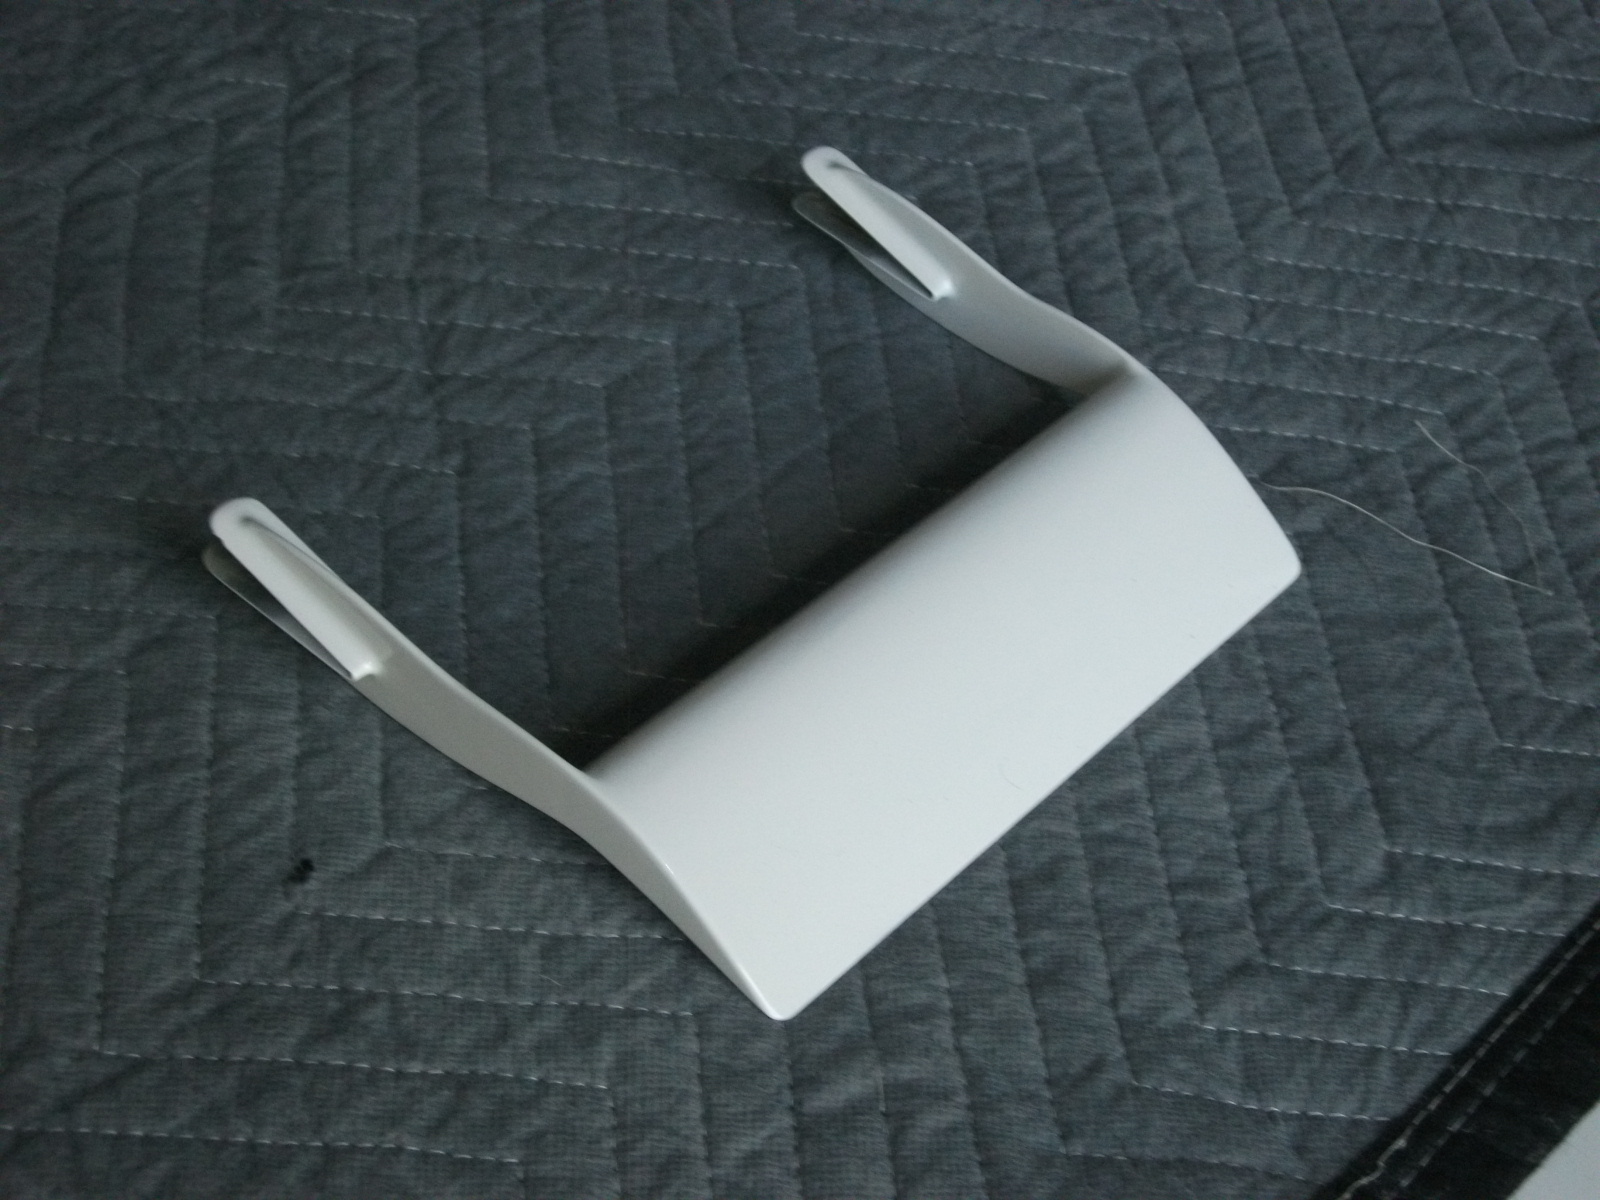
And here’s where is gets interesting:

IMG_20180524_180458

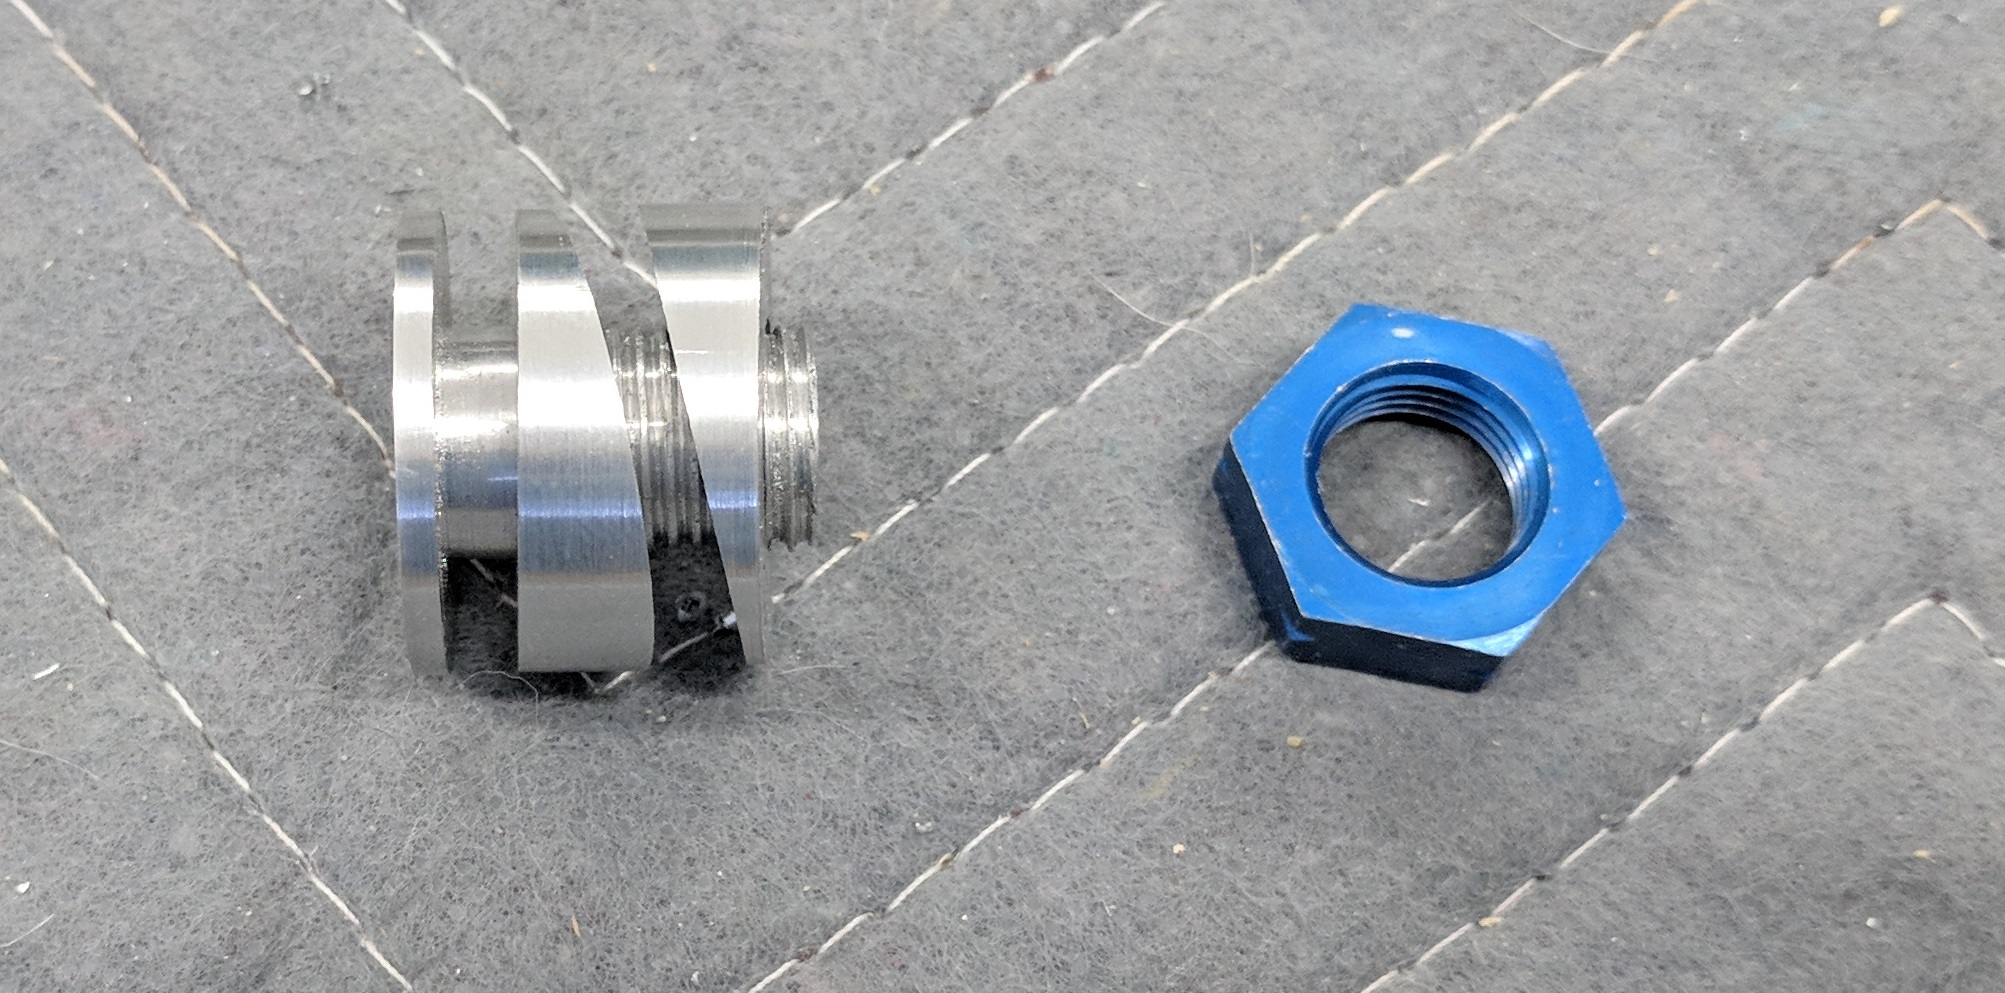
I have created 15 degree “wedges” that will allow the port to be perpendicular to the airflow.

I have absolutely no idea if it will work or not.  After the baby hurricane makes landfall on Memorial Day and moves on, I’ll install it and find out.

Still can’t fly, but I got the static port installed.

IMG_20180529_123515 IMG_20180529_123500

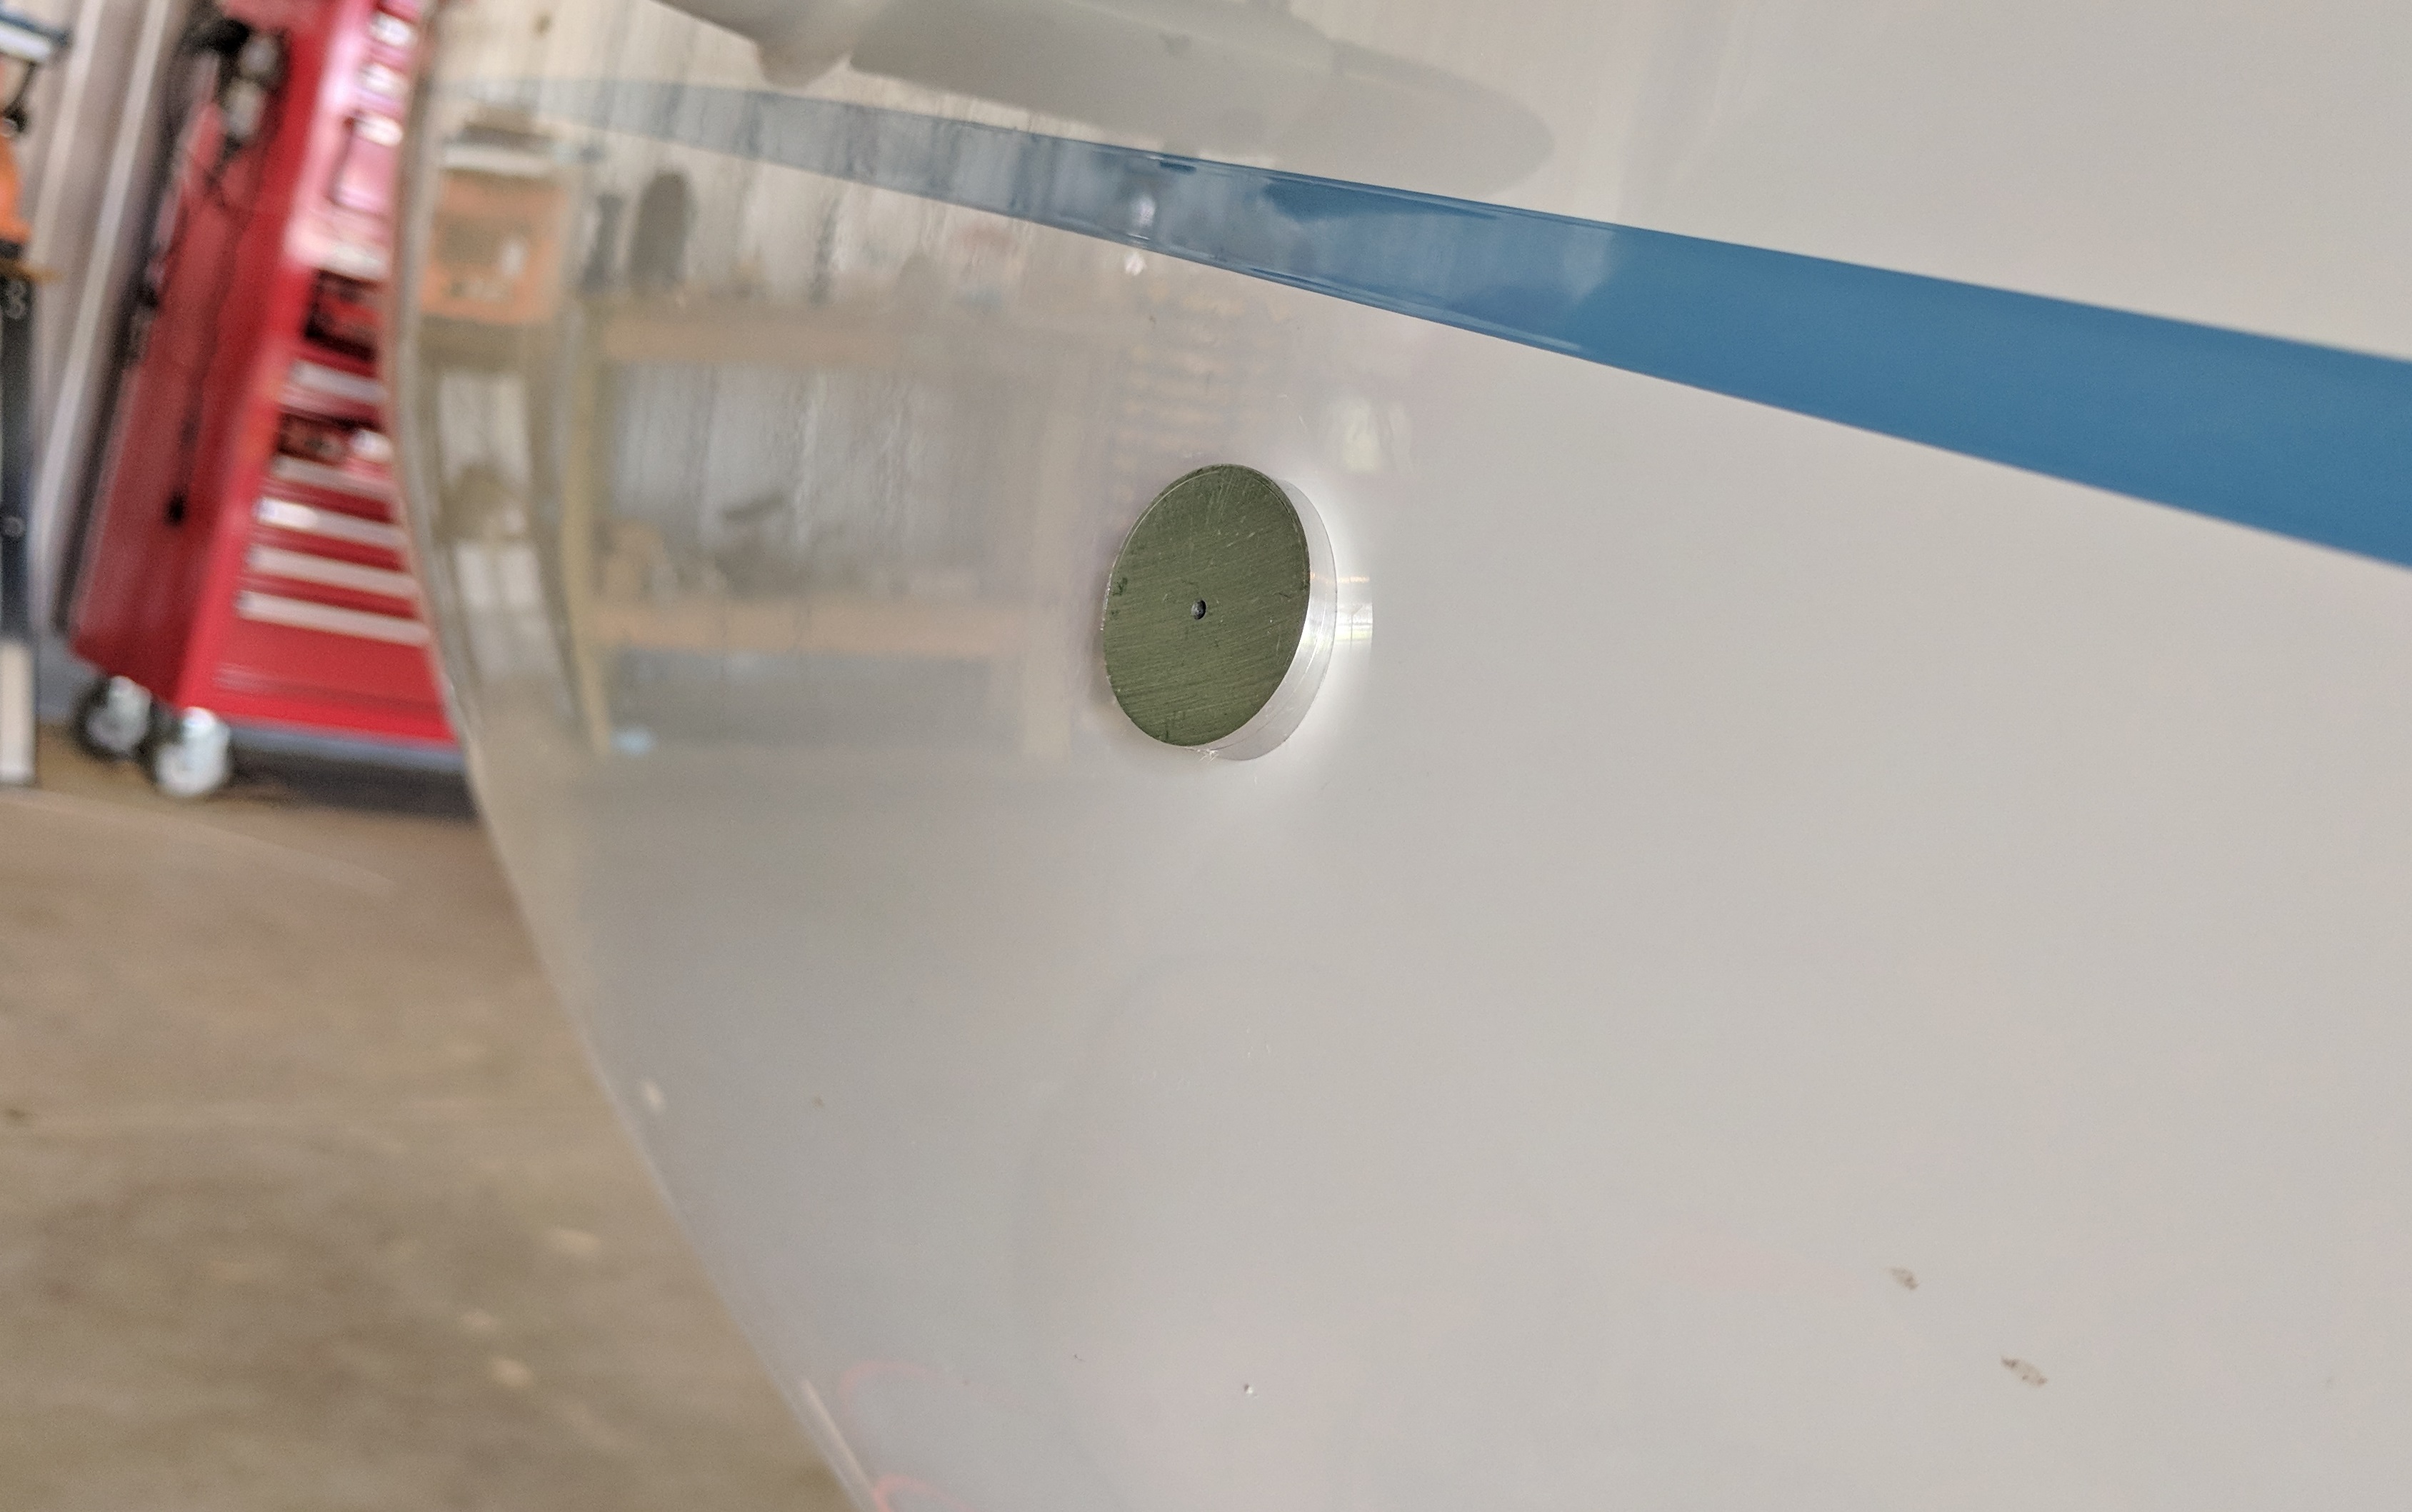
It is oriented to be plumb and aligned with the direction of flight.

First Flight! (for me)

This entry is part 6 of 7 in the series 16 - Flight Testing

Lots of things going on.  Because we sold our Chicago area house and bought a house in Panama City (literally on the same day), and said Panama City house needed a LOT of work before the planned move in date of 9/5, I haven’t had much time for airplane related activities. I did run down and get the roll trim installed but that’s about it.

Because I’ve only got 25 hours to fly off, I was planning on doing that in one trip.  And to handle the transportation, my good friend Rody (who was in the plane when I had the nose gear collapse on the 182-RG in Greensboro, NC) suggested that I just rent a car and drive down then drop it off there if I can fly off the hours in one trip. Thanks Rody!

So I got a car from Enterprise (only nationwide car rental company with an office in Sebastian) and drove down on Sunday, September 13th.  Then I got John Abraham to go up with me for a couple of quick take off and landings. Remember, I only have 5 hours in Velocities and that was the small trainer that’s fixed gear.

So we hopped in the plane and took off.

Holy crap, this this is FAST!  Rocketed down the runway, lifted off and before I knew it the we were at 130kts and climbing… rapidly. Then the “Low Oil Pressure” light started flashing.  A quick check of the gauges showed the oil pressure was reading right where it should. So we stayed in a tight pattern just in case.  After a minute, the light went out. It turned out that I had inadvertently set the alarm (which drives the “Low Oil Pressure” light) to indicate for low oil pressure and if a cylinder head temperature exceeded 400 degrees. Oops.

The two landings were far from impressive.  Long with lots of over-corrections.

Then I was up on my own.  I decided to fly south to Stuart (the south end of my test area) and then back north to Sebastian. This takeoff was even more… exhilarating.  With just me in the plane it accelerated like a sports car. In no time I was at 1,500 feet and climbing in excess of 1,500 feet per minute.

Lots of challenges here.  First is staying in front of the plane. I ran into this challenge when I moved from flying fixed gear Cessna 172’s to my 182-RG.  Lots more power and lots more speed. Eventually you start thinking far enough ahead that you’re playing “catch up” all the time.

The other challenge is migrating from “steam gauges” to a glass panel.

Here’s the panel I’ve been flying behind for the past 16 years.

6408S Panel 2 (low-res)

If you’re not a pilot, it may seem daunting, for me it’s been home for the last 16 years. Airspeed? Top left.  I haven’t really looked at anything other than the needle position for a long time. When I’m on base leg, the needle is about 3 o’clock. Over the runway for landing, 2 o’clock.  Vertical speed? directly over the yoke. Hard to miss being level or in a 500fpm climb. Altitude? Directly above the VSI.  It’s second nature.

Now…

IMG_20150923_092939328

So now when I need to know how fast, there’s no needle. Just to the left of center is a vertical tape with (in this case) 165 in the middle. That how fast I’m going (indicated, not actual). Altitude? To the right of center. I’m at 6,510 feet.  Vertical speed?  On the left side of the altitude tape are some hash marks that angle up and down. If I was climbing at 1,000fpm, the area from the middle to the “1” would be shaded.  For a non-pilot that hasn’t been looking at the old six-pack or steam gauges, this probably makes perfect sense.  But I’ve been flying behind those old gauges for so long that this will take some getting used to.

Dodging weather

I flew down for this trip.  Instead of 7 hours each way, it’s only 2.  Of course I have to deal with weather if I fly.

Approaching the home field on the return, I had to contend with the typical afternoon thunderstorms. At first it looked like I would be able to sneak in.

2015-06-04 IMG_20150604_153654532

But then the opening between the two buildups closed and I had to loop around to the north and come in from the Northwest.

Oh well, flying in Florida.

10.1.3 Aerodynamic Trim (Sparrow Strainer)

Over the years, whenever I was waiting for something to cure or dry, I would sometimes spend a minute or two on the sparrow strainer.  This is a small inverted airfoil that attaches to one of the elevators. Just like the vortilons, when it was time to finish them, I let Malcolm do it.

Before starting the finish work, he created a pair of flanges where it attaches to the elevator. Once the flanges were done, he began the sanding, filling, sanding filling process. The the gray primer, more filling and sanding and finally the white primer.

Here’s the end result.

SS 1 SS 2

It will be attached to the inboard end of the right elevator but like the vortilons, I’ll wait until I’m closer to flying before attaching it permanently.

Here it is dry fitted.

SS 3

For sale

If you’re interested in anything, send me an email at don@velocity-xl.com and provide your shipping address.  I’ll let you know how much shipping is.


Tekton 14 piece angle wrench set.

3/8″ – 1-1/4″.  I can’t remember when I got these but I was becoming frustrated trying to get a wrench on a fitting in the keel and nothing would work. Malcolm suggested these. 5 minutes after they arrived, the fitting was loose.  These are a bit of a specialty item, but I’ve lost count of the times when these were the only thing that worked. This particular set is no longer made but the 11 piece set is around $135. I’m asking $90.  (carrying case not included)

81Y7mkhZJjL._AC_SL1500_ PXL_20201224_221720596 PXL_20201224_221726765


1-1/8″ drill guide and bit.

This is DEFINITELY a niche item. When I was installing the arm on the elevator torque tube for the autopilot, I had this made to drill the holes.  If you’ve ever tried to drill a hole into a round tube, you know how difficult it is.  And getting it perfectly centered across the diameter, is impossible.  This was made by an actual machinist.  It is so perfectly made that it doesn’t matter what the orientation of the two parts are.  The drill bit will always slide right through the guide.  Place the two pieces that make up your torque tube arm over the torque tube, clamp this guide on and drill the 7/64″ pilot hole. Remove and open up the hole on the bracket and torque tube to whatever the final dimension is. You’ll find the bolt slides in with no binds.  Includes 7/64″ drill bit and 1/8″ allen wrench.

Price $75

PXL_20201224_223246003 PXL_20201224_223340983

Here it is in use.

2014-03-02 IMG_20140302_170725453a


Garmin GA35 TSO WAAS GPS Antenna.

Brand new. Never installed. Lists for $309.

Price $150

PXL_20201220_220348172 PXL_20201220_220337819


Bendix magneto. 56RSC-25  10-500556-1

173 hours since overhaul.  Lists for overhauled is $700. Price $300

PXL_20201220_220808092 PXL_20201220_220732592 PXL_20201220_220735223 PXL_20201220_220738708 PXL_20201220_220744484 PXL_20201220_220756109


Harness for Bendix mag.

Top-odd, bottom-even. 173 hours since new. Lists for $500. Price $300.

PXL_20201220_220930240