Back when I was preparing for the visit from the DAR to perform the airworthiness inspection, I discovered that getting into the back of the plane was a huge PITA. This was due to the fact that my wife and I both have rather long legs which requires the bottom of the seat rails be mounted a bit further back than normal and that the seat rails only have about 7″ of travel.
To resolve this, I tried a couple of different approaches:
- I checked a few auto salvage yards looking for seat rails that had more travel. While I found a couple candidates that had more travel, it either wasn’t enough to be worth the trouble or they would be too tall (headroom is an issue as well).
- Go with a dual action seat mount. If you’ve even gotten in an 80’s era Ford Bronco or Chevy Trailblazer, you know what I mean. The seat slides forward and then it pivots at the front and the whole seat folds forward. But that would have raised the seat high enough that only a small child would fit in the front seat.
I eventually found an aftermarket seat rail that had 10″ of travel. The Sparco 00493. I found them at a few different shops online. Since it would be easiest to access the back of the plane from the passenger side, I decided to do this on the copilot seat only.
Once I had the seat rails, I had the old rails removed and the new ones welded on. Then I removed the old hardpoints and installed new ones. I also moved the seat just a bit more forward.
The end result was easier access to the back of the plane. Easier, but still not enough for my liking. And… my wife found it more difficult to enter the front seat. With the seat all the way back, she could barely get her legs in the plane.
Oh well, I’ll have to keep looking for a solution.
Which came from fellow builder Reiff Lorenz. He came up with (what I call) quick release seat mounts.

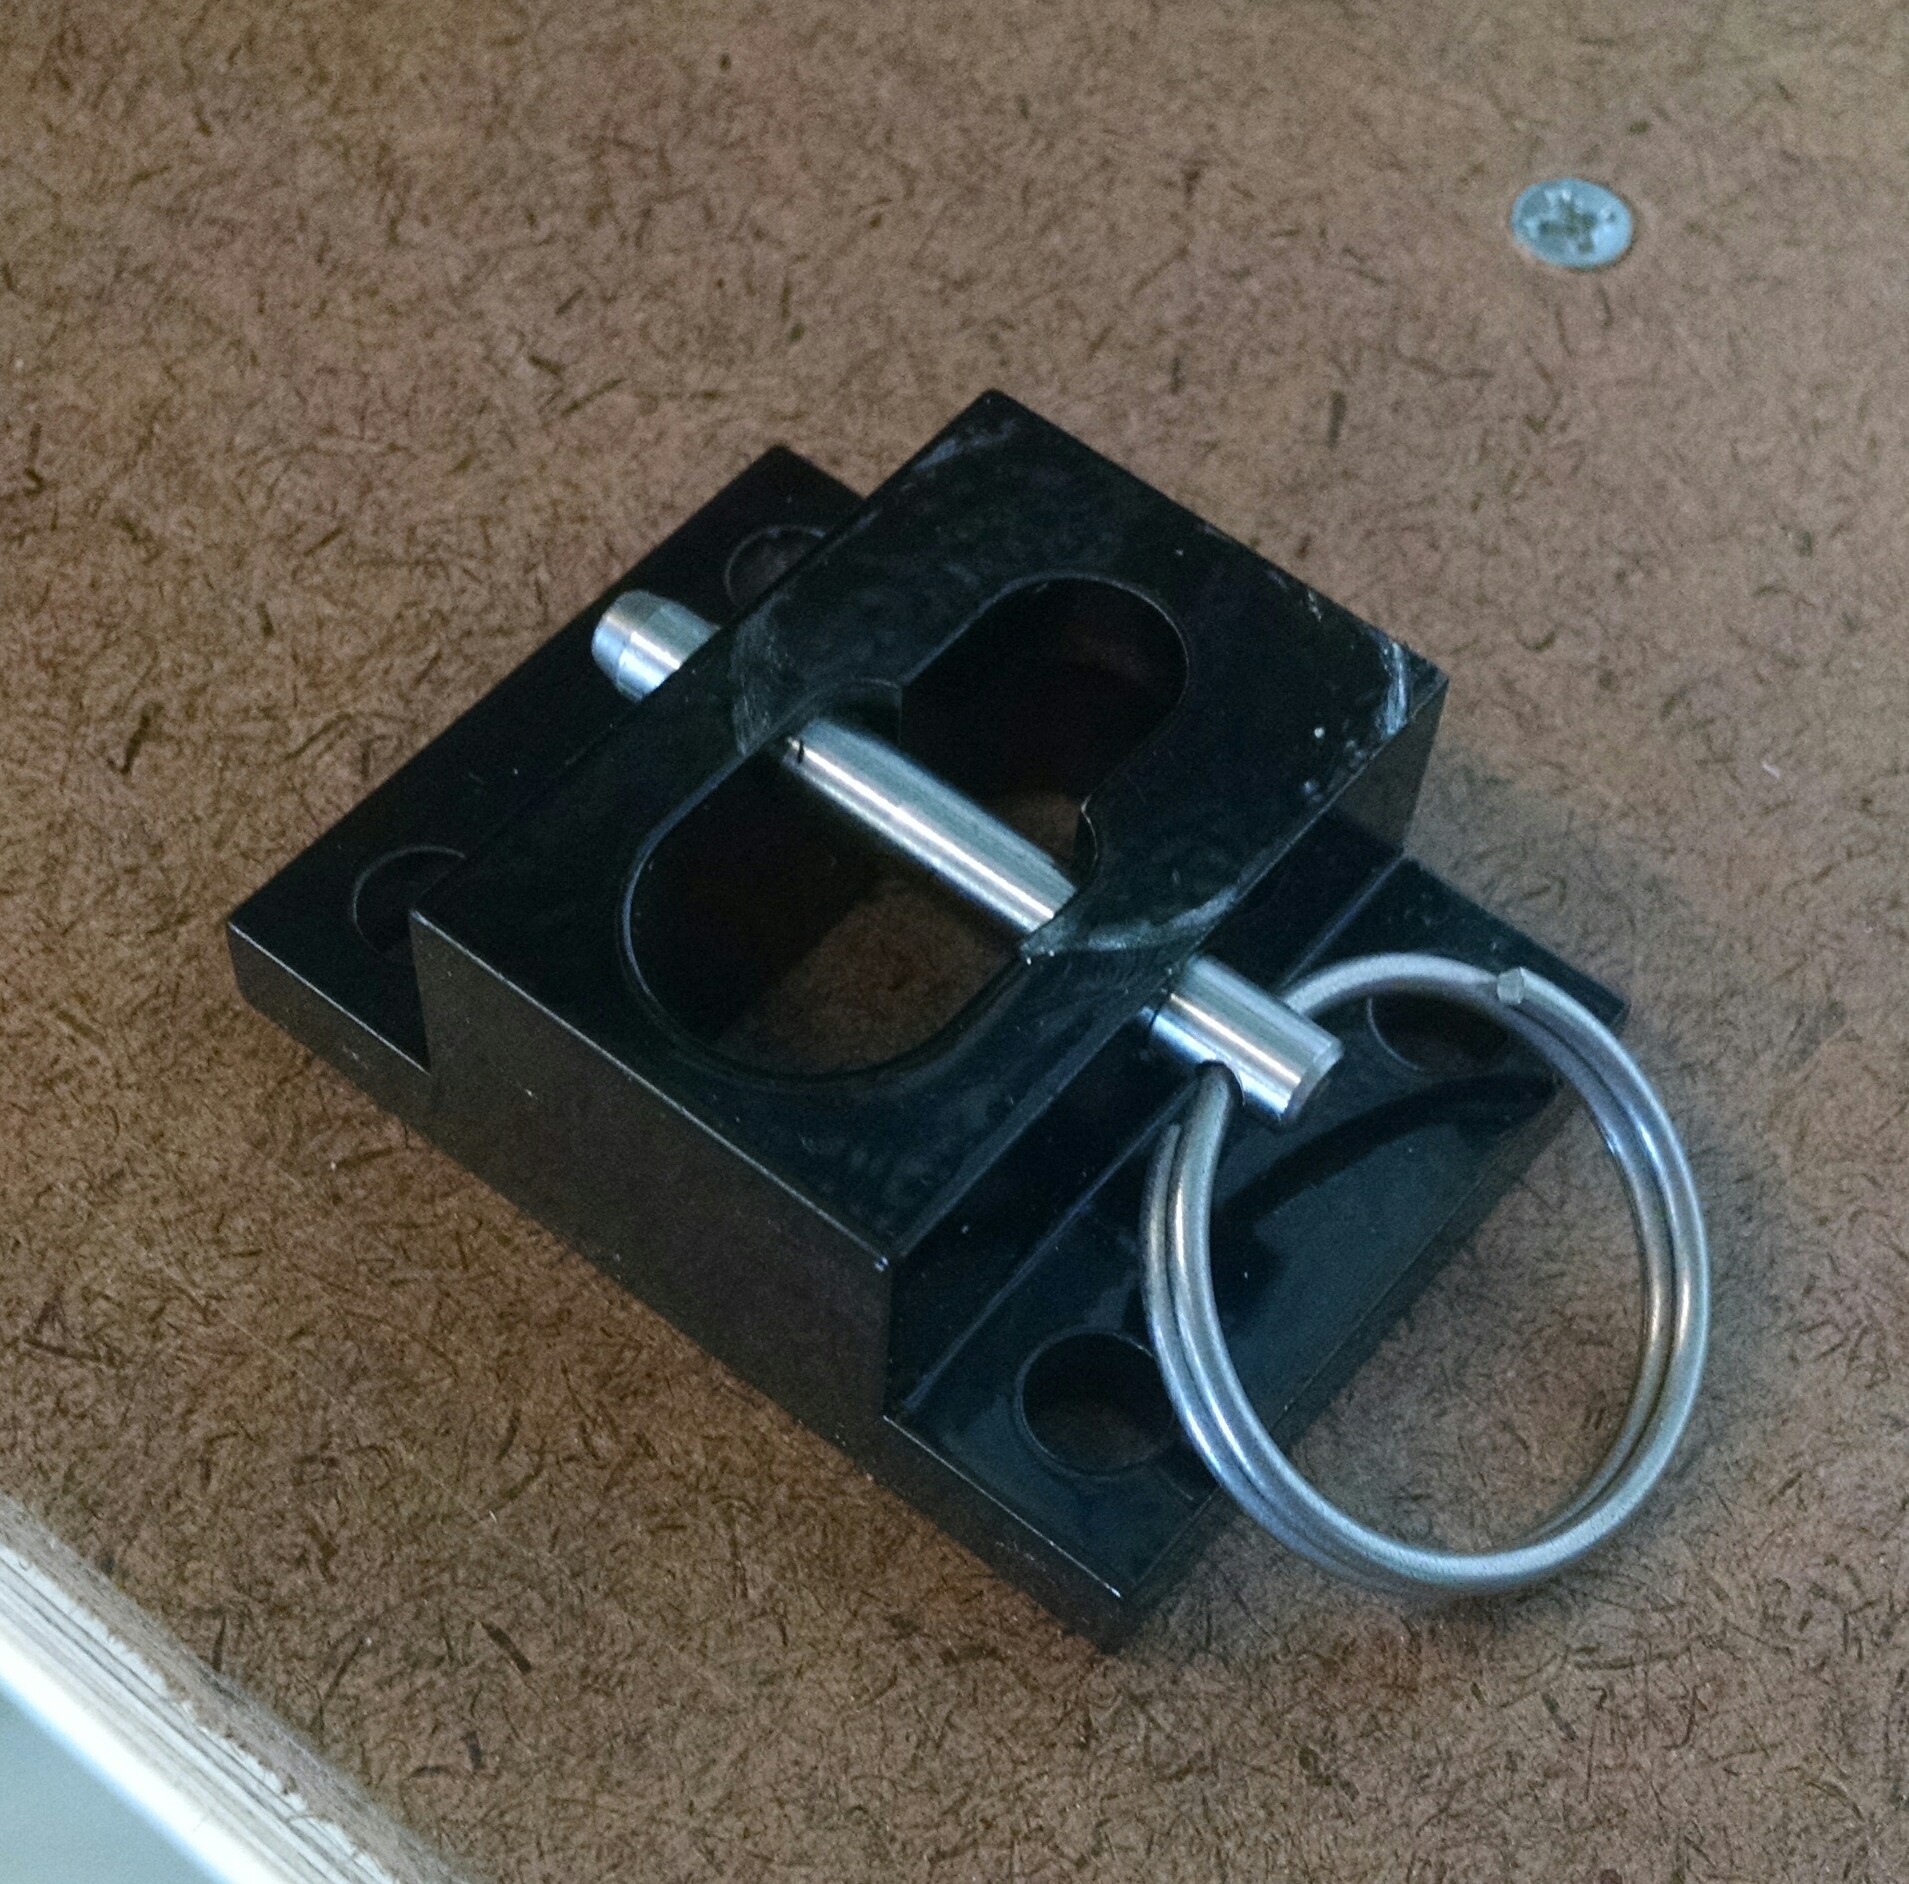
Instead of bolting the seat rail to the hardpoint in the floor, you attach four shouldered studs to the bottom of the seat rail.

Then you place the seat on the new mounts, slide it forward and insert locking pins into the four mounts.
Once all the hardware arrived, I (once again) removed the existing hardpoints. Next I made new hardpoints with four tapped holes in each hardpoint. When it was time to locate the positions for the hardpoints, I checked the measurements so Ann would be able to get in and out of the front seat and then made the cutouts the the floor, epoxied the hardpoints in place and covered them with 2xBID.
Then I just had to cut open the holes for the drilled and tapped holes and screw down the new seat mounts. I decided to orient mine so that the seat is slid forward and the locking pins are placed behind the studs. My logic is that there will be more force exerted in the forward direction than rearward. Although given the span of the locking pins, I doubt it makes much difference. Here you can see the new seat mounts screwed into the hardpoints. And you can see where I had to patch where the old hardpoints were.

Then for the moment of truth. The seat was in and secured in about 30 seconds!

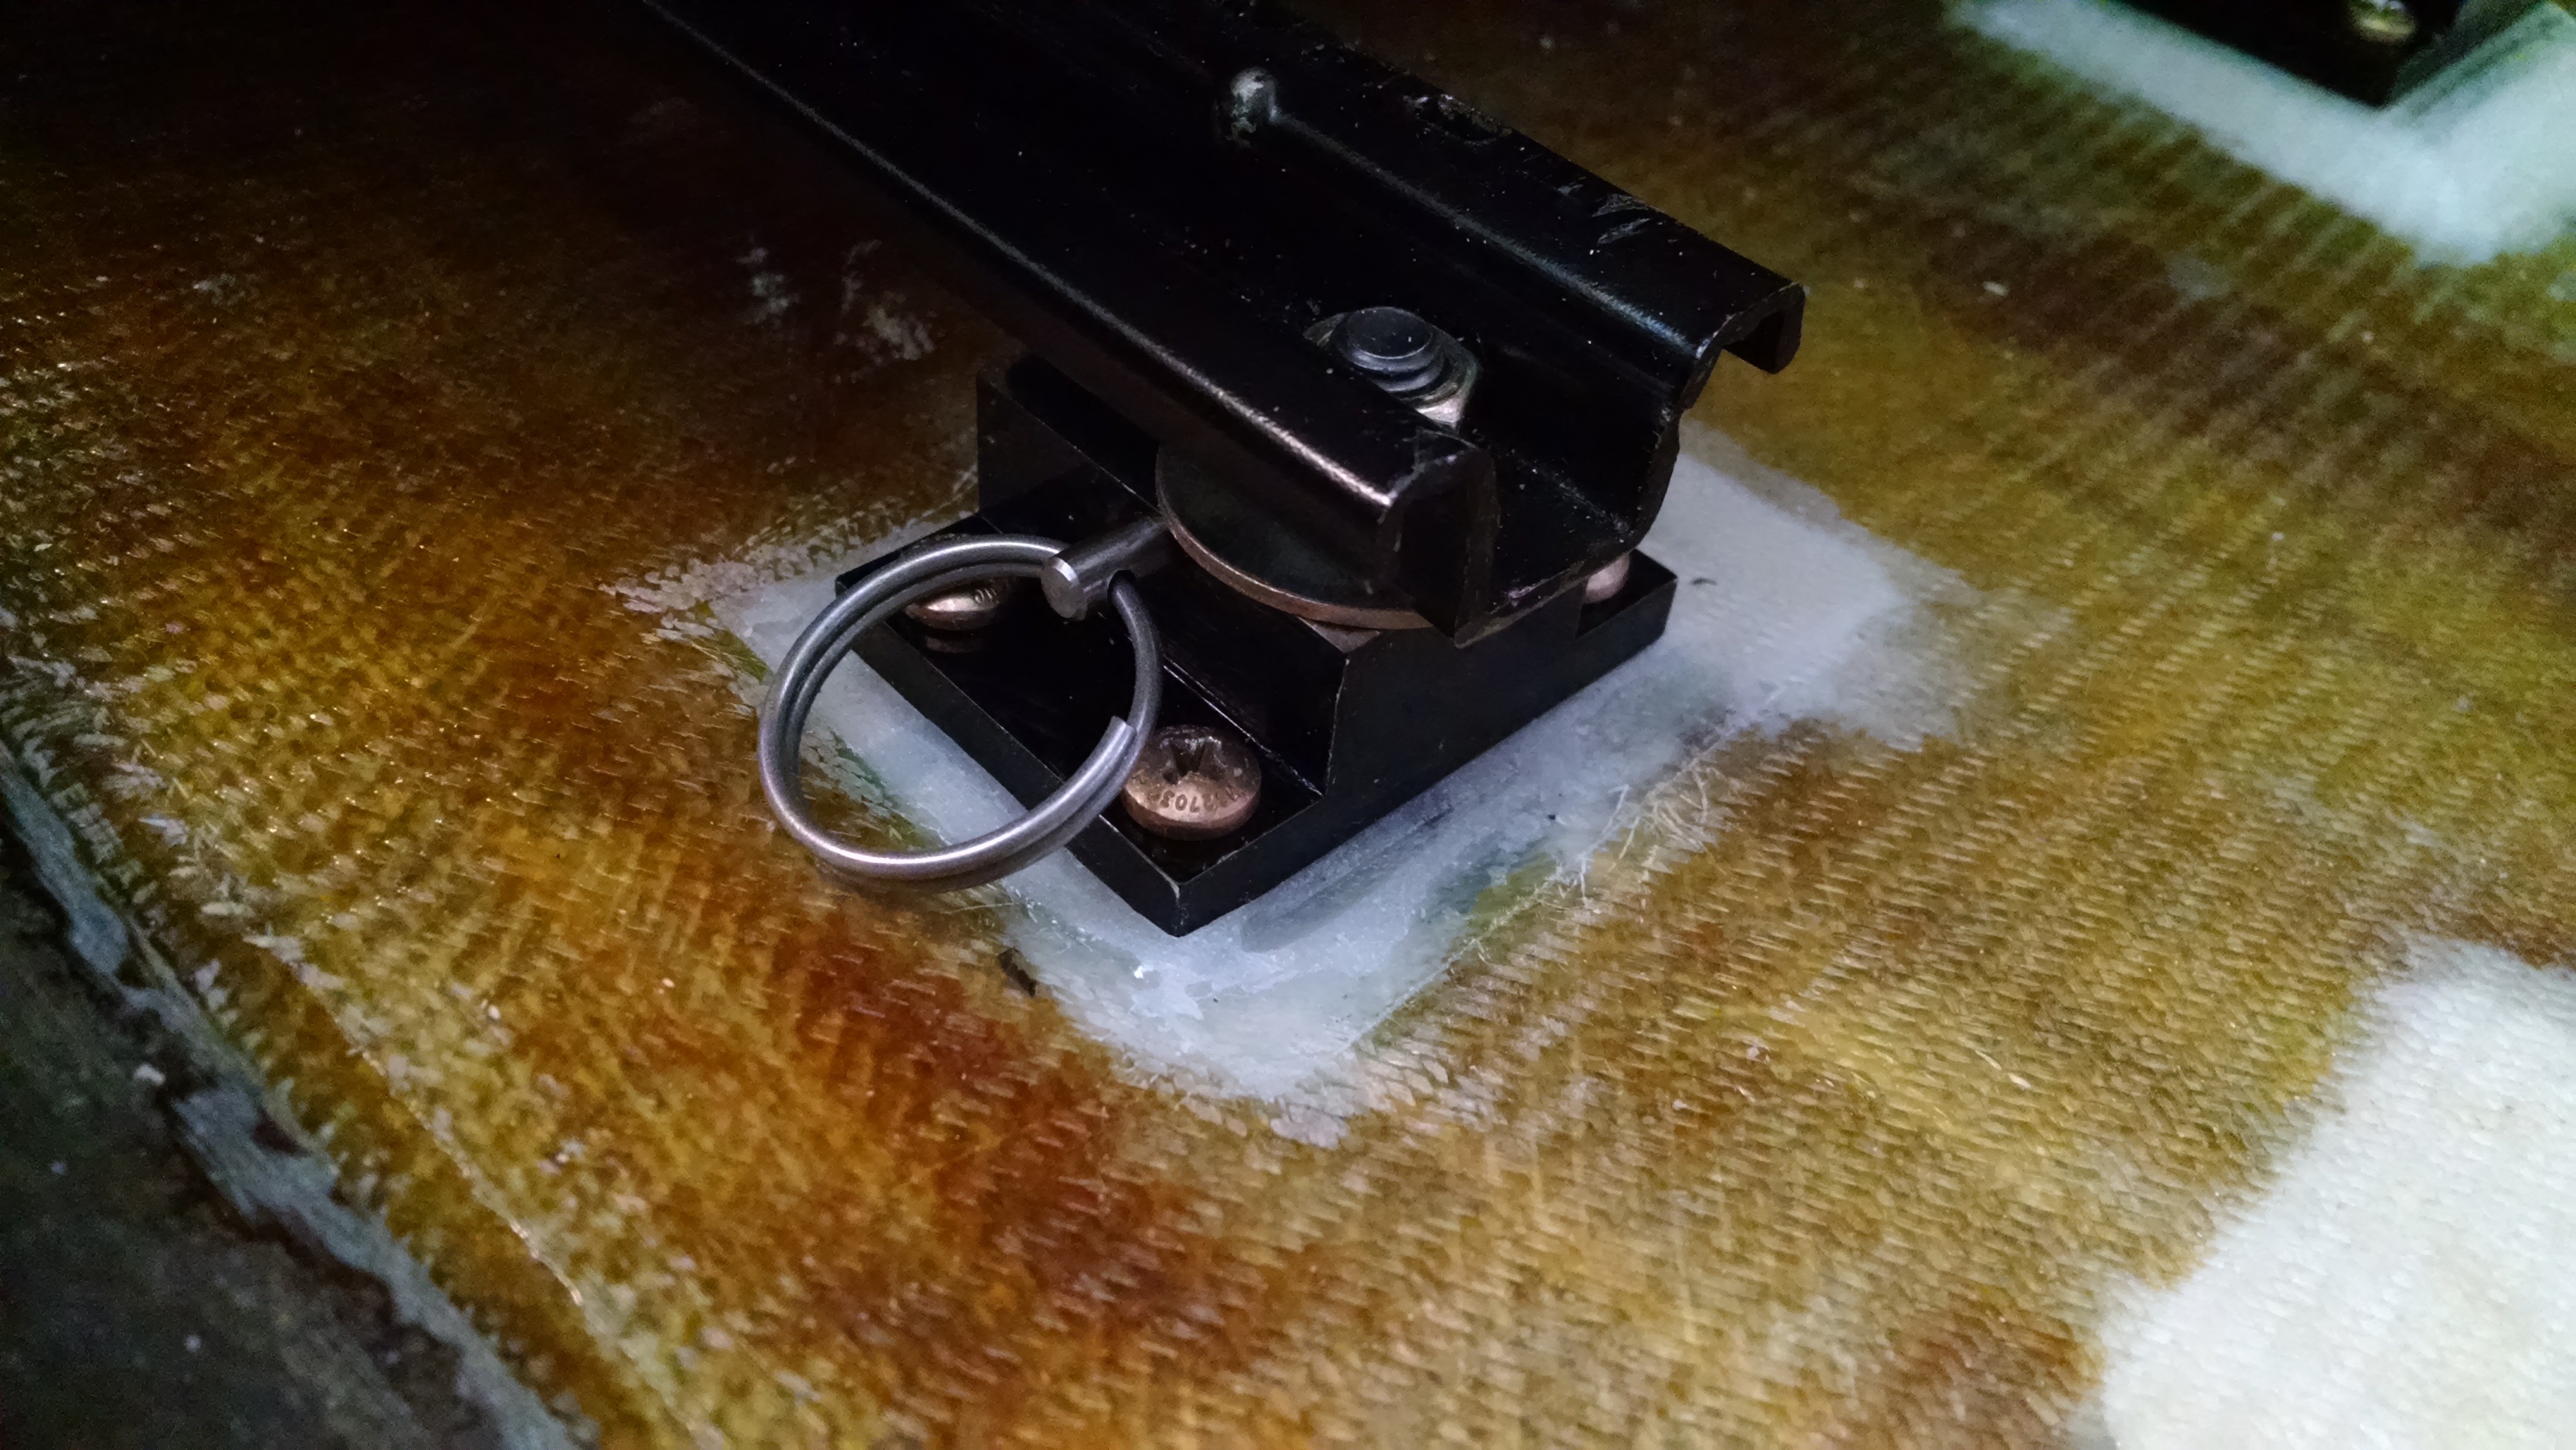
Here’s a closeup of the front, outboard mount with locking pin installed.

After a couple of months with these, I decided that if I used these on the pilot seat as well, the seat behind me might actually be usable. As it is now, even with my seat all the way forward, there is simply no way for a person to get to the back seat.
So I ordered another seat rail (did I mention they slide much easier than the factory seat rails?) and mounting blocks from Reiff. Once all that arrived, I had a new challenge. If I install these like I did for the copilot side, the seat would be about 1′ higher. And I’ve got maybe 2″ of headroom. And that’s with no interior installed. So I was going to have to get creative.
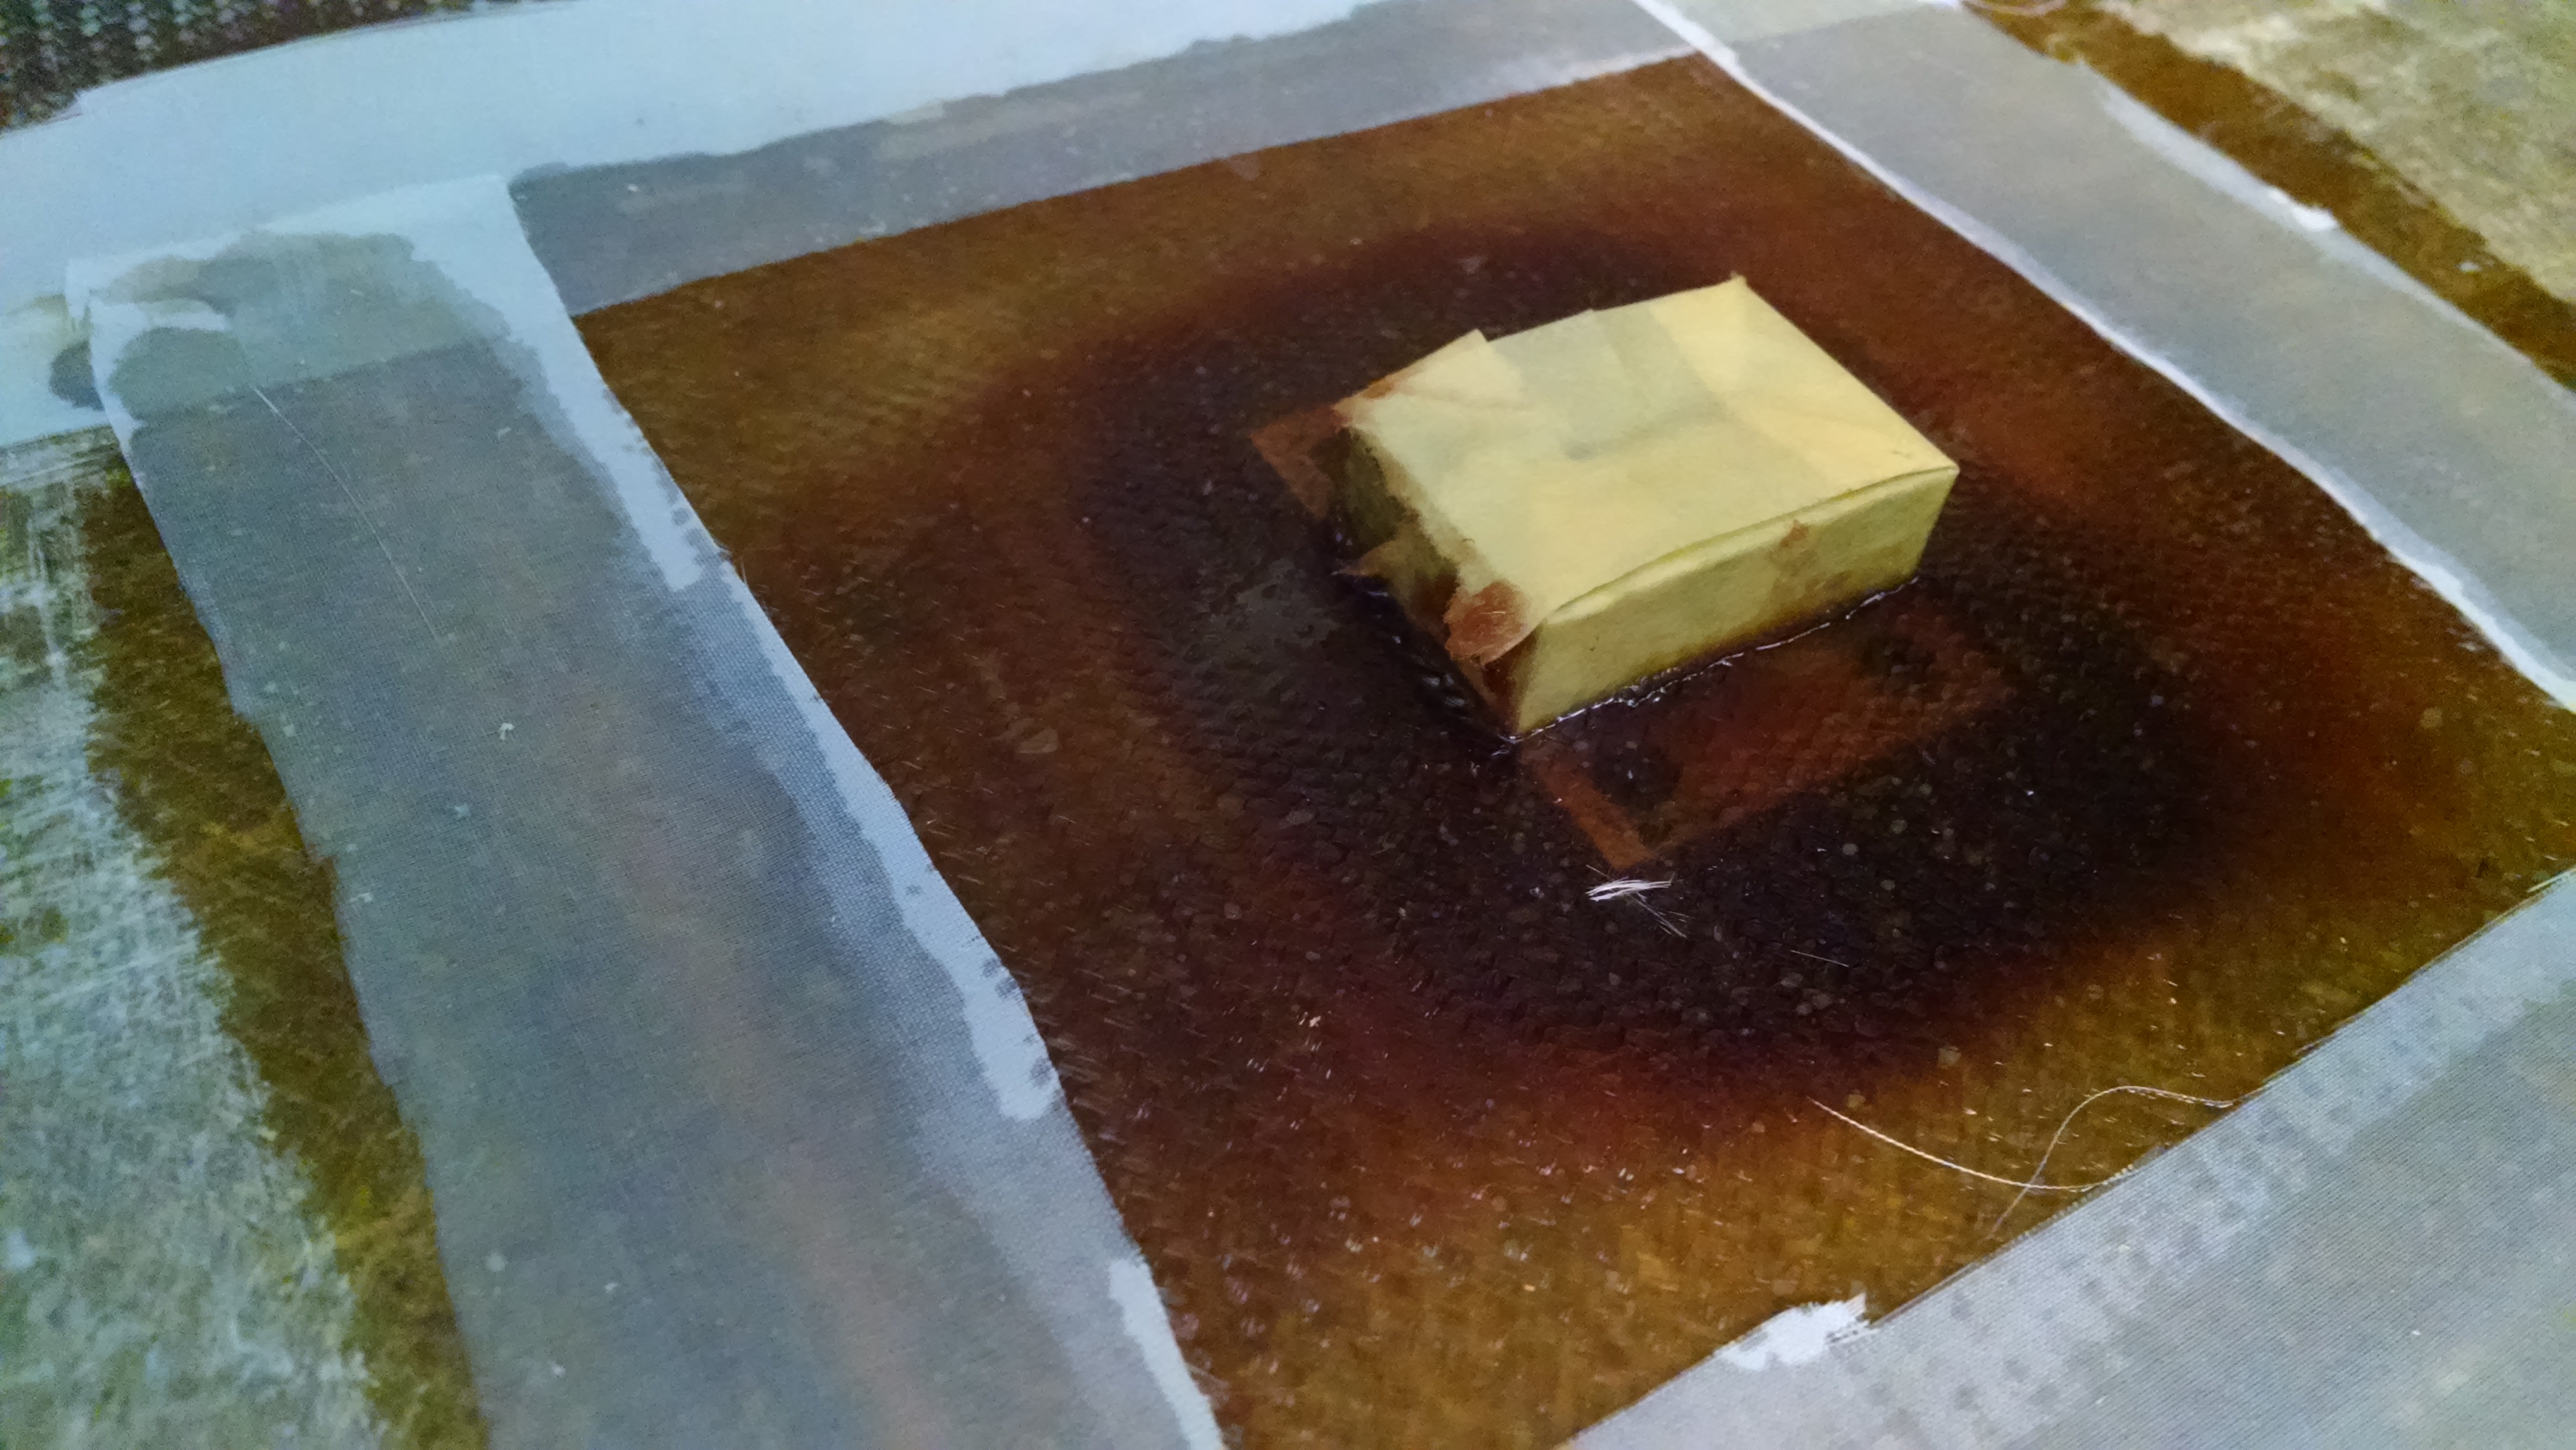
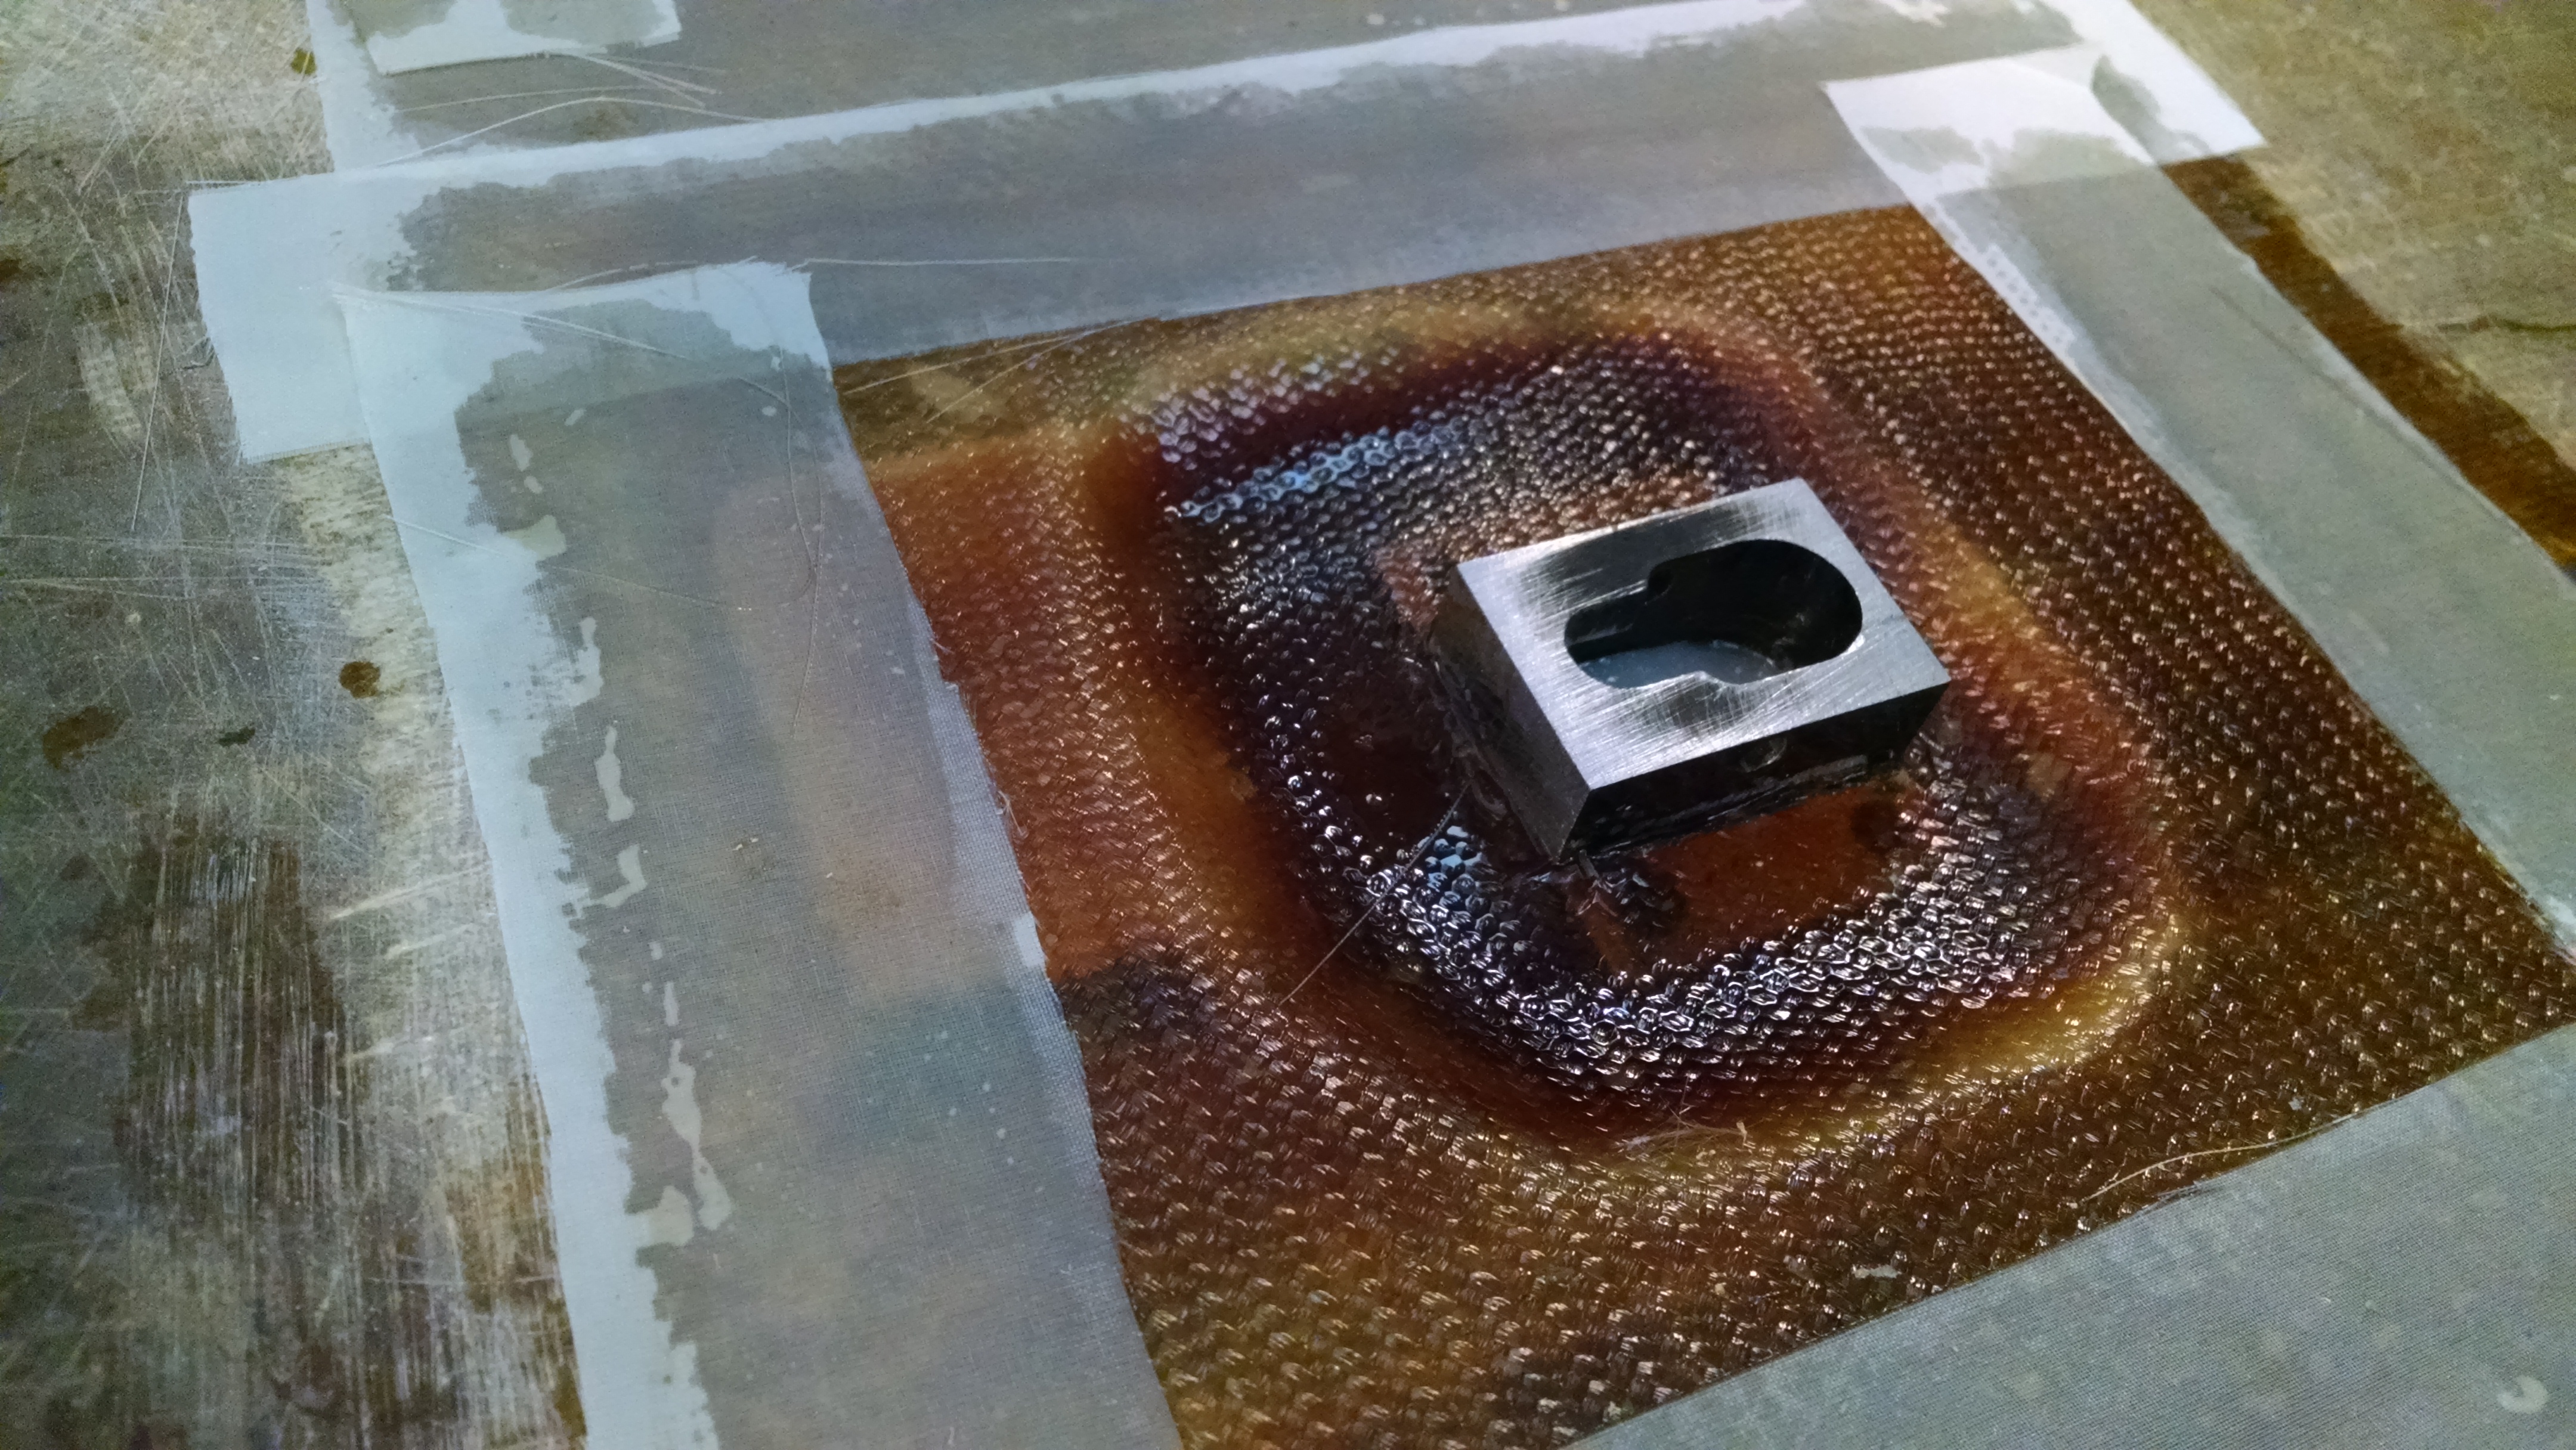
I decided to embed the outboard hardpoints directly into the floor (same as the standard hardpoints). By doing it this way, I would only be raising the seat about a half inch.
The next challenge was how to cover the mounts. Unlike flat hardpoints, these have a “pedestal” the protrudes up. So what I did was to cover the flat sides with 4 layers of UNI. Two layers going straight, front to rear and two layers that angle inwards. Then 2xBID over the whole thing.


So now when it’s time to do any work in the back, I can have both seats out in about 60 seconds. 🙂
To be honest, I’m thinking real hard about doing this with the rear seats as well. Up until now, the only time I’ve had the rear seats in is for the airworthiness inspection. So it’s been relatively easy to do any work around the firewall. I can see how these would be really nice for maintenance or for those trips where I know there won’t be anyone riding back there and I want just a little extra room.