14.2.1 Sanding

This entry is part 5 of 38 in the series 14 - Final Assembly / FInishing

I hate sanding!!! Just spent the last week sanding in prep for the final priming. Between sanding, filling, sanding, filling, sanding, filling… I’m just done. No pictures because there’s just nothing worth taking a picture of. But… I finally got the copilot wing figured out. Well, maybe not “figured out” but it’s right. I don’t know if it was a high or a low spot, but now it’s true.

Hopefully, before I leave, we’ll at least have the final coat of gray. The biggest problem now is heat. We had to quit at 3pm today. I went to pick up a countersink bit and the thermometer in the Explorer read 116 at 4pm today. And yes, that’s Fahrenheit. At these temps, the primer will kick before we can spray it.

6.5.2 – Rudder Pedals

This entry is part 1 of 42 in the series 06 - Fuselage

In the middle of all the sanding, pinhole patrol and final prep, I had to work on the “human factors”. After I got my seat geometry figured out and Oregon Aero modified the foam. I wanted to verify that I could fit inside the cabin and reach everything. So brought the seat down with me along with the foam and mounted it in the plane… And it still wasn’t right. It took me a while to determine what was wrong. I could reach the stick and instrument panel but I literally had to reach. If I moved the seat forward, the stick and panel were within reach. But then my knees were sticking up too high. I guess that I have long legs.

I could move the instrument panel back but that wouldn’t help reaching the control stick. I could move that back as well but then I approached it from a different angle. What’s keeping me so far back? Obviously the length of my legs, but what else?

Rudder pedals.

If the rudders pedals were located a bit forward, then I would be closer to the panel and stick. I tried tweaking the adjustments on the rudder pedals but I couldn’t move them far enough forward. So I decided to modify them.

Here’s a (right) side view of one of the rudder pedals.

On the right is where you would put your foot. The white triangular piece is where the pedal assembly mounts. It’s allowed to pivot up and down to activate the brakes. The hole to the right of the mount is where the brake master cylinder attaches. What I did was to drill a new set of holes 1.5″ forward (right in this picture). This results in the pedal being 1.5″ aft of it’s original position. Now with the seat adjusted so that my feet are on the pedals, the stick is at my right hand and the instrument panel is easily within reach. It could be better. But for now, it’ll do. Here’s the “after” picture.

14.2.2 Sanding

This entry is part 4 of 38 in the series 14 - Final Assembly / FInishing

After spending the week working on the fuselage, all we accomplished was to get the final coat of gray primer/filler/sealer. And of course, there were more pinholes. Malcolm’s philosophy is that every time you find/fix 90% of the problems. There will always be more. But eventually, you reach the point of diminishing returns.

14.2.2 Last prep before final priming

This entry is part 3 of 38 in the series 14 - Final Assembly / FInishing

I have a weekend between a Nexus class in Washington, DC and one in Richmond, VA. So after class on Friday, I flew into Greenville and on Saturday morning we started the final sanding. When I landed on Friday afternoon, the thermometer on the plane read 63! A really bizarre cold snap for the middle of July but perfect for spraying.

We spent all day sanding, washing, rinsing and masking.

Here’s that damned right wing. I thought we were done with it.

After the final sanding, the spot reappeared. It feels like a low (or flat) spot in the middle. But we keep sanding through to what seem to be ridges towards the front and rear. We went back and forth about what to do. We settled on looking at it when it was wet from the washing. When we did, it looked fine. So in the end, I made the call: Charlie Mike.

99 Richmond Courtesy Car

This entry is part 1 of 10 in the series 99 - Non-Build Topic

After we were done, I had to head for Richmond. There was a slight problem with my rental car. Most small fields don’t have rental car offices on site. When flying into a small field on Sunday, the rental car company has to deliver the car the day before (they usually close on Saturday around noon) and leave the keys with the airport. But I had a funny feeling. I called the Hanover Country Municipal Airport after lunch and there was no car. Since it was after noon, the rental car office was closed.  But the people at Heart of Virginia Aviation said I could use their courtesy car until Enterprise got a car out. Usually, the courtesy car is the old fire chiefs car… 10 years old with about 400,000 miles on it. Collapsed front seat, no suspension, etc. But not at Hanover County. After parking the plane, the line guys brought out their “courtesy car”.

Nice!

14.2.3 NO MORE SANDING!

This entry is part 1 of 38 in the series 14 - Final Assembly / FInishing

After I left, the temps returned to their normal 90+ level during the day. Which means a really good post cure baking.

The best part is that we’re done with sanding.

99 Oshkosh 2011

This entry is part 5 of 10 in the series 99 - Non-Build Topic

We drove up to Oshkosh on Tuesday morning. The plan was to spend all day Tuesday and Wednesday, hit the Velocity Cookout Wednesday night and head home on Thursday morning. As is usually the case, I spent most of the time talking with vendors and checking out the latest products. I did attend a very interesting seminar on electronic circuit breakers from Vertical Power. Then we checked into our hotel and had dinner in a local Fond Du Lac restaurant.

Wednesday the rain started. We hung out in the hotel until about 10am waiting for the weather to clear. Ann was feeling a bit under the weather so I struck out on my own with my poncho and backpack. The flymart was almost deserted so I made good time picking up tools and other supplies. Then I hit the vendor hangars and got some spark plugs and oil filters (for the Cessna). Then I talked with Carlos and Grand Rapids (I’m using their displays) and Marc at Vertical Power. I checked out a couple other vendors and then headed back to the hotel to see if Ann was feeling up to the cookout.

She was feeling better, so around 5pm, we headed back to Osh.

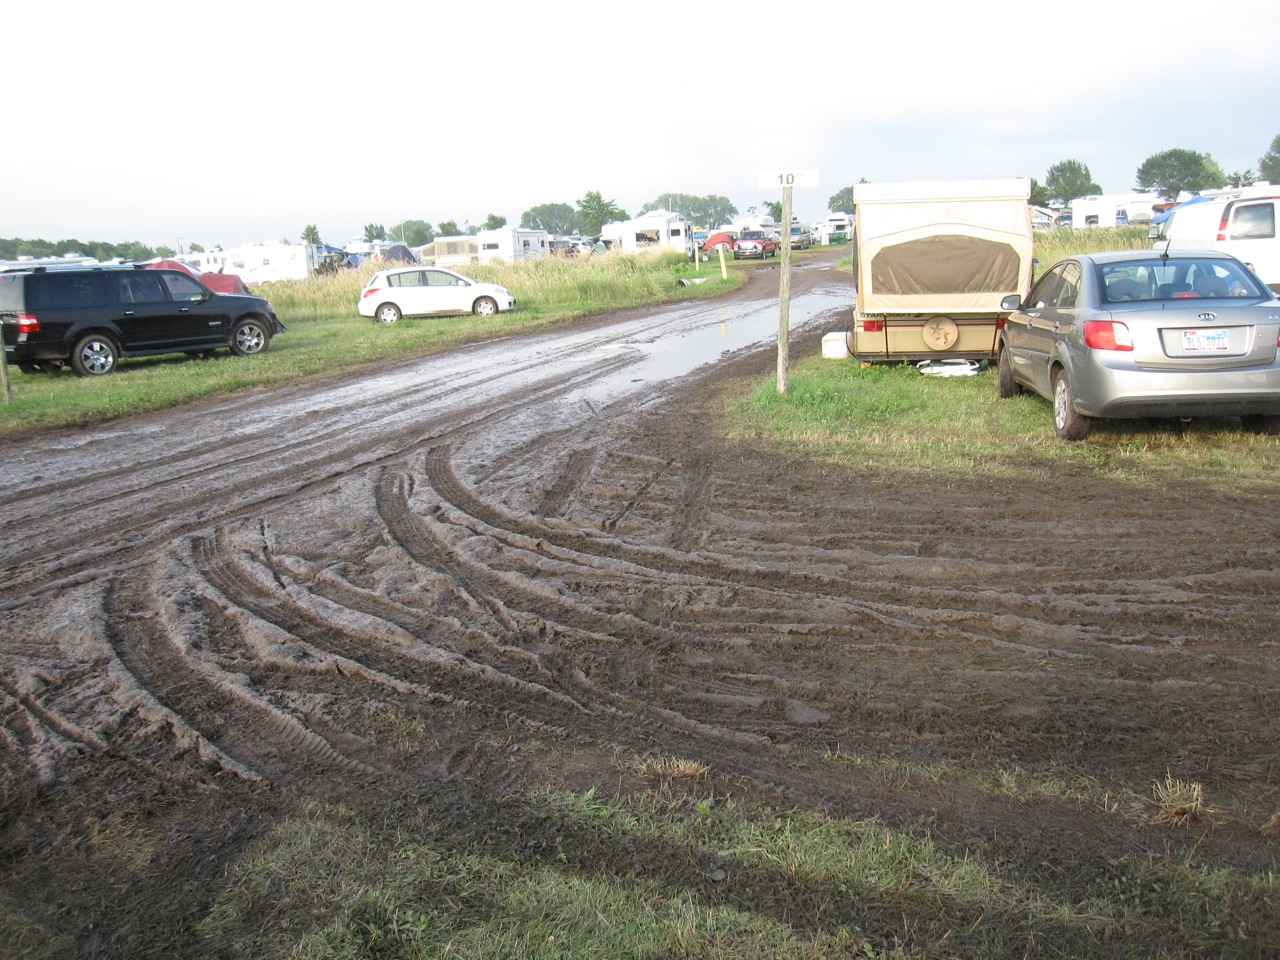
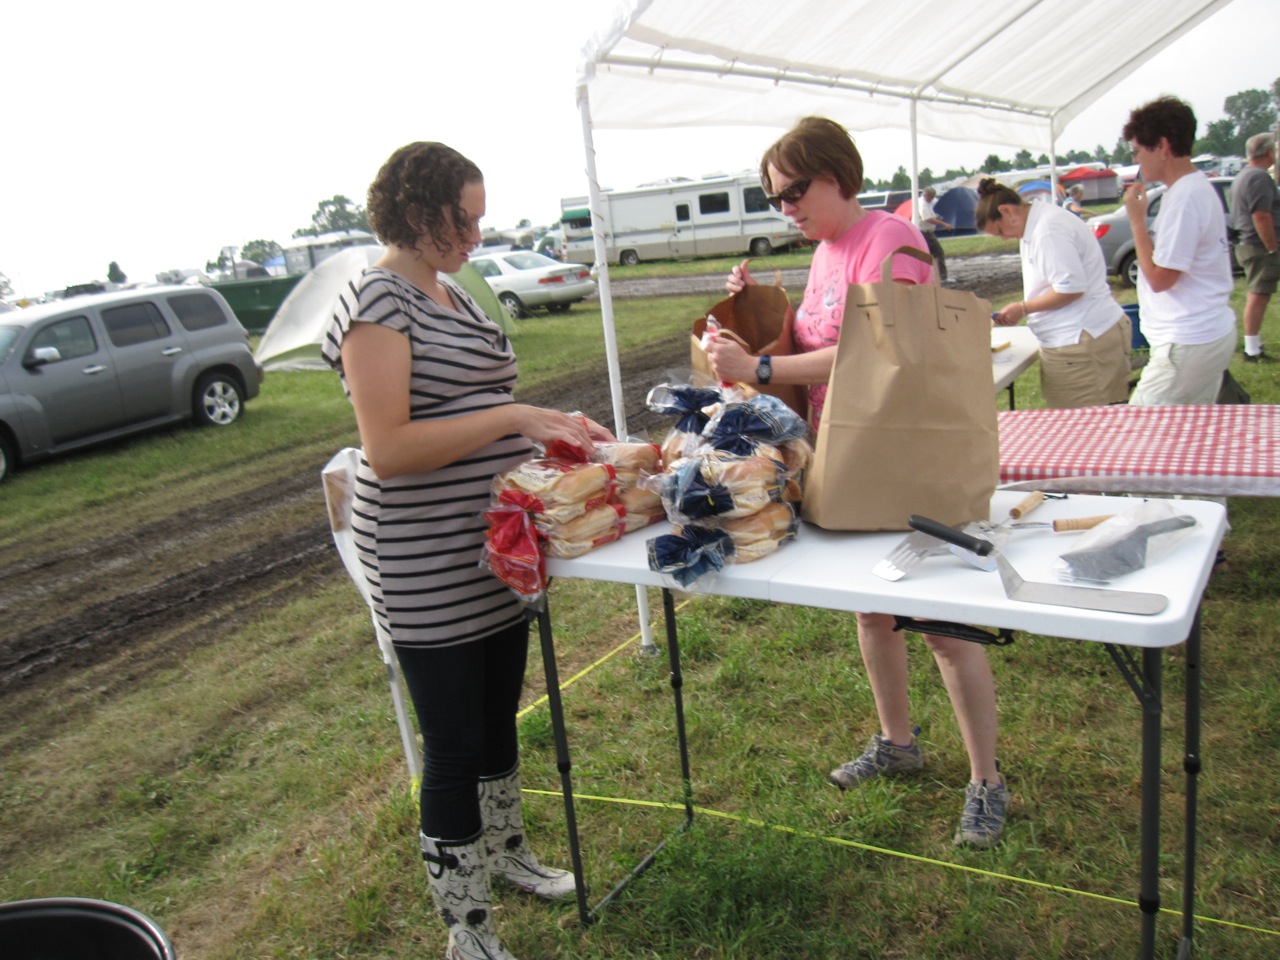
We were able to sneak our car into the camping area (because who’s going IN at 5pm?) which was a good thing because it was a mess!

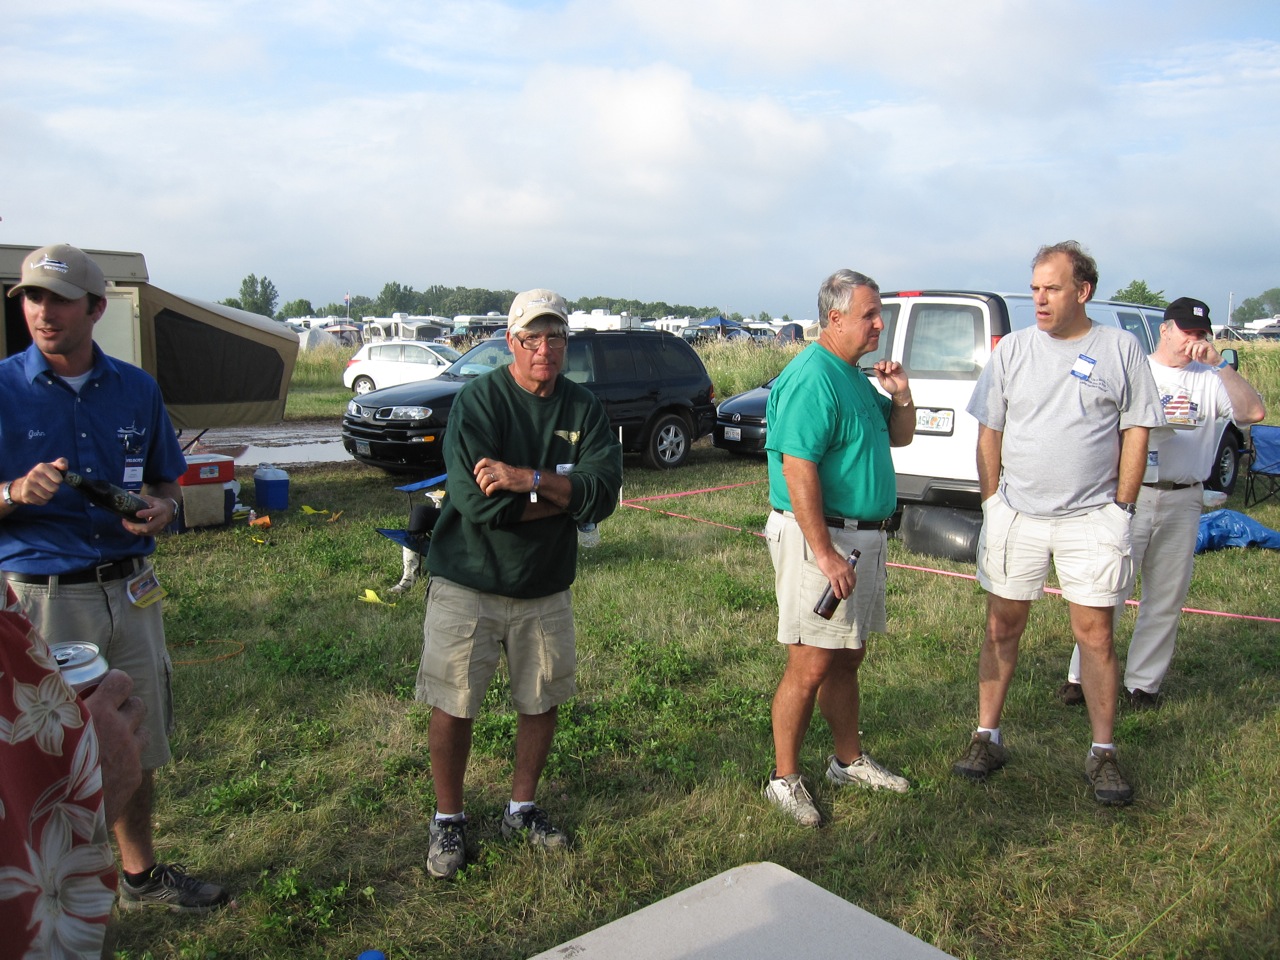
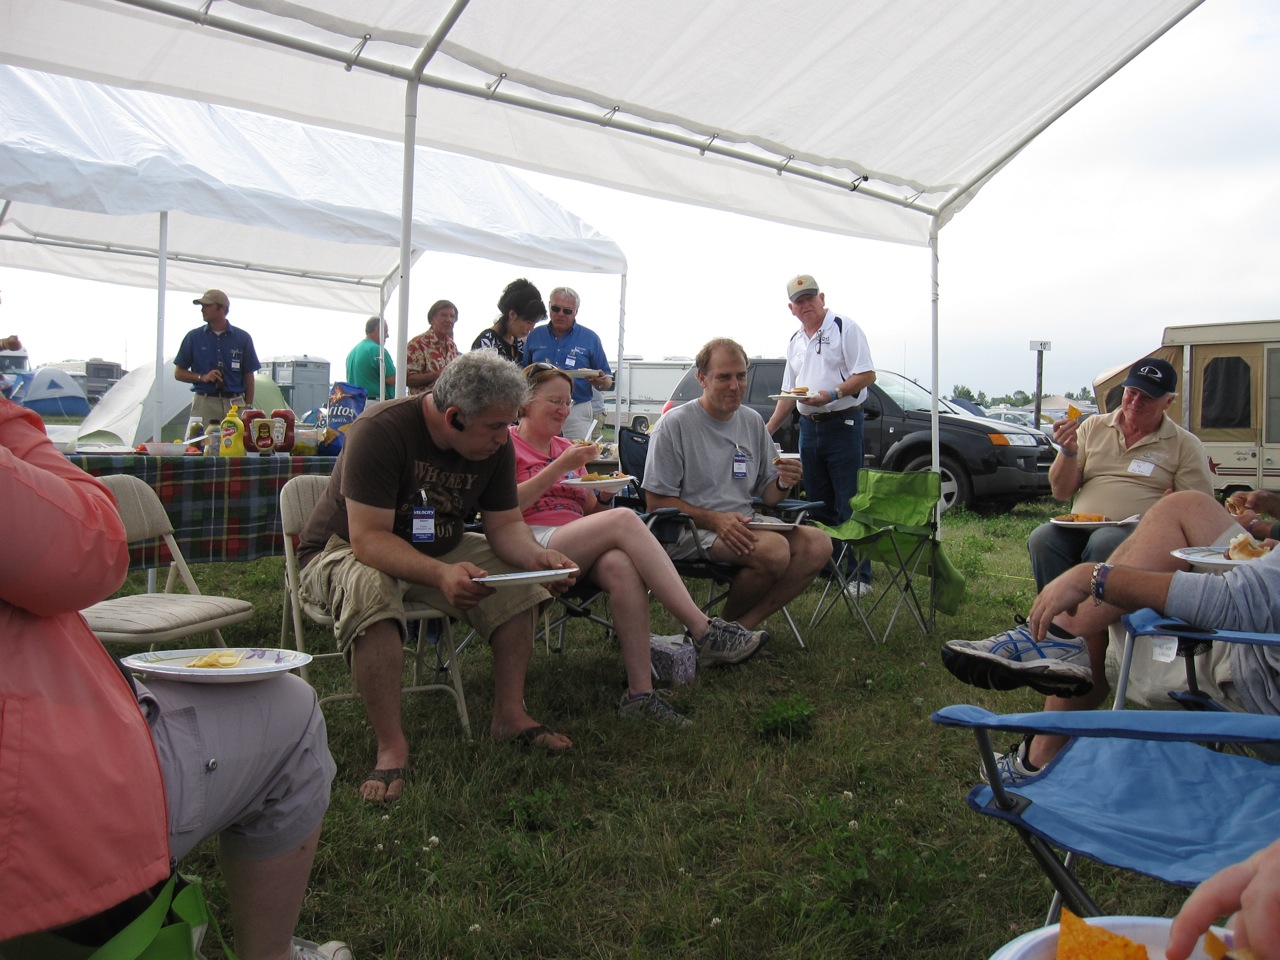
The turnout this year was huge. BTW, all of these pictures are from Brett Ferrell. He maintains an unofficial Velocity (www.velocityxl.com) website and his wife, Elizabeth took bunches of pictures.

Me (right) and Scott Baker (in green). Scott used to manage Velocity. Now he’s doing builder assist work (like Malcolm).

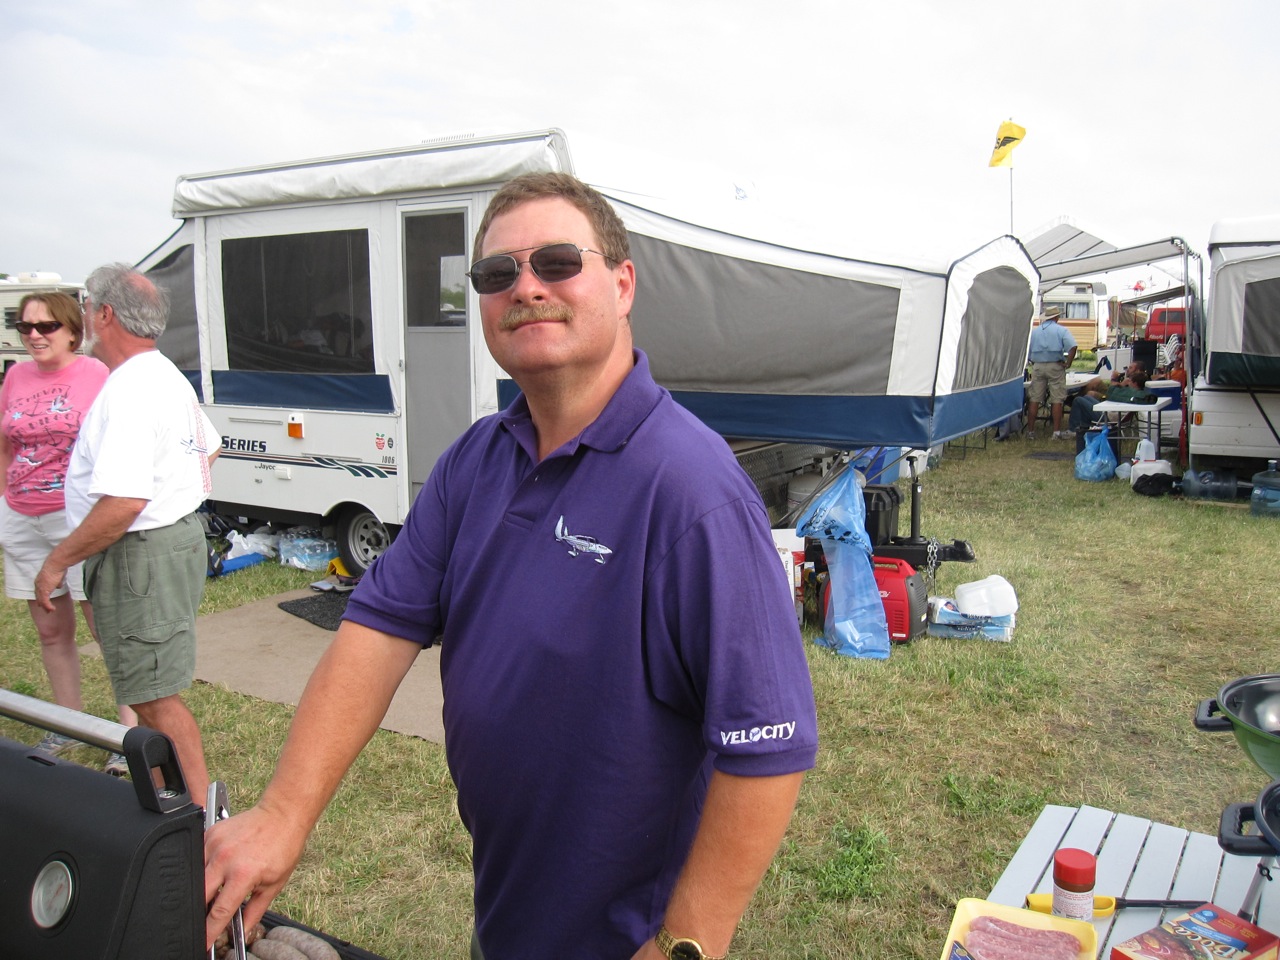
Andy Millin. The cookout is his baby. He cooks the brats and burgers every year.

Albert (in brown on the left), Ann and me.

Albert’s wife Bree and Ann helping out.

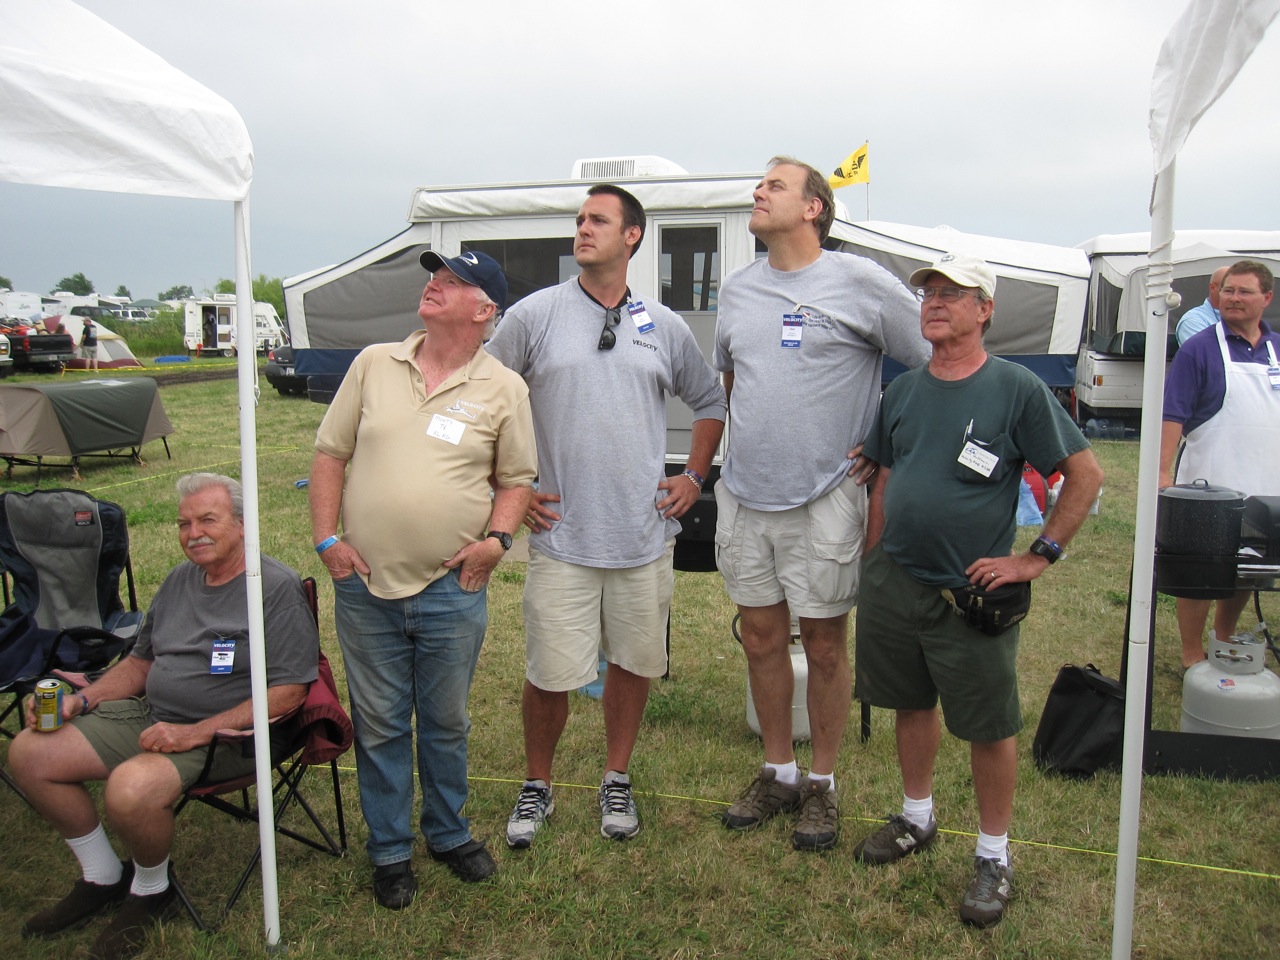
There’s this… thing. A pose, really, called “Eagle One” where you stand with your hands on your hips and look off into the sky. I don’t know who started it. This is my first attempt.

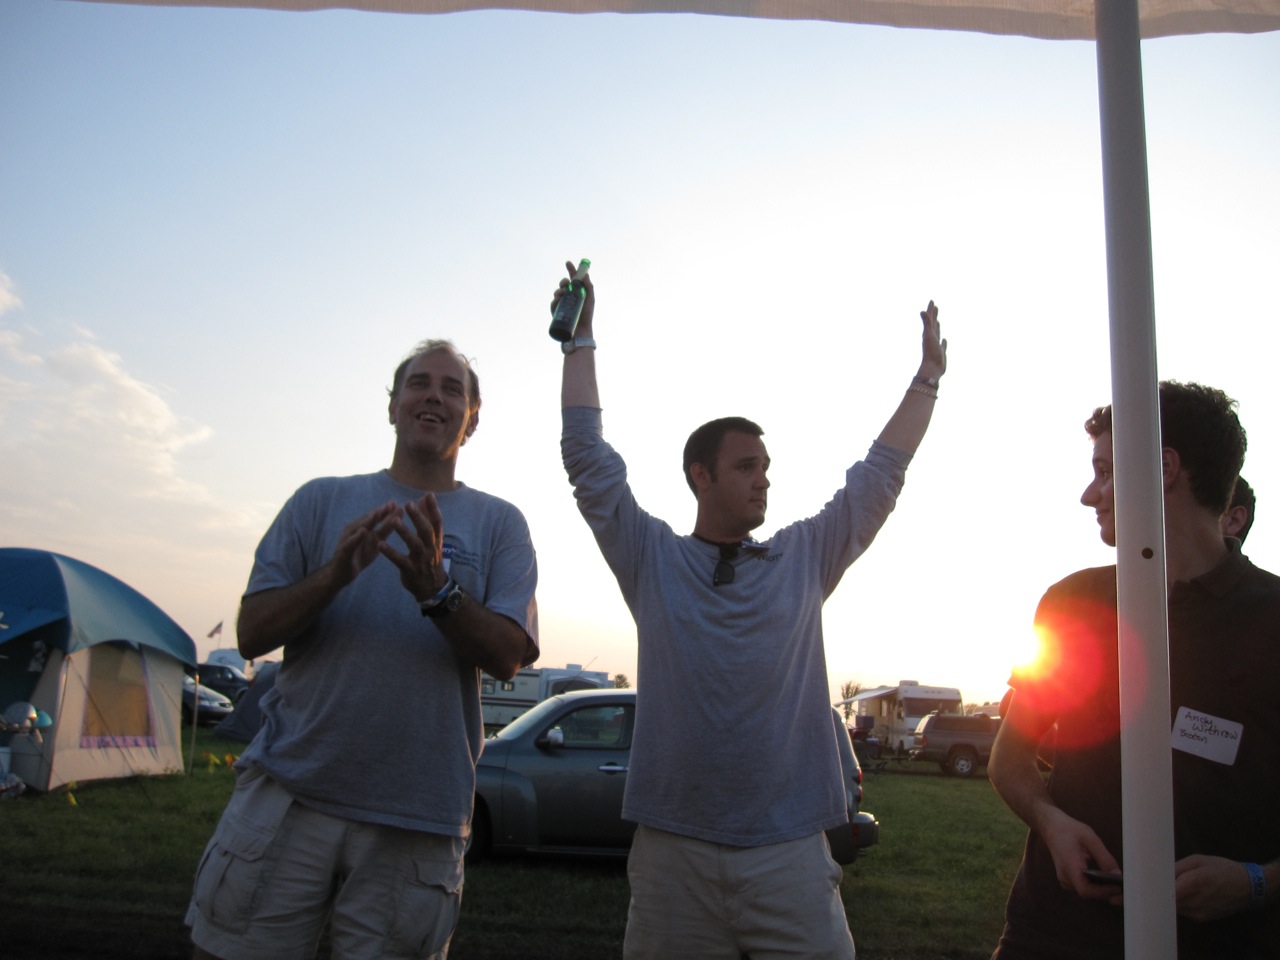
Me (left) and Ken Baker. I think this is after Ken won the “most brats eaten” award for the 8th year in a row.

Ken used to work at Velocity with his father (Scott) but now he’s working at Mecca. That’s what I call Scaled Composites. The company Burt Rutan started that’s currently building (amoung other things) Spaceship Two for Virgin Glactic.

We stayed until it started getting dark and then we left. The party goes on much later, but Ann still wasn’t 100%. Getting out was exciting. We almost got bogged down a couple of times trying to get out. Once we got back to the hotel, we looked at each other and said “let’s go”. So we packed up and drove home that night. On the way home, Just north of Milwaukee, I drove through the worst rain storm I have ever seen. Most cars were stopped on the side of the road. A couple simple stopped where they were. With a diesel engine under the hood and Rainx on the windshield, we just kept on going (albeit at a reduced speed). Got home around midnight and slept in our own bed. 🙂


14.2.3 Priming

This entry is part 12 of 38 in the series 14 - Final Assembly / FInishing

So with Oshkosh, my wife’s family reunion in Panama City, FL and a diving trip to Cozumel, there hasn’t been much time for building. Besides, building in 90+ degrees is not fun.

I have a Nexus class in Columbus on the 19th, so the plan is to head down to Greenville on Wednesday and spend a couple days building before heading up to Columbus, OH.

On Tuesday, I made the 10 minute flight up to Burlington, WI to fill up with fuel. When I left the house for the drive to the airport, it was… smokey. At first, I thought someone was burning brush. But it was like this all the way to the airport. On the radio. they said it was from a brush fire in MINNESOTA?!?!

This is a picture from 1,500 feet above the ground.

After a quick flight down to SC on Wednesday I got started just after noon. Remember the post that said “No More Sanding”? Well, there’s done, there’s Done and then there’s DONE. At this point, I’m done. The outside of the plane isn’t completely finished. So I got started with the control surfaces (ailerons, rudders, elevators and various hatch covers.

Malcolm has a neat trick for painting horizontal control surfaces (ailerons and elevators). It’s important to keep the trailing edge as light as possible. Usually, when you hang these parts, the trailing edge is hanging lower than the leading edge. This means that as the wet paint moves (and wet paint does move), it ends up at the trailing edge making it heavier.

So this is the Hangar 18 painting rig.

Notice how the trailing edge is up? And that the parts are staggered so that you can access both sides? Like I said, pretty neat.

Here’s Malcolm shooting paint (actually, primer) again.

After this, the only parts left to paint are the engine cowlings. But that can’t be done until the engine is installed. I hope to start the engine installation in the next day or so.

14.2.3 More Painting

This entry is part 14 of 38 in the series 14 - Final Assembly / FInishing

In addition to the control surfaces, there are torque tubes, rudder horns and counterweights that also need to be painted. For that I’m using Rustoleum Epoxy Appliance paint.

Here are the elevator torque tubes, rudder horns and elevator counterweights (and one of the rudders from yesterday).

The aileron torque tubes got painted too. At Malcolm’s suggestion, I replaced the aluminum torque tubes with steel. He says that the aluminum tubes have too much twist.

Alter all the parts dried, I assembled the elevators. Here are the elevators (the ailerons are towards the back).

Then I assembled the canard and mounted it in the plane and put on the doghouse and hatch cover because… well, because I haven’t seen my plane white and with the canard installed. 🙂