14.99 Engine Run III

This entry is part 31 of 38 in the series 14 - Final Assembly / FInishing

I’m pretty sure that the fuel metering is off since the fuel flow is a bit high and I can’t keep the engine running below 1,000RPM. But in order to adjust the fuel metering, I need to verify that the tach is reading accurately.  So I borrowed an optical tach and did another engine run.

So with Malcolm holding the optical tach, I ran the engine at a couple power settings and the panel was showing the exact same RPM as the optical tach.

2015-03-07 1555 IMG_20150307_155513645

While I was doing that I also tested both alternators. The primary alternator was working fine but the secondary alternator was not producing power. While troubleshooting, I discovered that the co-pilot side EFIS didn’t even show the secondary alternator.

EFIS-1 on the left and EFIS-2 on the right

2015-04-01 IMG_20150401_1329297272015-04-01 IMG_20150401_132936036

After a bit of research, I discovered that there is a software update for the EFIS that fixes this issue. So that will get done of the next trip down.  I doubt that is the reason for the inoperative secondary alternator but I’ll tackle that after the software update.

14.99 Placards

This entry is part 32 of 38 in the series 14 - Final Assembly / FInishing

There are four exterior placards and one data plate required.  The N-Number on each side and an “Experimental” placard at the each entrance (so when anyone gets in, they know it’s a experimental aircraft).

Because the aircraft is capable of speeds in excess of 180kts, 12″ N-Numbers are required. Since these are effectively temporary, I ordered the N-Numbers from Sporty’s because they were the cheapest. When I went to apply the numbers, I discovered two things. 1) They are only 11.5″ tall and 2) the spacing is such that they won’t fit in the space available. So it looks like I’m going to have find a different supplier for the N-Numbers.

The “Experimental” placards fit fine though.

2015-04-01 IMG_20150401_091125782

14.1.7 – Vortilon Installation

This entry is part 33 of 38 in the series 14 - Final Assembly / FInishing

I previously marked the location and alignment for the vortilons. Following Malcolm’s advice, I marked the outline of the vortilons and then masked the wing about a 1/4″ larger than the pad.  I also masked the top of the vortilons.  This will eliminate a lot of cleanup afterwards.

Then cleaned the wing and vortilons with alcohol. Next I applied a layer of clear silicon adhesive to the vortilon and placed it in position. Then I used more masking tape to hold them in position while the adhesive cured.

2015-04-21 IMG_20150508_100858855 2015-04-21 IMG_20150508_100915453 2015-04-21 IMG_20150508_100927621

14.99 Weight and Balance

This entry is part 34 of 38 in the series 14 - Final Assembly / FInishing

One of the final tasks before having the airplane inspected is to perform the weight and balance.

Before the airplane can be weighed there are a couple tasks that need to be performed.

First, anything that will be in the plane for flight has to be installed. No problem there. About the only thing that hasn’t been installed is the interior trim and that’s not “required for flight” and it’s not going in until after I flown off the required test flight hours anyway. But the spinner has never been installed so that has to be done.

2015-06-04 IMG_2053

Second, all usable fuel has to be removed. Arrgh!  Back over to the factory building to borrow a bunch of 5 gallon fuel cans and then siphon out the fuel.

Finally, rather precise measurements need to taken. On the Velocity, the datum point is the nose. This is a reference point that is used to identify where the weight is located. (on many single engine production aircraft, the datum point is the firewall). So I used a plumb-bob to mark the floor where the nose is. Then the distance to the center of the nose wheel axle and main gear axles is located. This is used to determine the balance part of the weight & balance which is then used to determine the CG (Center of Gravity).

Now it’s weighing time. The factory has digital scales so I borrowed them (being in Sebastian has it’s advantages).

To get the plane on the scales, I had to jack up the plane. But my (homemade) jacks didn’t have enough travel to clear the jacks so I had to raise the plane. put some wood under the wheel, lower the plane, adjust the jack and repeat (fortunately, only once). The nose was easy since all I had to do was lift it up by hand.

Checking the weight

2015-06-04 IMG_2055

And the verdict is:

2015-06-04 IMG_20150604_113345026_HDR

1,919 pounds.

Now there’s still fuel left in the strake tanks and sump. But that can be subtracted to give the true empty weight.

I was surprised at the weight on the nose. I was given to understand that around 80-90 pounds was typical and I’m at 102 pounds. If I had to guess, I would say the 24v battery and ground power receptacle are adding at least 6 pounds to the nose weight. And at least I’m not going to have to worry about hauling around bags of shot to keep the nose down when I’m not in it.

I took the weight and wheel dimensions over to the builder’s center where Rick used a spreadsheet to back out the usable fuel and calculate the CG (Center of Gravity).

N621CM W&B

14.99 Airworthiness Inspection

This entry is part 35 of 38 in the series 14 - Final Assembly / FInishing

Over the past 7 years, there have been many “milestones”.

Finishing all the filling and sanding and getting the plane in shiny white primer.

Hanging the engine.

2011-10-07 DSC_0071

Retracting the landing gear.

Powering up the electrical system.

2014-05-31 IMG_20140531_193001095 (Small)

Starting the engine.

2015-03-06 1633 Image0053

But those are all, what I would call, building milestones. They are events that I conside significant. There’s nothing that I’ve done which warrants the attention of the FAA.

That changed today.

This morning at 9am, the FAA DAR (Designated Airworthiness Representative), paid me a visit. First we went over the paperwork to make sure that everything was in order.

I had a momentary panic attack when he mentioned that my builders name (Donald E Johnston) and registered owner name (Johnston Donald E) were not the same. This isn’t a problem, but the data plate permanently attached to the fuselage MUST show the builders name. And I couldn’t remember what name I had engraved on the data plate. So I had to check and sure enough it was correct. Whew!

Once the paperwork was deemed correct, he began looking over the airplane. He asked to see a landing gear retraction so I jacked up the plane, retracted the gear and then lowered it. Then he looked over the electrical system. He asked who did the wiring. I said “That would be me.”  “All of it?, he asked. “Yes sir” was my response. I got a “Very nice” with an approving nod.  I get the feeling that this particular DAR doesn’t throw those comments around very often. Made me feel real good.

Then he wanted to see the electrical system powered up. Once all the screens were up, he wanted to see the nav and strobe lights function.

After that, he looked inside the nose and pointed to an oil fitting on the nose oil cooler and said: “It’s not required, but it would make this DAR happy if you were to put an indicator on that fitting so you would know if it rotates.” I pulled out a tube of torque seal and marked it as requested.

After that we sat for a while going over more paperwork. He explained that I would have a 25-hour phase I test period since I’m running a non-experimental, approved engine/prop combination. Otherwise, I would have a 40-hour phase I test period. During phase I test flights, no passengers can be carried and all flights have to be done relatively close to Sebastian. I got a pretty decent sized test area.

Phase I map

After that, she can come home with passengers.

Then I got a piece of paper seven years in the making.

_20150619_101342

14.99 – Painting

This entry is part 36 of 38 in the series 14 - Final Assembly / FInishing

One of the things I recall when I started this project was not to paint until after about one year.  That’s because there are lots of tweaks that get made during Phase I flight testing and just after.

And (for me) that was good advice.  While I didn’t have to make any wing incidence adjustments, there were a number of minor changes that would have been painful to make had the plane been painted.

Started working towards paint last fall. But after a number of delays, I finally went down to Sebastian to begin the process. I flew down on Monday morning and by the end of the first day, most of the plane was disassembled.

IMG_20170612_165755

By lunch time on Tuesday, all removable, paintable parts had been removed. On Thursday, I began sanding. Fortunately, the plane was in really good shape.  The primer had yellowed which made for a really nice guide coat. It wasn’t as easy to see as a traditional black guide coat but other than pinholes, it worked very well.  For pinholes, a flashlight and pencil worked out just fine.
By the end of the day on Monday, everything was sanded out and most of the pinholes were filled. At this point, I had done all that I could do.  Actual masking and painting is best left to the professionals. So I drove back up to Panama City to wait for the call to come down and start putting everything back together.

14.99 Painting

This entry is part 37 of 38 in the series 14 - Final Assembly / FInishing

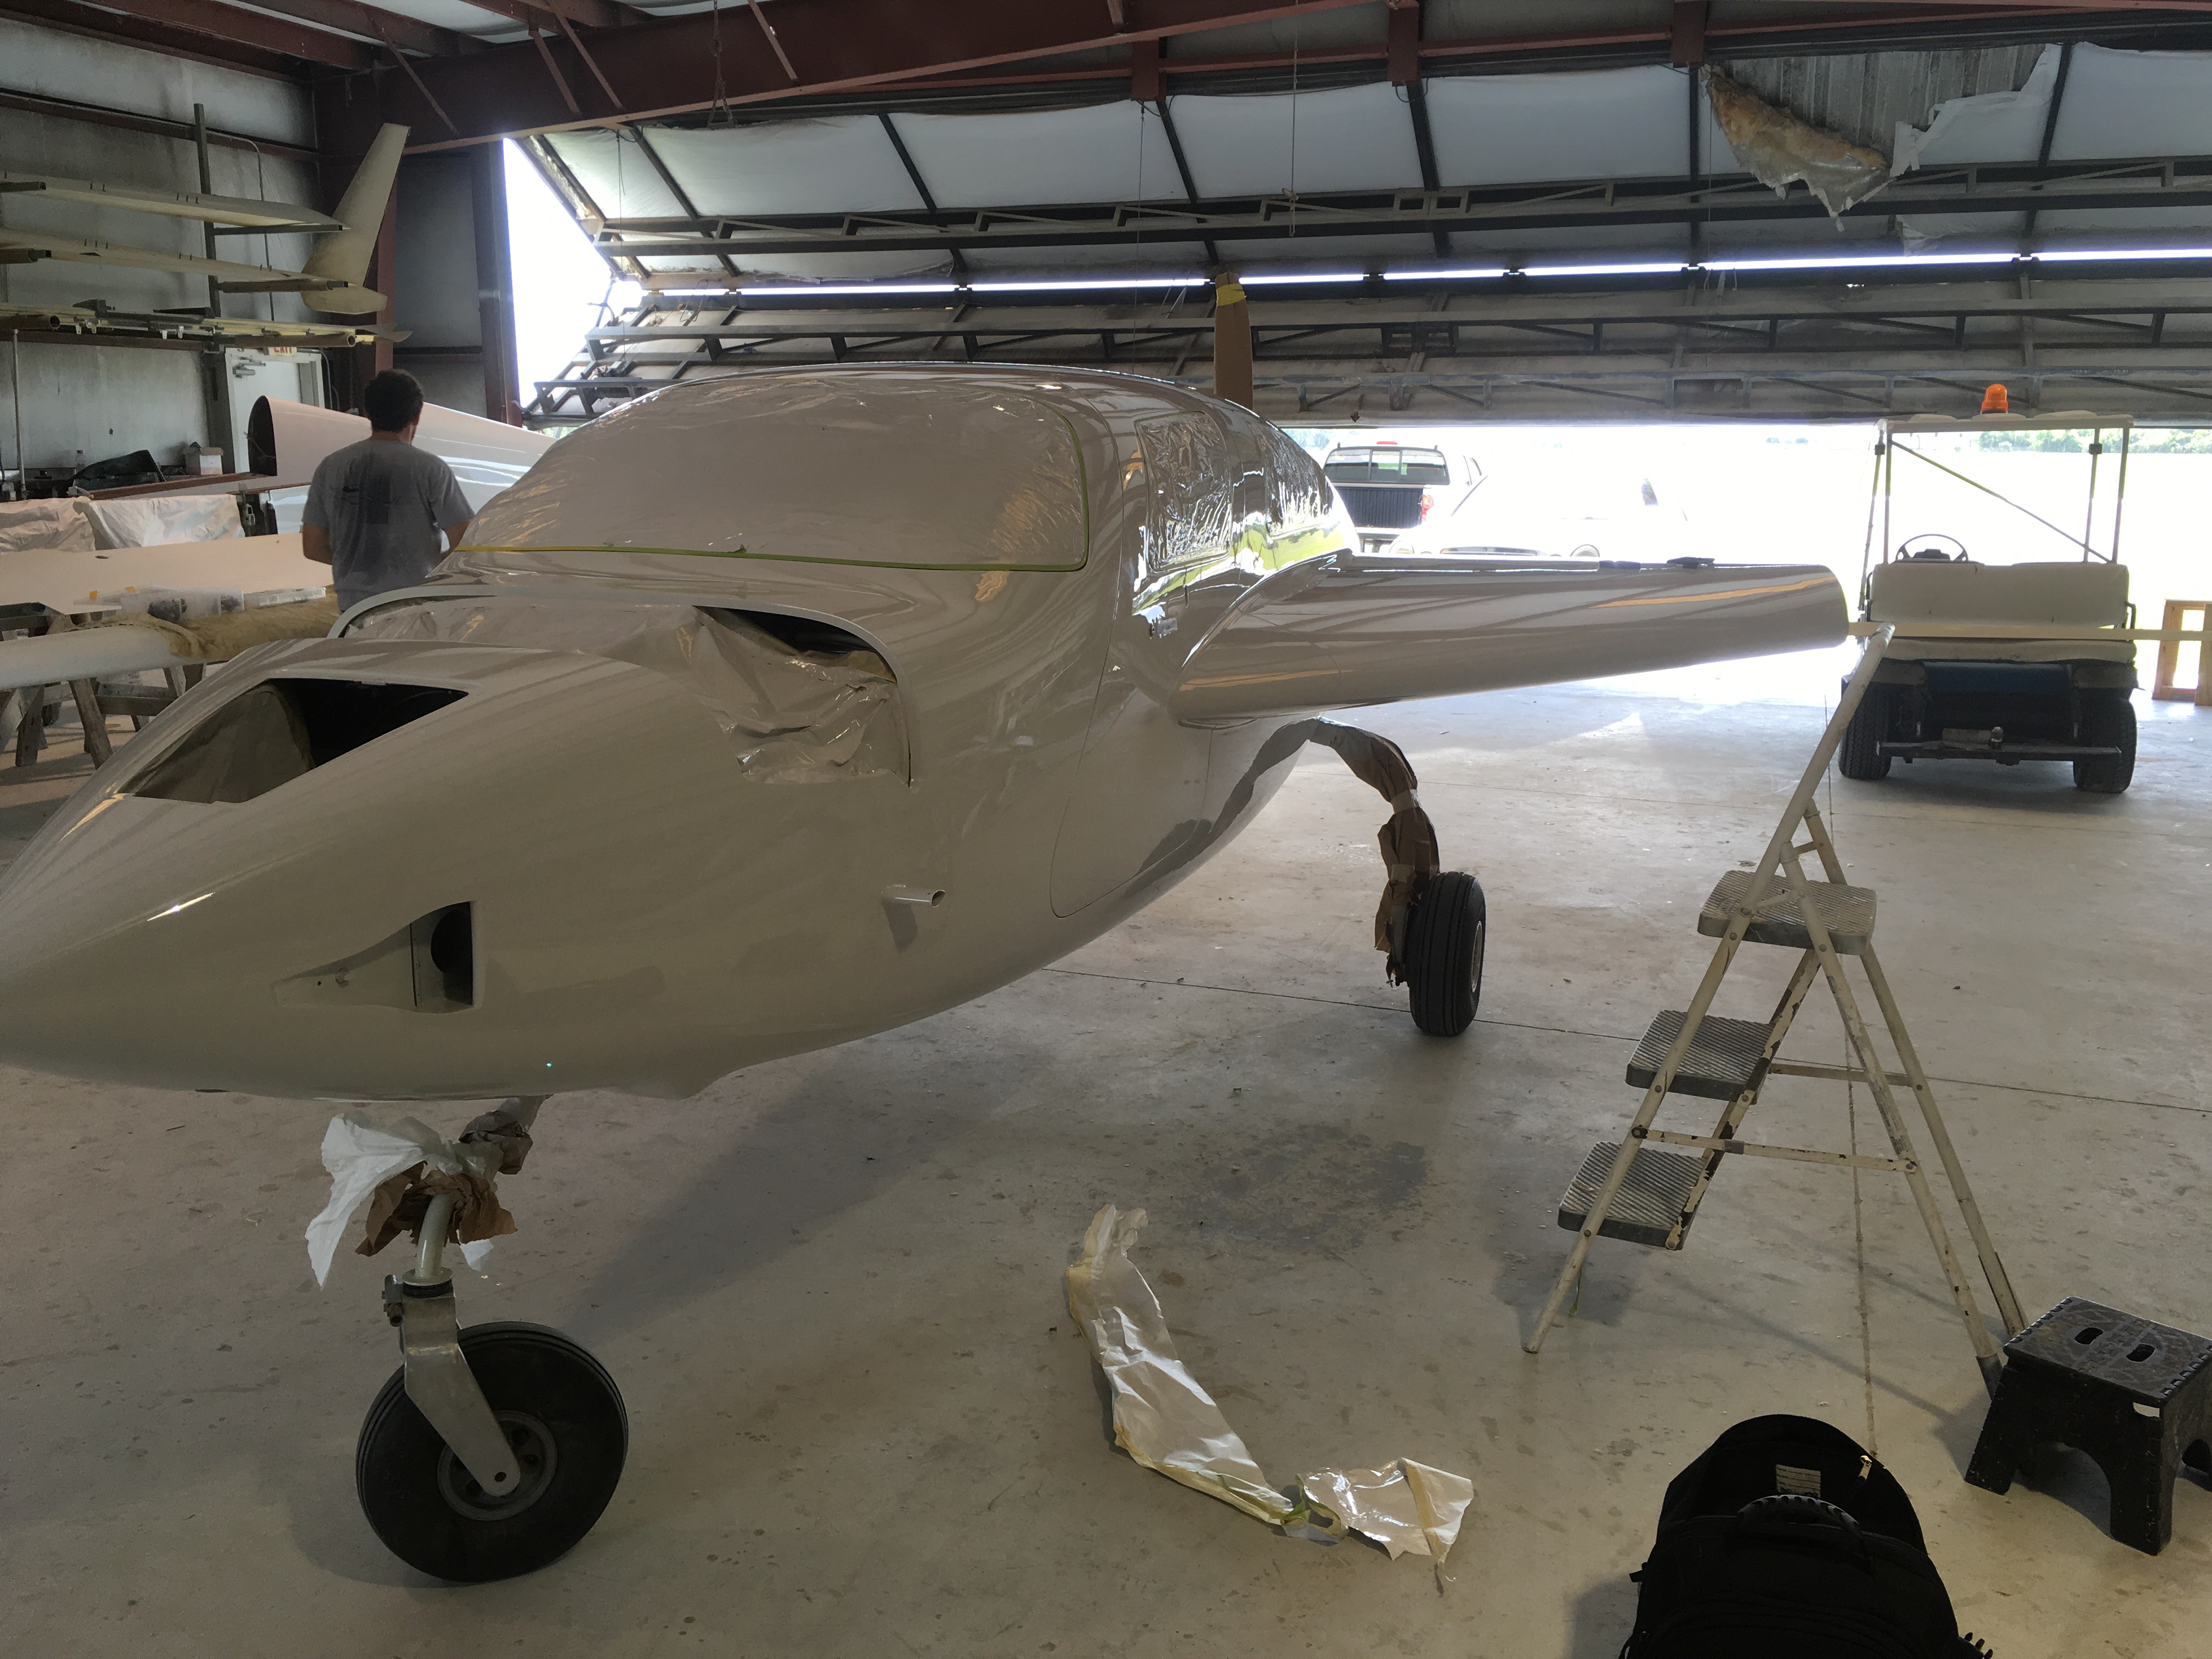
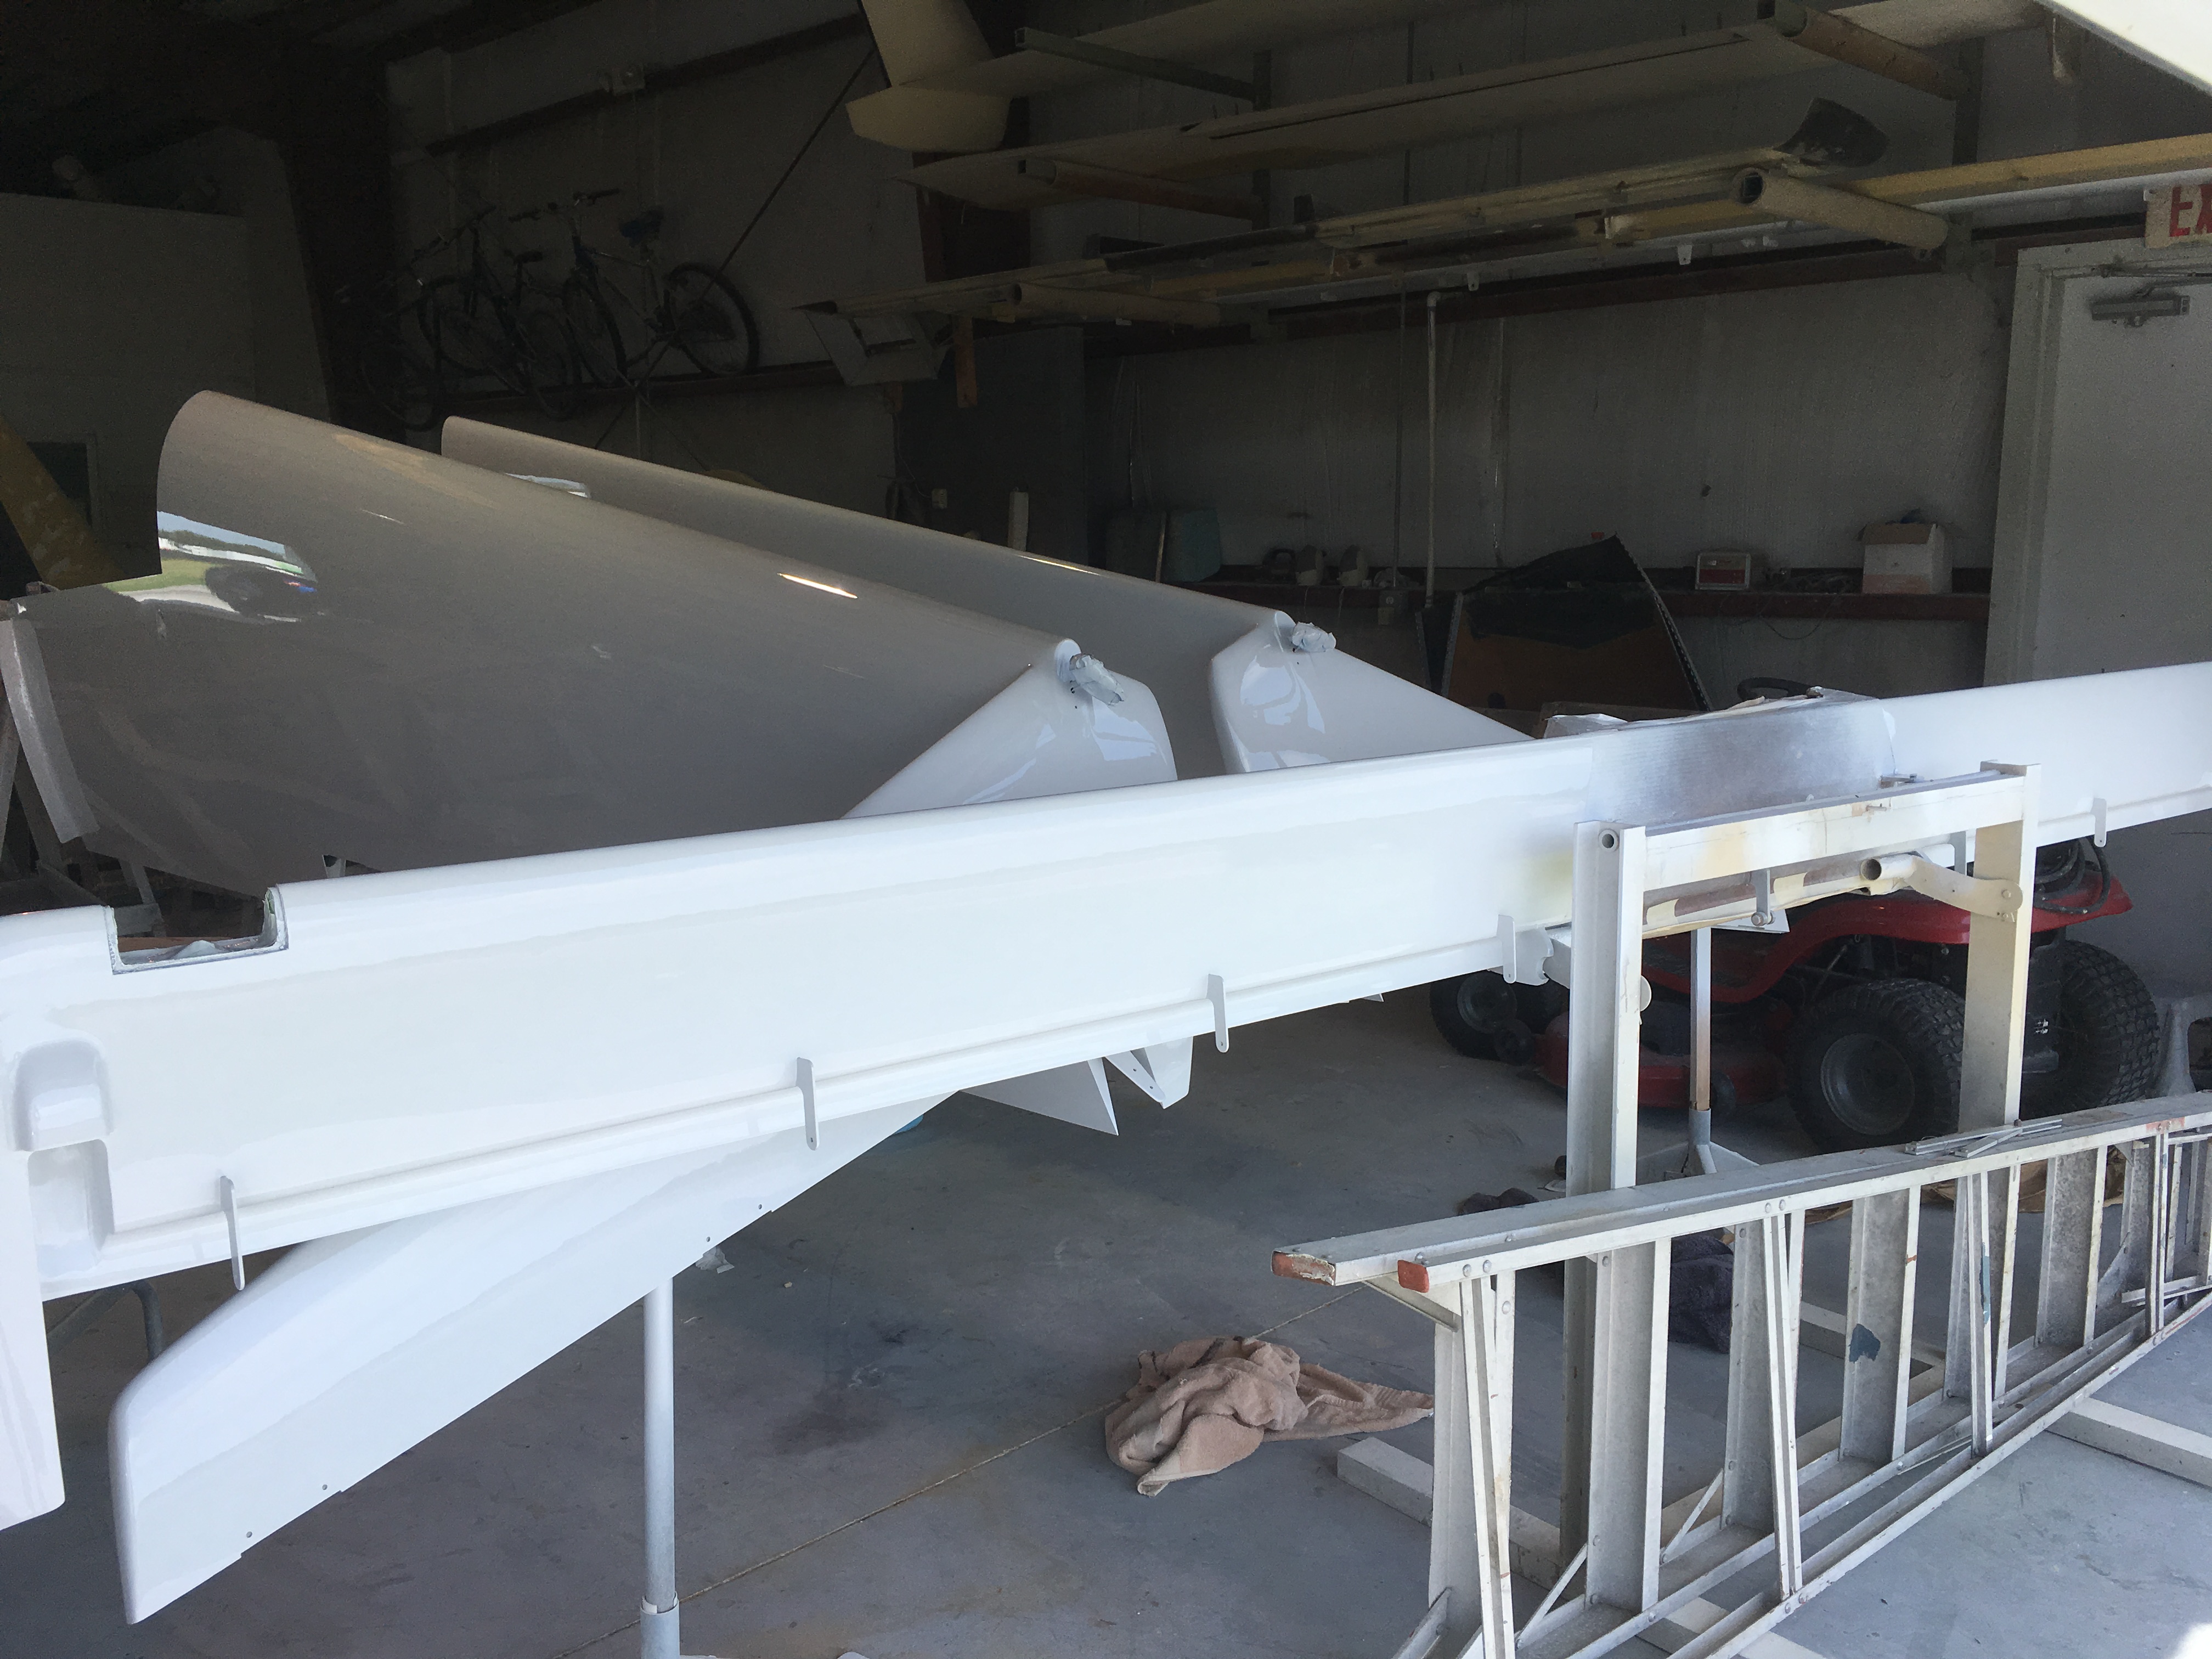
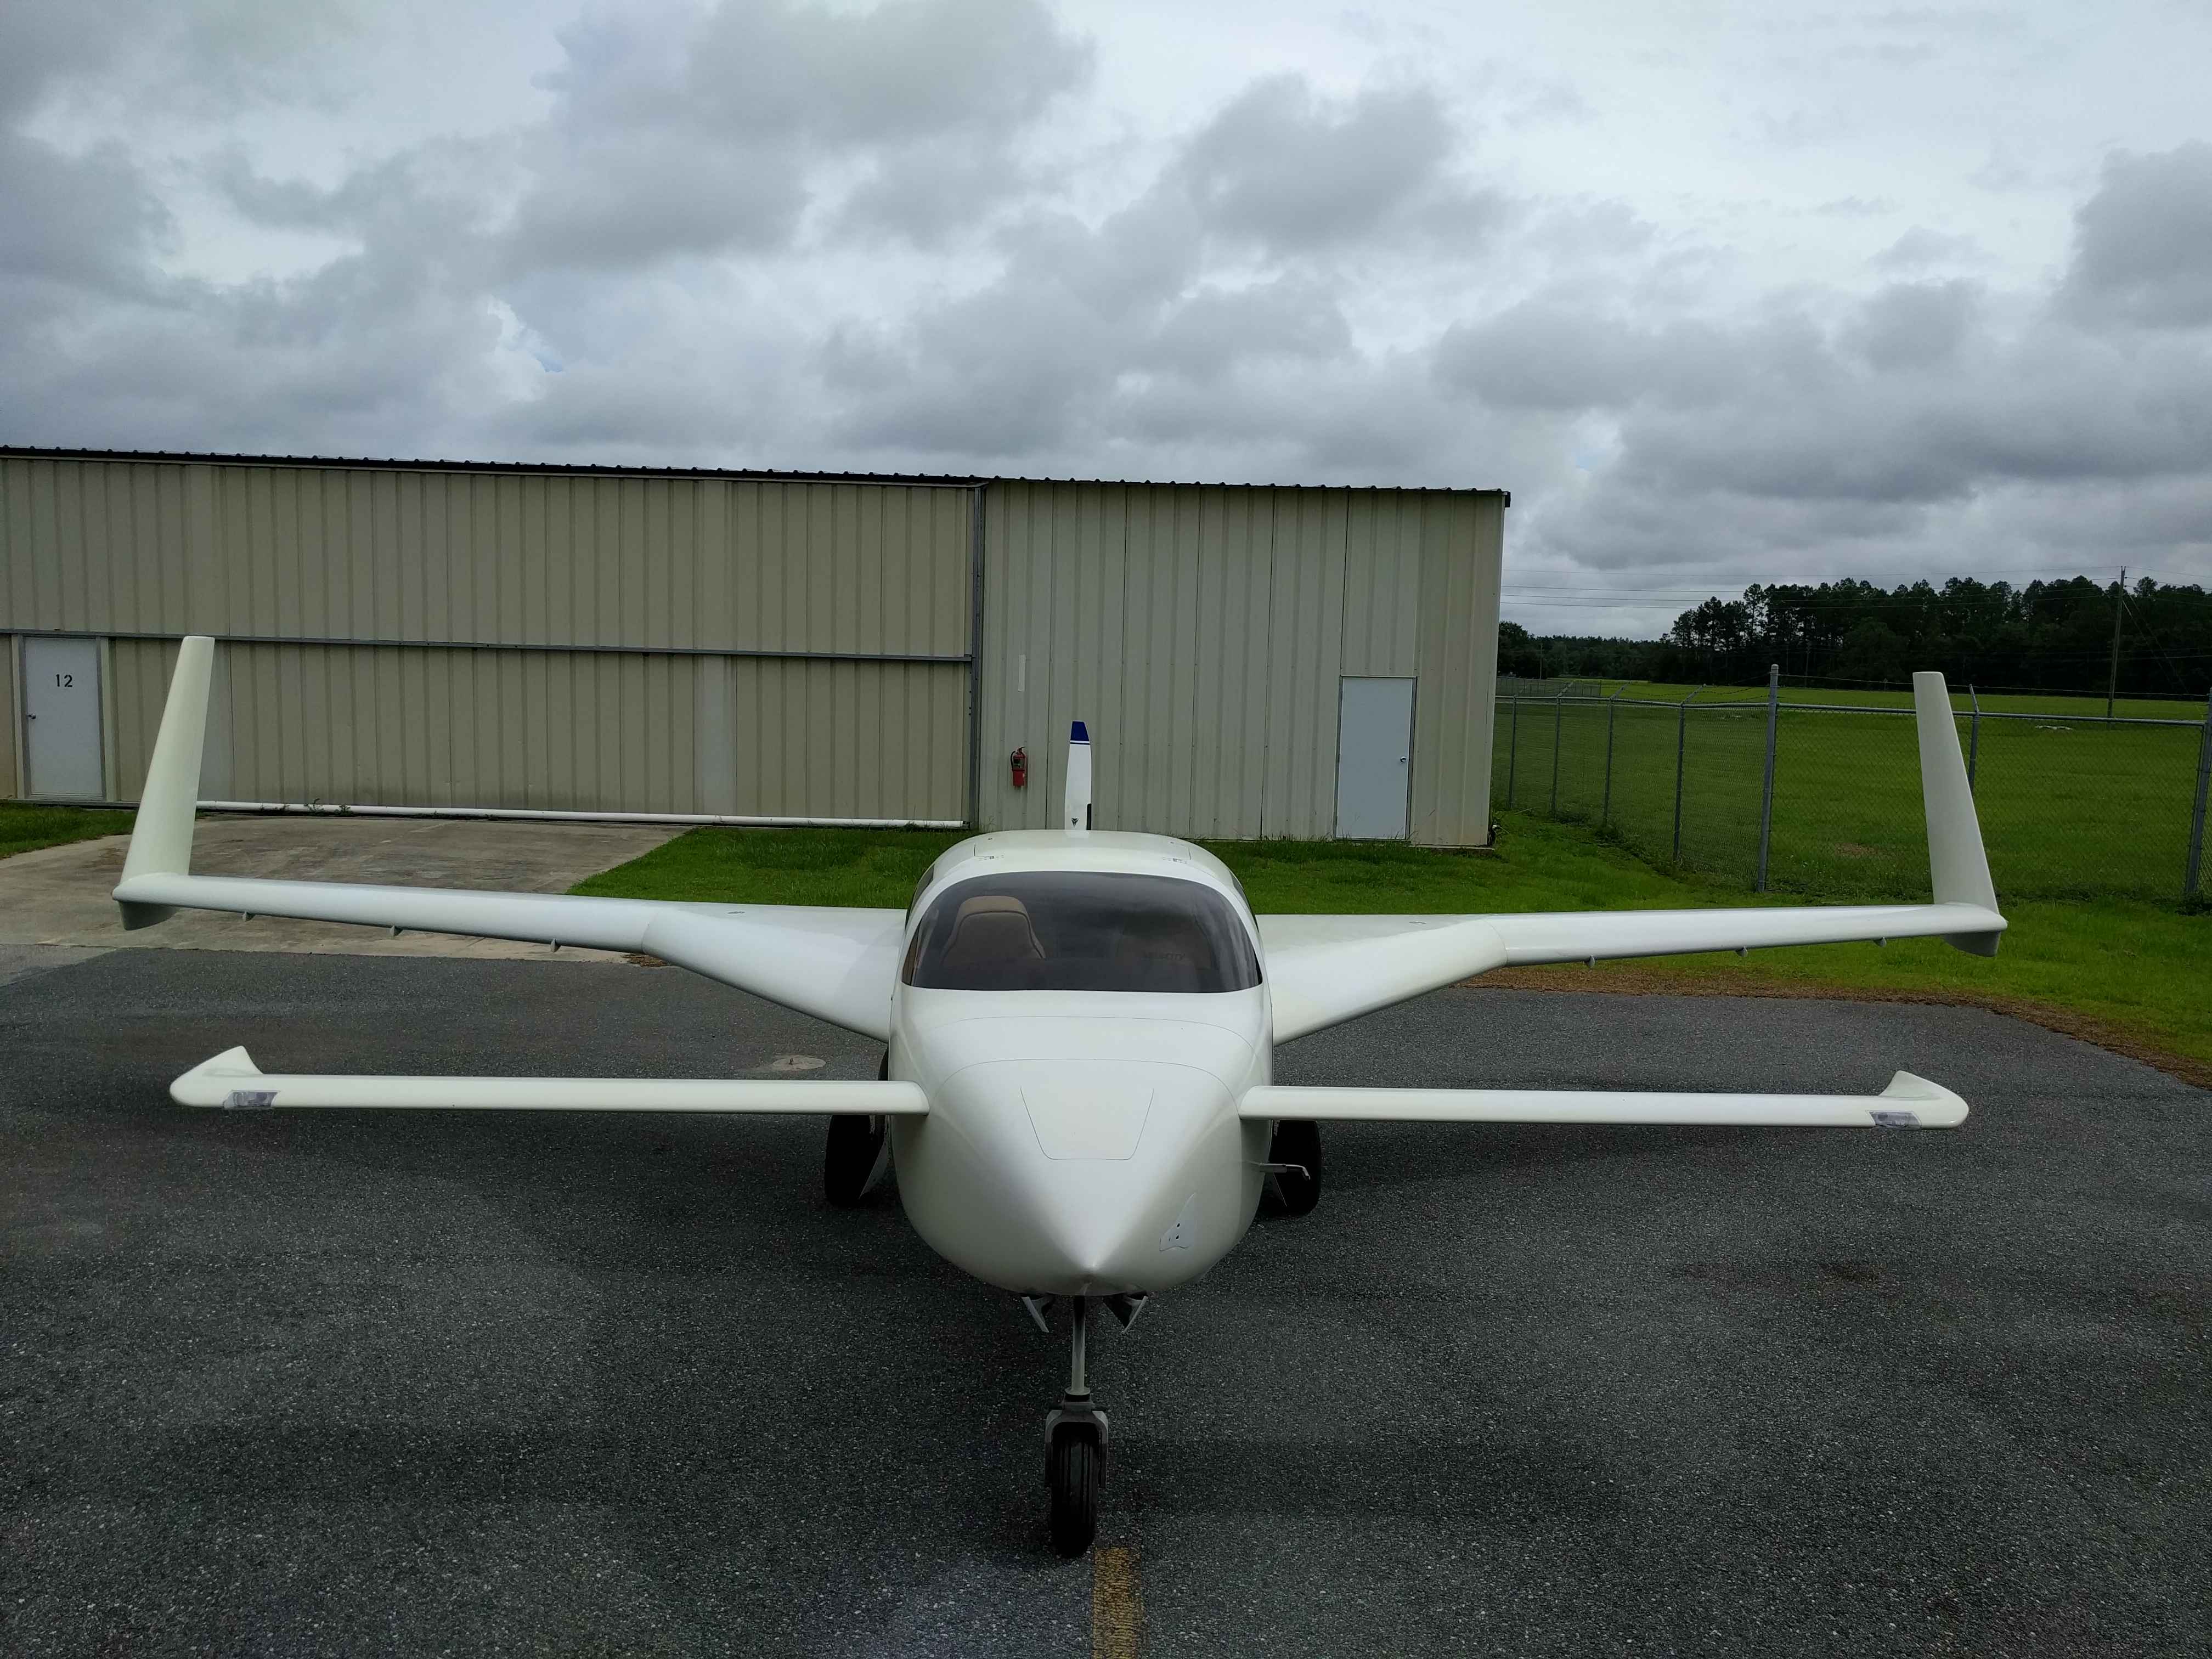
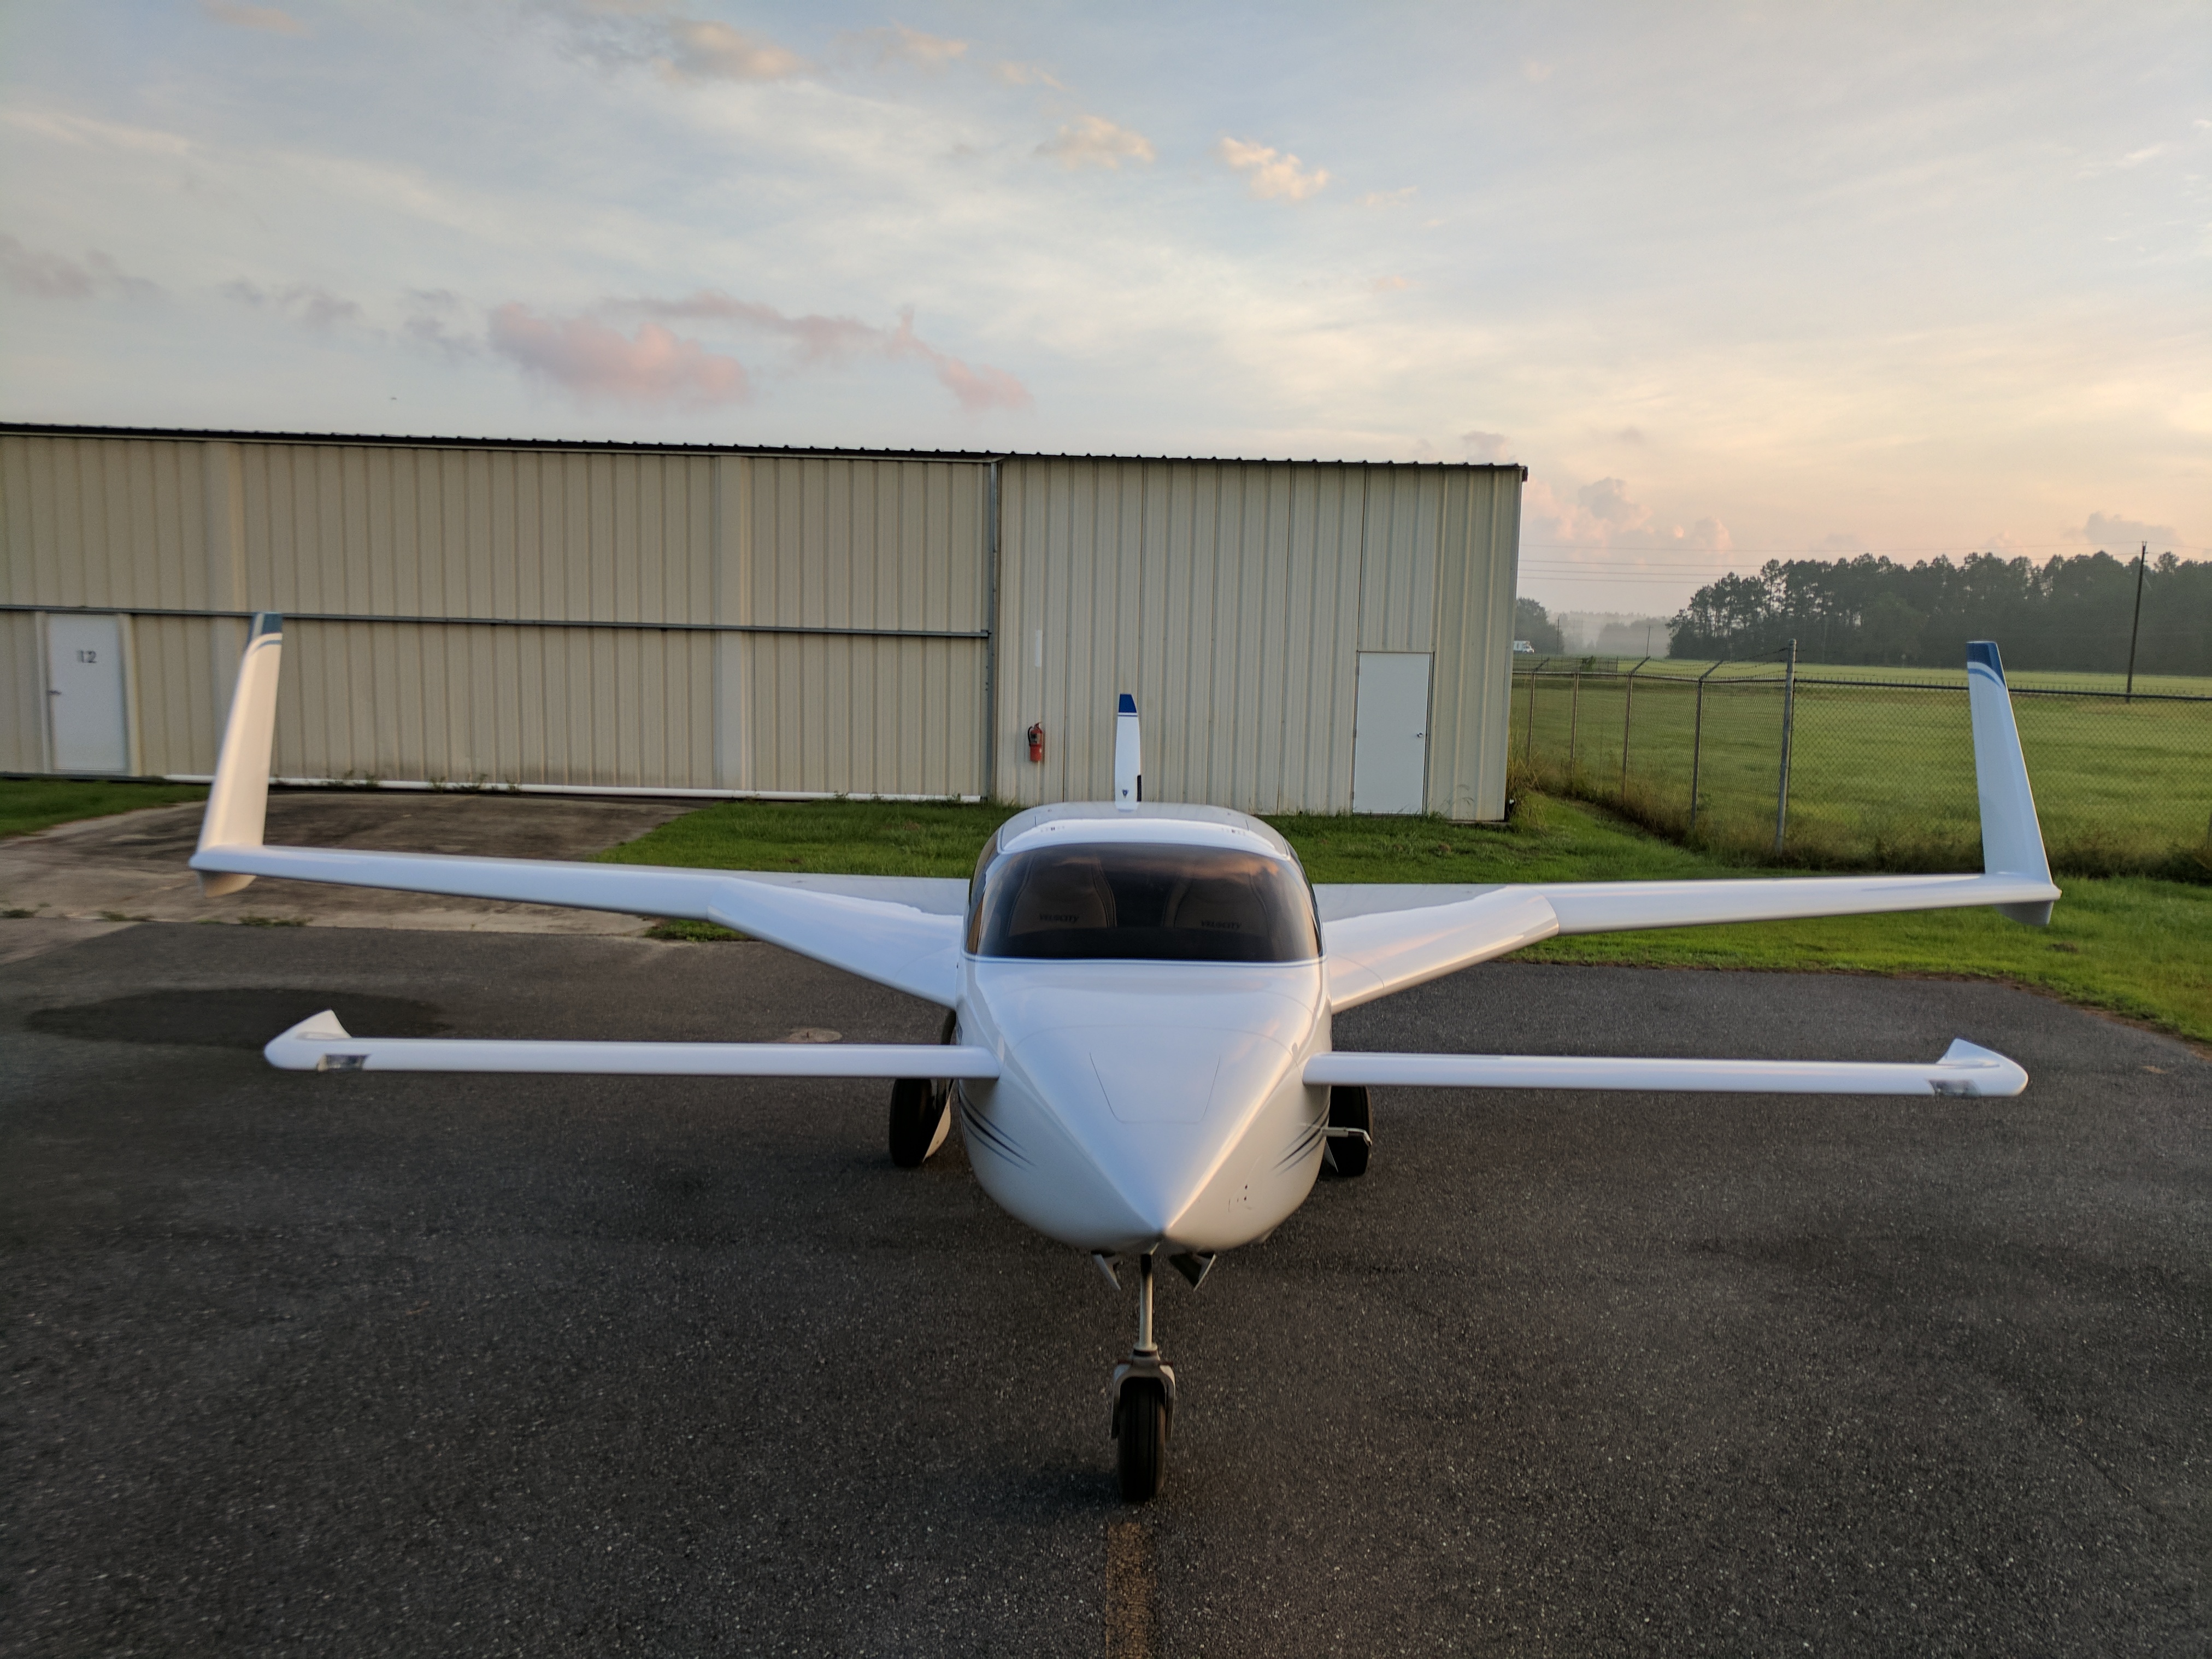
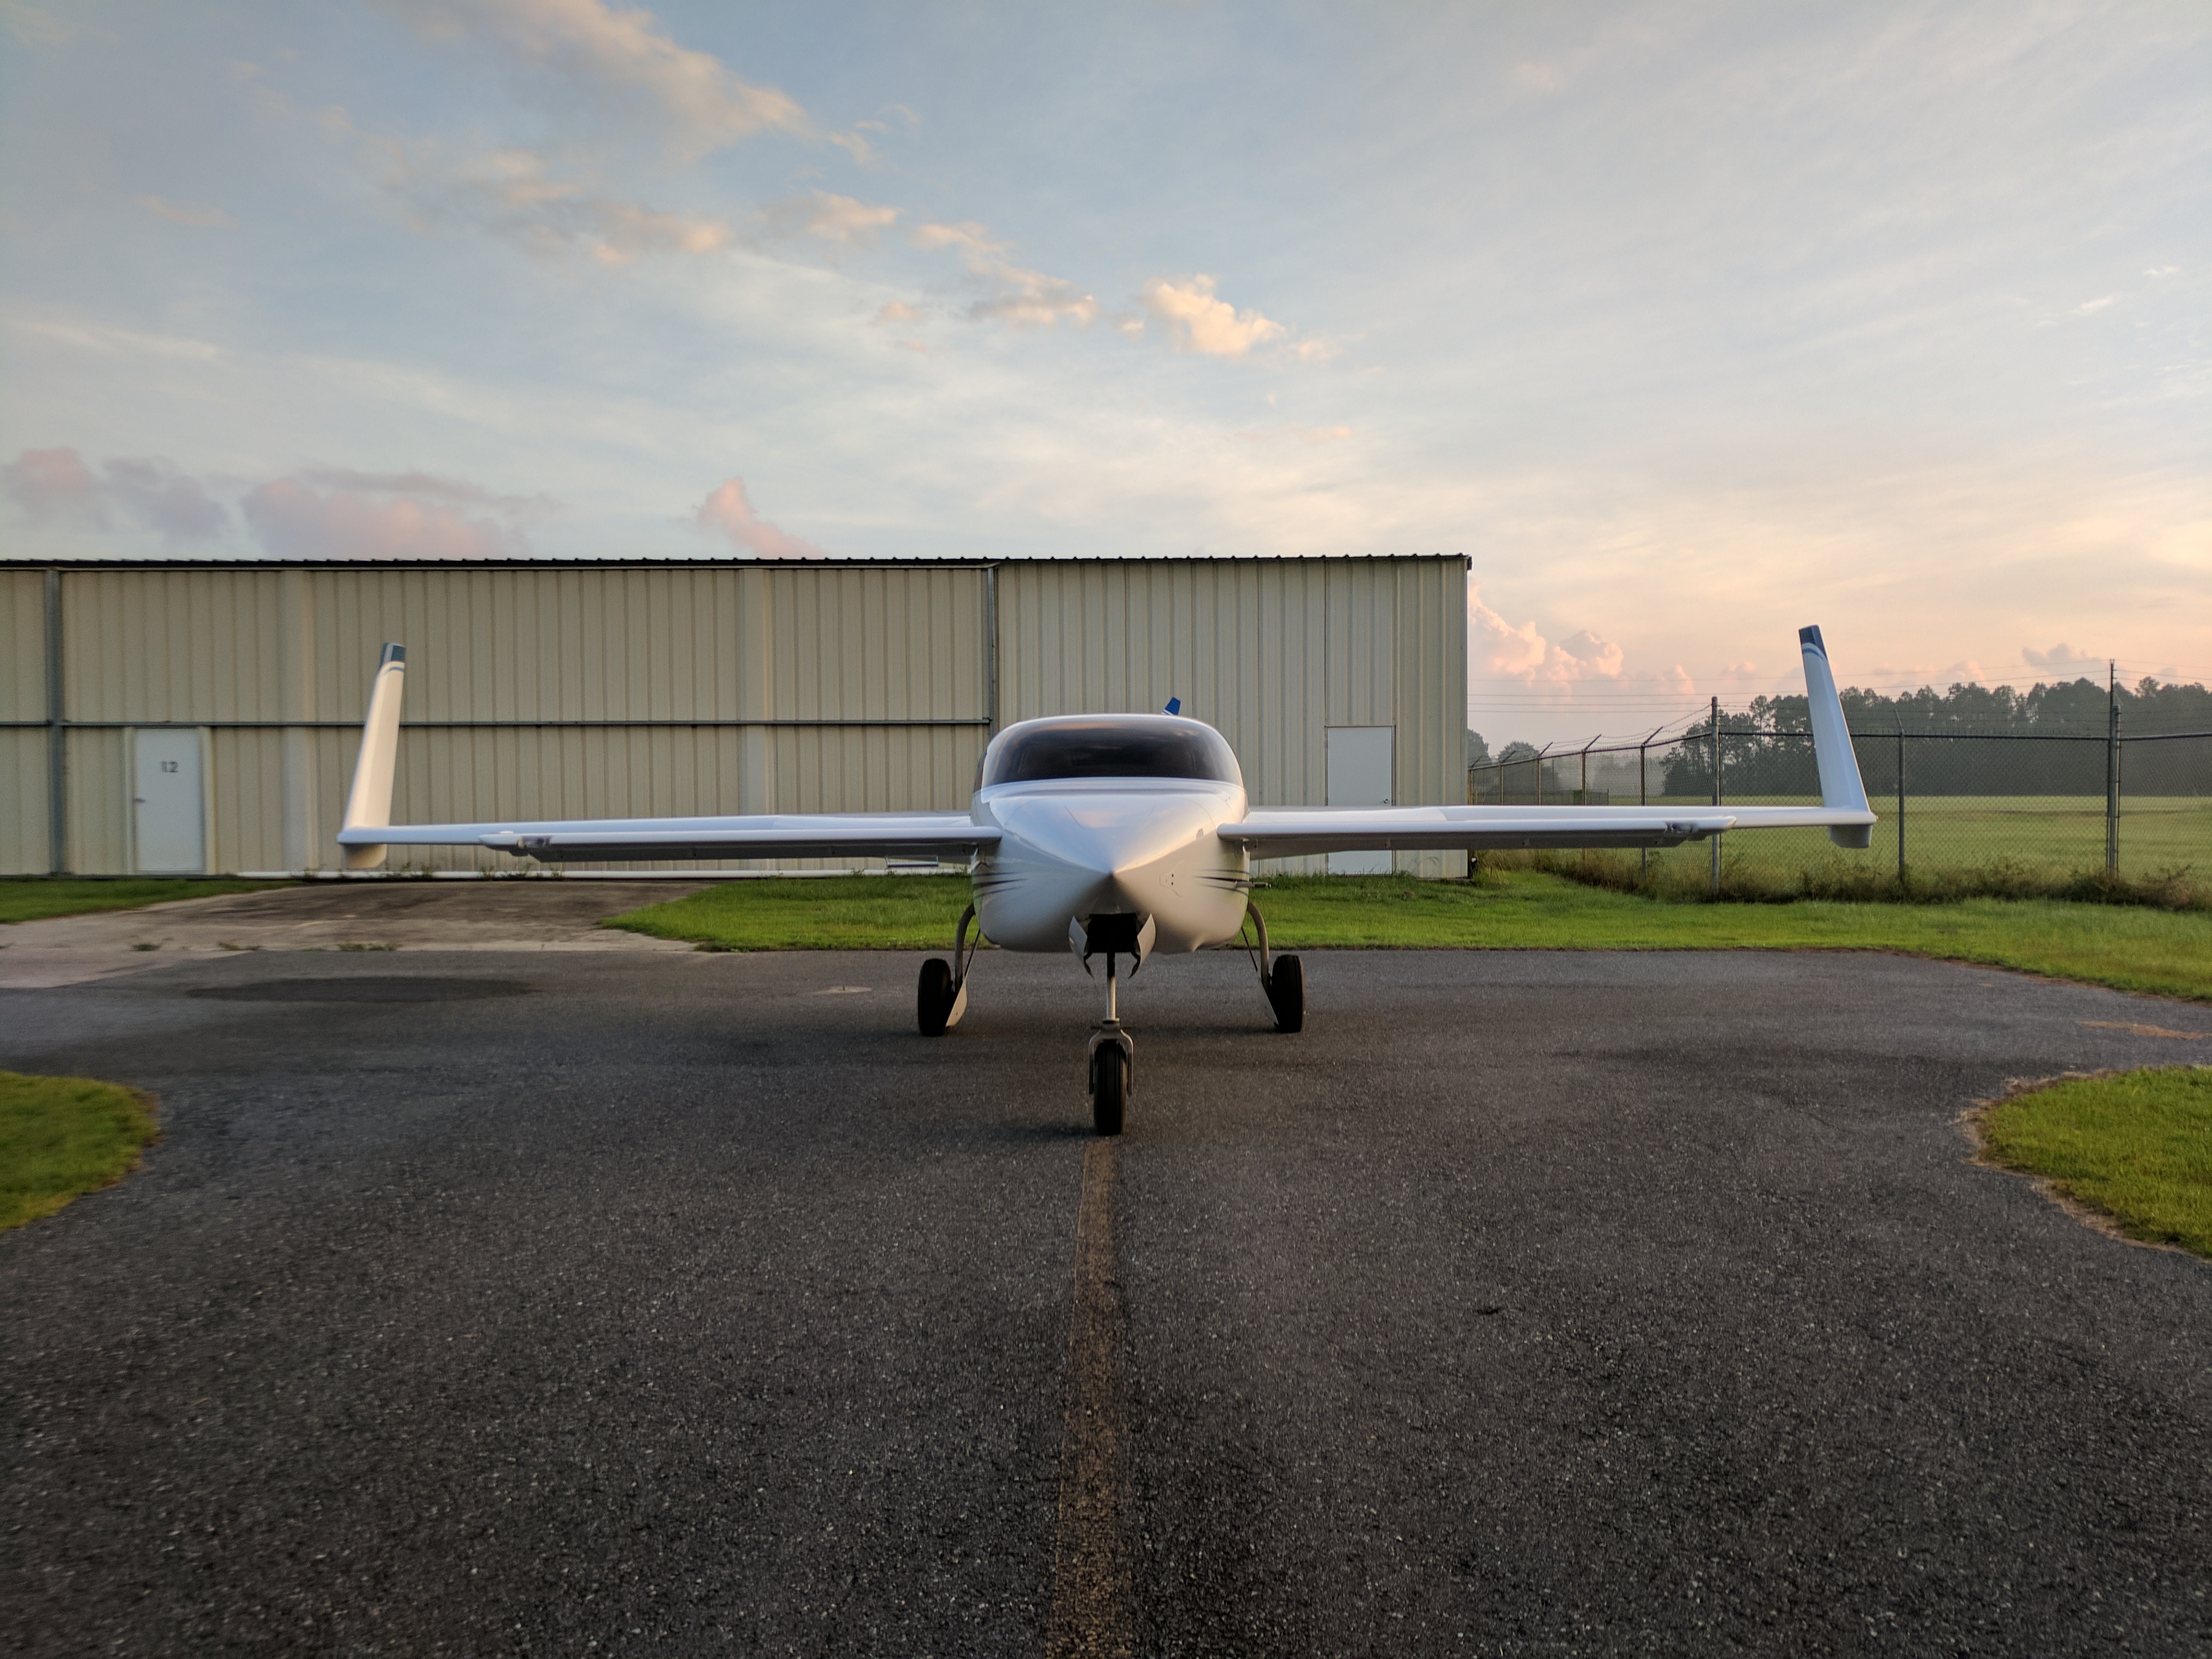
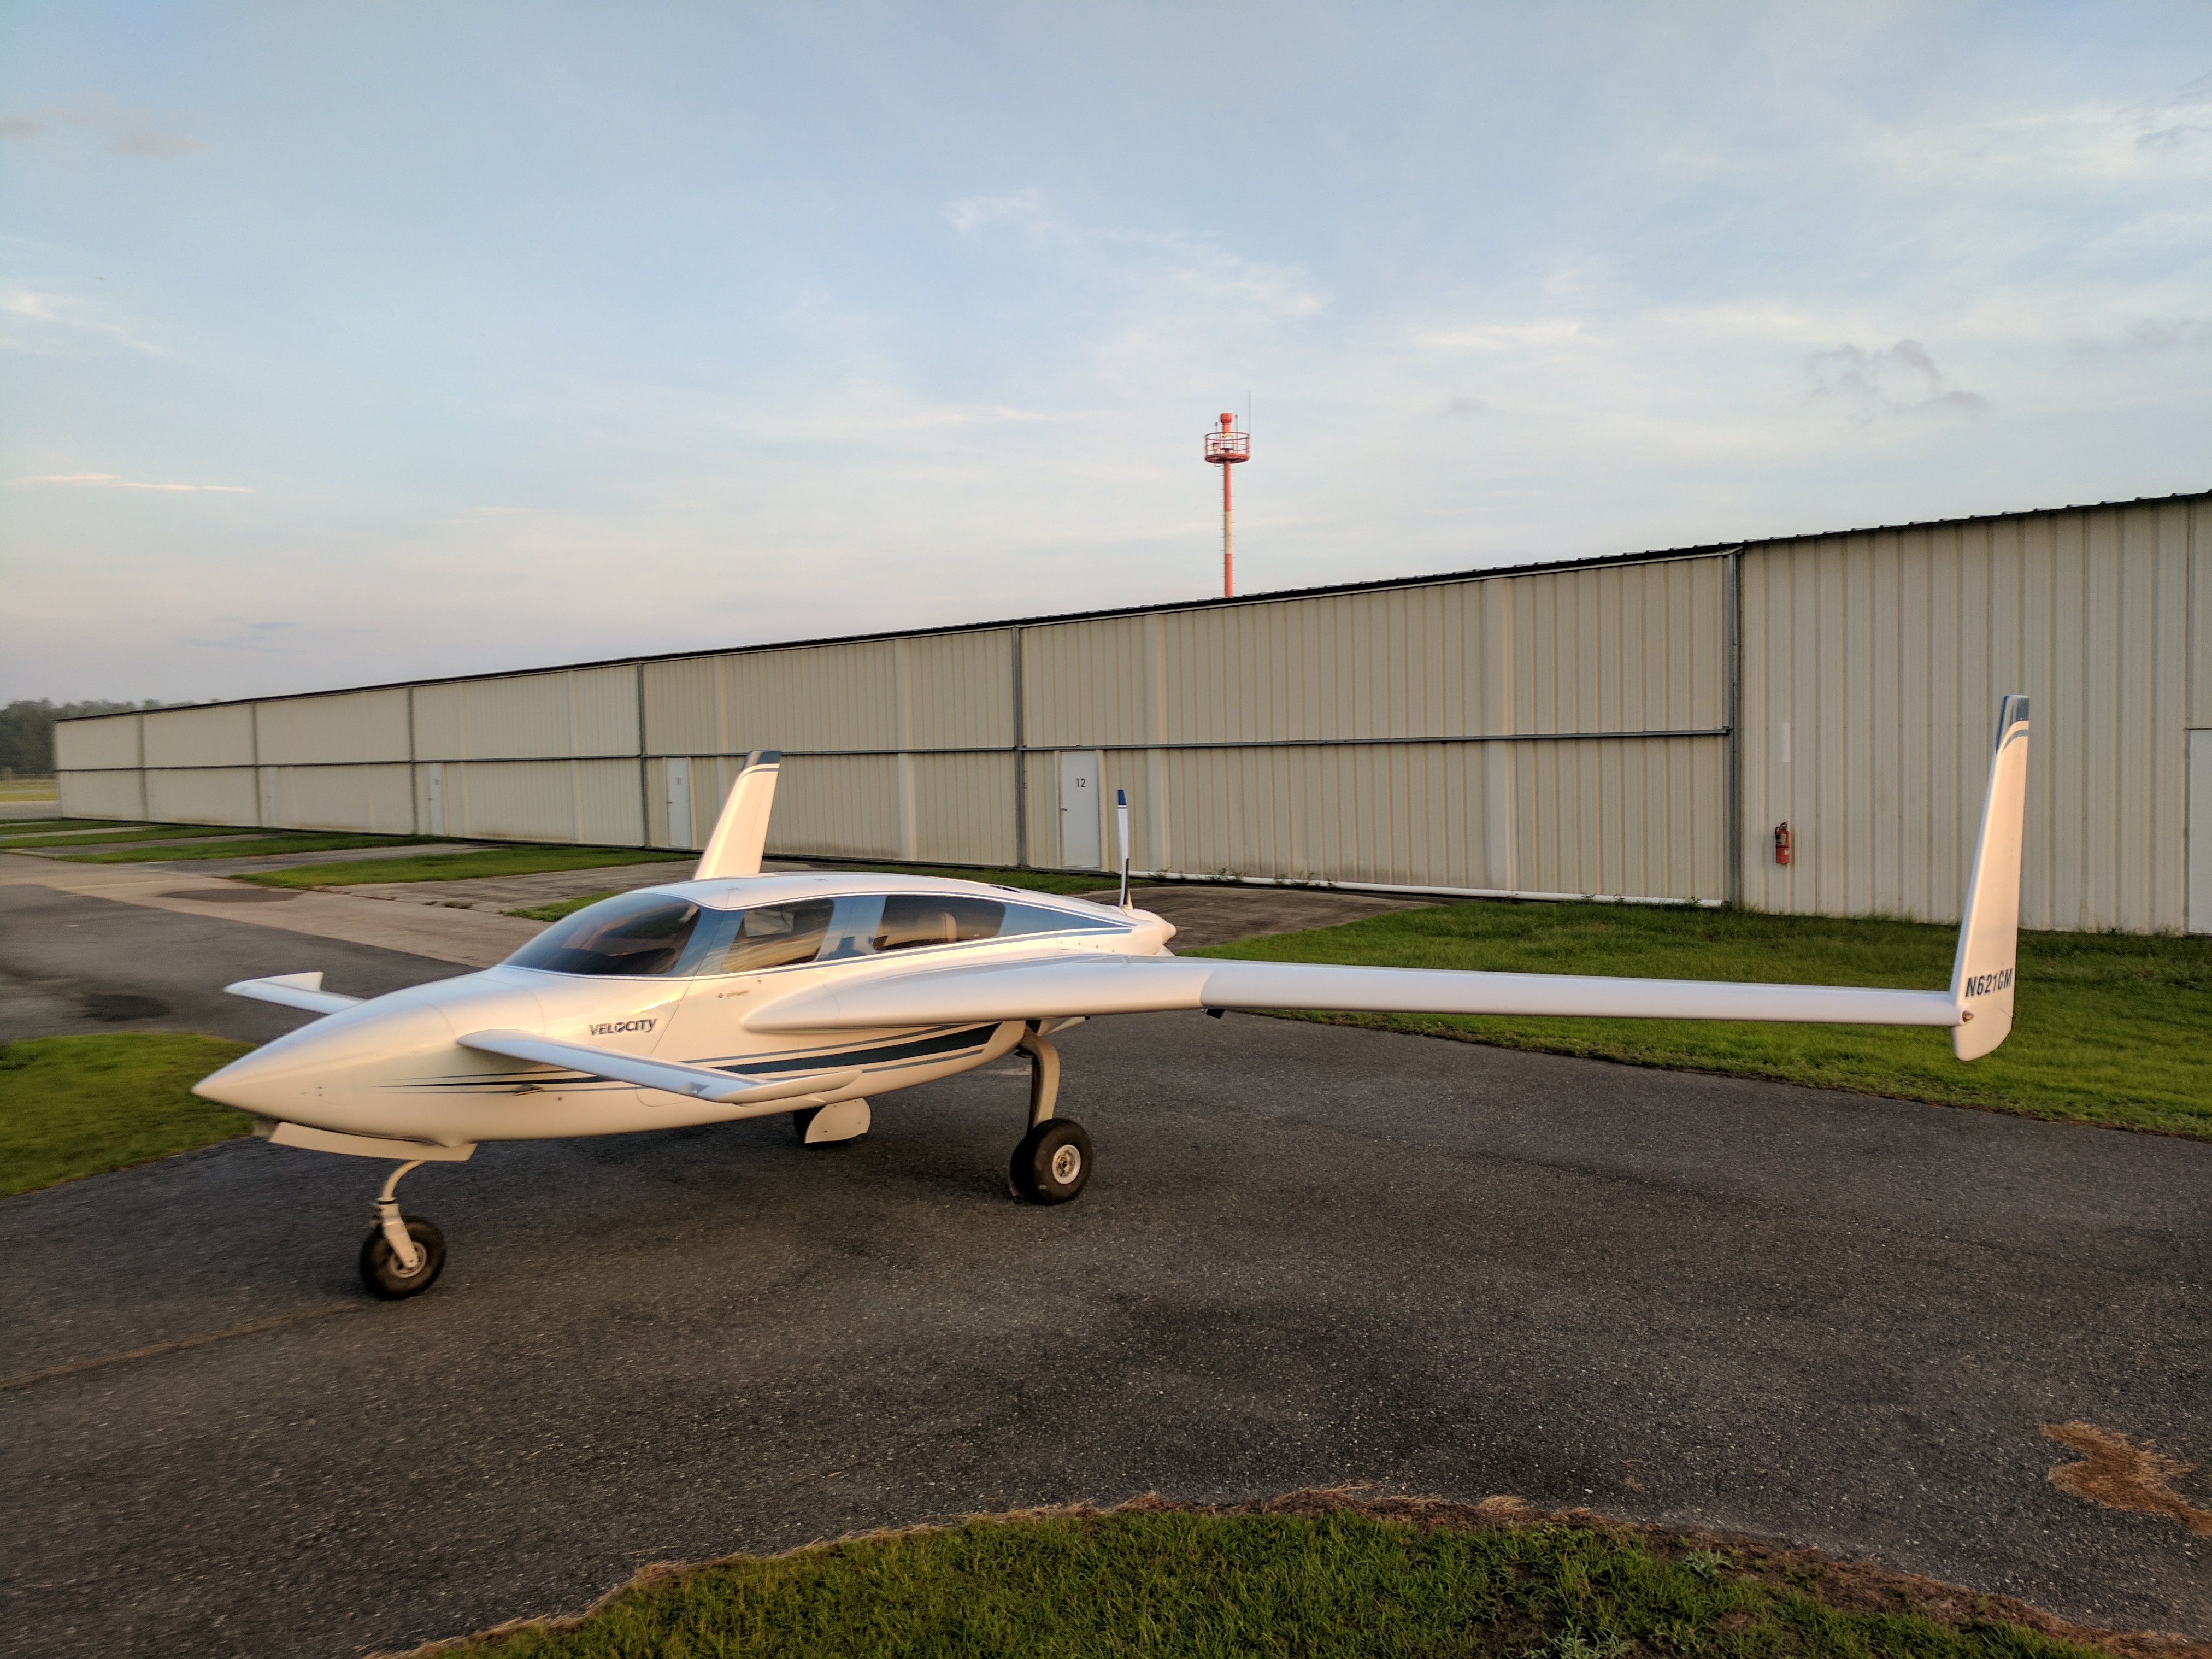
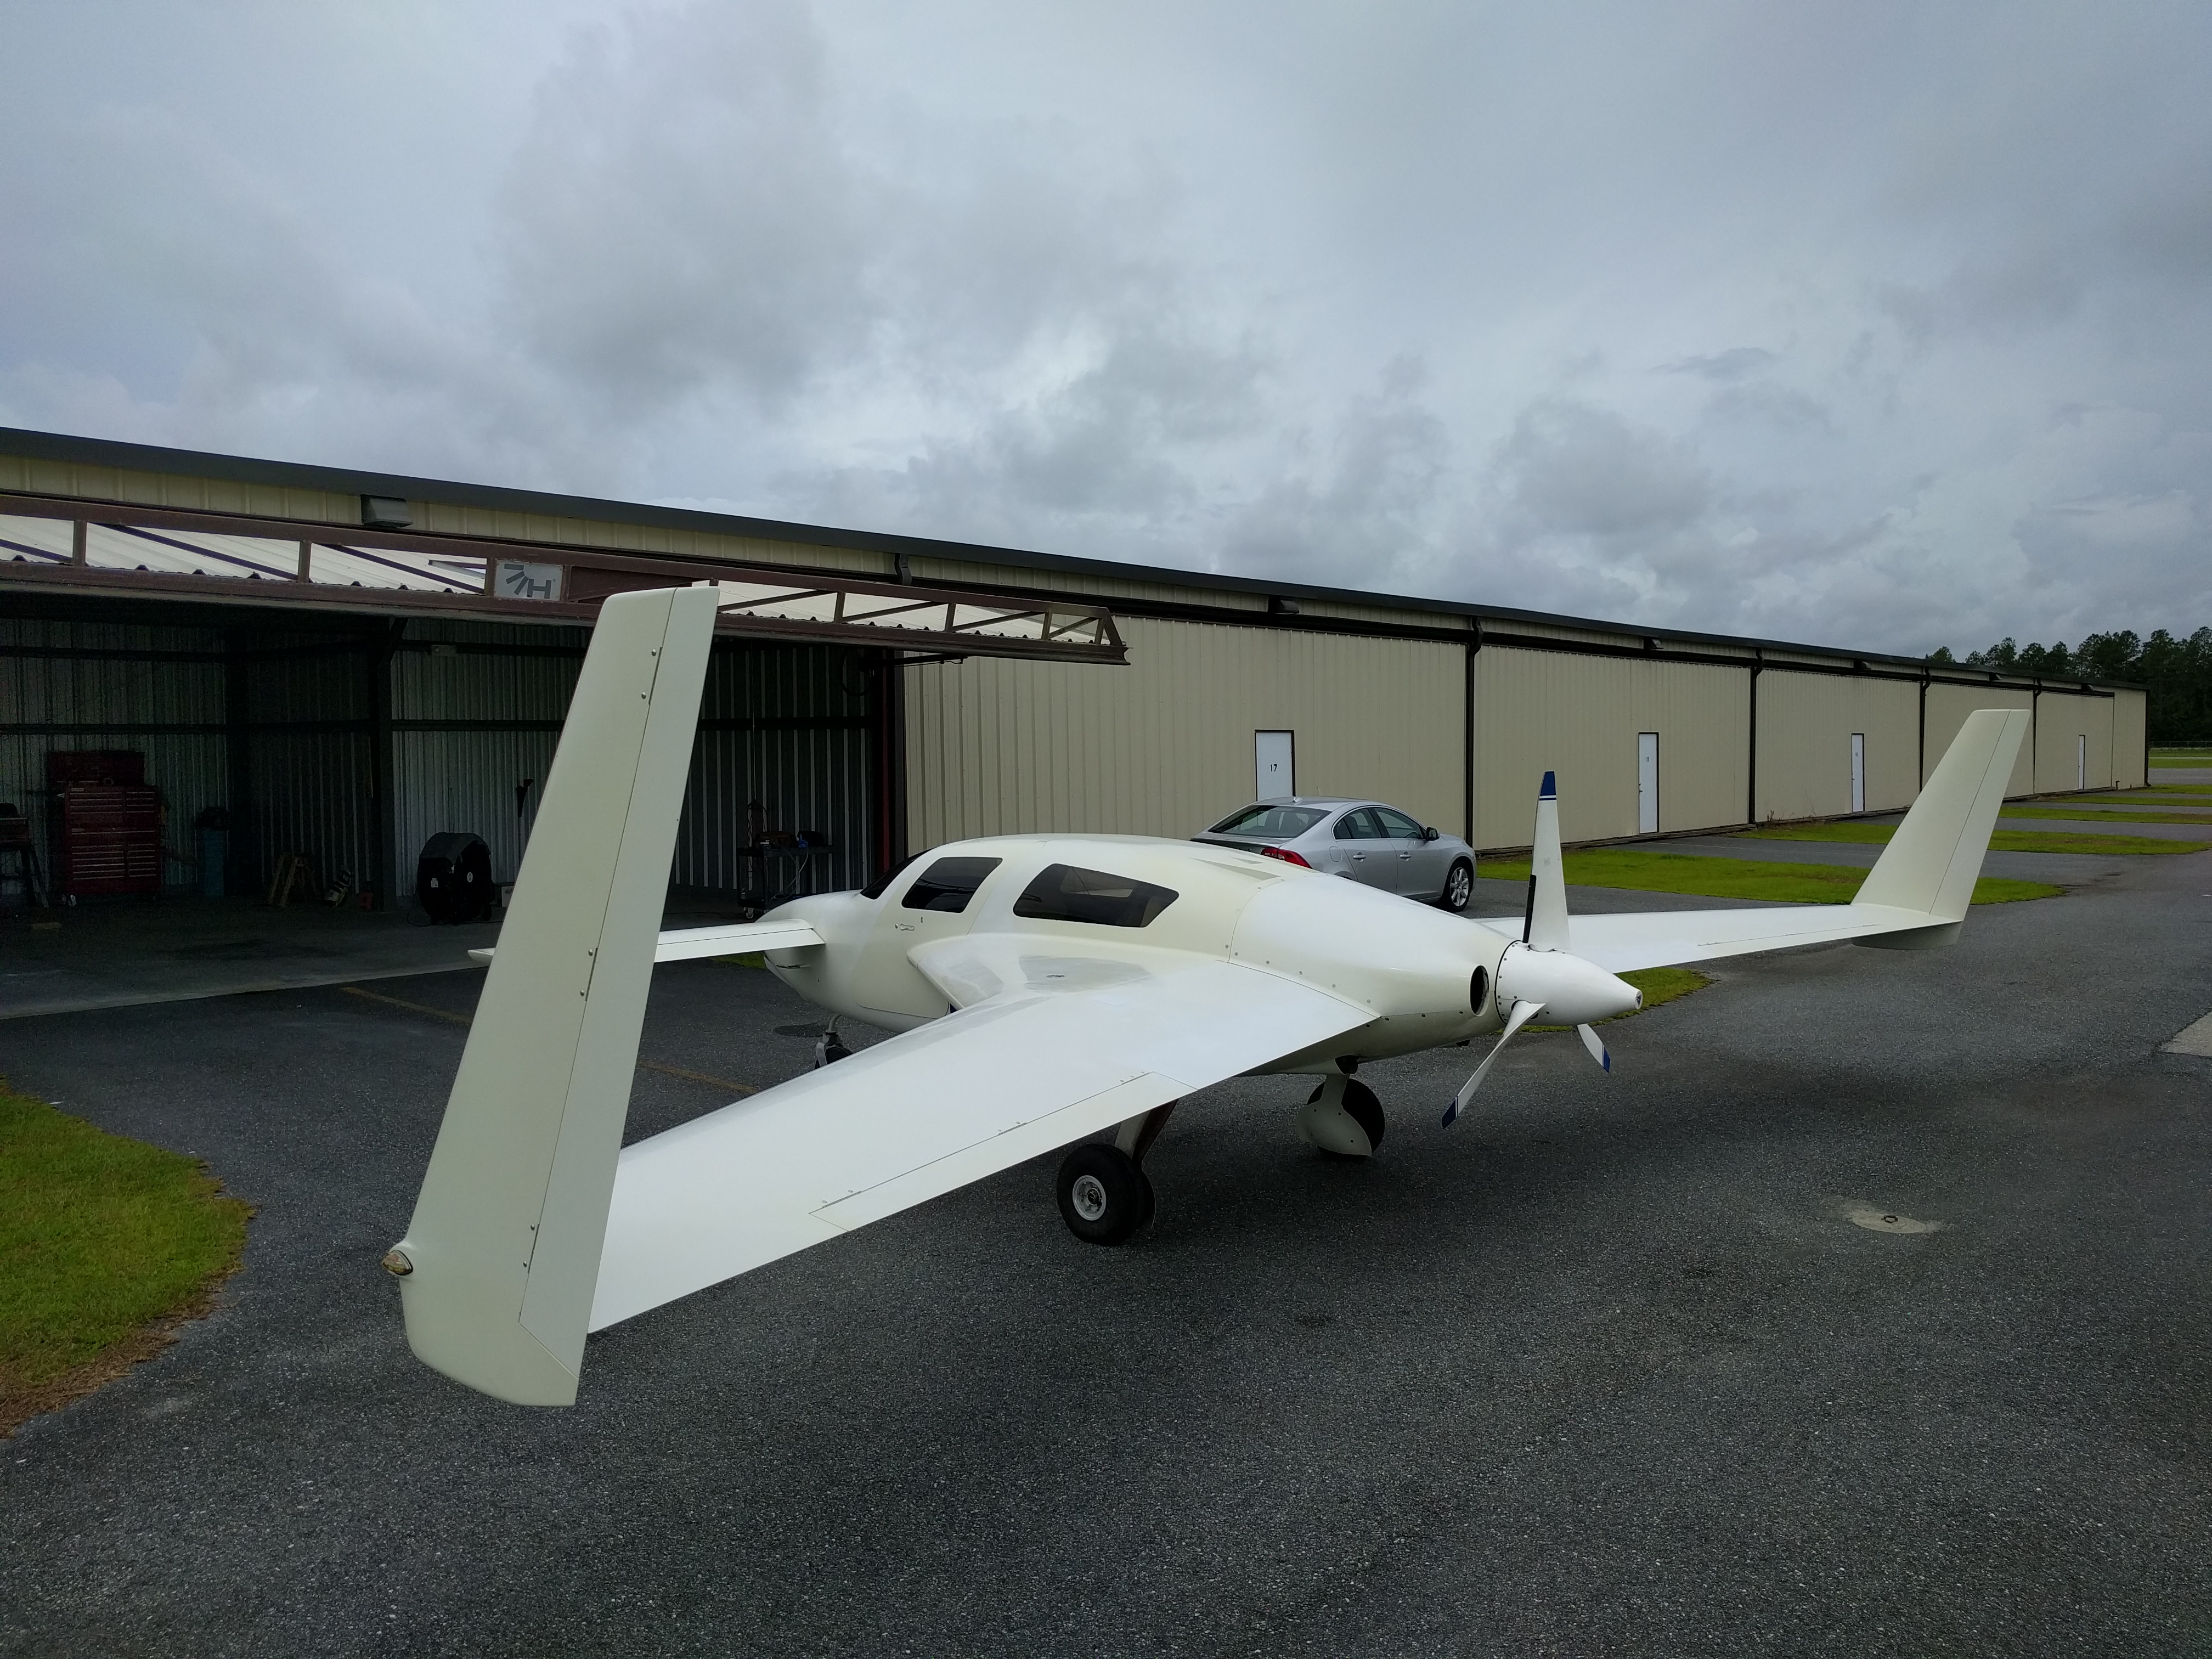
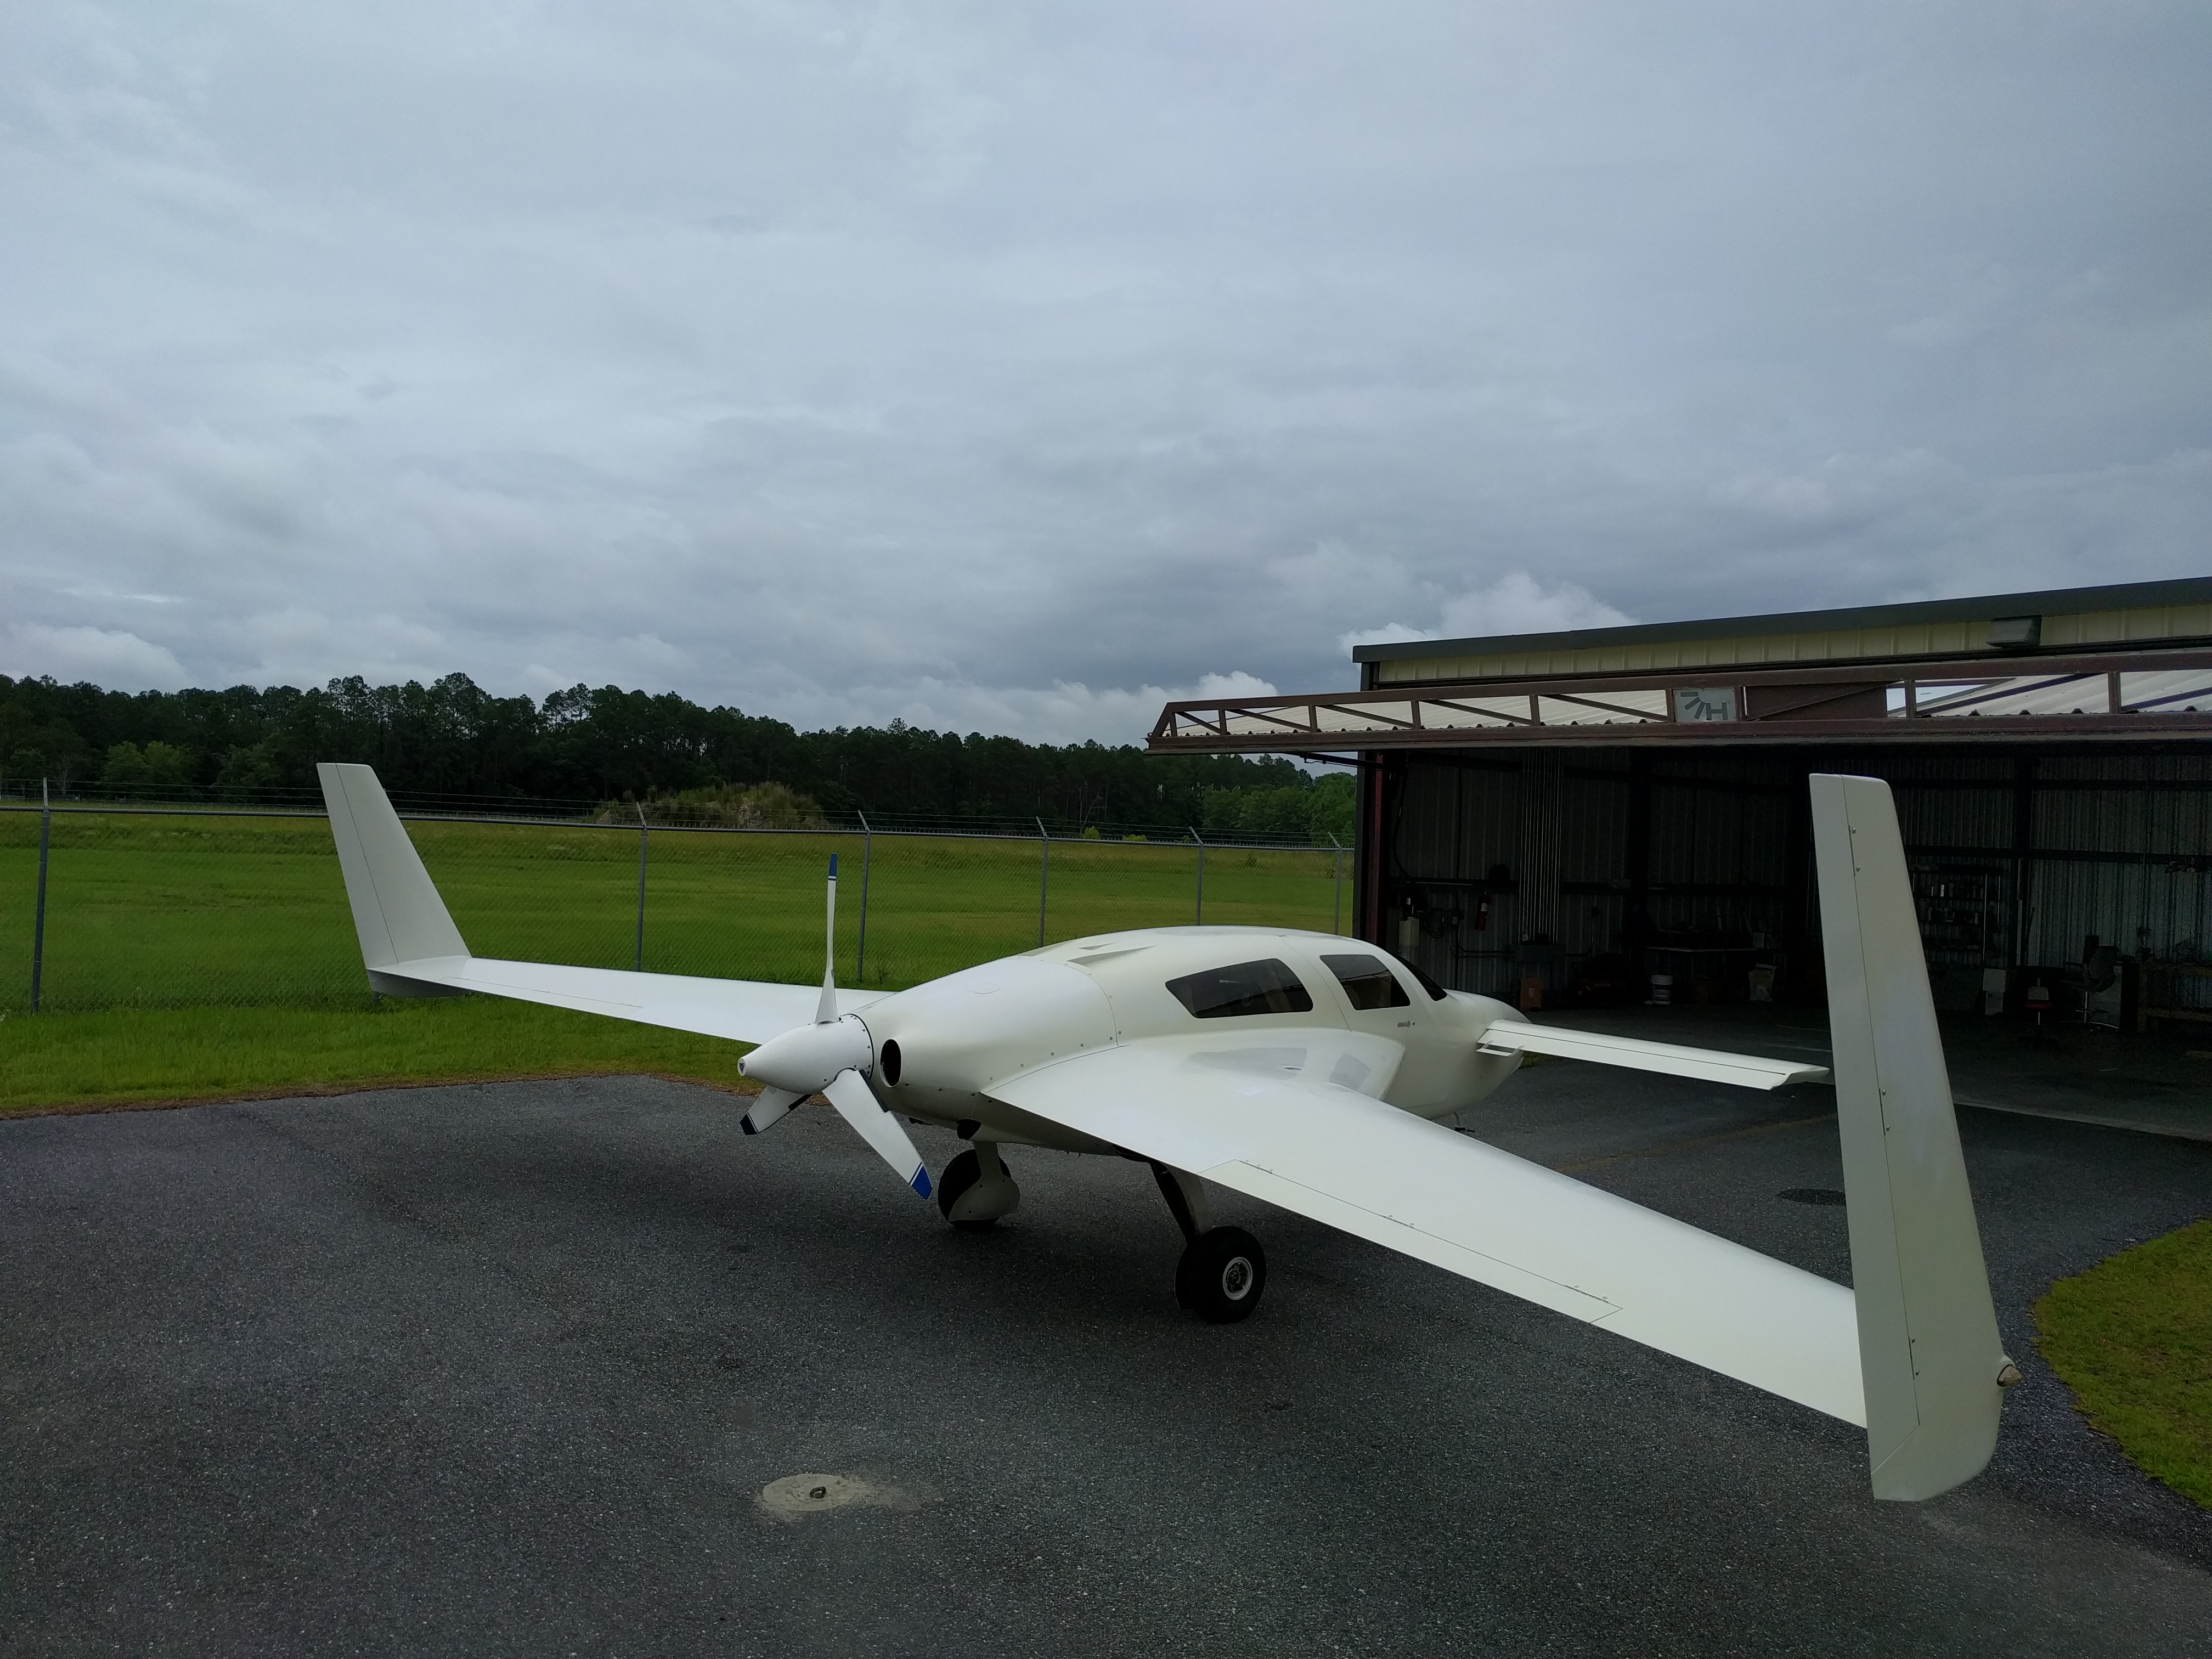
Everything has now been painted white.  Unlike before, which was primer, now it’s actual paint!

And boy is it SHINY!  You can read a book in that reflection.

image1image3 image2

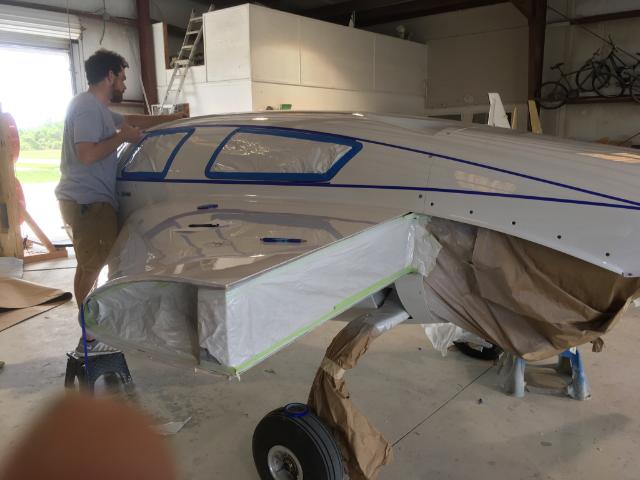
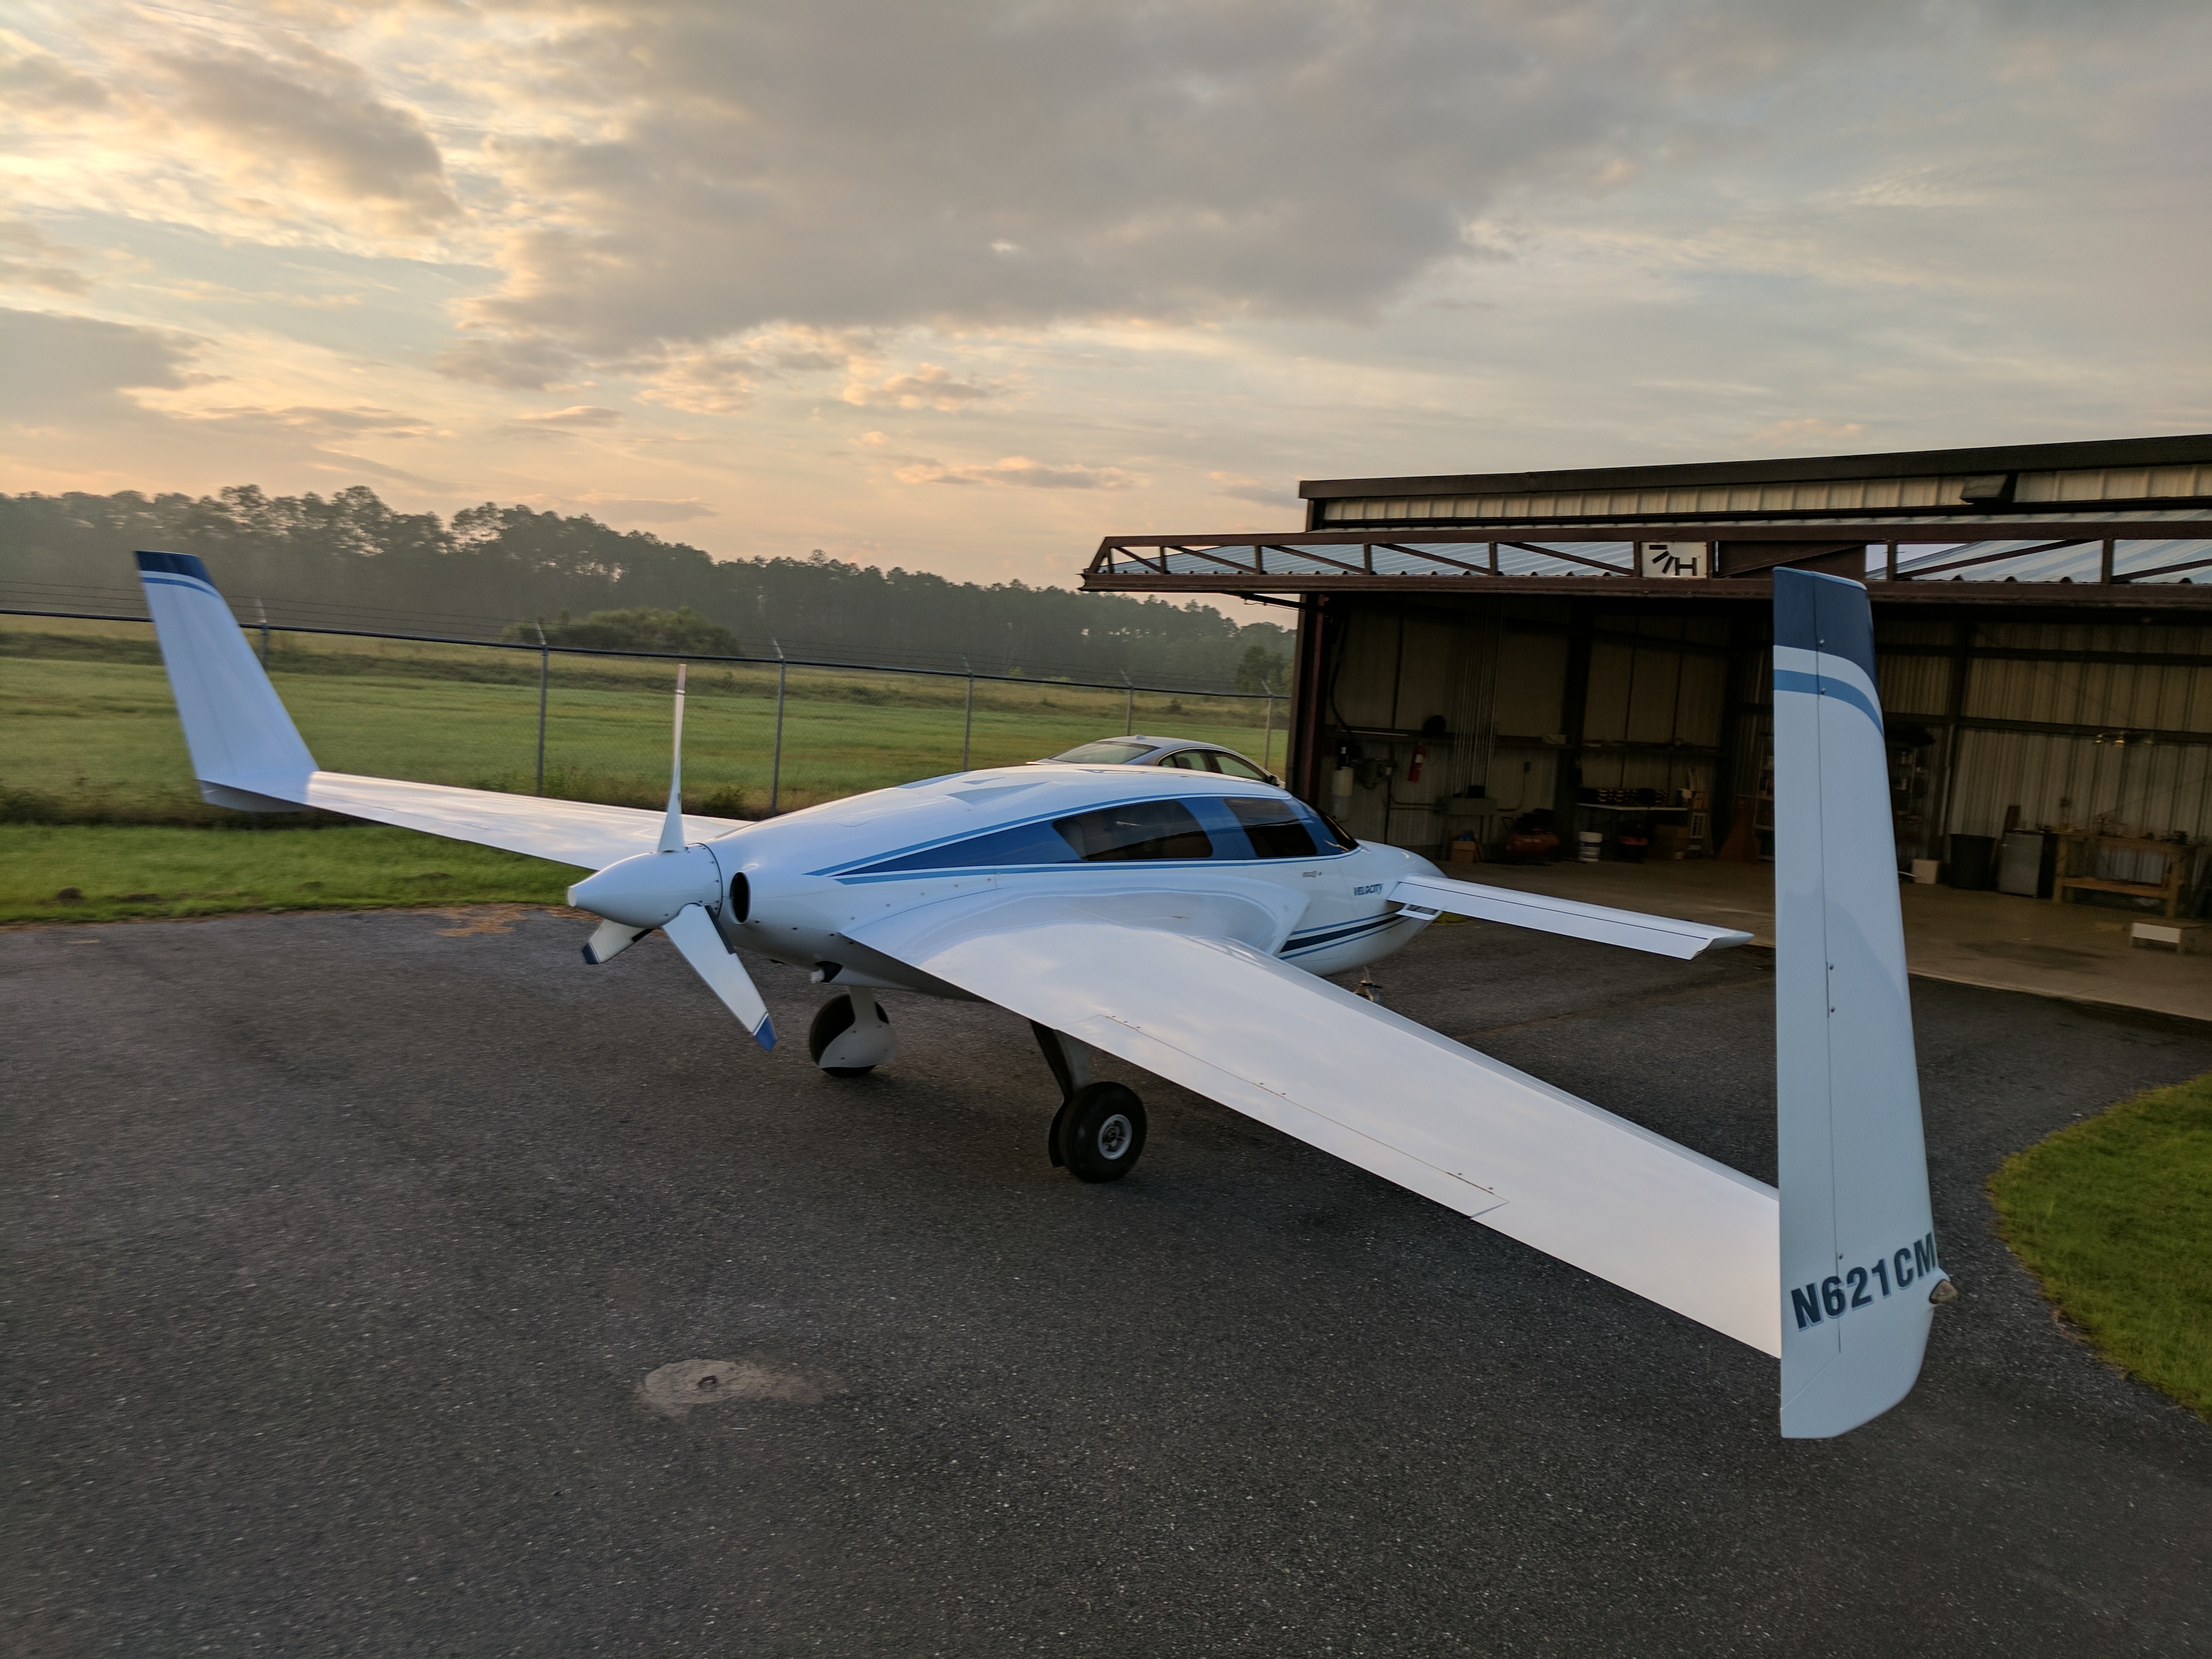
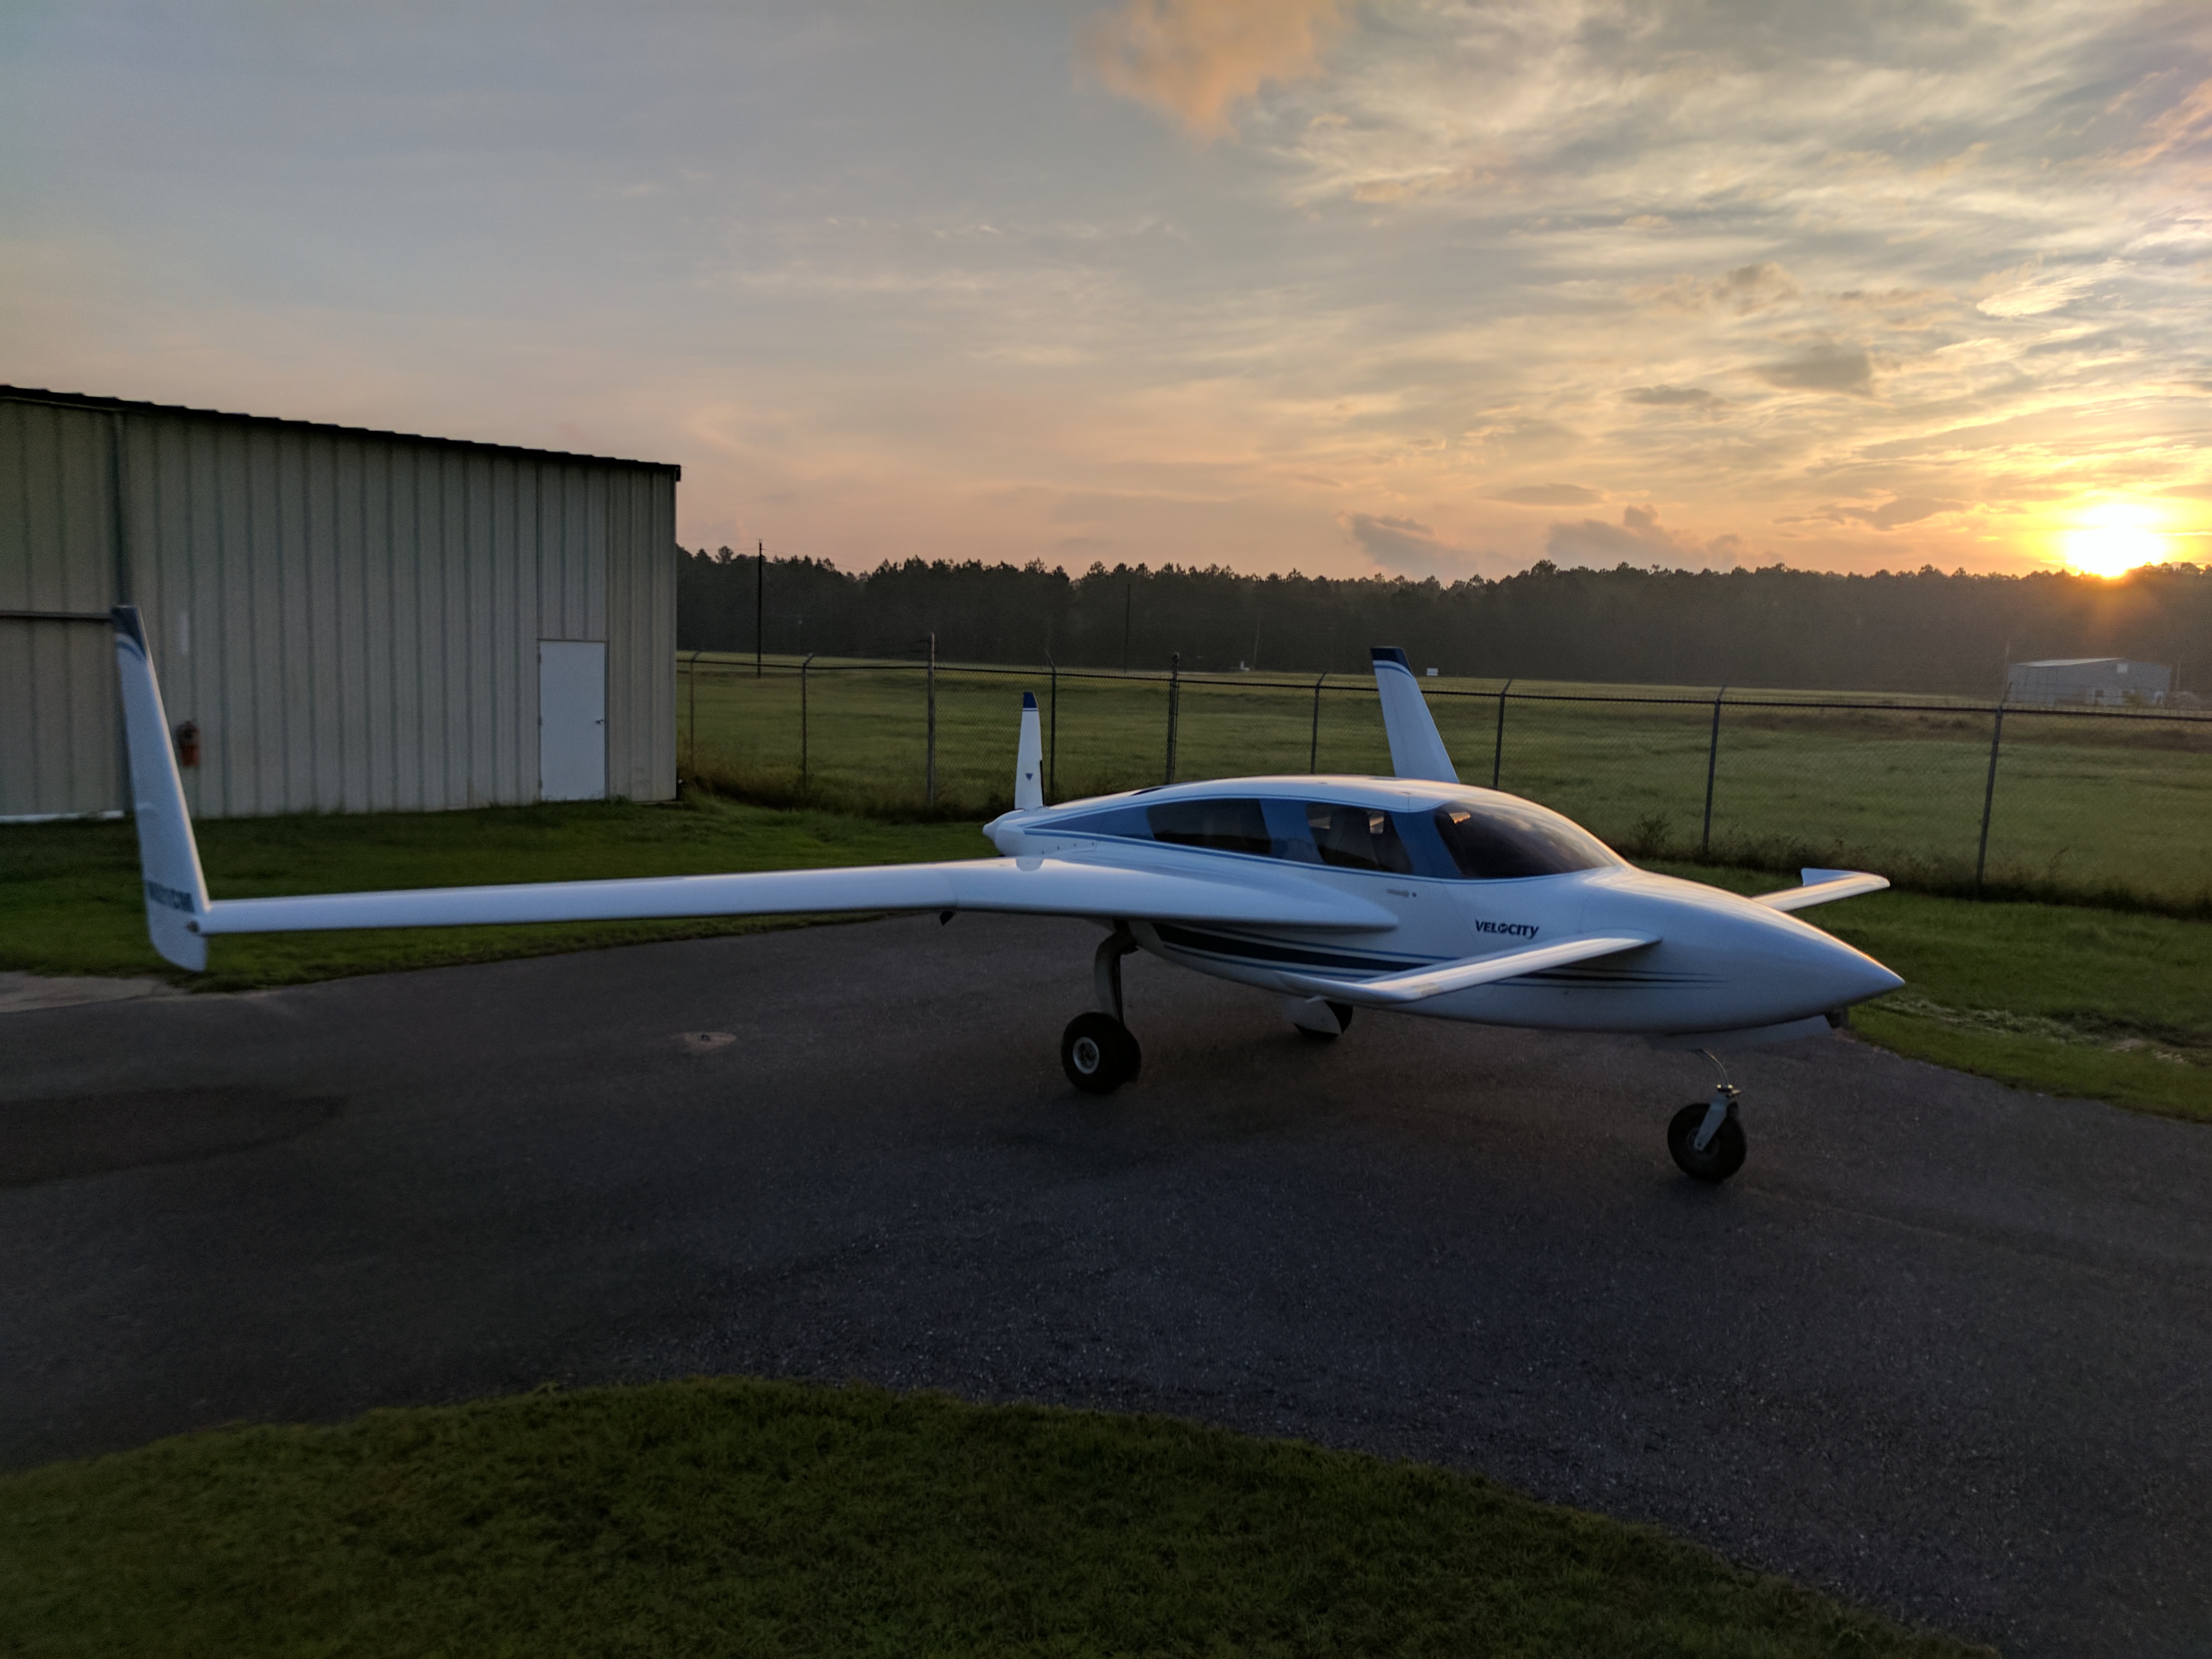
Scott will start working on the striping next.

Here’s the mask being laid out.

801

Riley working on the accent stripes.

804

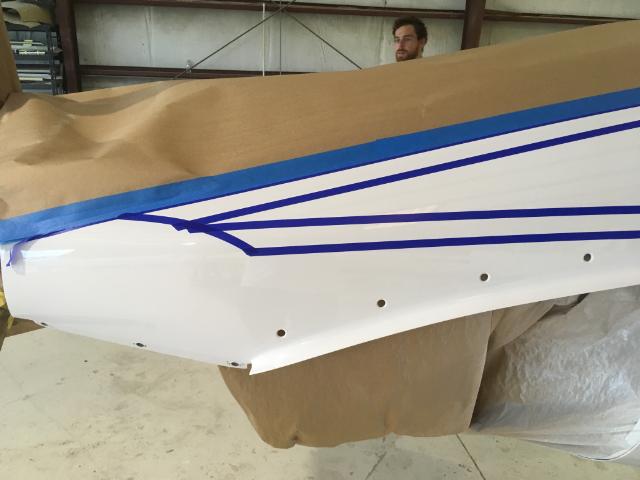
The end of the mask and accent stripes on the cowling.

807