
- 14.2.3 NO MORE SANDING!
- 14.2.3 Final primer on top
- 14.2.2 Last prep before final priming
- 14.2.2 Sanding
- 14.2.1 Sanding
- 14.2.1 Return of the Spotted Dog
- 14.2.1 Radius (Top)
- 14.2.2 Priming
- 14.2.1 Photo op
- 14.2.1 The ugly nose
- 14.2.1 Window transistion
- 14.2.3 Priming
- 14.2.1 Top side finish
- 14.2.3 More Painting
- 14.1.4 Aileron Balancing
- 14.1.4 Aileron Installation
- 14.2.3 Primer
- 14.2.3 Final Prime of the Cowling
- Back in the saddle again
- 14.0 – Punchlist
- Trip 2 completed
- 14.1.2 Tie Downs
- 14.2.1 Finishing Bottom of Airplane
- 14.2.3 Final Primer on Lower Fuselage
- 14.2.1 Strake Extension
- 14.2.1 Windows
- 14.2.1 Finishing Upper Airplane
- 14.1.10 Calibrating Fuel Tanks
- 14.99 Contact!
- 14.1.7 Vortilon Installation
- 14.99 Engine Run III
- 14.99 Placards
- 14.1.7 – Vortilon Installation
- 14.99 Weight and Balance
- 14.99 Airworthiness Inspection
- 14.99 – Painting
- 14.99 Painting
- 14.99 Painting Complete
The last item is the main wing tie downs. When you park your plane for any length of time, you need to tie it down. The factory supplies a pair of screw eyes that you bolt to the bottom of the ends of the center spar. But that just looks bad. Two big honkin’ rings hanging off the bottom of the wing. So builders have gone with a pivoting ring that’s spring loaded so that it’s recessed. This is the same type that’s used on my Cessna. I, however, went with plan “C”. A retractable ring that uses gravity instead of a spring. Springs fail, gravity doesn’t.
Here’s the tie-down ring when not in use.
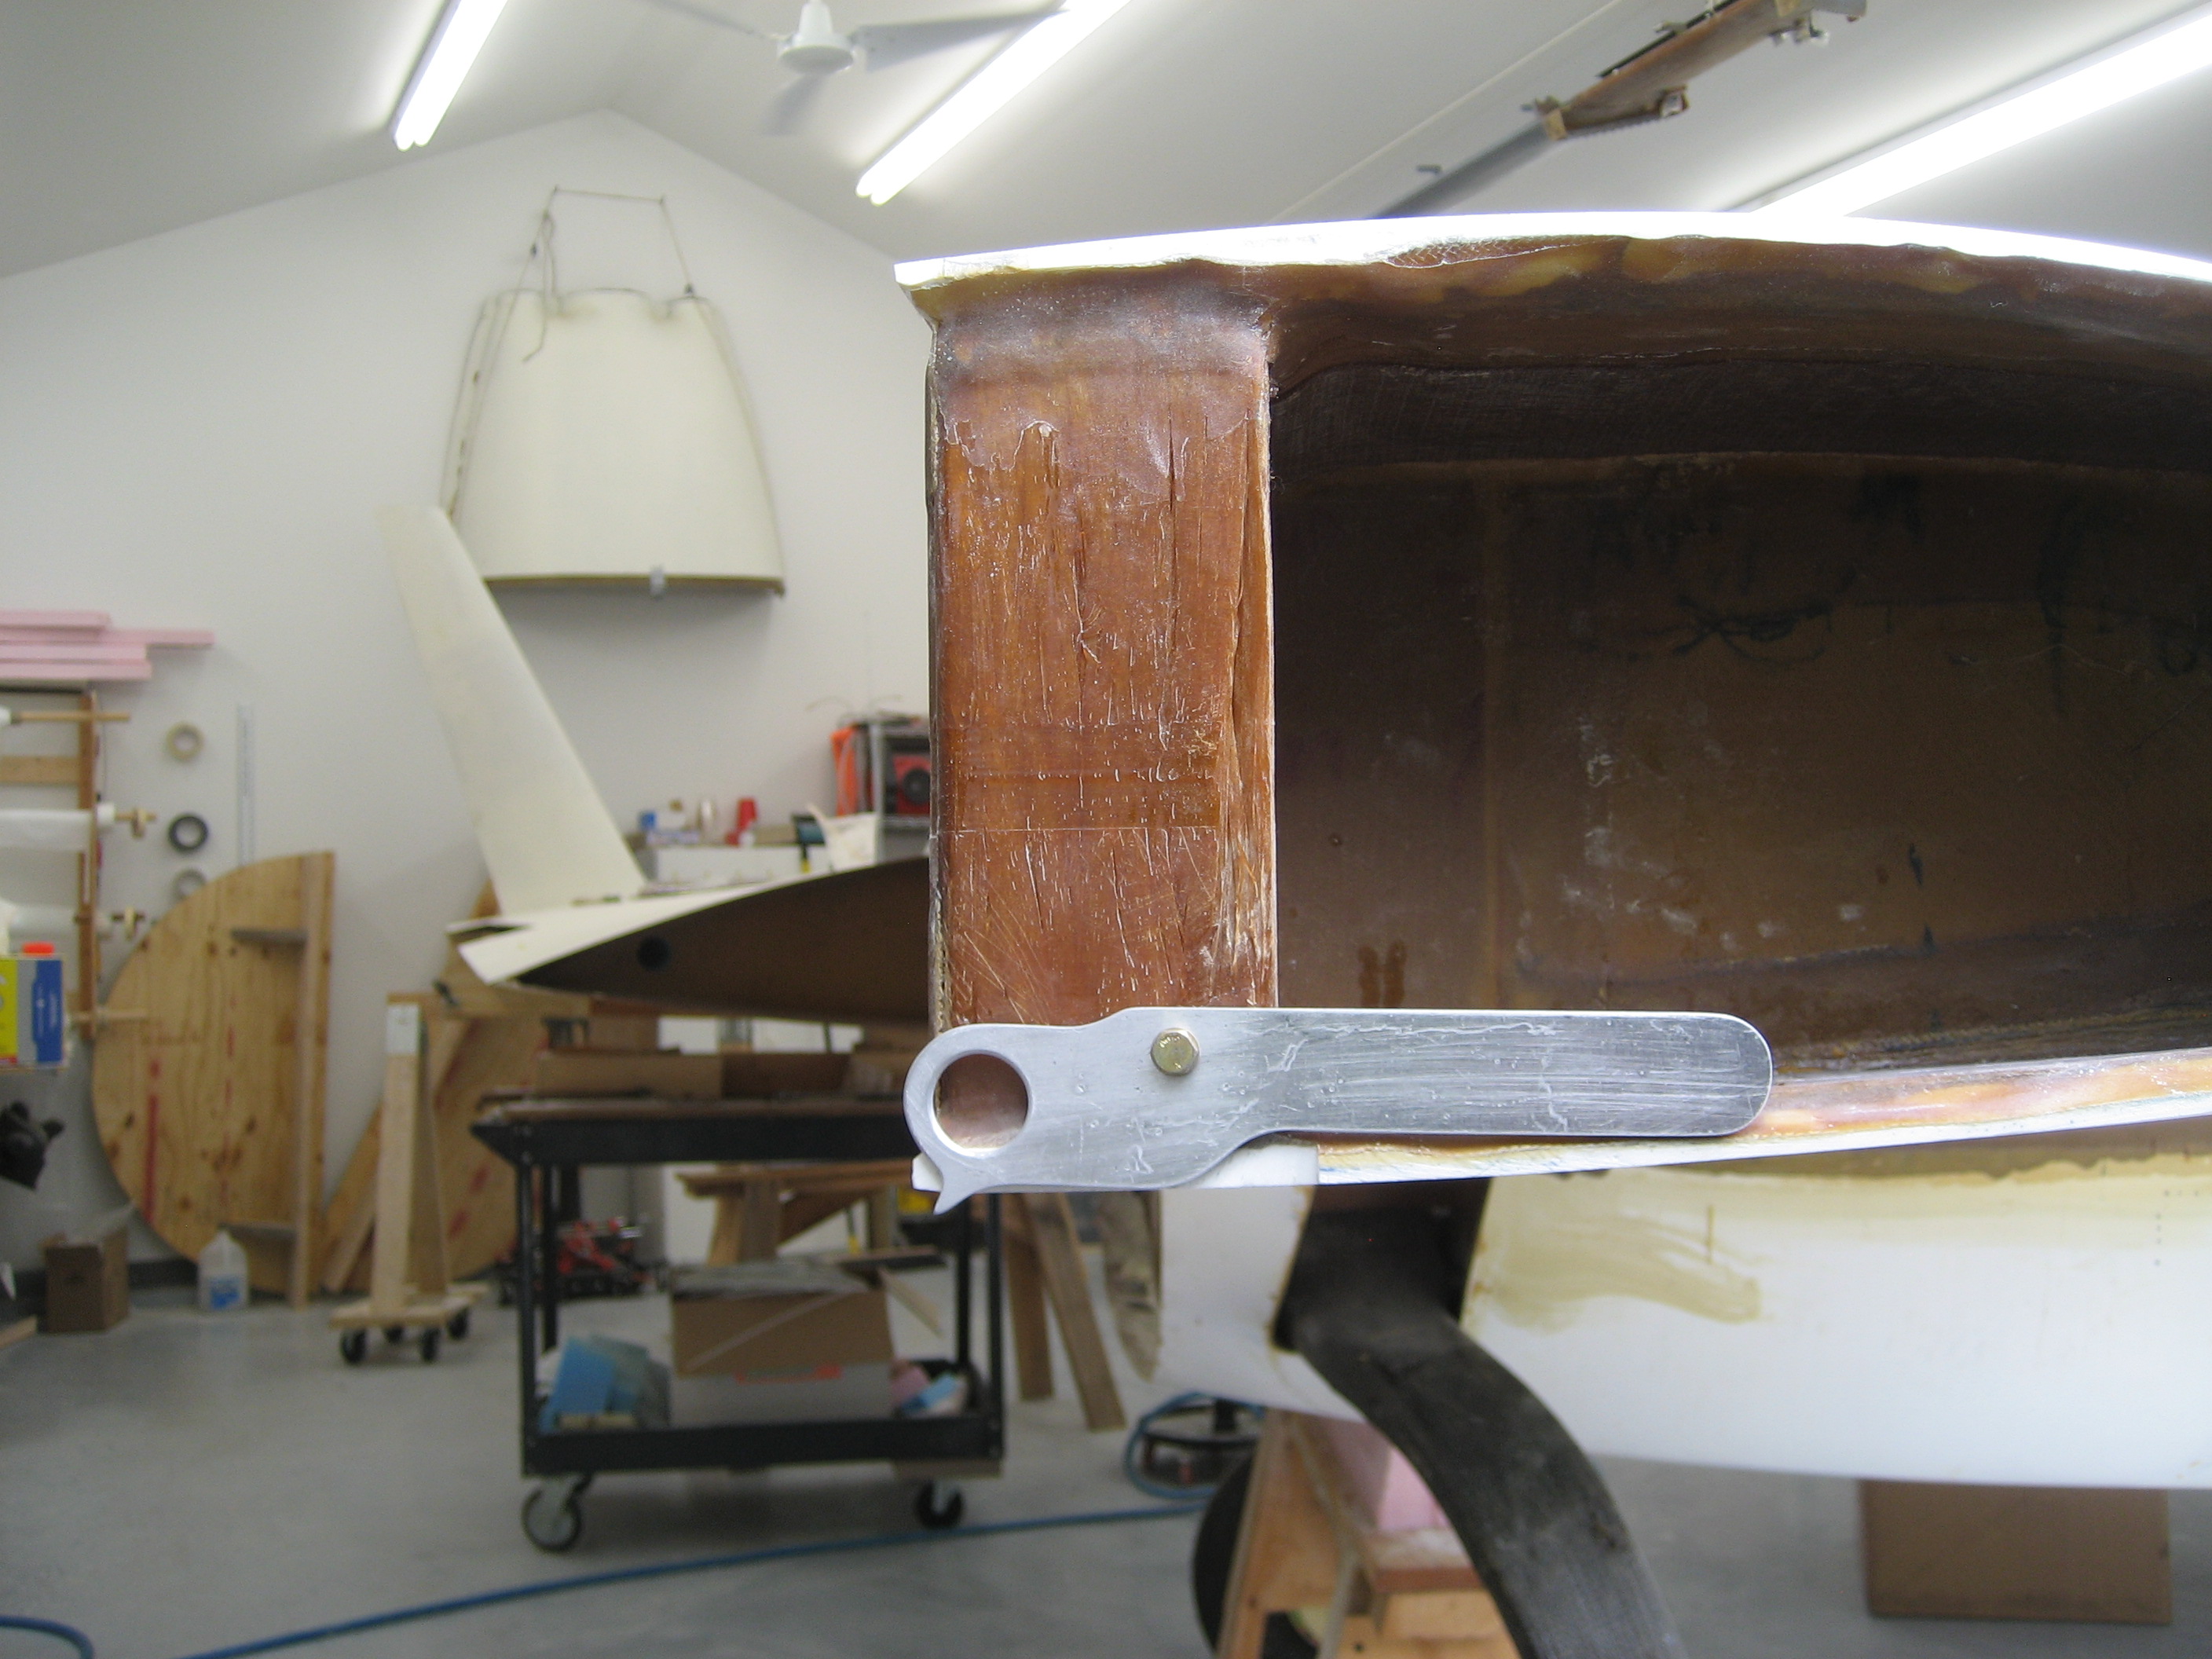
When the wing is on, only the little tip will be sticking out. Snap it with your finger and pull it down and the ring is exposed.
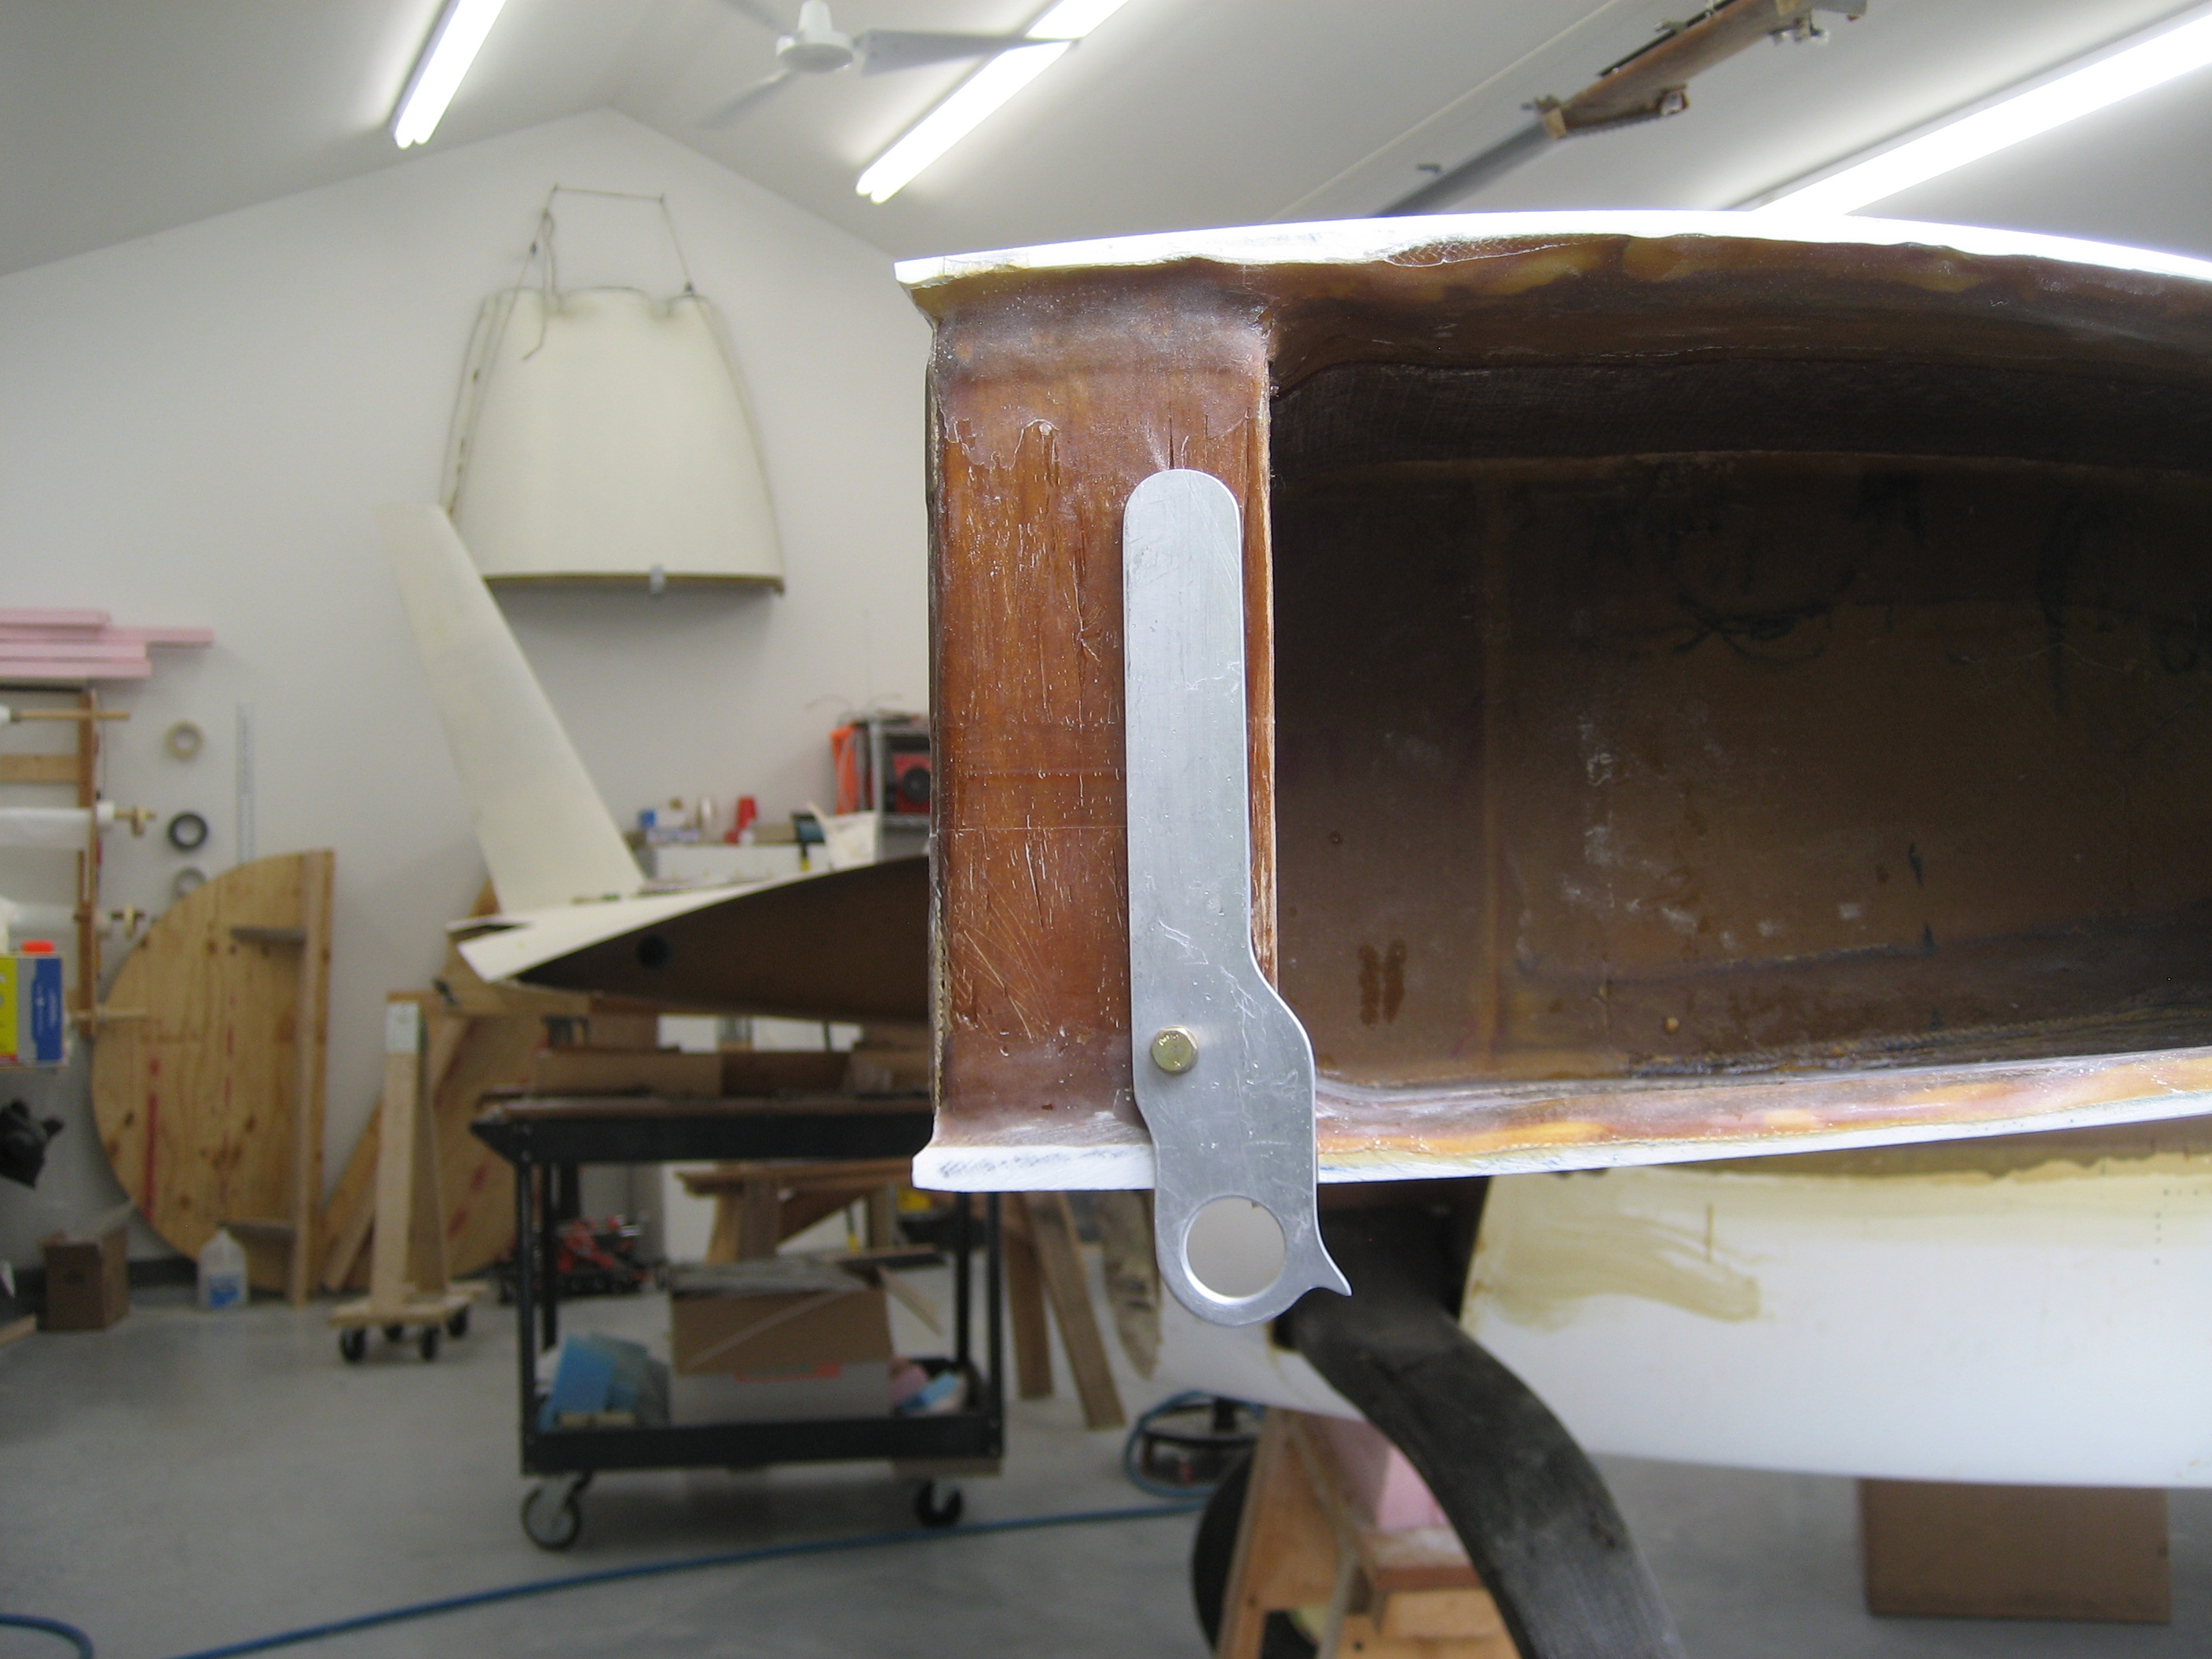
With no rope through the hole, gravity pulls it back to the recessed position.