
- 14.2.3 NO MORE SANDING!
- 14.2.3 Final primer on top
- 14.2.2 Last prep before final priming
- 14.2.2 Sanding
- 14.2.1 Sanding
- 14.2.1 Return of the Spotted Dog
- 14.2.1 Radius (Top)
- 14.2.2 Priming
- 14.2.1 Photo op
- 14.2.1 The ugly nose
- 14.2.1 Window transistion
- 14.2.3 Priming
- 14.2.1 Top side finish
- 14.2.3 More Painting
- 14.1.4 Aileron Balancing
- 14.1.4 Aileron Installation
- 14.2.3 Primer
- 14.2.3 Final Prime of the Cowling
- Back in the saddle again
- 14.0 – Punchlist
- Trip 2 completed
- 14.1.2 Tie Downs
- 14.2.1 Finishing Bottom of Airplane
- 14.2.3 Final Primer on Lower Fuselage
- 14.2.1 Strake Extension
- 14.2.1 Windows
- 14.2.1 Finishing Upper Airplane
- 14.1.10 Calibrating Fuel Tanks
- 14.99 Contact!
- 14.1.7 Vortilon Installation
- 14.99 Engine Run III
- 14.99 Placards
- 14.1.7 – Vortilon Installation
- 14.99 Weight and Balance
- 14.99 Airworthiness Inspection
- 14.99 – Painting
- 14.99 Painting
- 14.99 Painting Complete
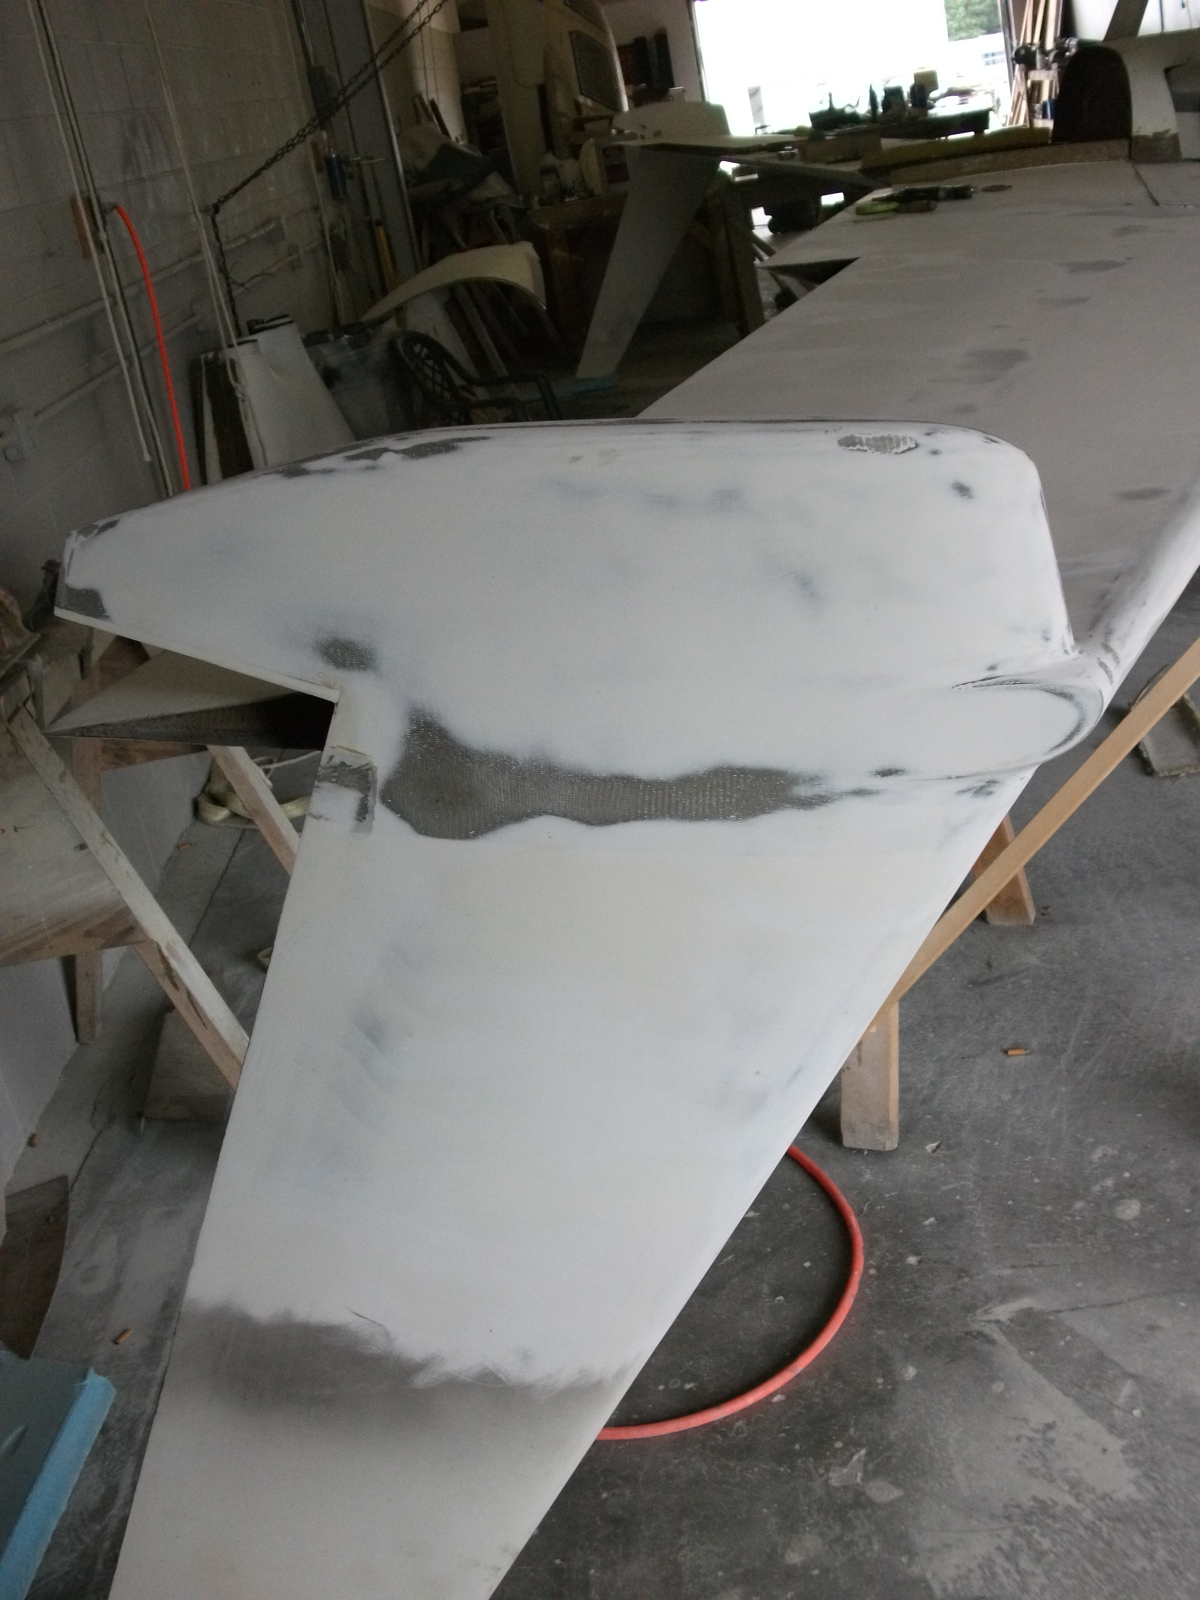
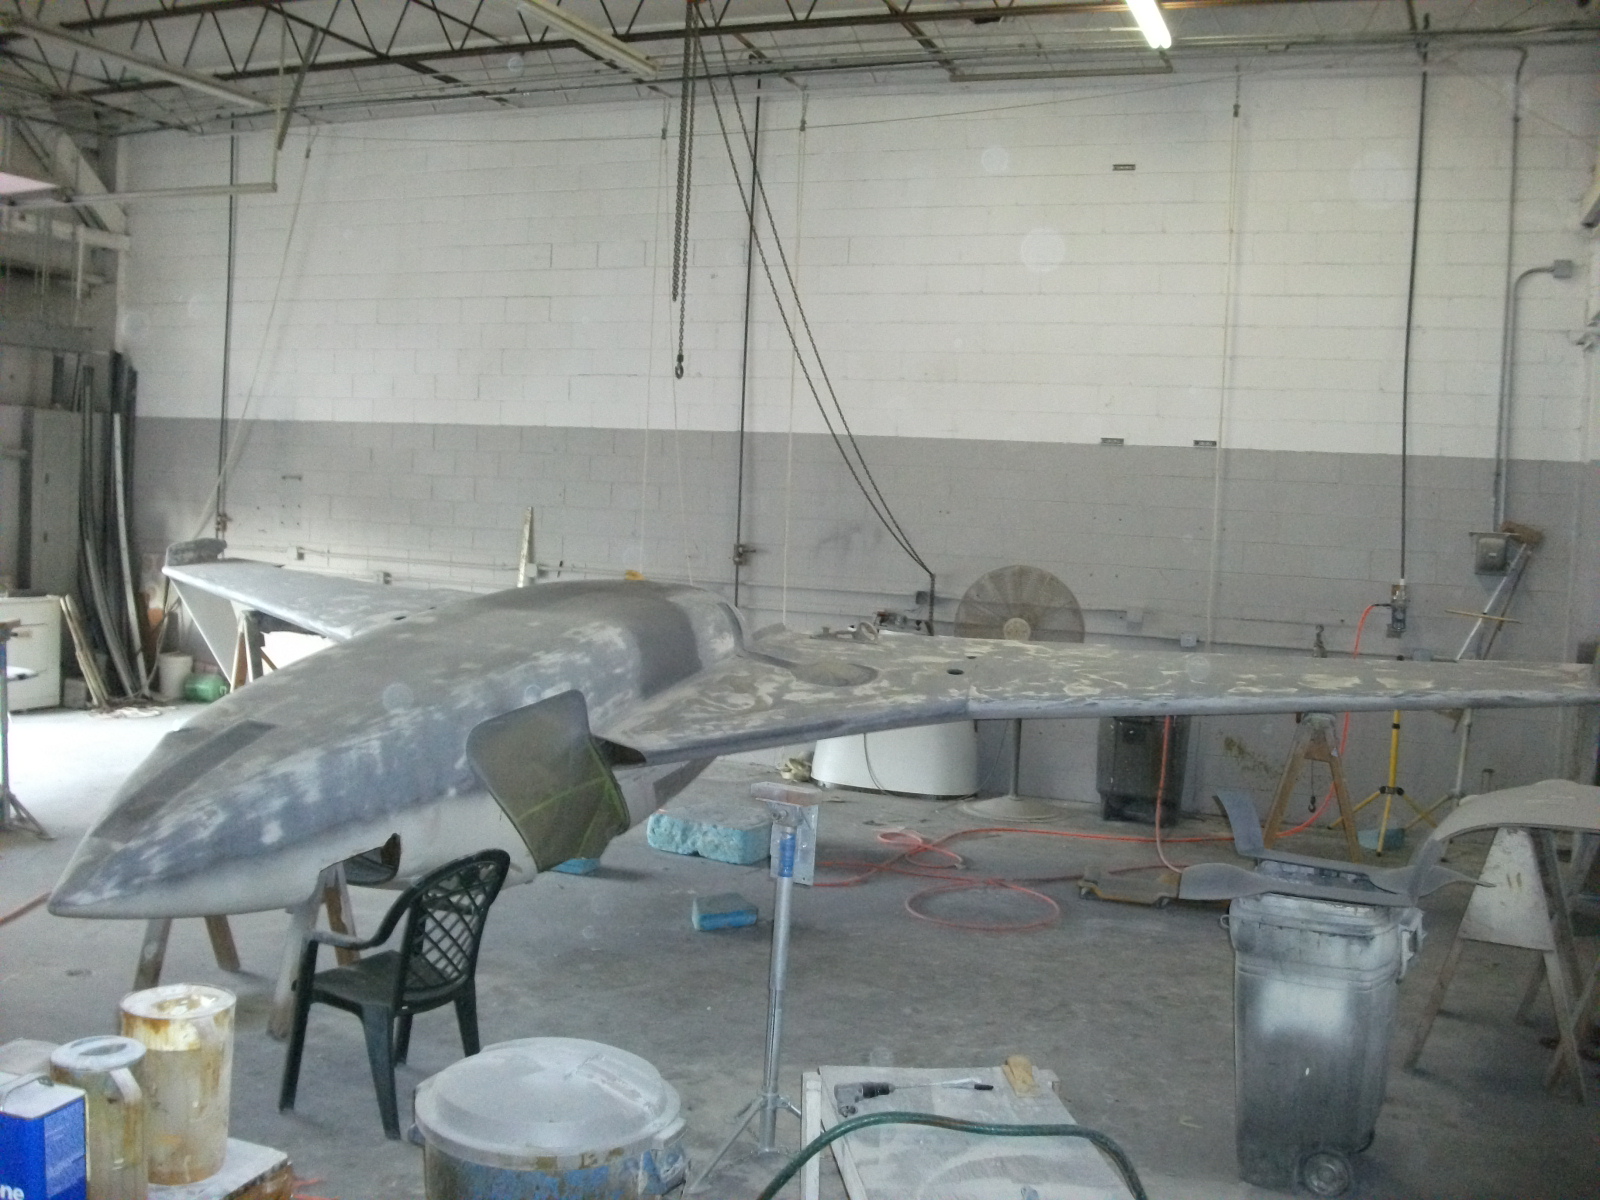
Now that the cowling (lower) is done it’s time for the PITA part. Sanding, filling, sanding, filling, sanding, filling. This is what I did to the top of the strakes and wings last year. Some people don’t flip the plane and do this on their backs. I can’t even imagine the difficultly of doing that.
First a quick sanding to remove any real bad areas.
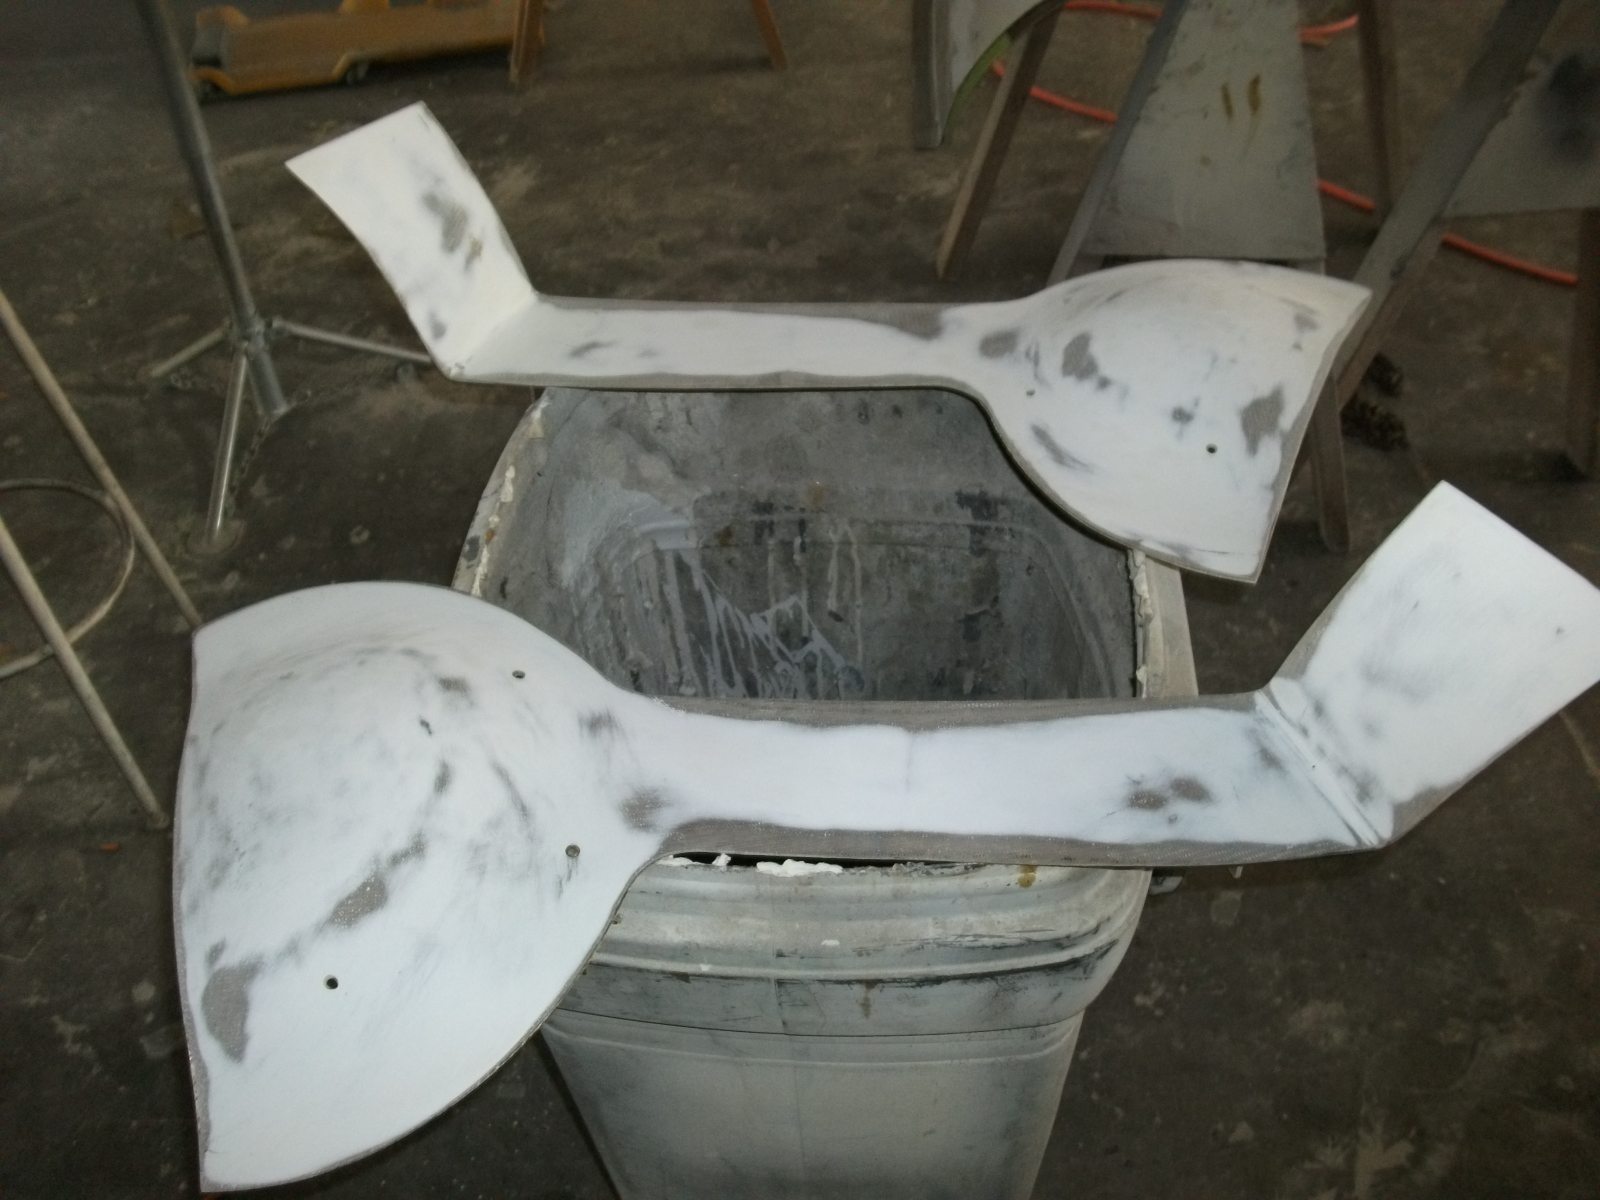
Left winglet (remember, it’s upside down)
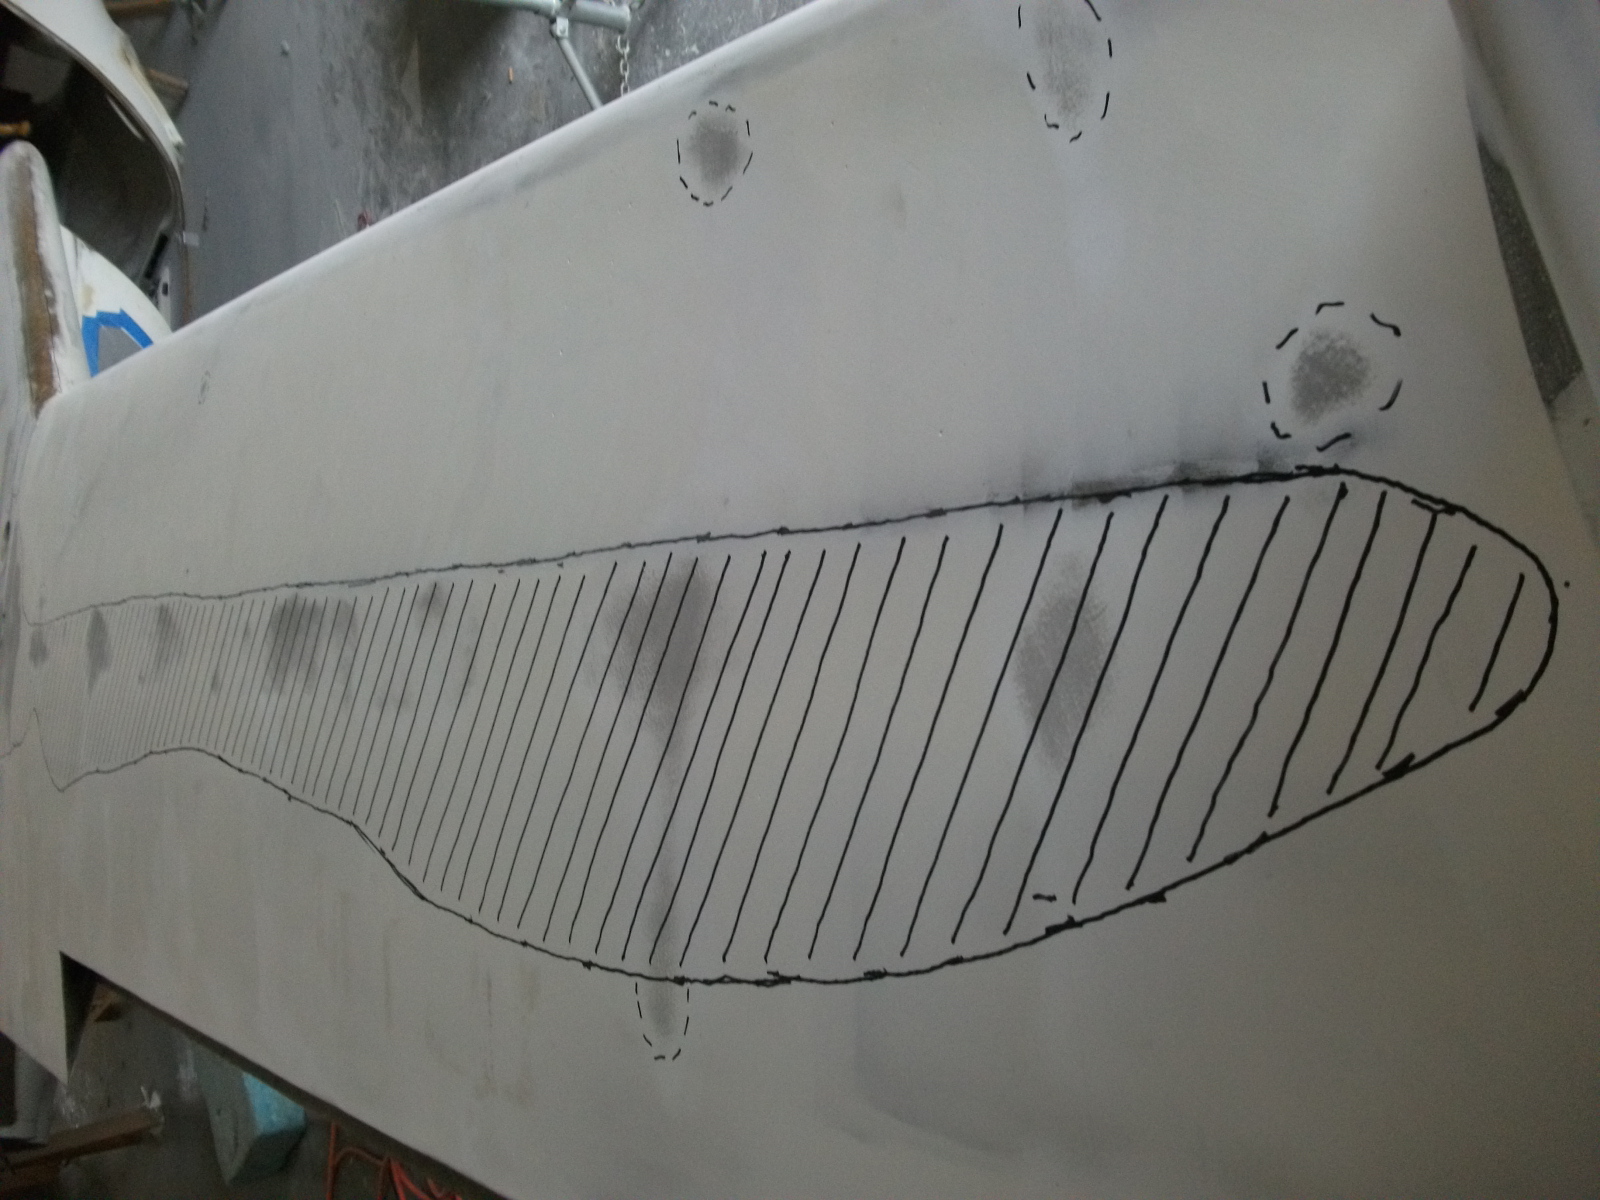
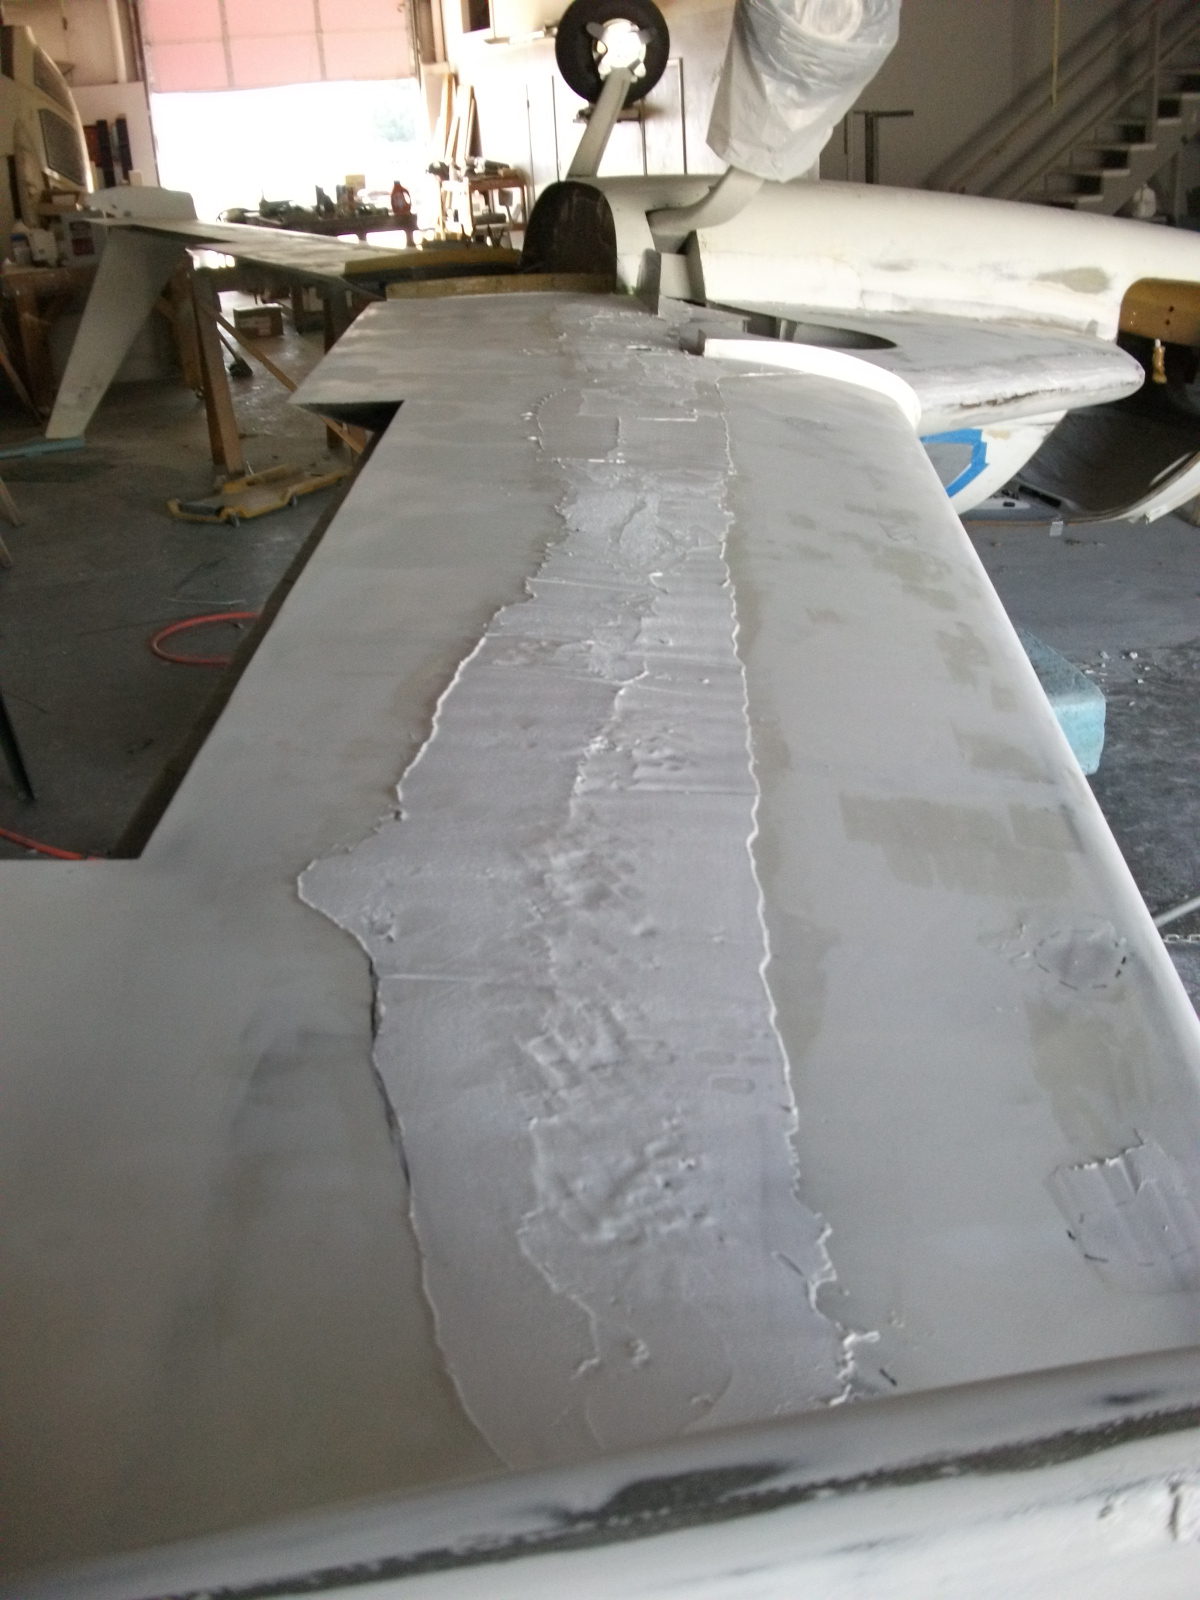
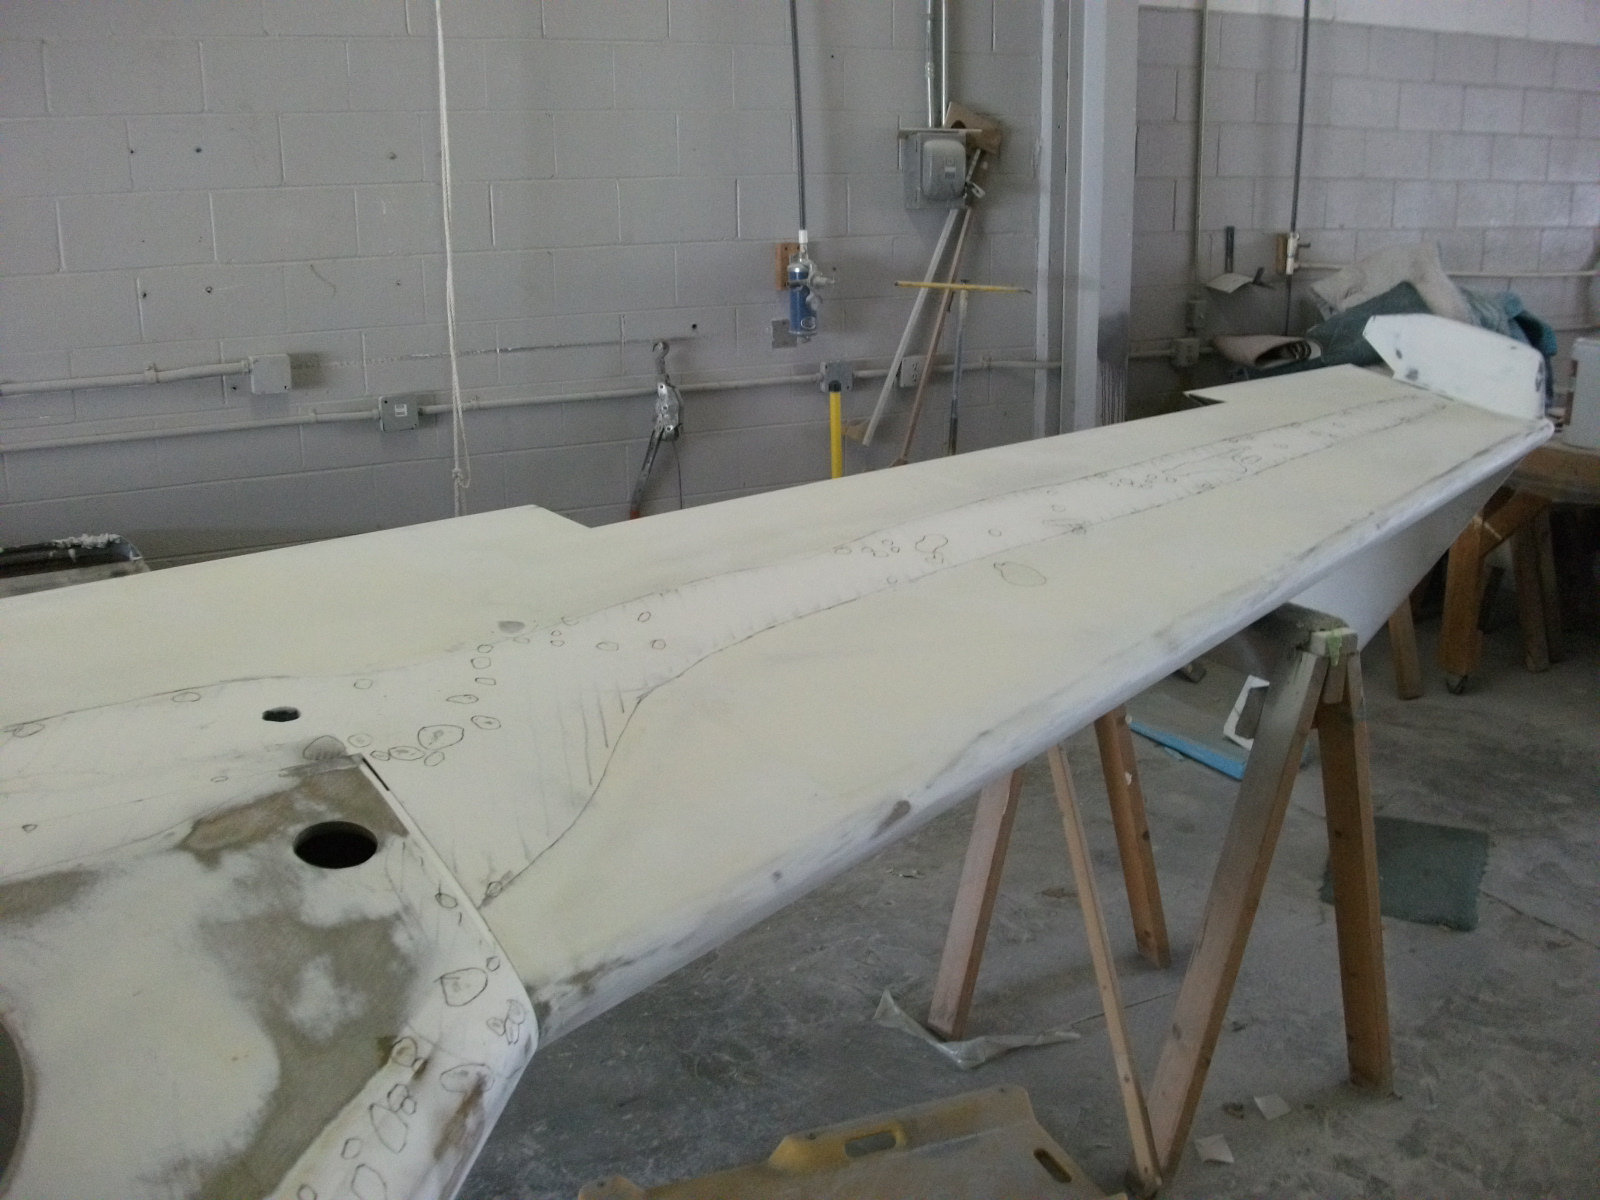
Left wing and strake (looking from rear).

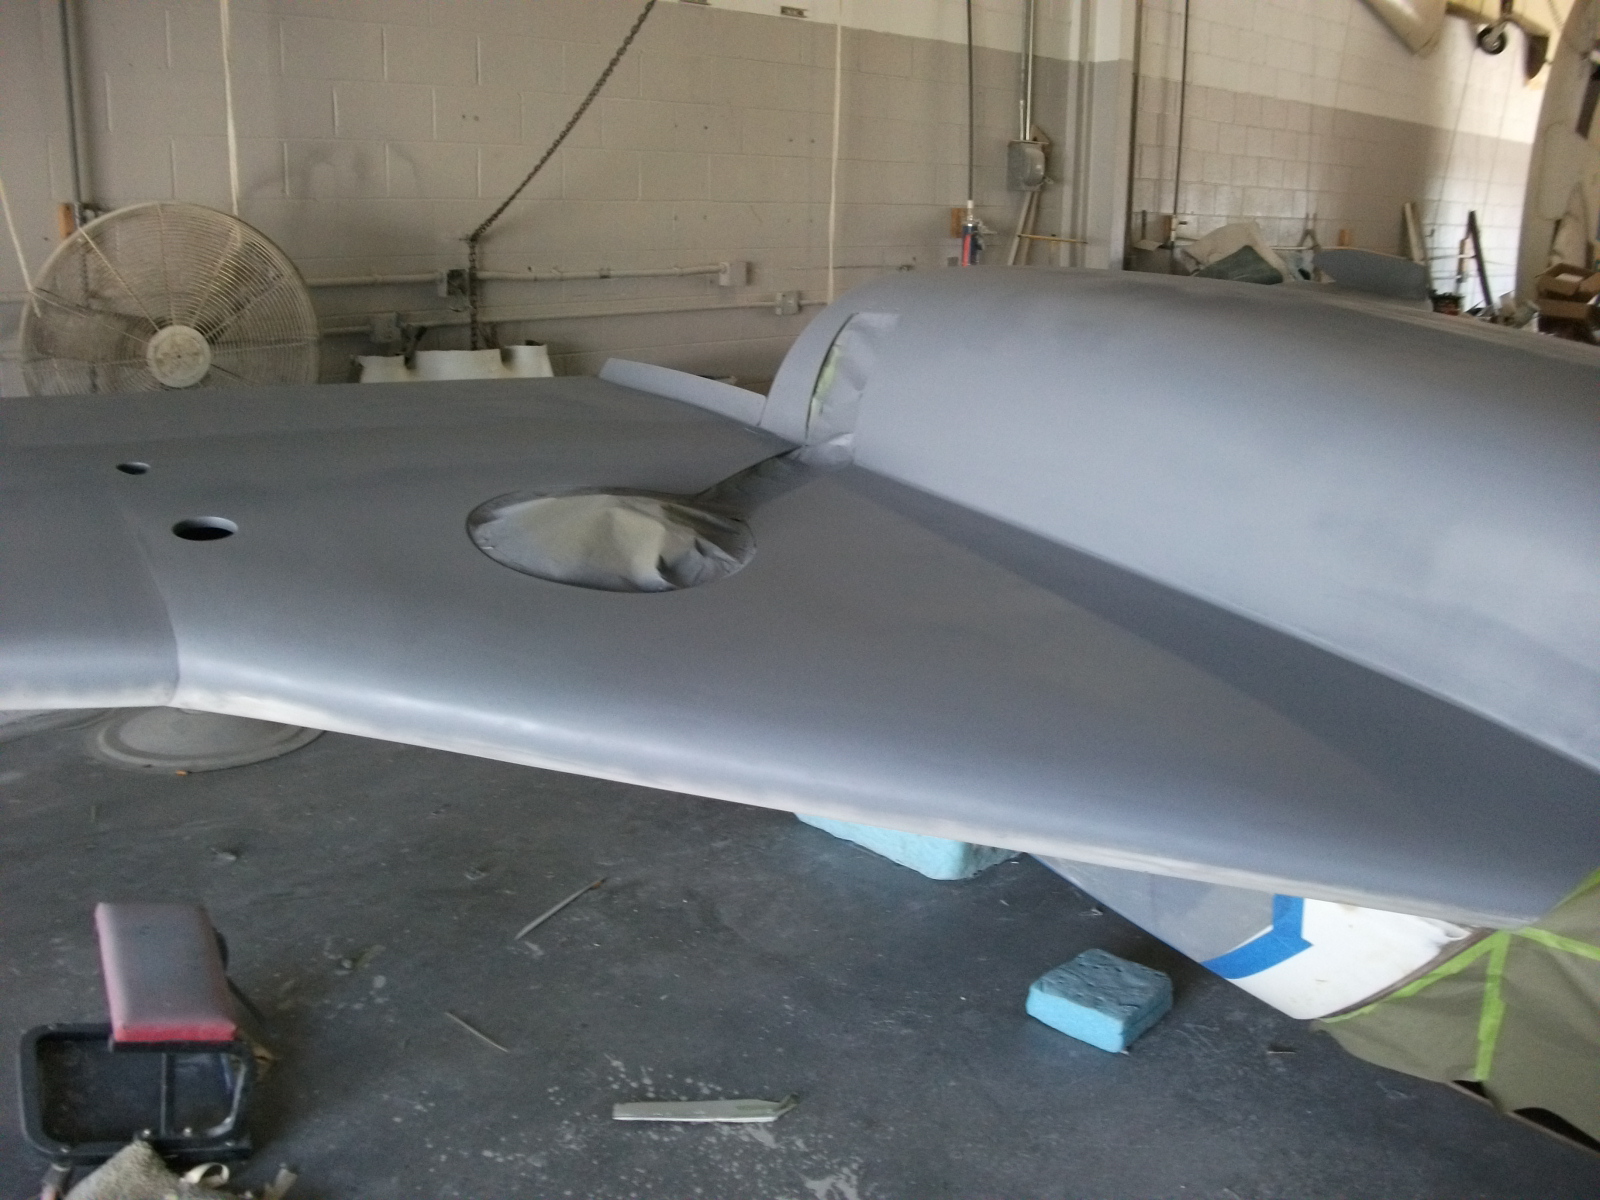
Then comes finding the low spots. Just like the top, a spline (in this case a 6′ piece on hinge rod is used) to find the obvious low spots. Then they’re marked so we know where to fill.
The outlined area with the lines are low spots.


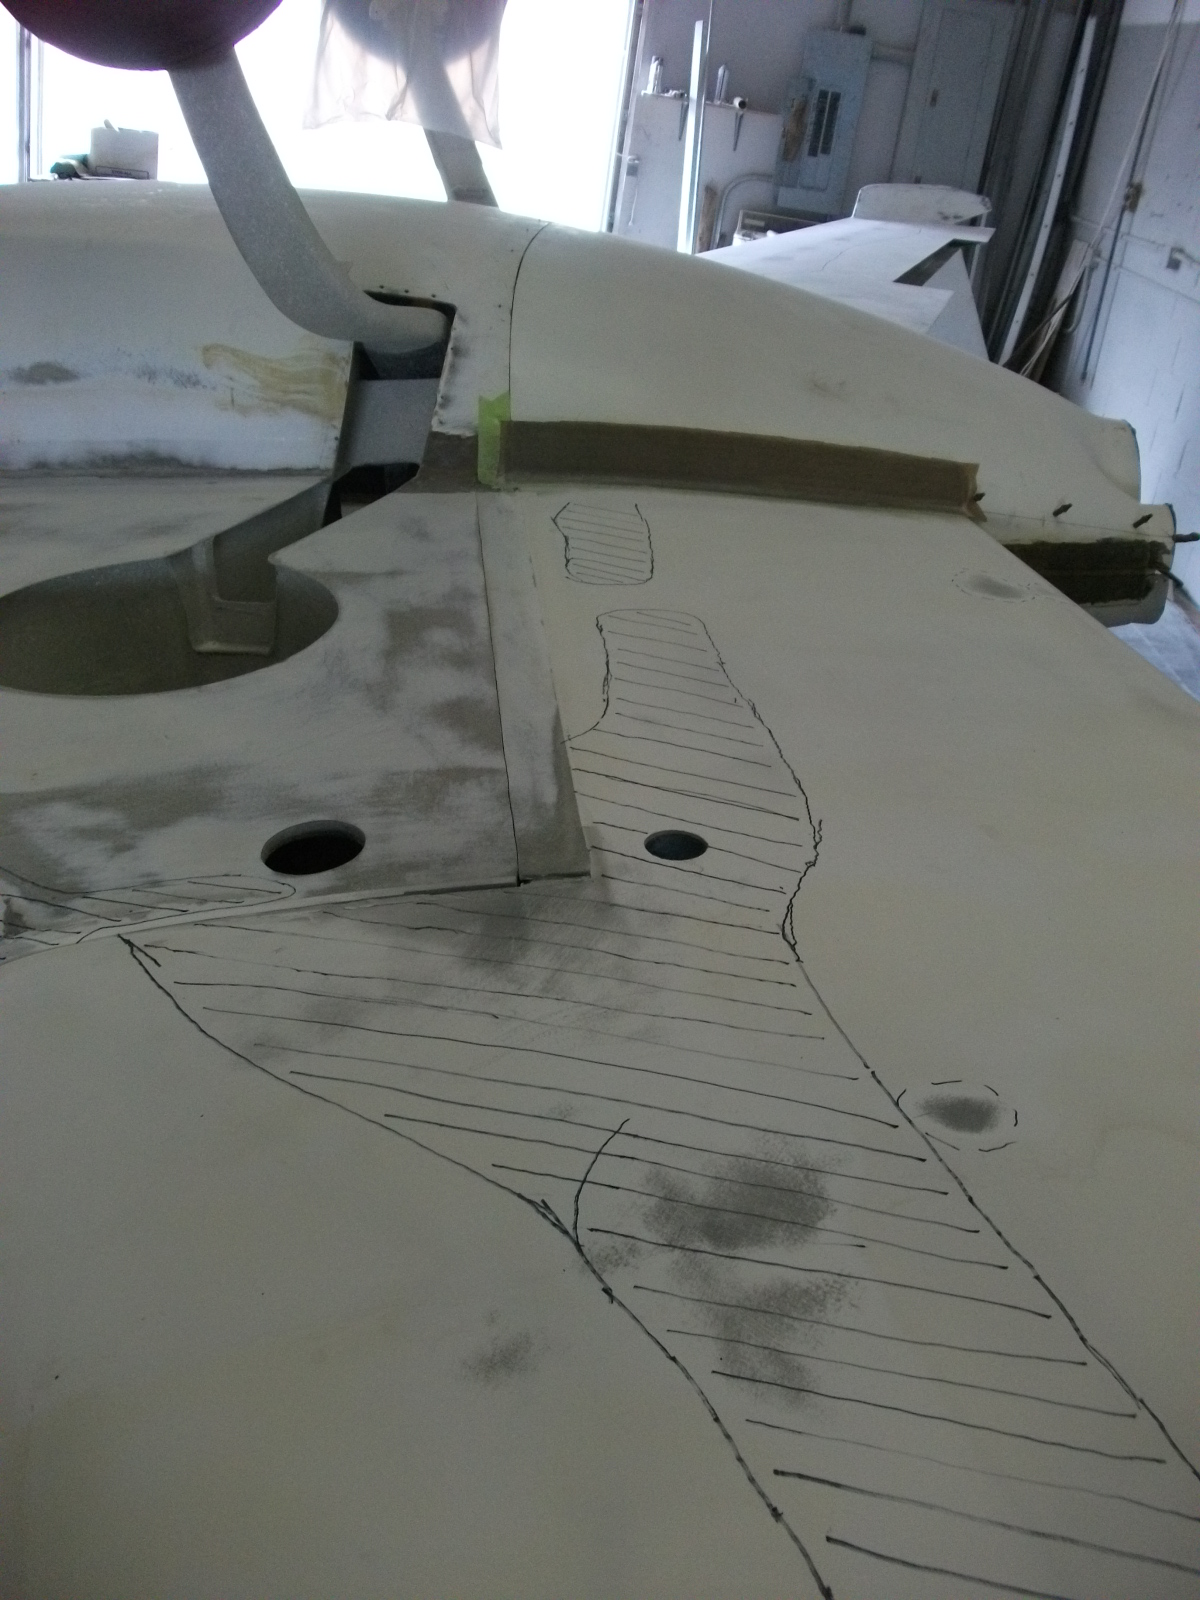


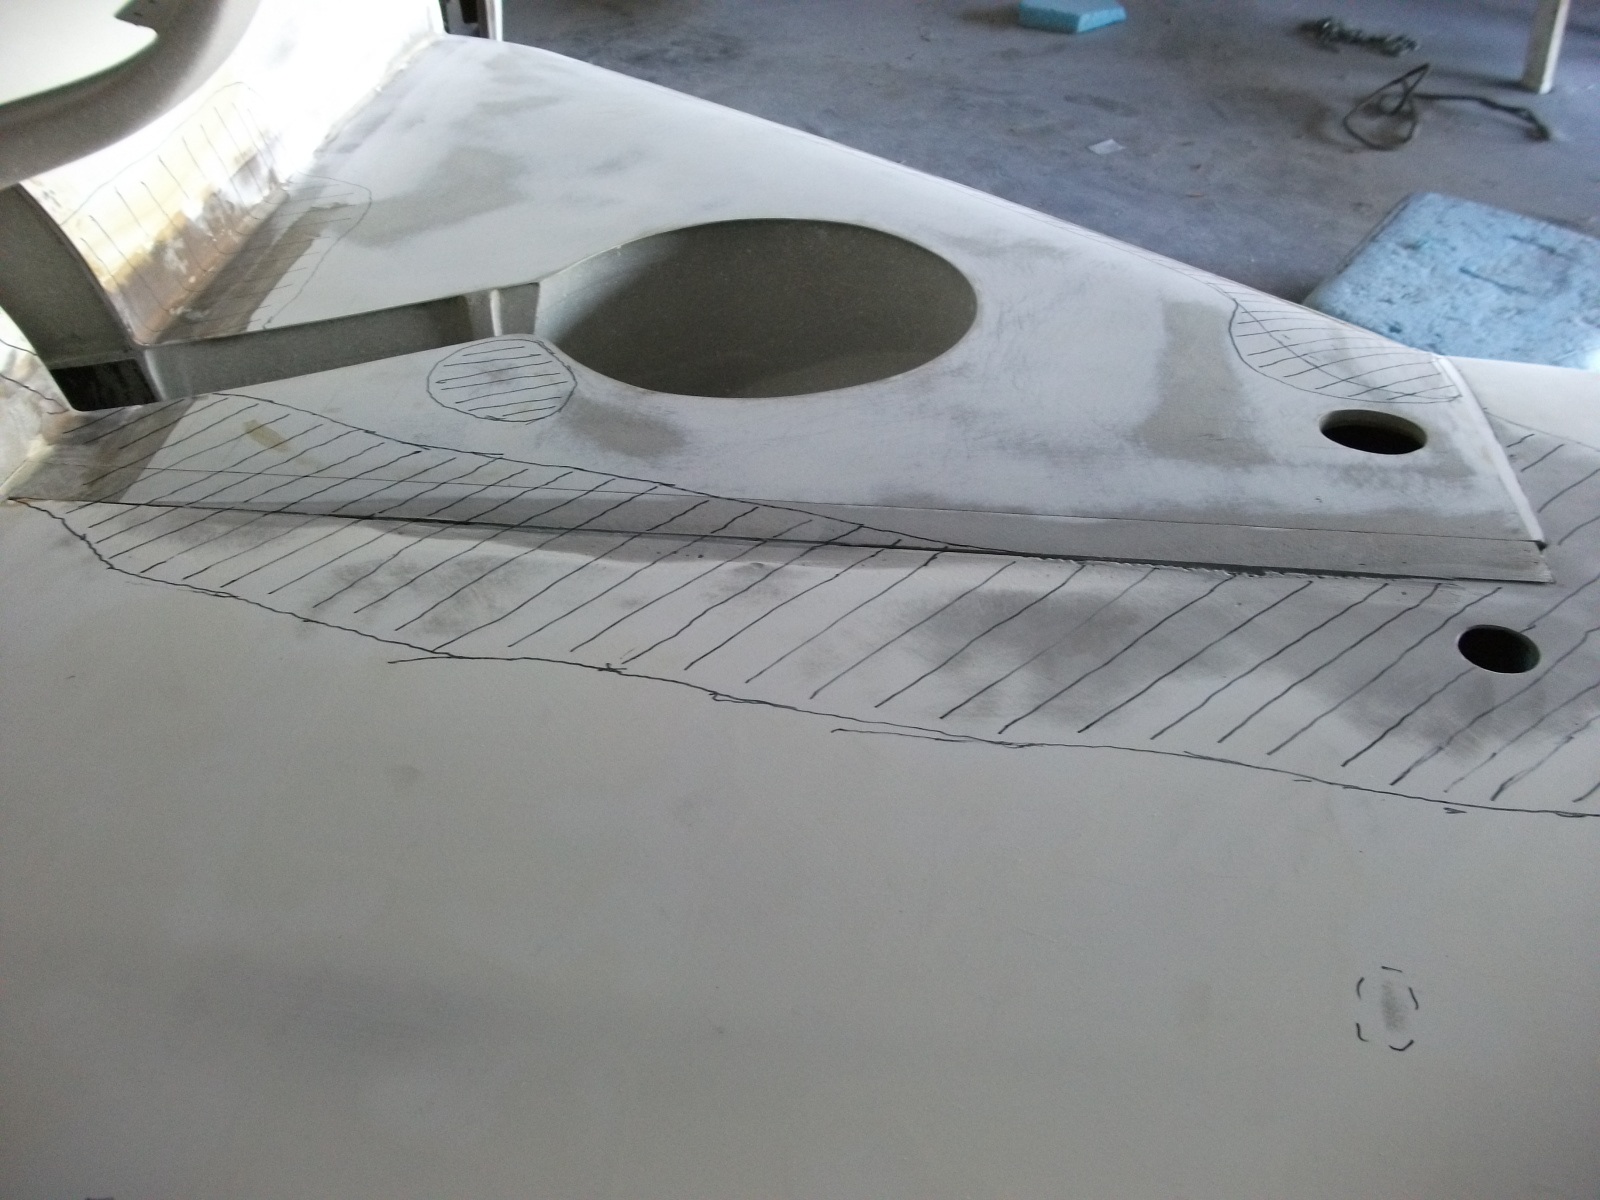
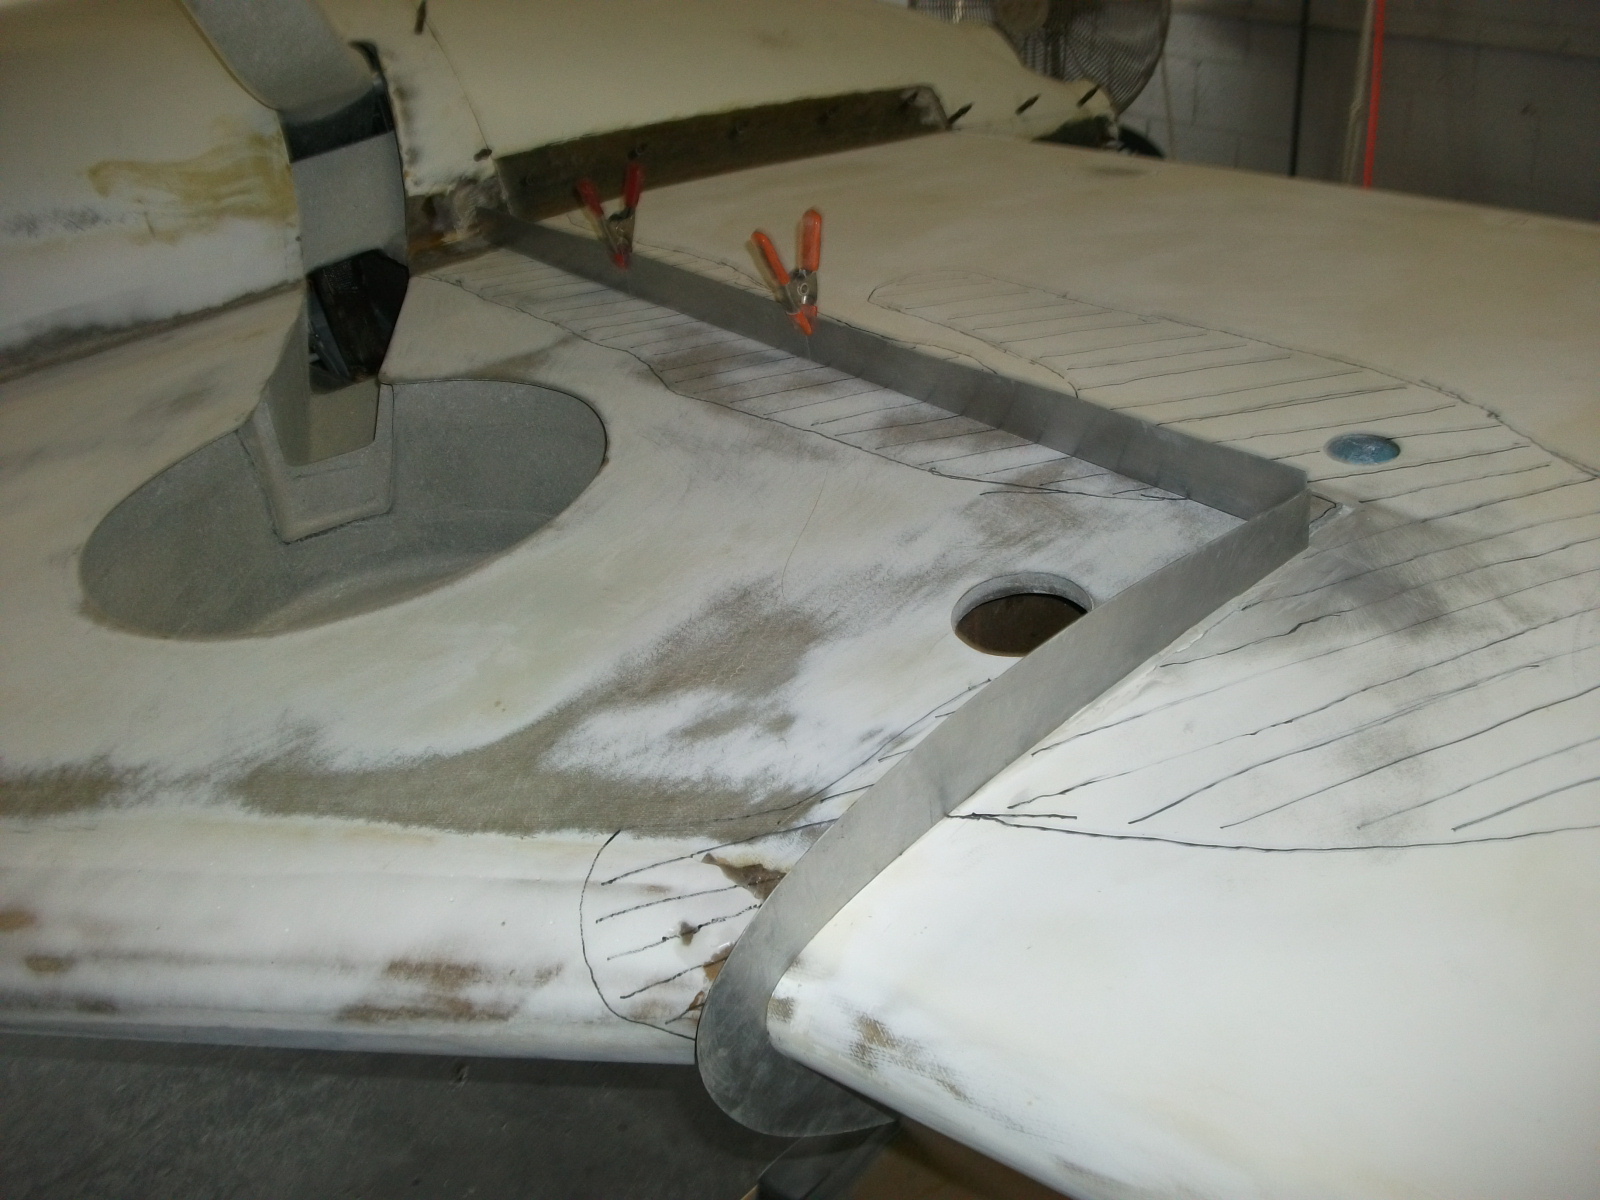
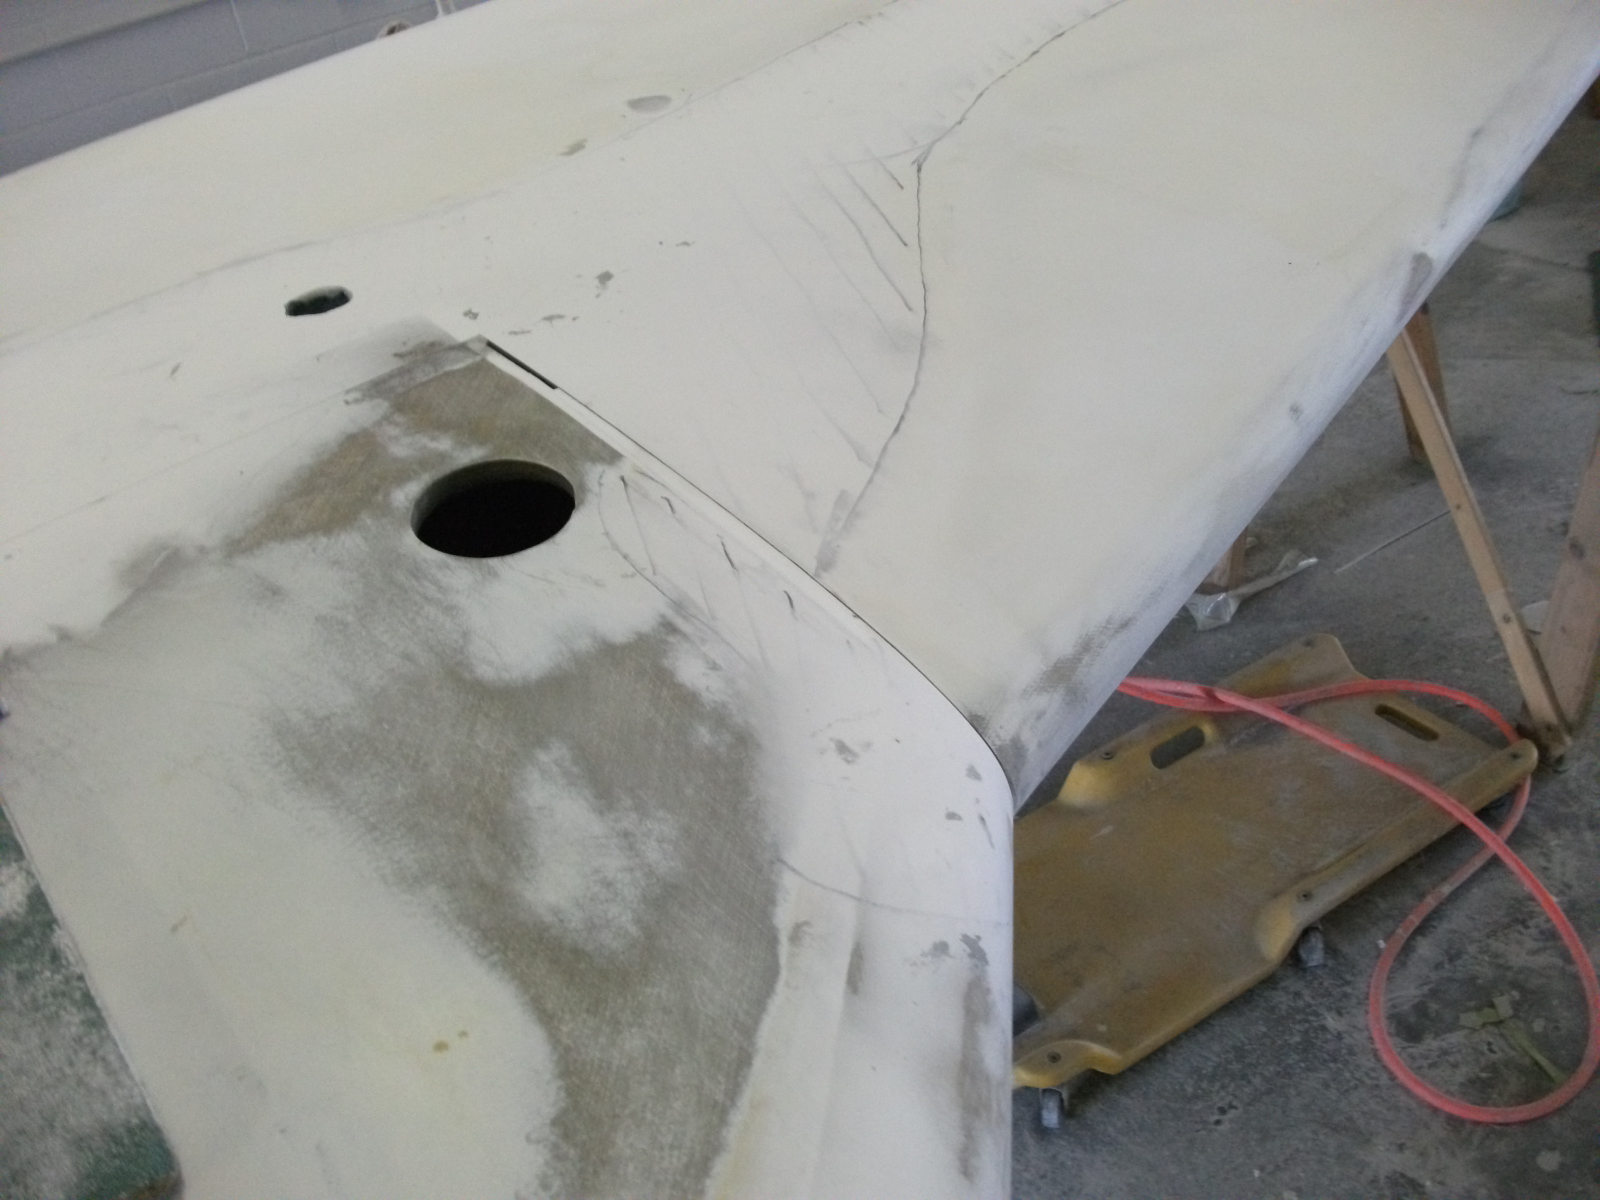
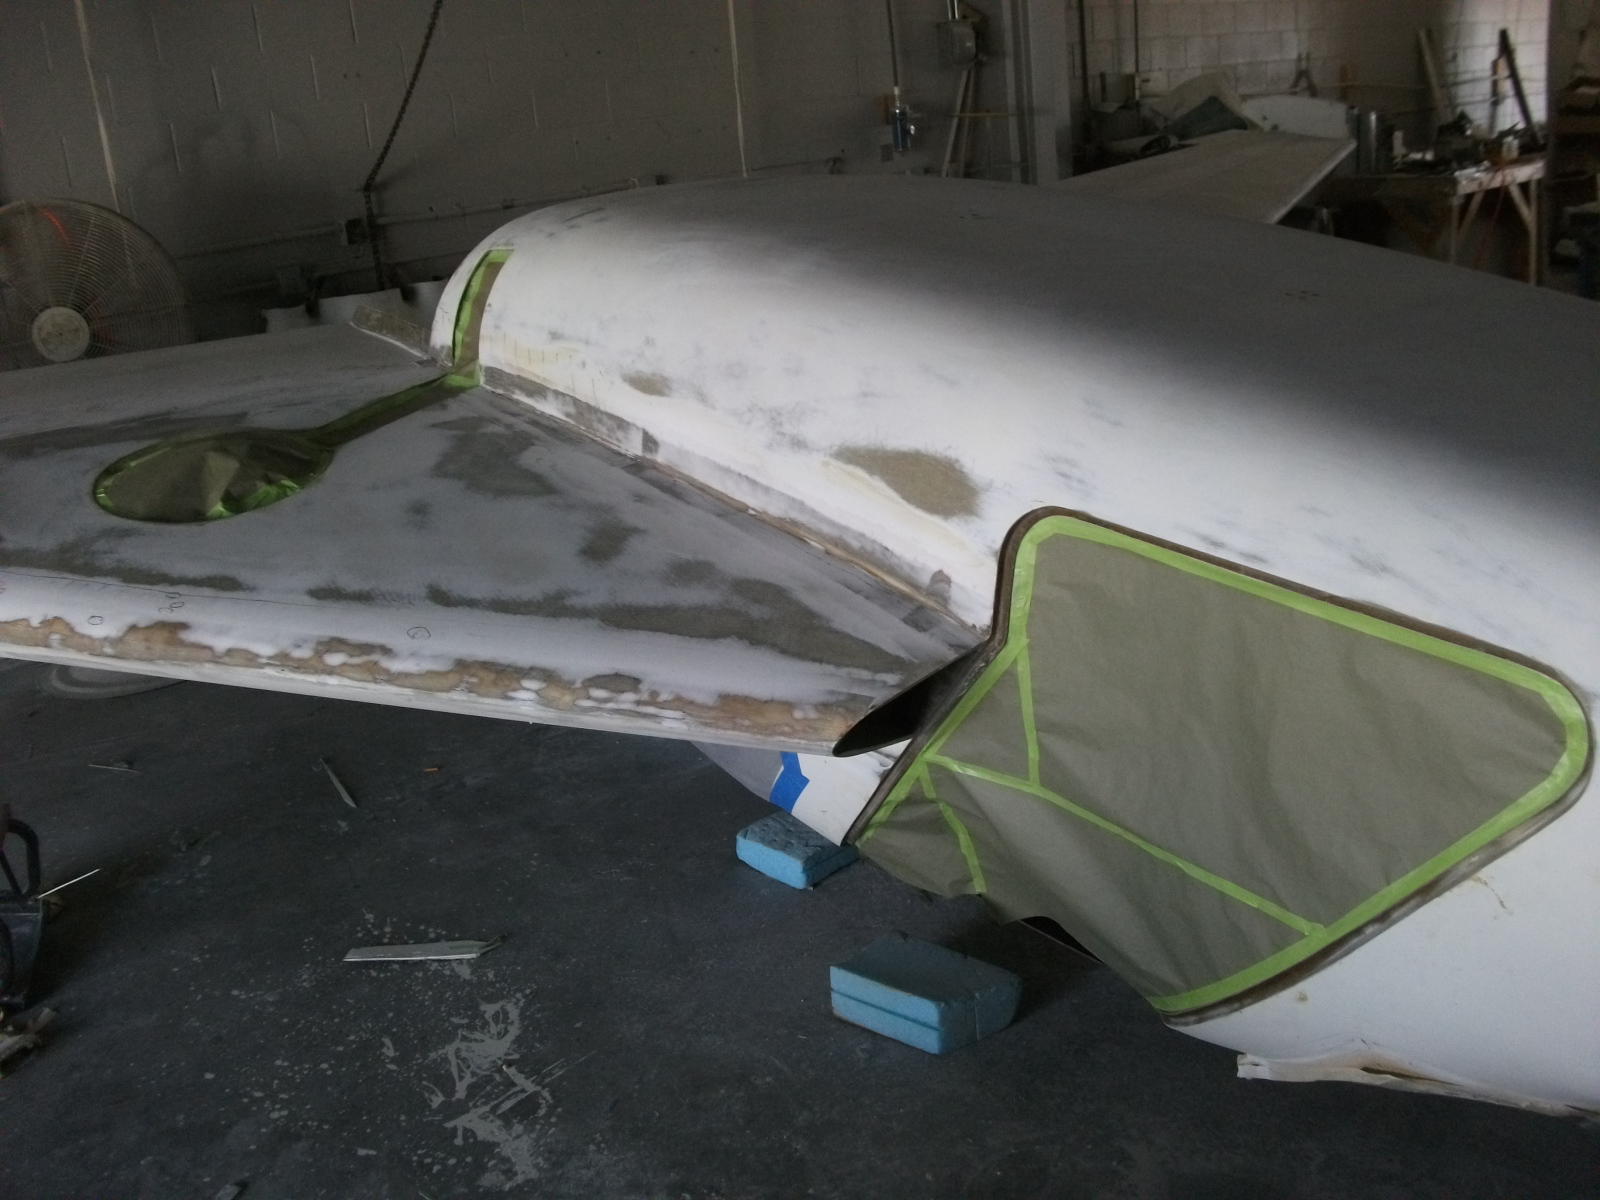
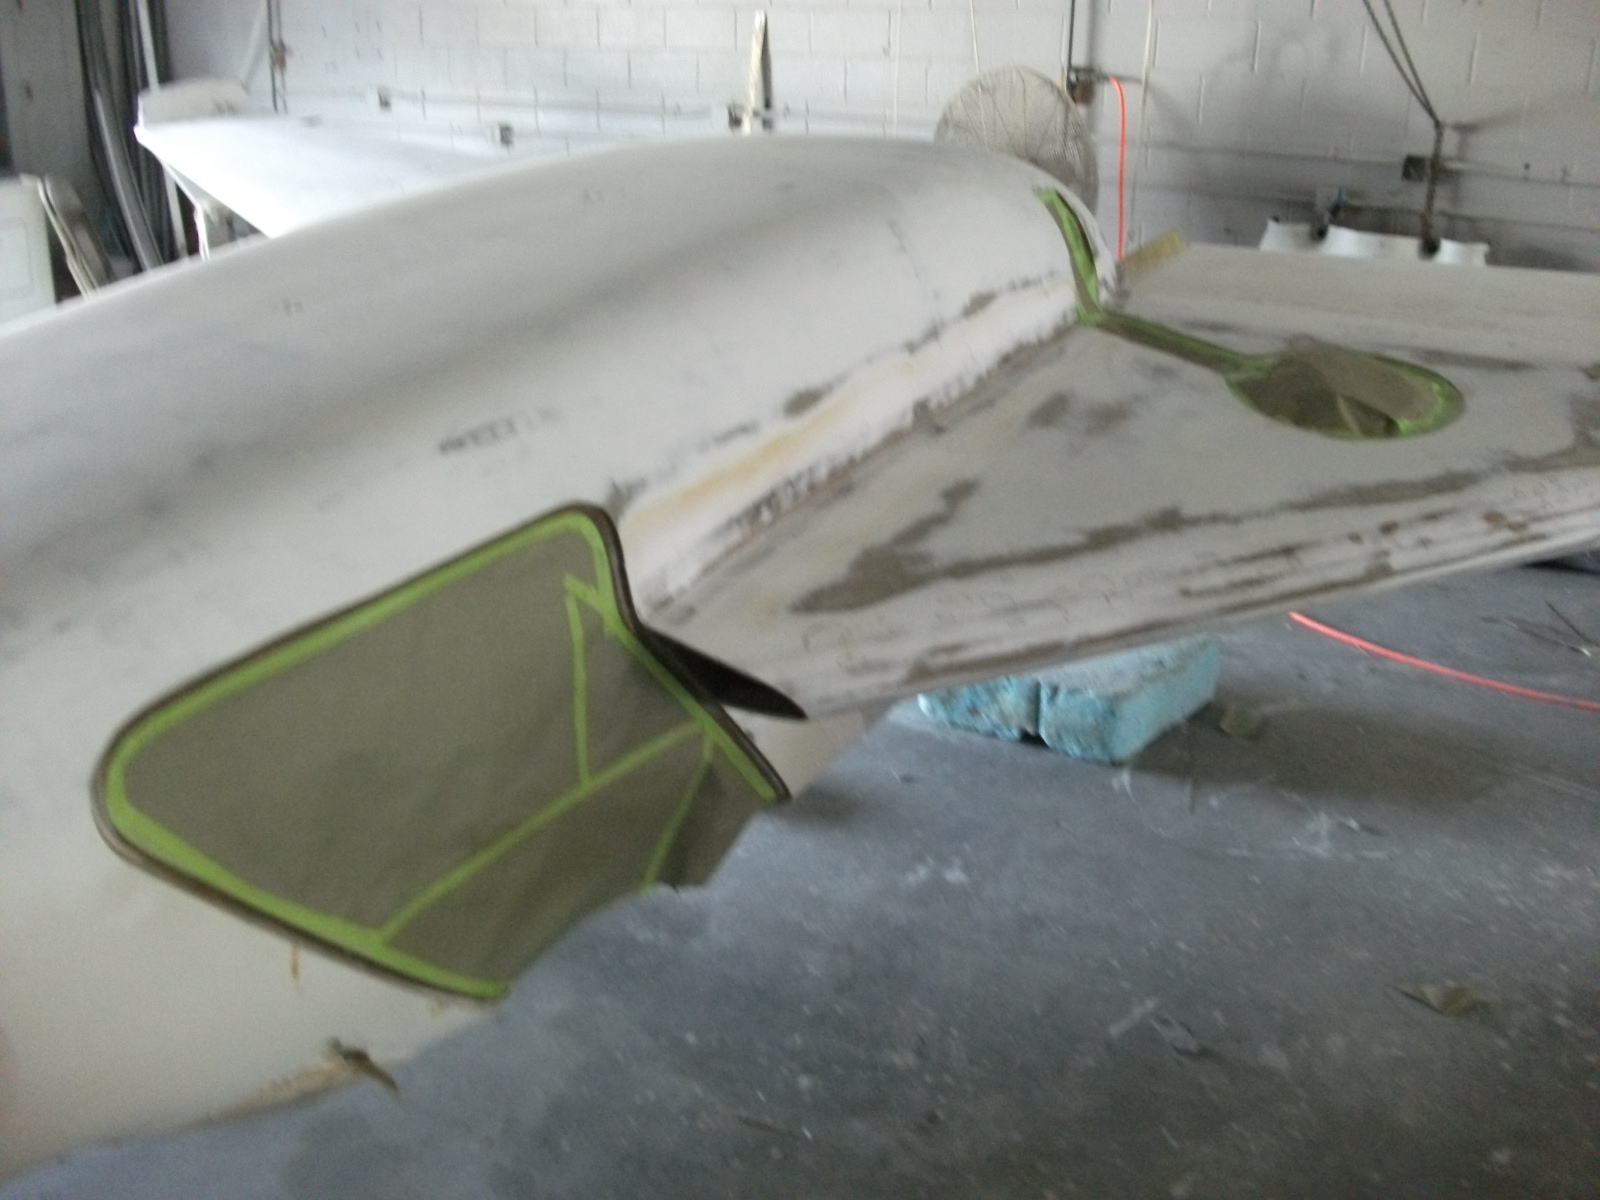
The line I cut on the bottom between the strake and wing didn’t meet with Malcolm’s standards (I was laying on my back when I did it). So it’s going to be redone.
Laying a straight-edge as a guide will make for a really straight line.

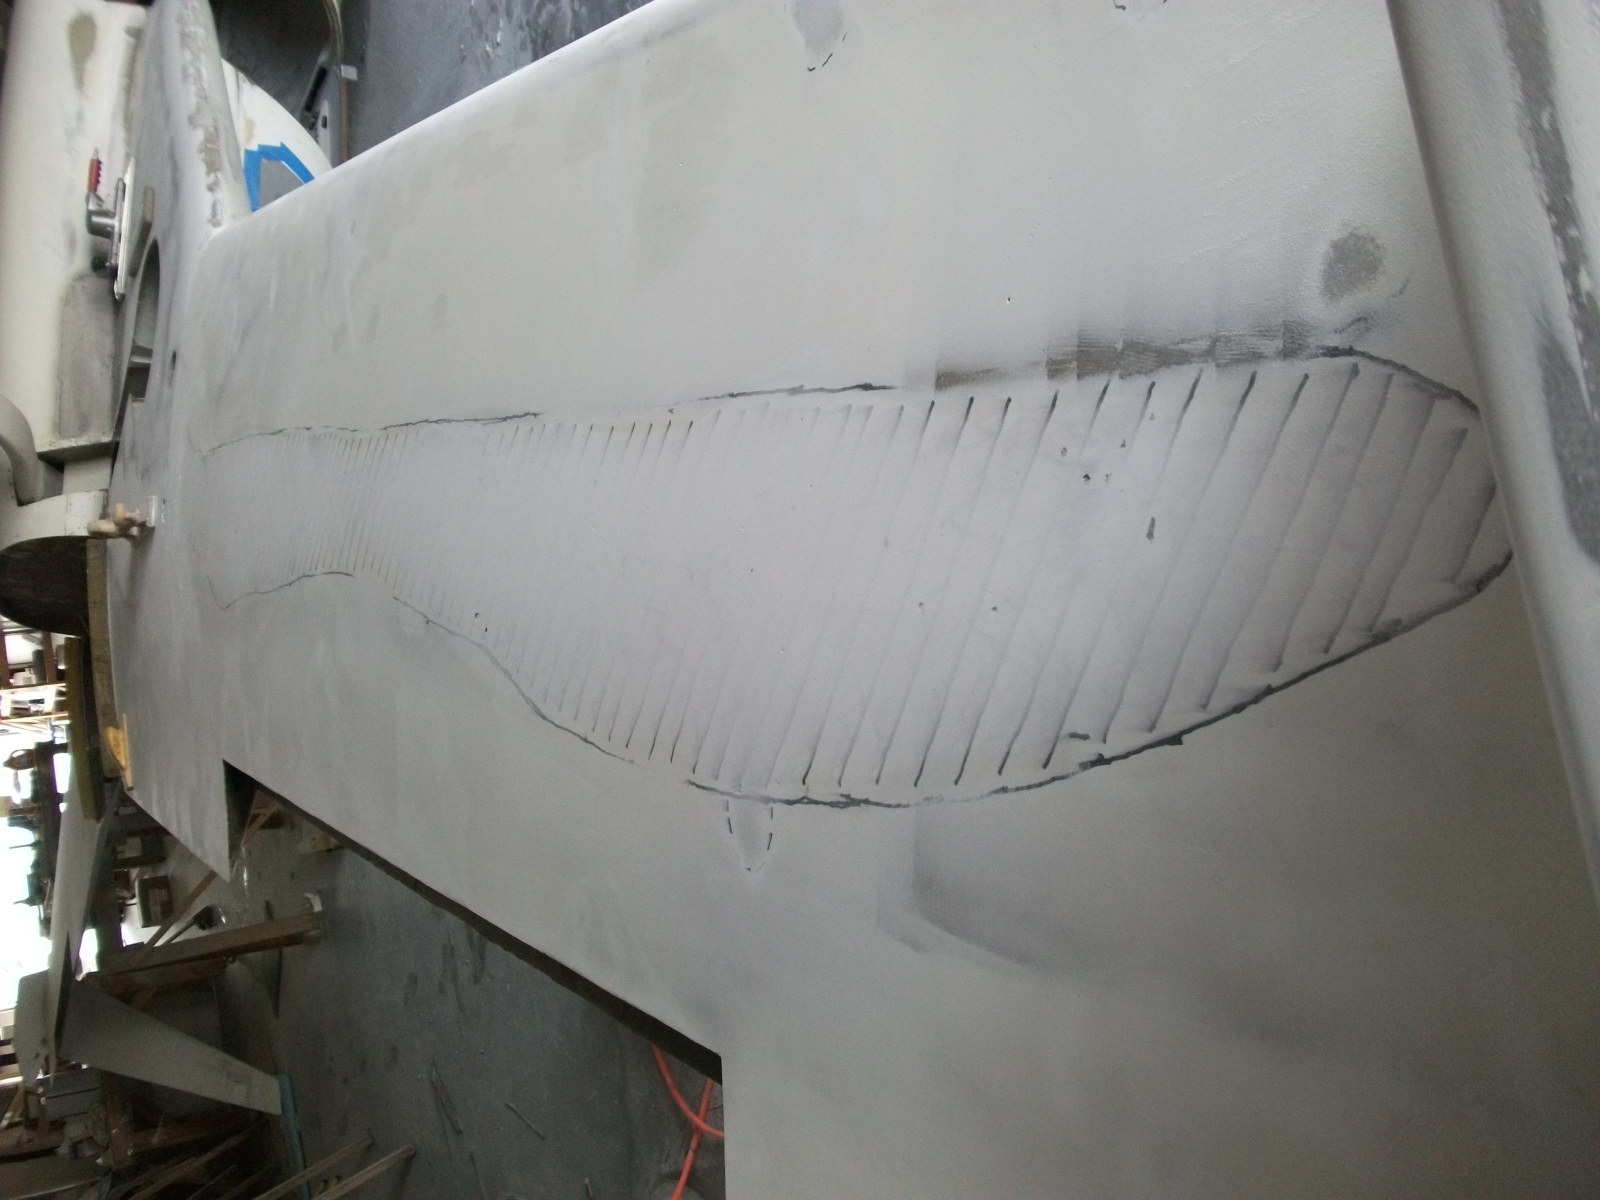
Malcolm has some aluminum stock he uses to make perfectly straight seams between the strake and wing.
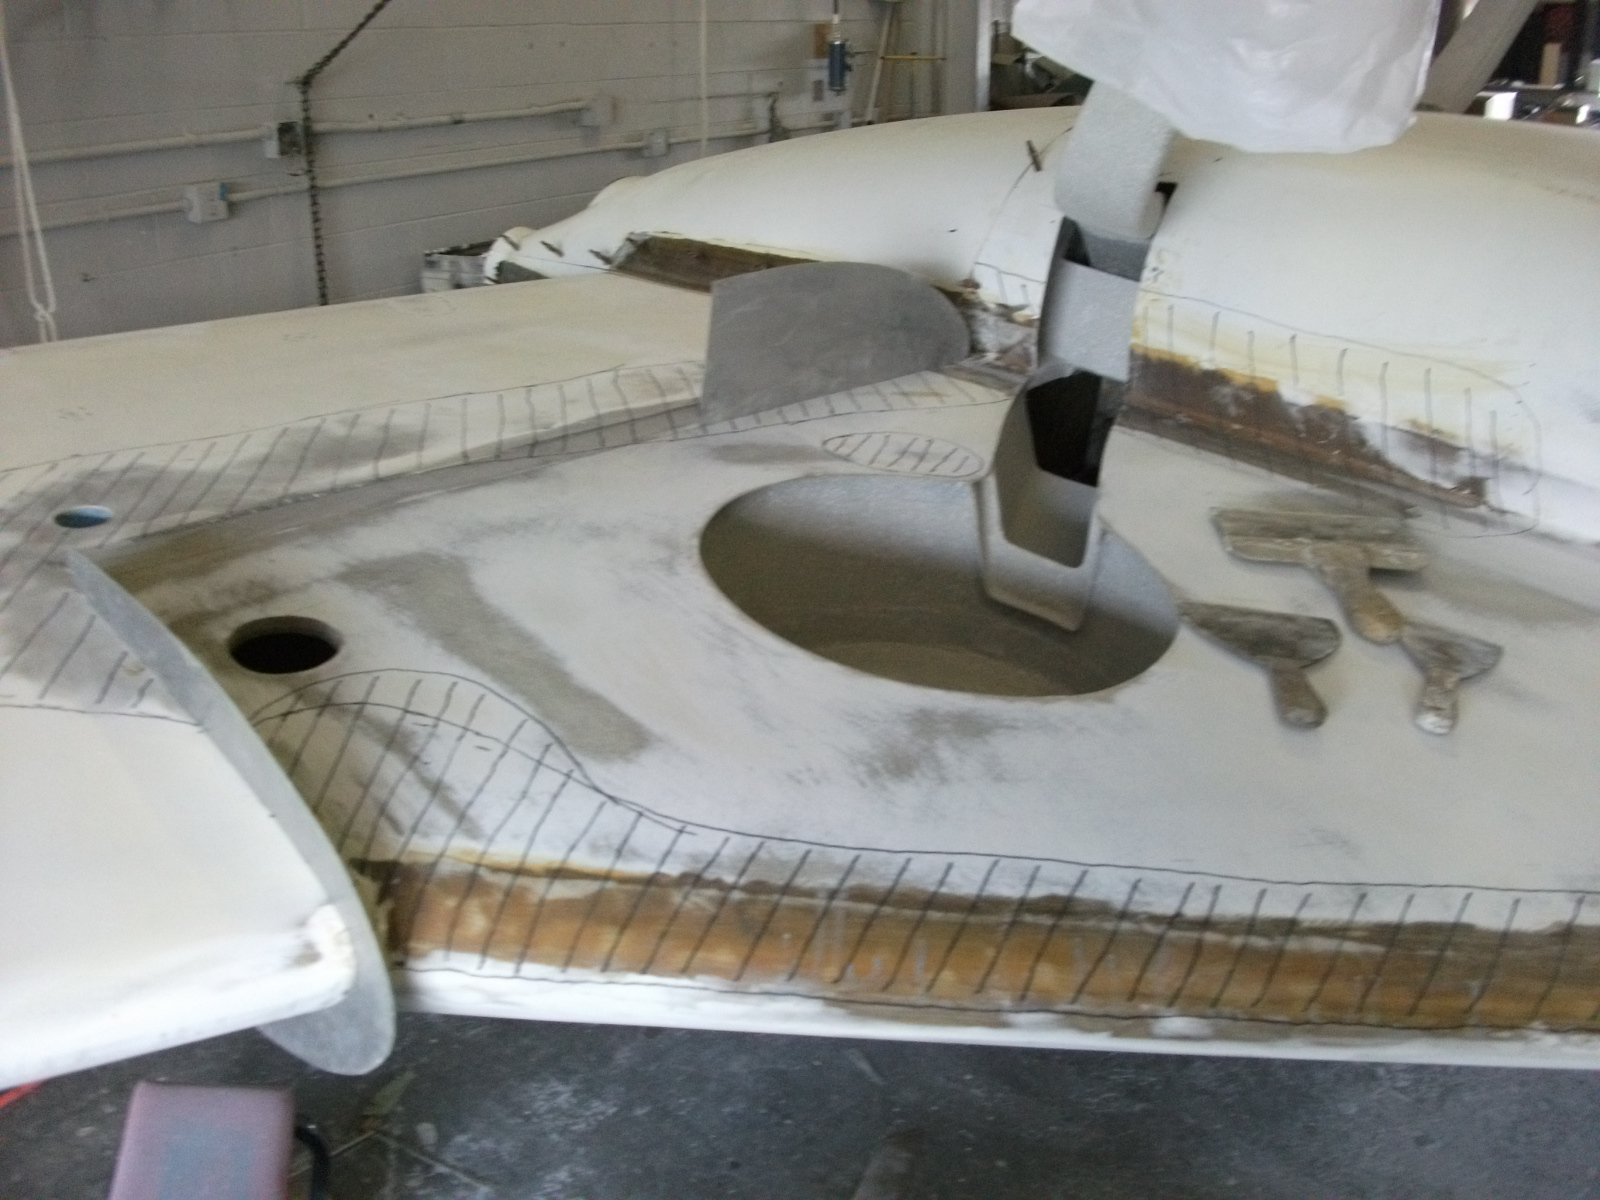
And the fill goes on.


And then it gets sanded off. Malcolm really likes my Hutchins orbital air file. I think that I may have to fight him for it when we’re done. 🙂


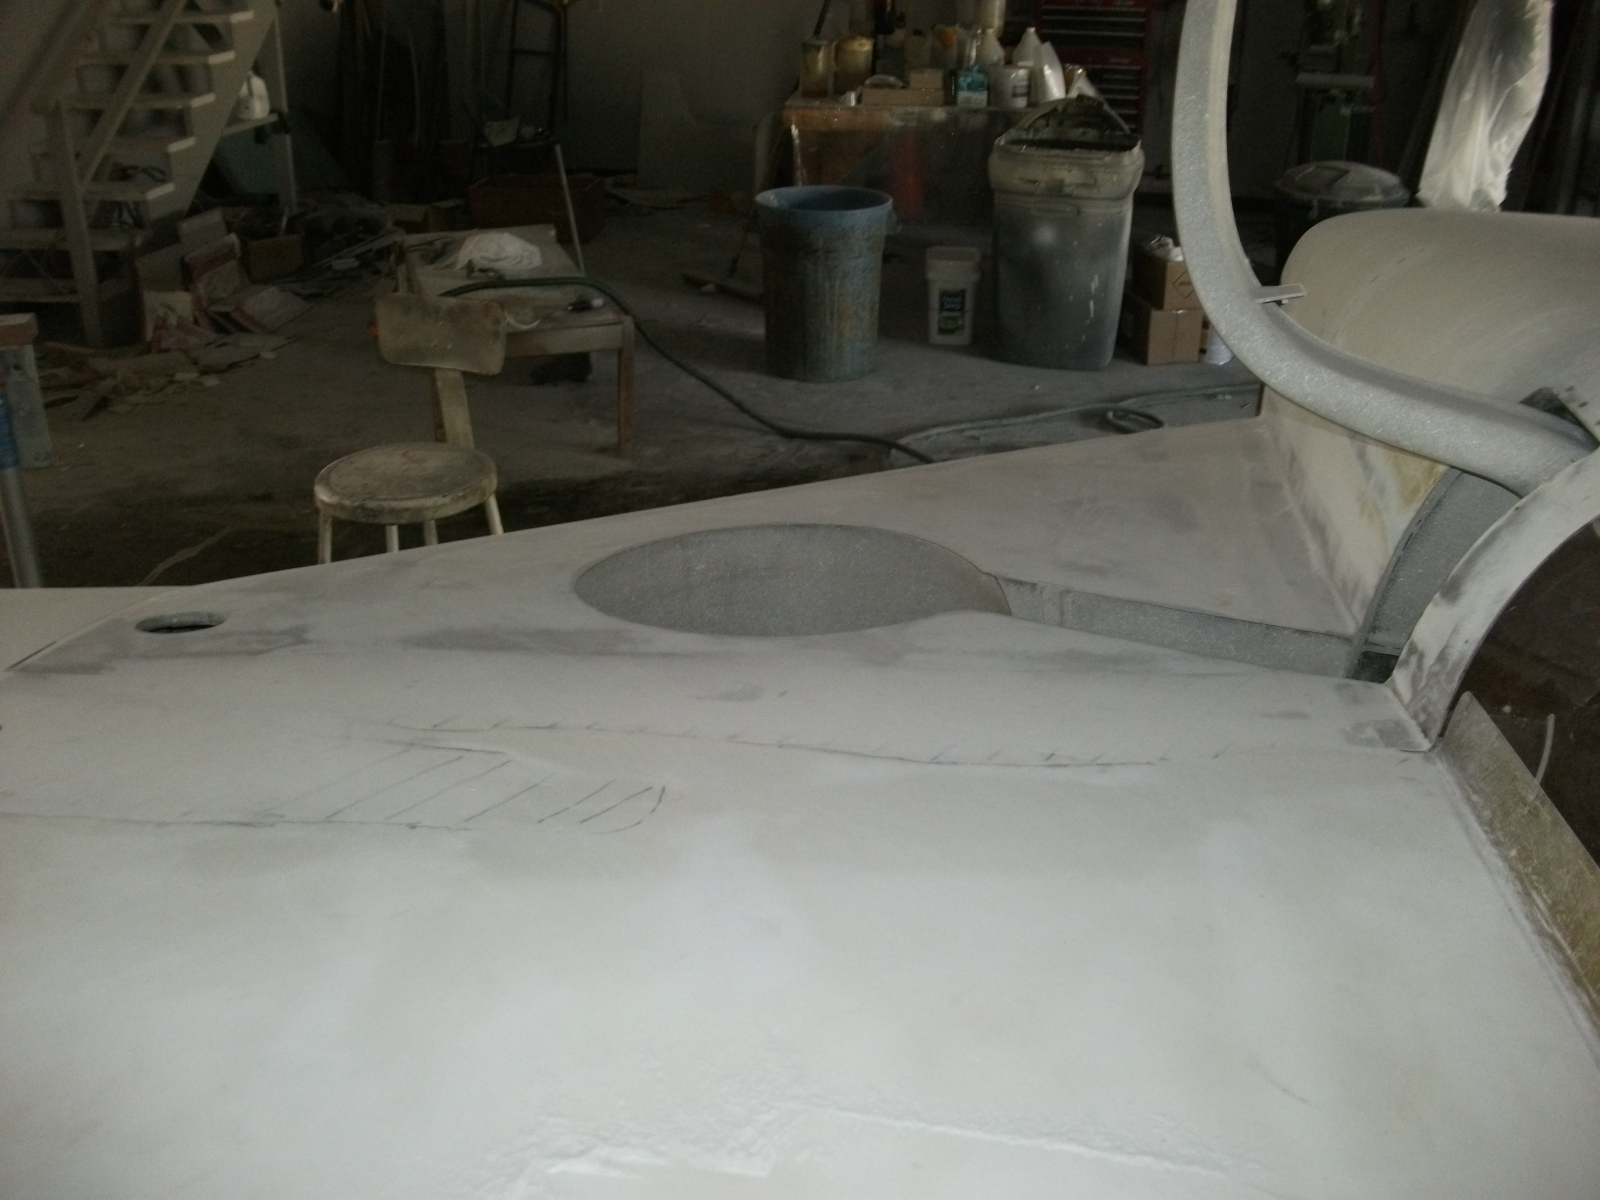
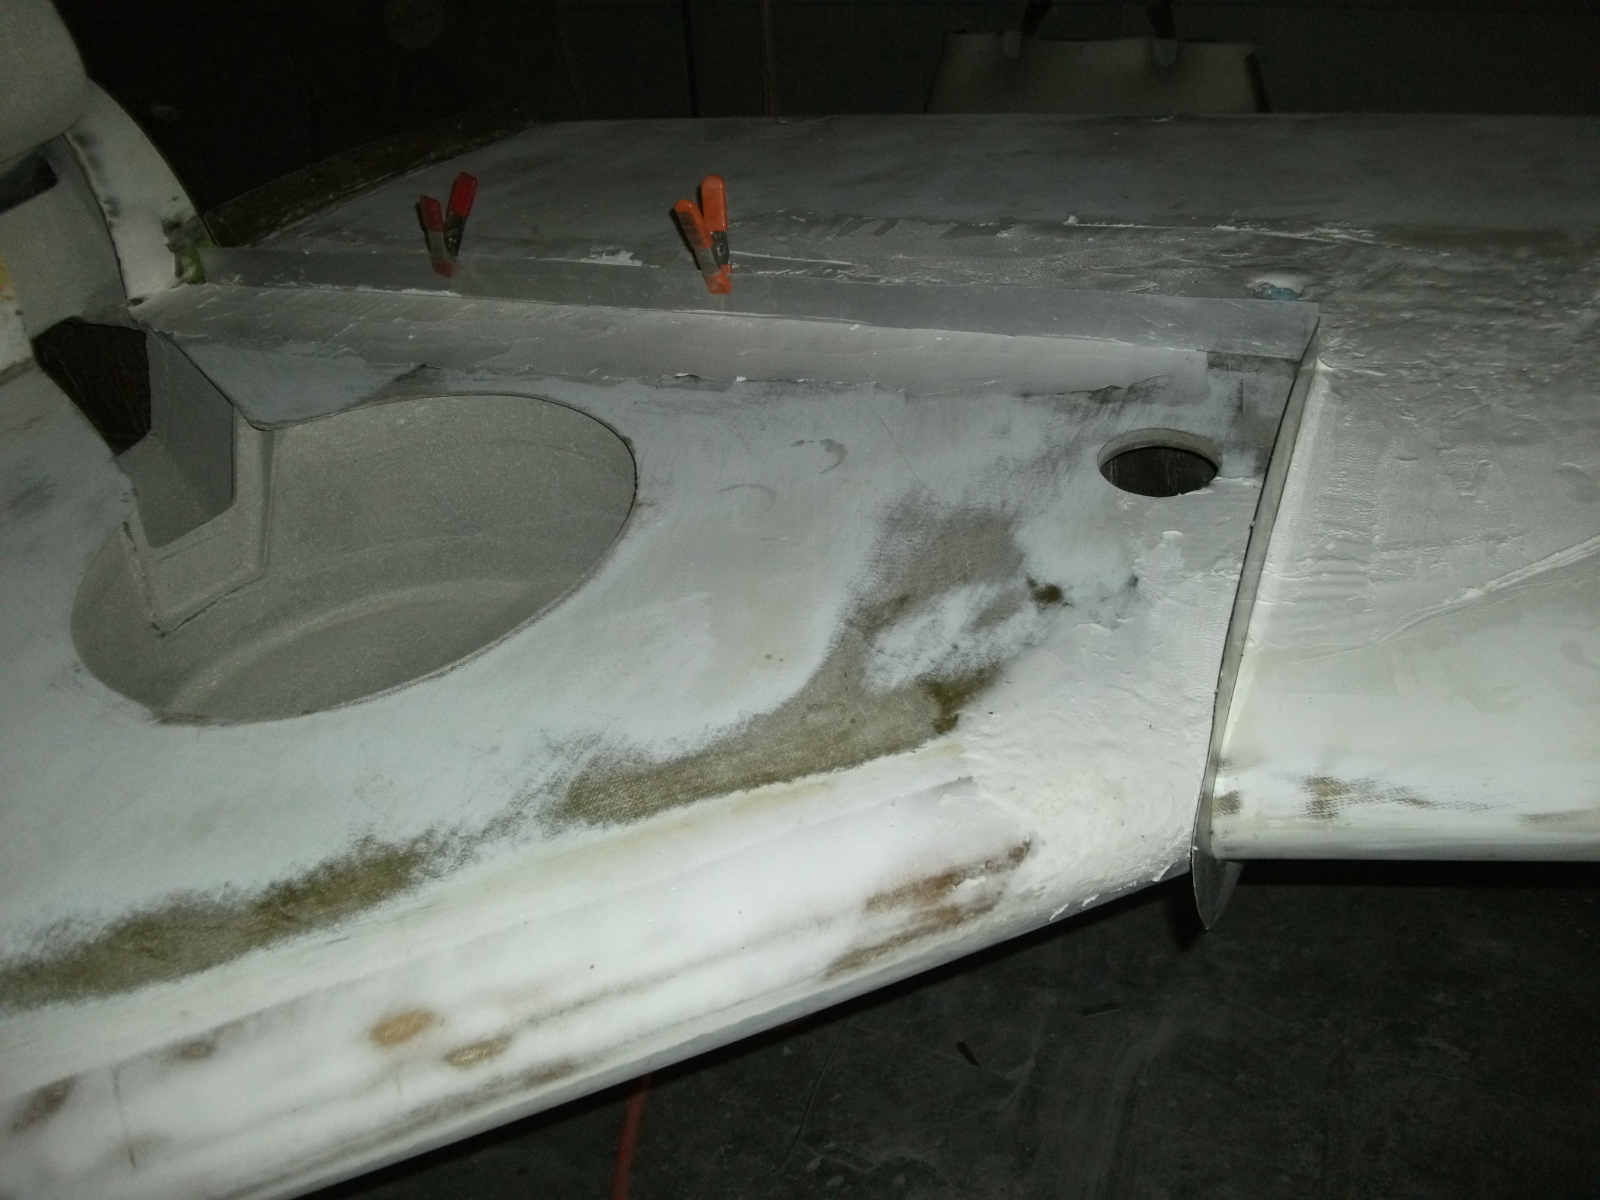
Then it’s time to find and mark the low spots again.


The wing mounting bolt access holes also get cleaned up now

And now it’s time to get ready to prime.


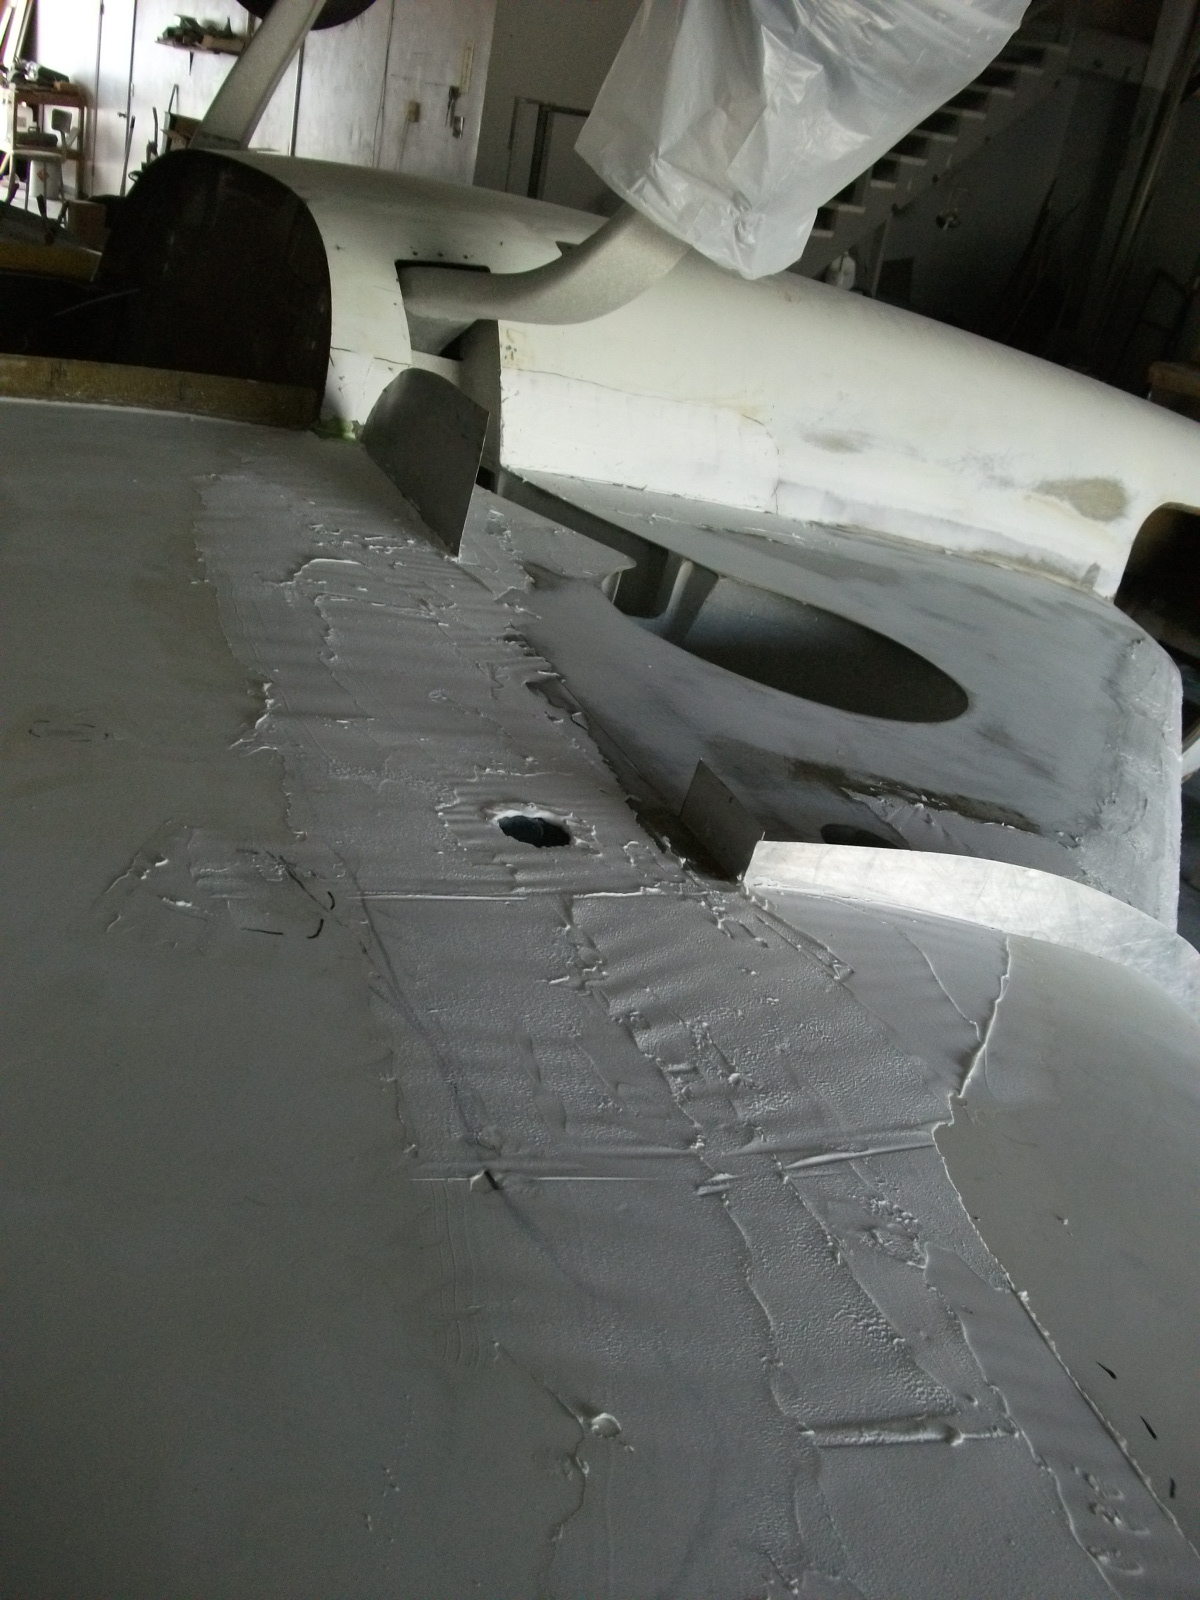
First coat of gray primer.

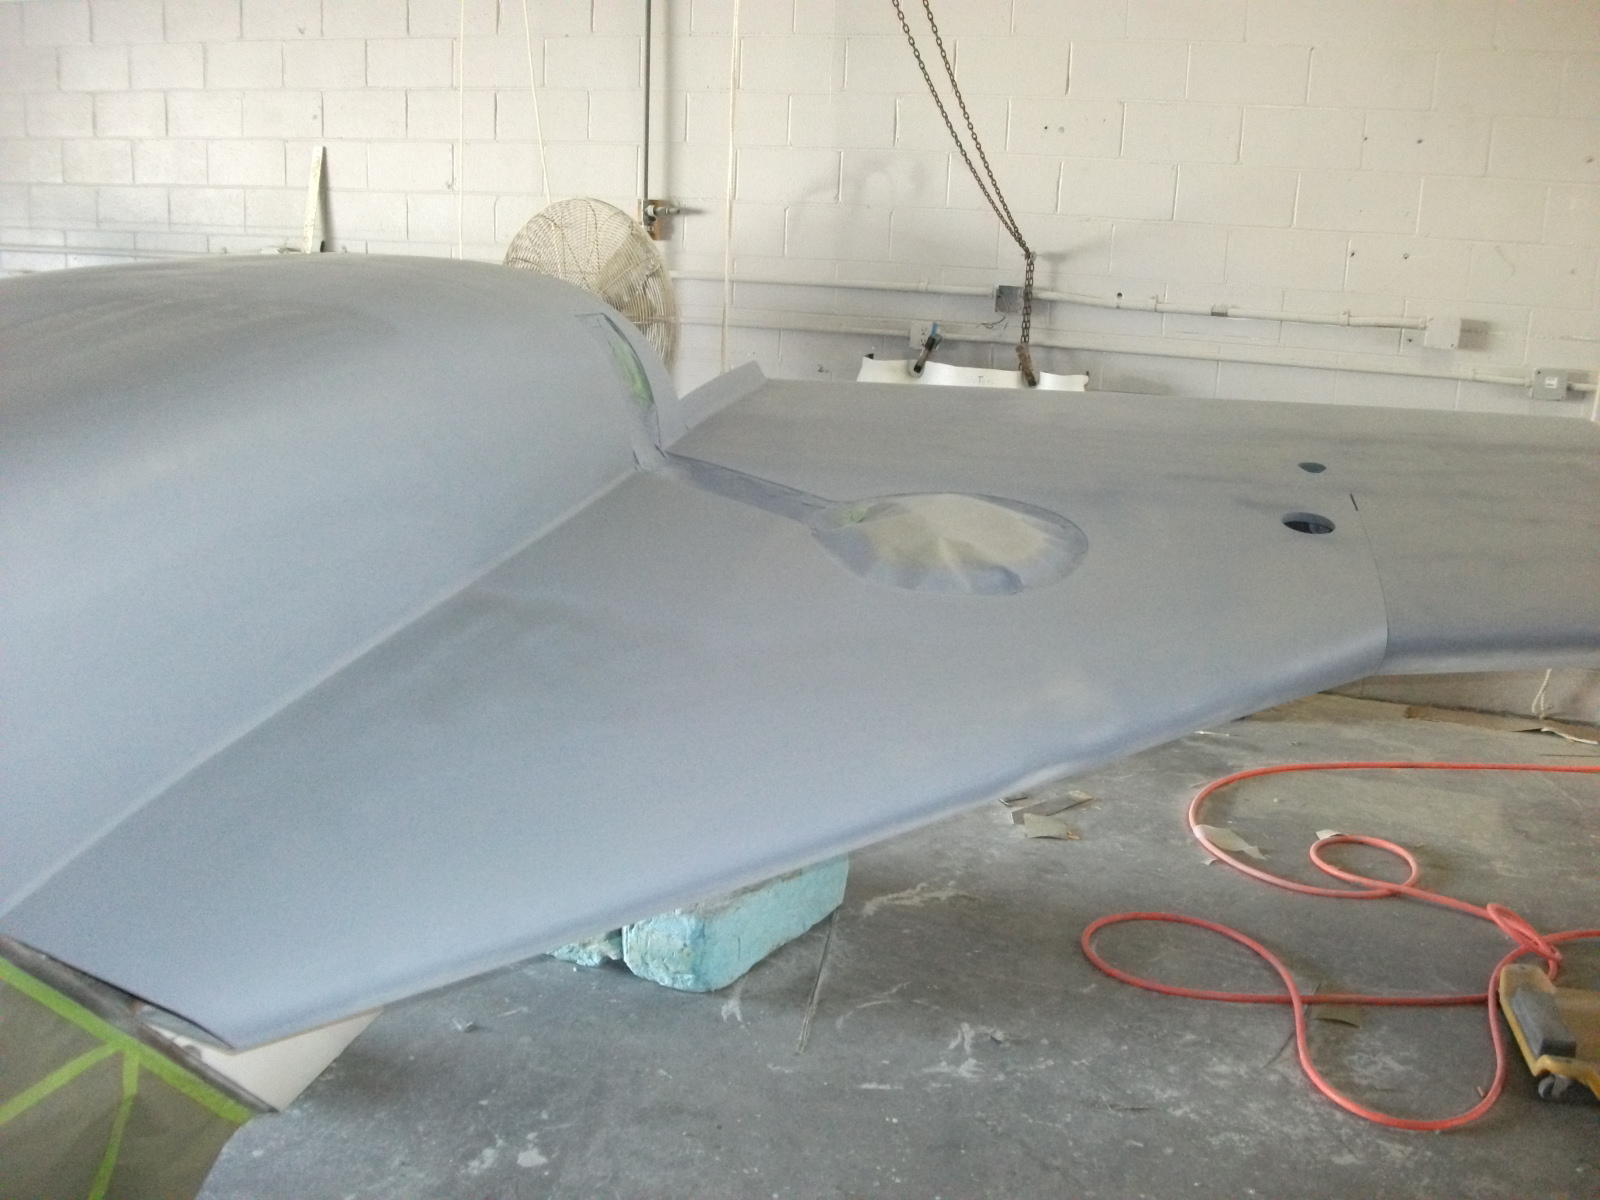

And sand to create “the spotted dog” effect.

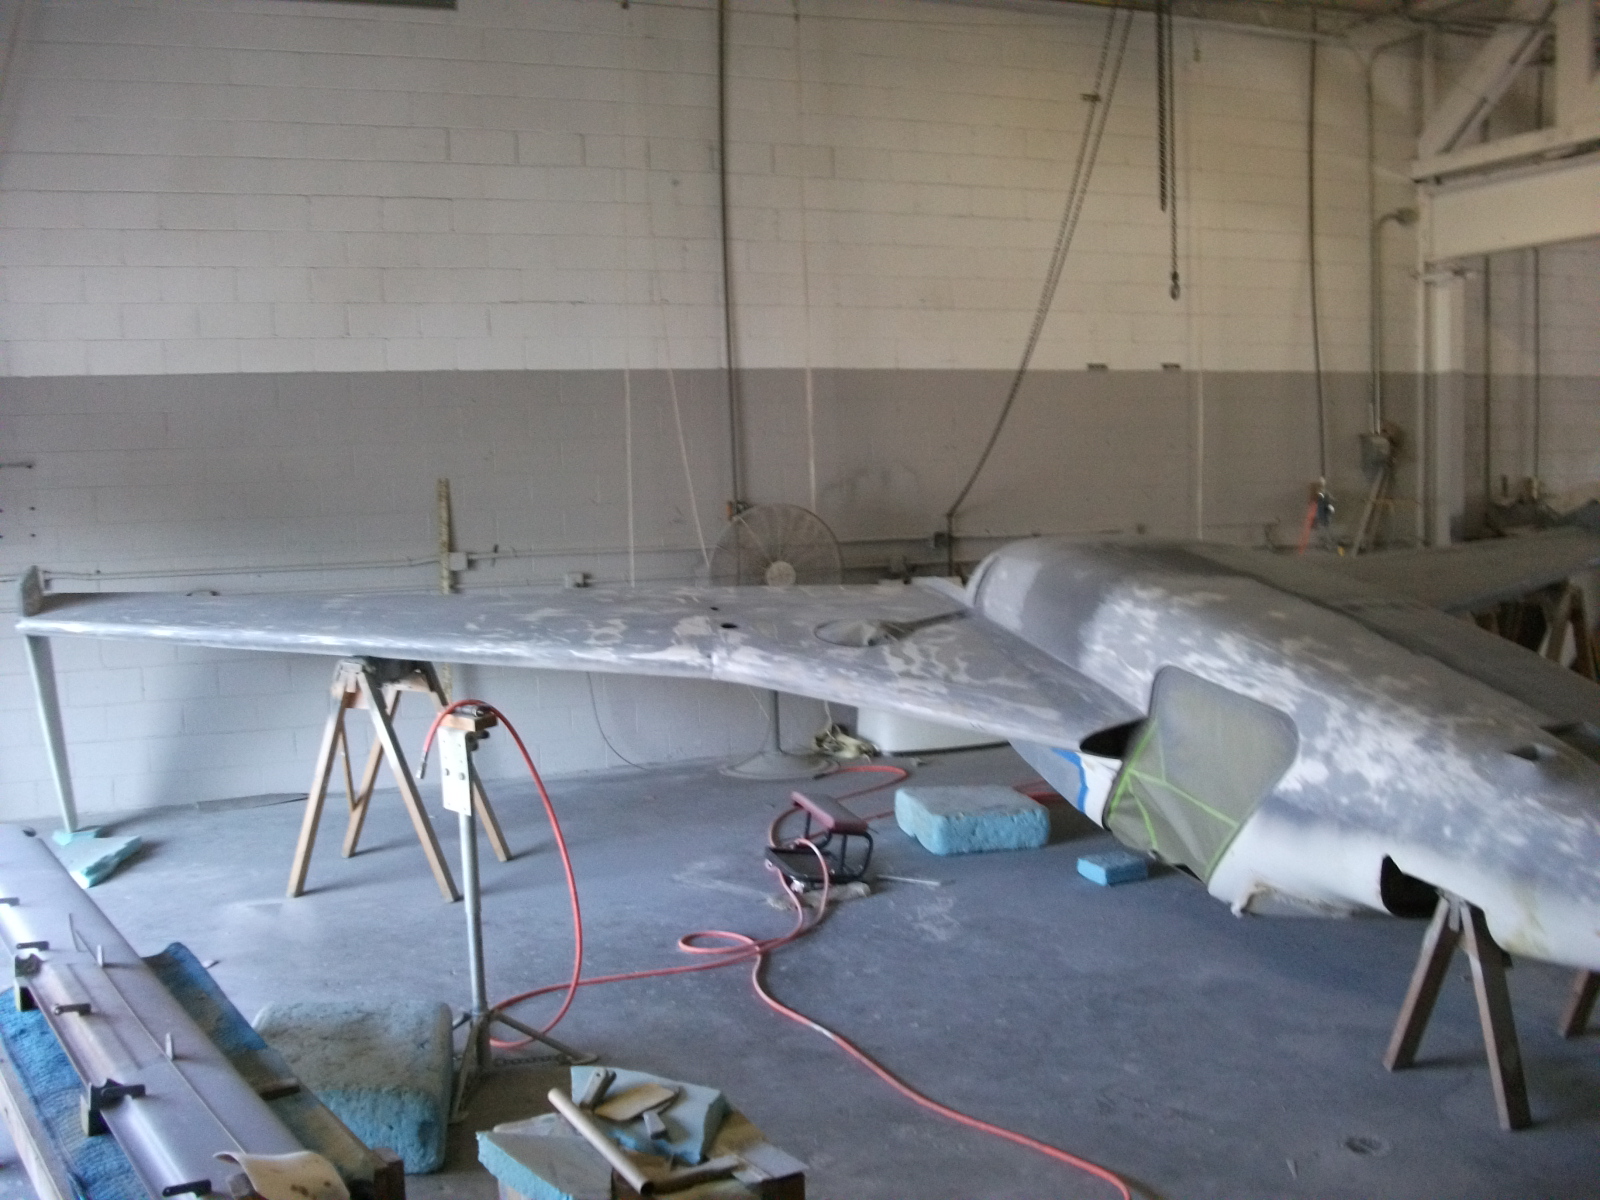
Next we’ll fill any remaining low spots and put on another coat of gray primer. Then it’ll be time for the finish white primer.
The white primer is supposed to have a very nice semi-glossy finish and Malcom says to fly it with that for a while. But painting airplanes is a pain and it’s soooooo much easier to do now. So I’m still on the fence as to whether to leave it in primer or not.