
- 7.2 Nose Gear Installation (Door mechanism)
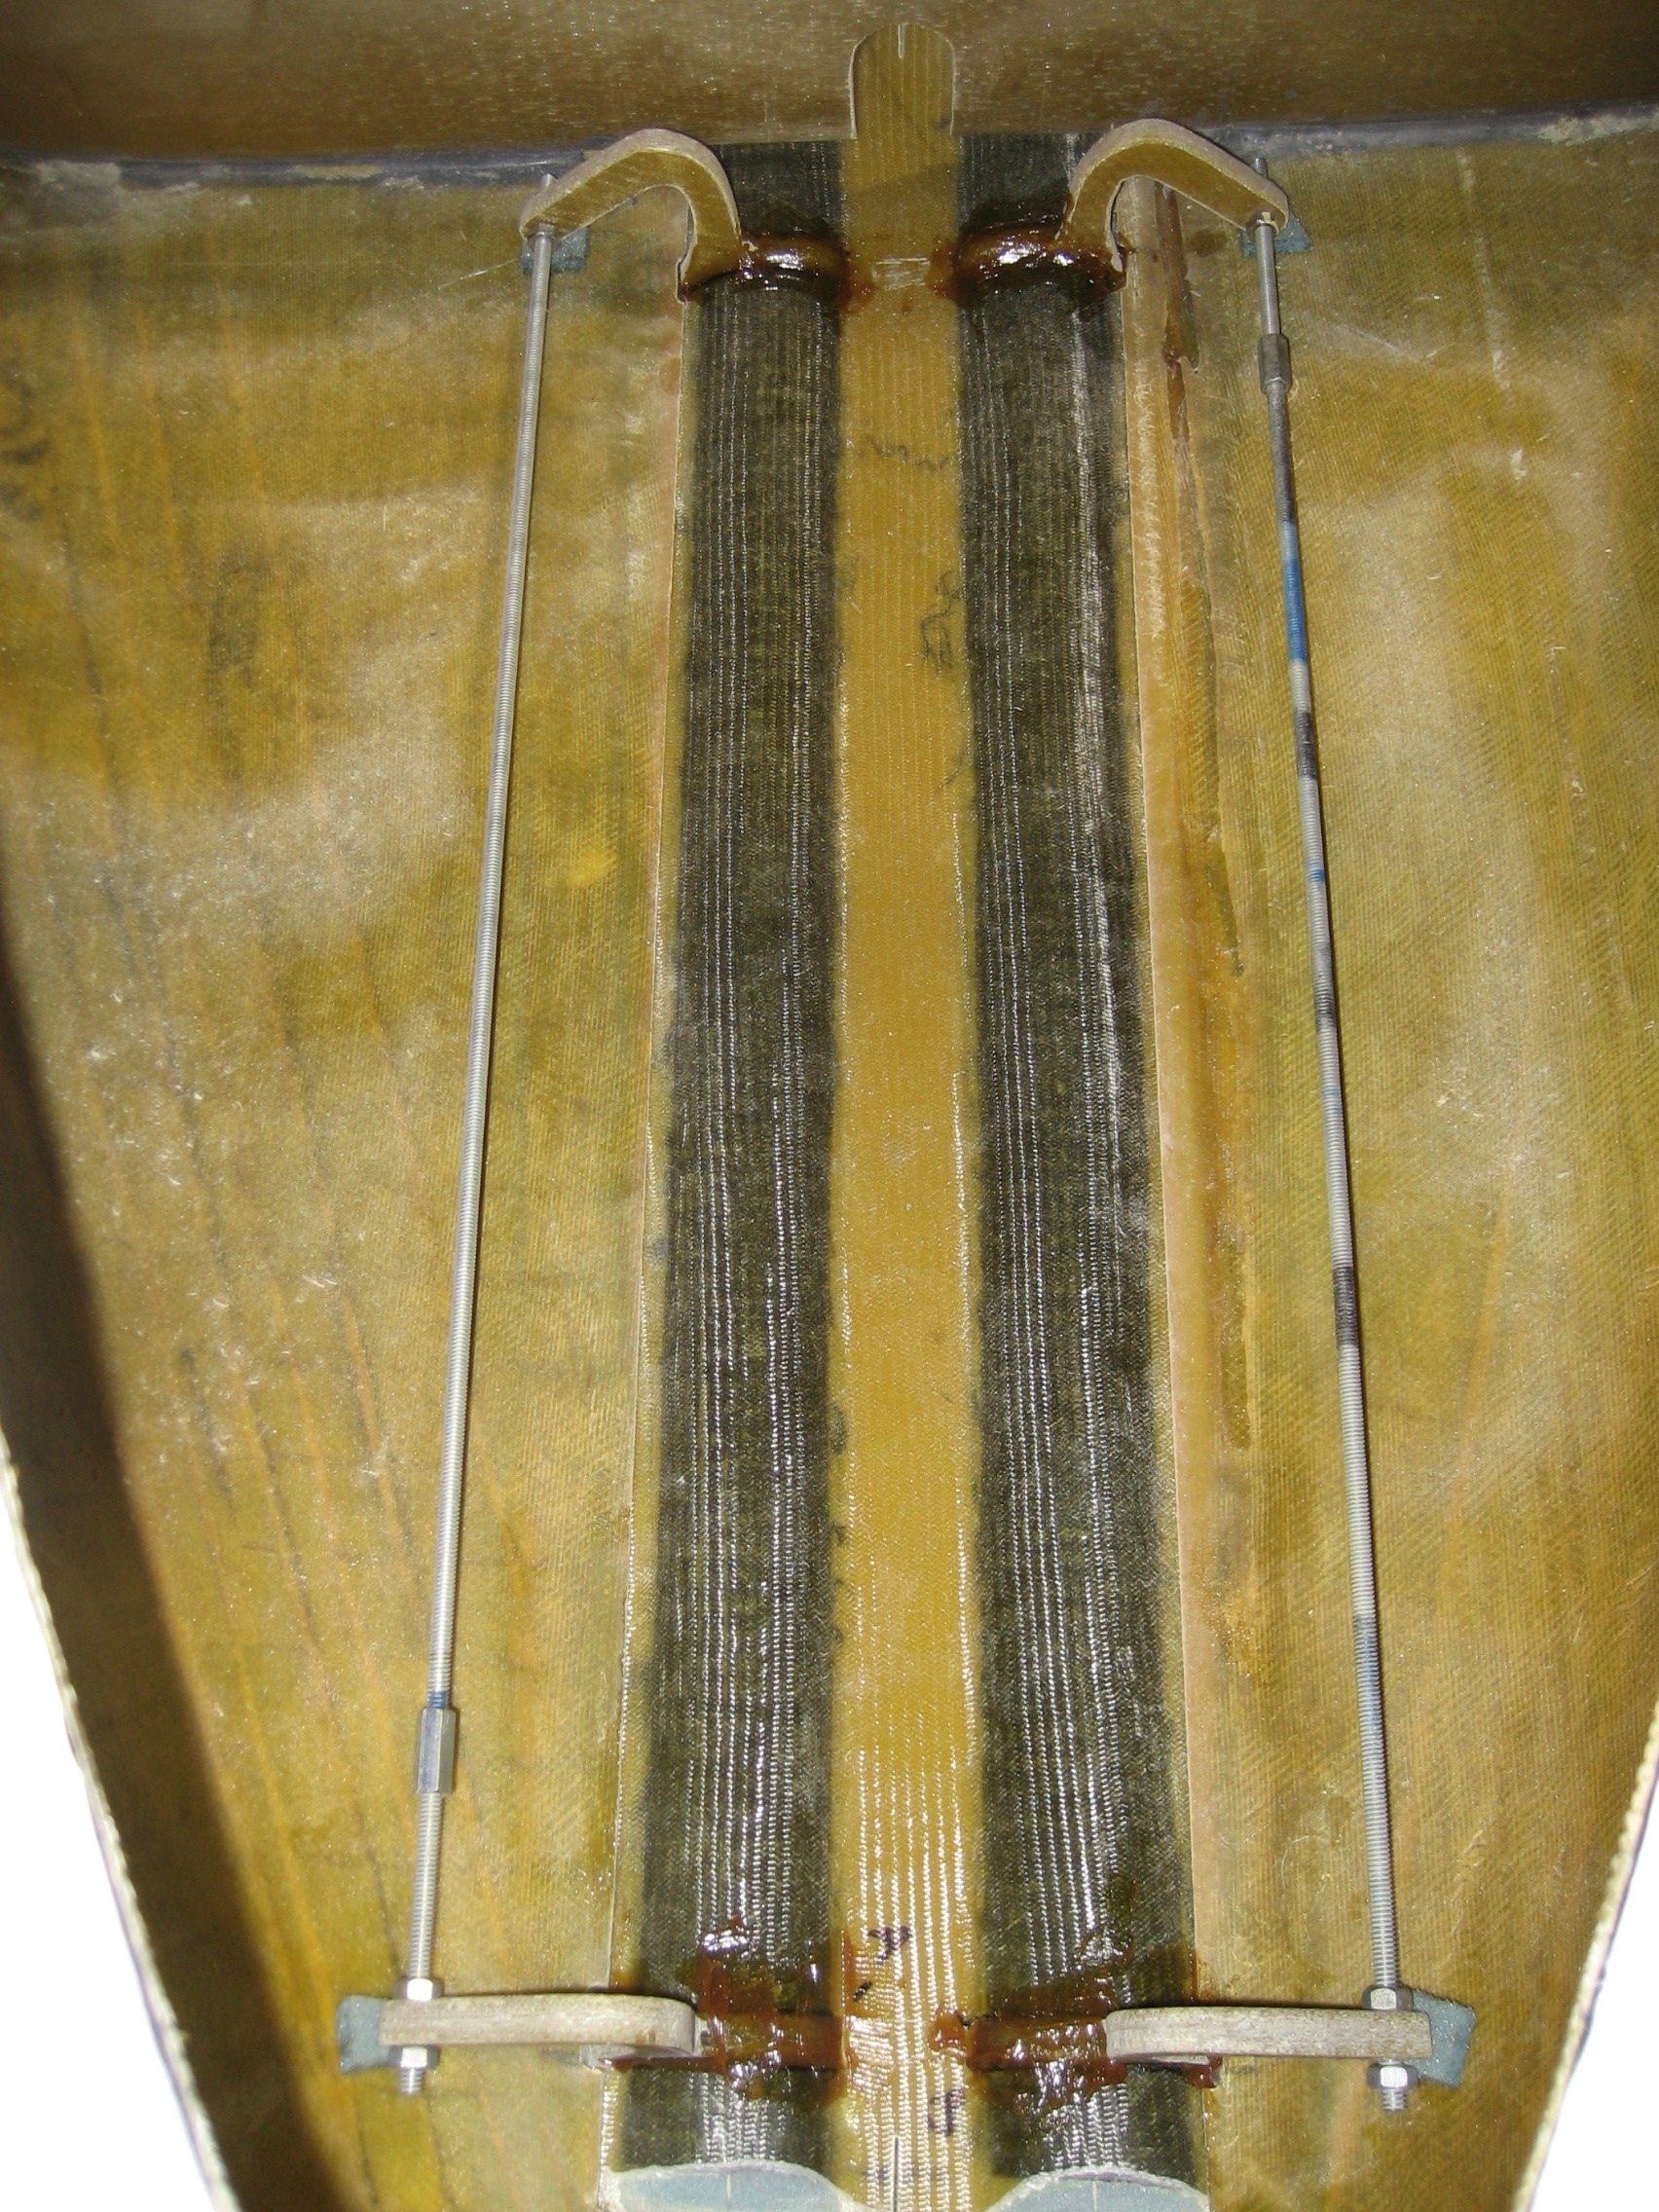
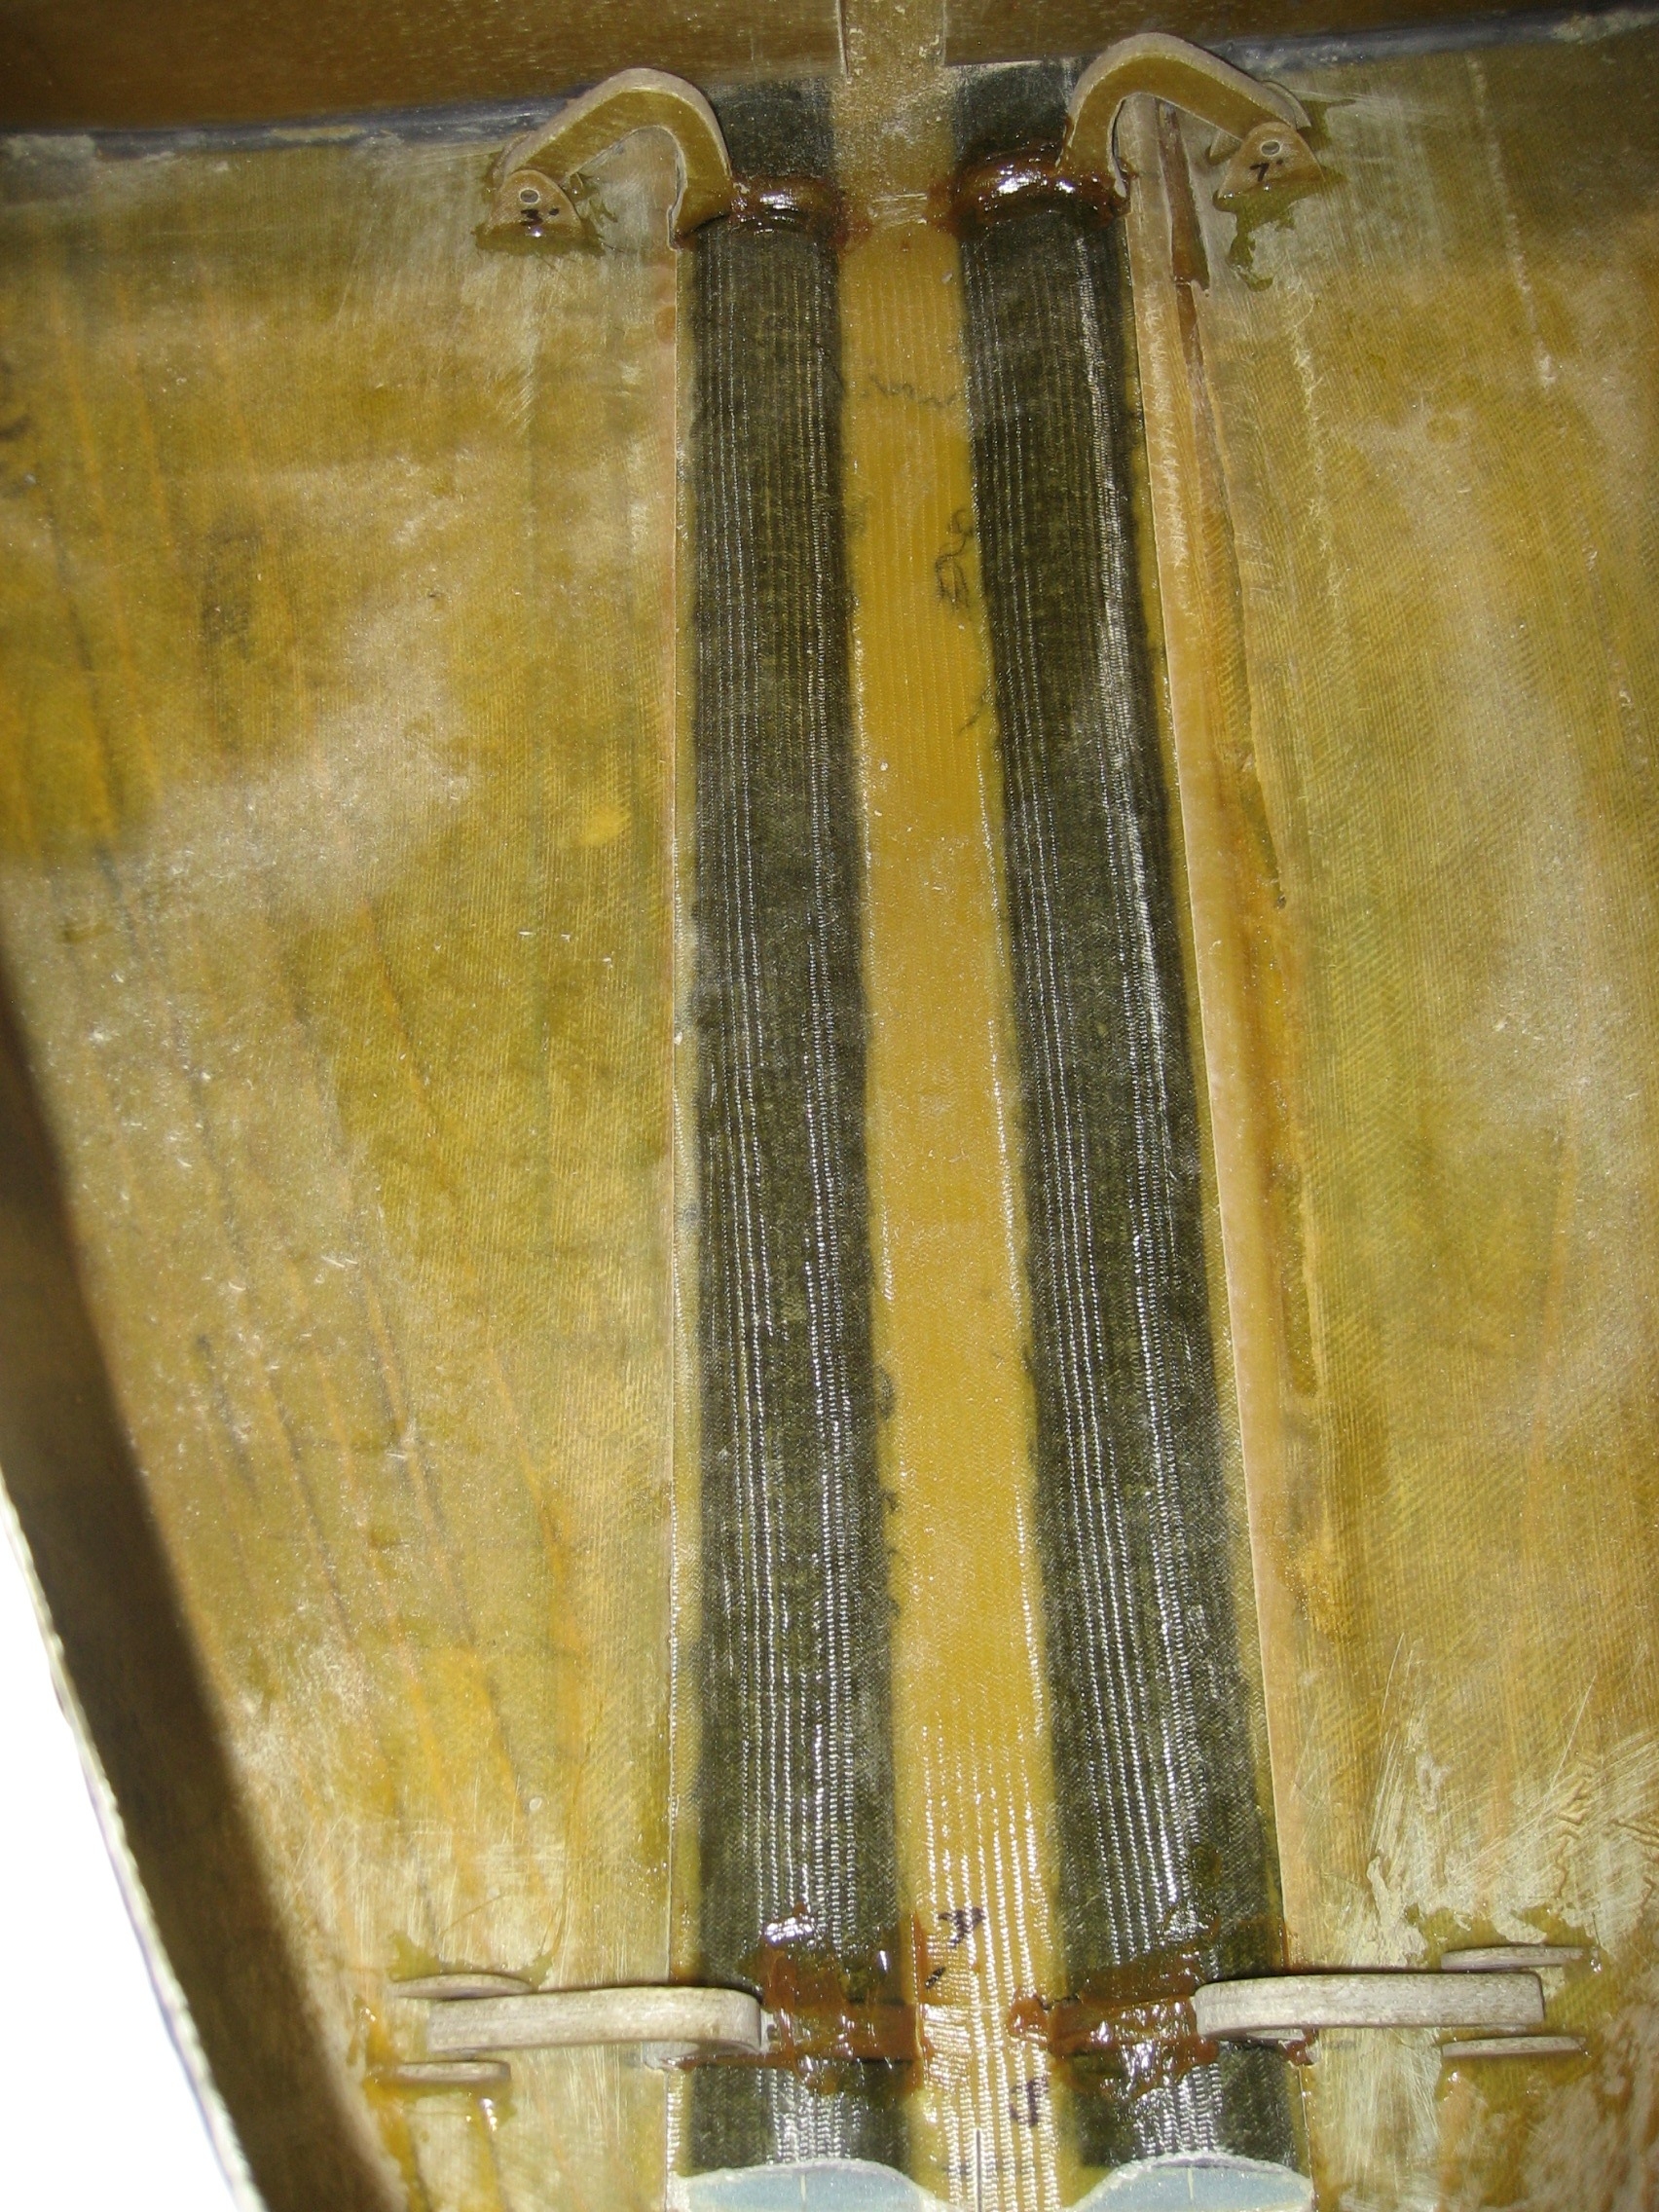
- 7.8.2 Landing Gear Plumbing – Dump Valve
- 7.8.2 Landing Gear Plumbing – Bulkhead fittings
- 7.8.2 Landing Gear Plumbing – Dump Valve
- 7.8.2 Landing Gear Plumbing.
- 7.8.2 Landing Gear Plumbing
- 7.8.4 Landing Gear Electrical
- 7.0 Landing Gear Retract Test
- 7.0 Landing Gear Retract Test II
- 7.7.3 Main Gear Doors
- 7.7.2 Parking Brake
- 7.8.4 – Landing Gear Electrical
- 7.8.4 Main gear microswitch wire routing
- 7.8.4 Main Gear Micro Switches
- 7.8.4 Nose Gear Up Microswitch mount
- 7.6.3 / 7.8.1 Install Landing Gear Hydraulic Cylinders
- 7.1 Nose Gear Door Installation
- 7.1 Nose Gear Door Installation
- 7.6.1 Main Gear Pulley Installation
- 7.6.1 Main Gear Pulley Installation
- 7.2.1 Nose Gear Installation
- 7.2.1 Nose Gear Installation
- 7.4.1 Gear Leg Cut Out
- 7.2.5 Nose Gear Guides
- 7.8.1 Hydraulic Power Pack Installation
- 7.4.3 Transverse Bulkhead Installation
- 7.5 Main Gear Bushings
- 7.4.3 Transverse Bulkhead Installation
- 7.6.2 Main Gear Sockets
- 7.7.1 Main Gear Leg UpStops
- 7.7.3 Main Gear Doors
- 7.7.3 Main Gear Doors
- 7.7.1 Main Gear Legs (Painting)
- 7.2 Nose Gear Door Mechanism
- 7.3 Nose Gear Door Mechanism
- 11.1.4 Lower Cowling to Wing Flanges
- Nose gear spring replacement
- 7.2 – Nose Gear Door Actuator Replacement
- 7-99 Sealing the Nose Landing Gear
The Nose Gear Doors are provided as a single assembly. They will eventually be cut into two separate doors.
Earlier, I laminated many pieces of fiberglass to create the stock that the hinges would be made from. These hinges are basically a “J-hinge” which are similar to the hinge arms used in doors and trunks of cars. They allow a form-fitting piece to swing away from the body without rubbing against it.
To install the doors, first they are bonded to the opening with auto-body filler (Bondo) to temporarily but firmly hold them in position while the hinges are positioned and permanently bonded into place.
Nose gear doors held in place with Bondo.

Next, the hinges are aligned with lengths of all-thread and then the hinges are bonded to the gear door with an epoxy/cabo mix.

Once the epoxy cures, the all thread is removed that then eight tabs (two for each hinge arm) that I cut out of fiberglass layups are used to create the fuselage side of the hinges are bonded to the fuselage. These tabs are custom fitted to the fuselage. I numbered them to keep track of where they go and put a dot on the forward faces side. Once these cure, then the nose gear door can be removed and cut into two pieces, and the hinge arms and tabs can receive fiberglass layups to make them permanent.
Nose gear door (still one piece) with the tabs glued in position.
Close up of the rear portion of the door, hinge arms and tabs.
