
- 14.2.3 NO MORE SANDING!
- 14.2.3 Final primer on top
- 14.2.2 Last prep before final priming
- 14.2.2 Sanding
- 14.2.1 Sanding
- 14.2.1 Return of the Spotted Dog
- 14.2.1 Radius (Top)
- 14.2.2 Priming
- 14.2.1 Photo op
- 14.2.1 The ugly nose
- 14.2.1 Window transistion
- 14.2.3 Priming
- 14.2.1 Top side finish
- 14.2.3 More Painting
- 14.1.4 Aileron Balancing
- 14.1.4 Aileron Installation
- 14.2.3 Primer
- 14.2.3 Final Prime of the Cowling
- Back in the saddle again
- 14.0 – Punchlist
- Trip 2 completed
- 14.1.2 Tie Downs
- 14.2.1 Finishing Bottom of Airplane
- 14.2.3 Final Primer on Lower Fuselage
- 14.2.1 Strake Extension
- 14.2.1 Windows
- 14.2.1 Finishing Upper Airplane
- 14.1.10 Calibrating Fuel Tanks
- 14.99 Contact!
- 14.1.7 Vortilon Installation
- 14.99 Engine Run III
- 14.99 Placards
- 14.1.7 – Vortilon Installation
- 14.99 Weight and Balance
- 14.99 Airworthiness Inspection
- 14.99 – Painting
- 14.99 Painting
- 14.99 Painting Complete
So after a number of false starts, it looks like I’m back.
There were some issues as to where the plane would end up. But after 3 months, it looks like that’s resolved. So last Sunday I drove down (6.5 hours) to Sebastian from Panama City. 🙁
On Monday morning, I enlisted Malcolm (Who’s back down in Sebastian now) to help me get all the boxes of supplies, parts and tools moved into the new digs. Here’s the hangar with the plane that I really haven’t seen for 3 months.
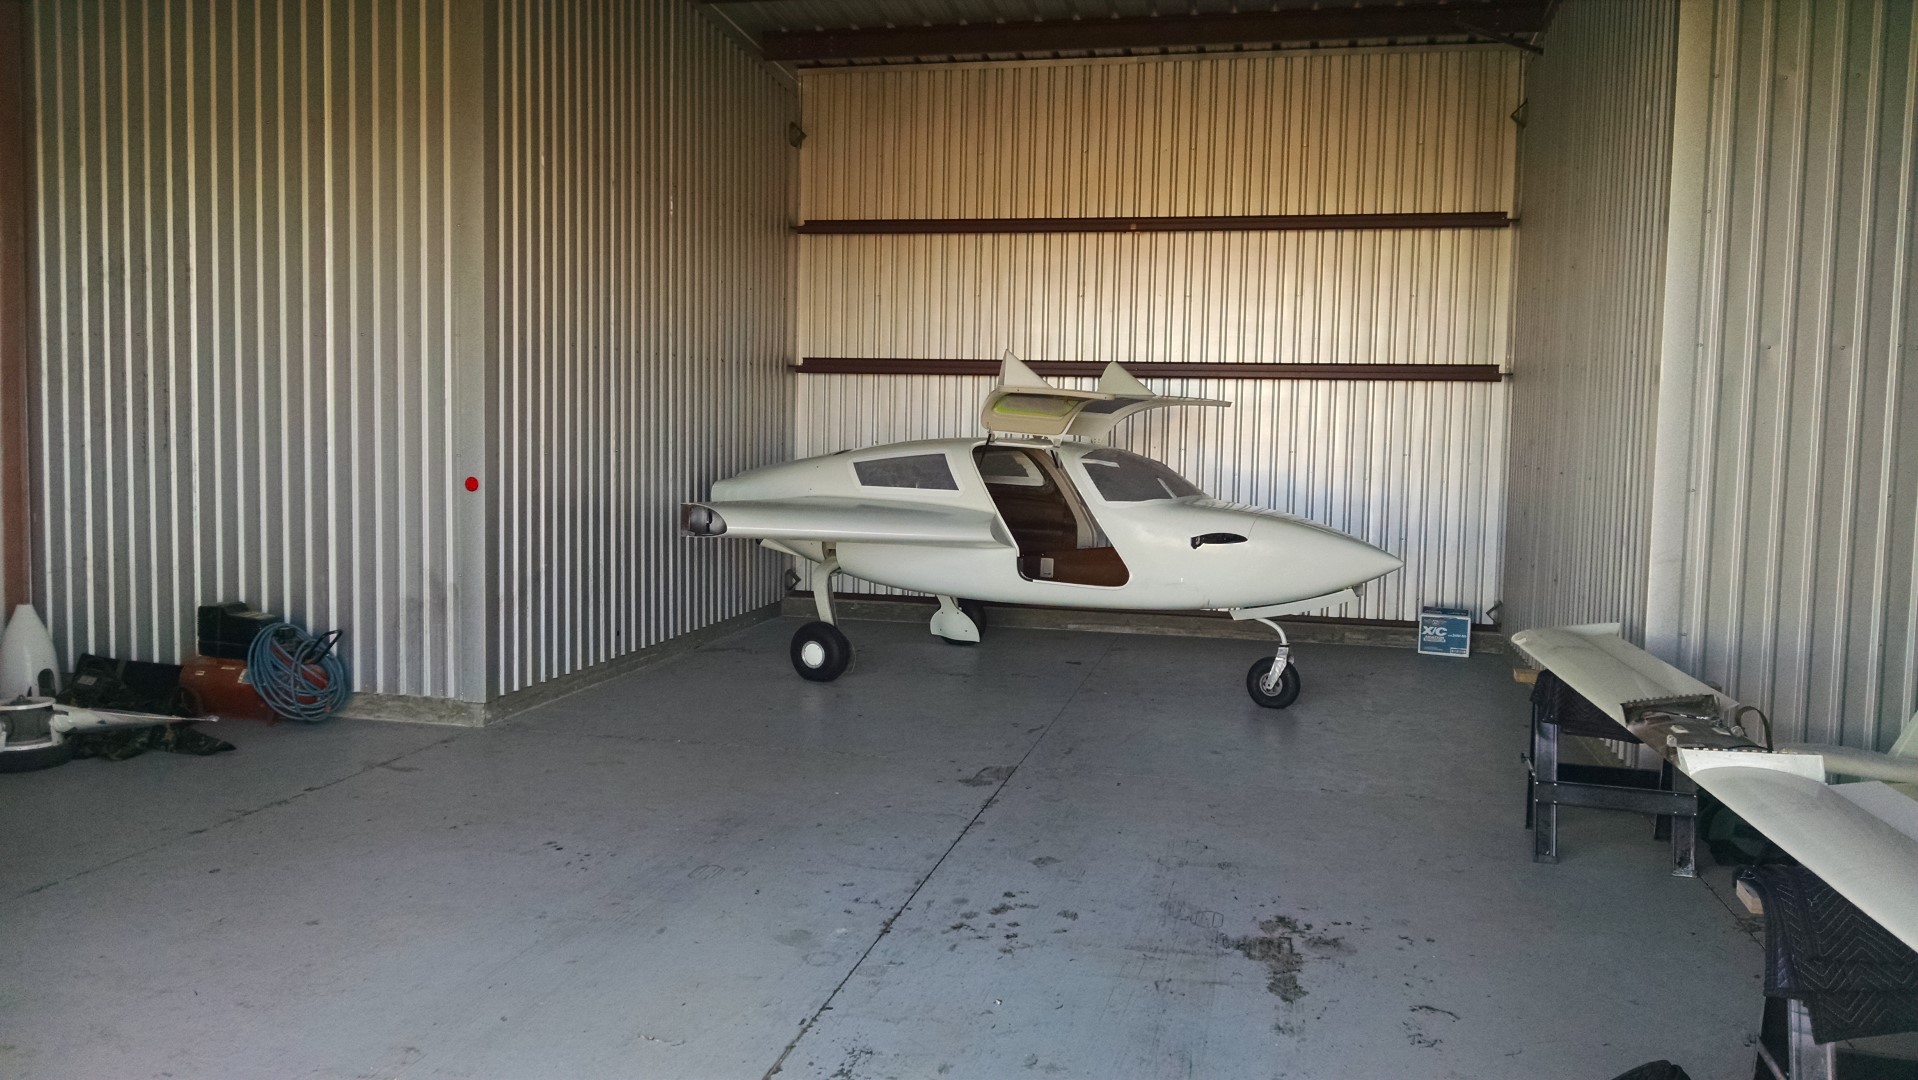
Once everything was moved in, Malcolm started an inspection to create a “punch list” while I unpacked boxes. Within a couple of hours, he had two full pages of todo items. Most of those items (probably about 75%) involved replacing non-locking nuts with locking nuts. During assembly, there is a lot of installing, removing, installing, removing… So in those circumstances, jam nuts are used since lock nuts can only be installed so many times before they have to be discarded.
So on Tuesday, we began in earnest to start checking off items from the list. By Thursday, we had most of the items done and it was time to install the prop and wings (permanently with locking hardware). Before installing the wings, I had to mount the nav/strobe lights and terminate the wires for that and the nav/comm antennas.
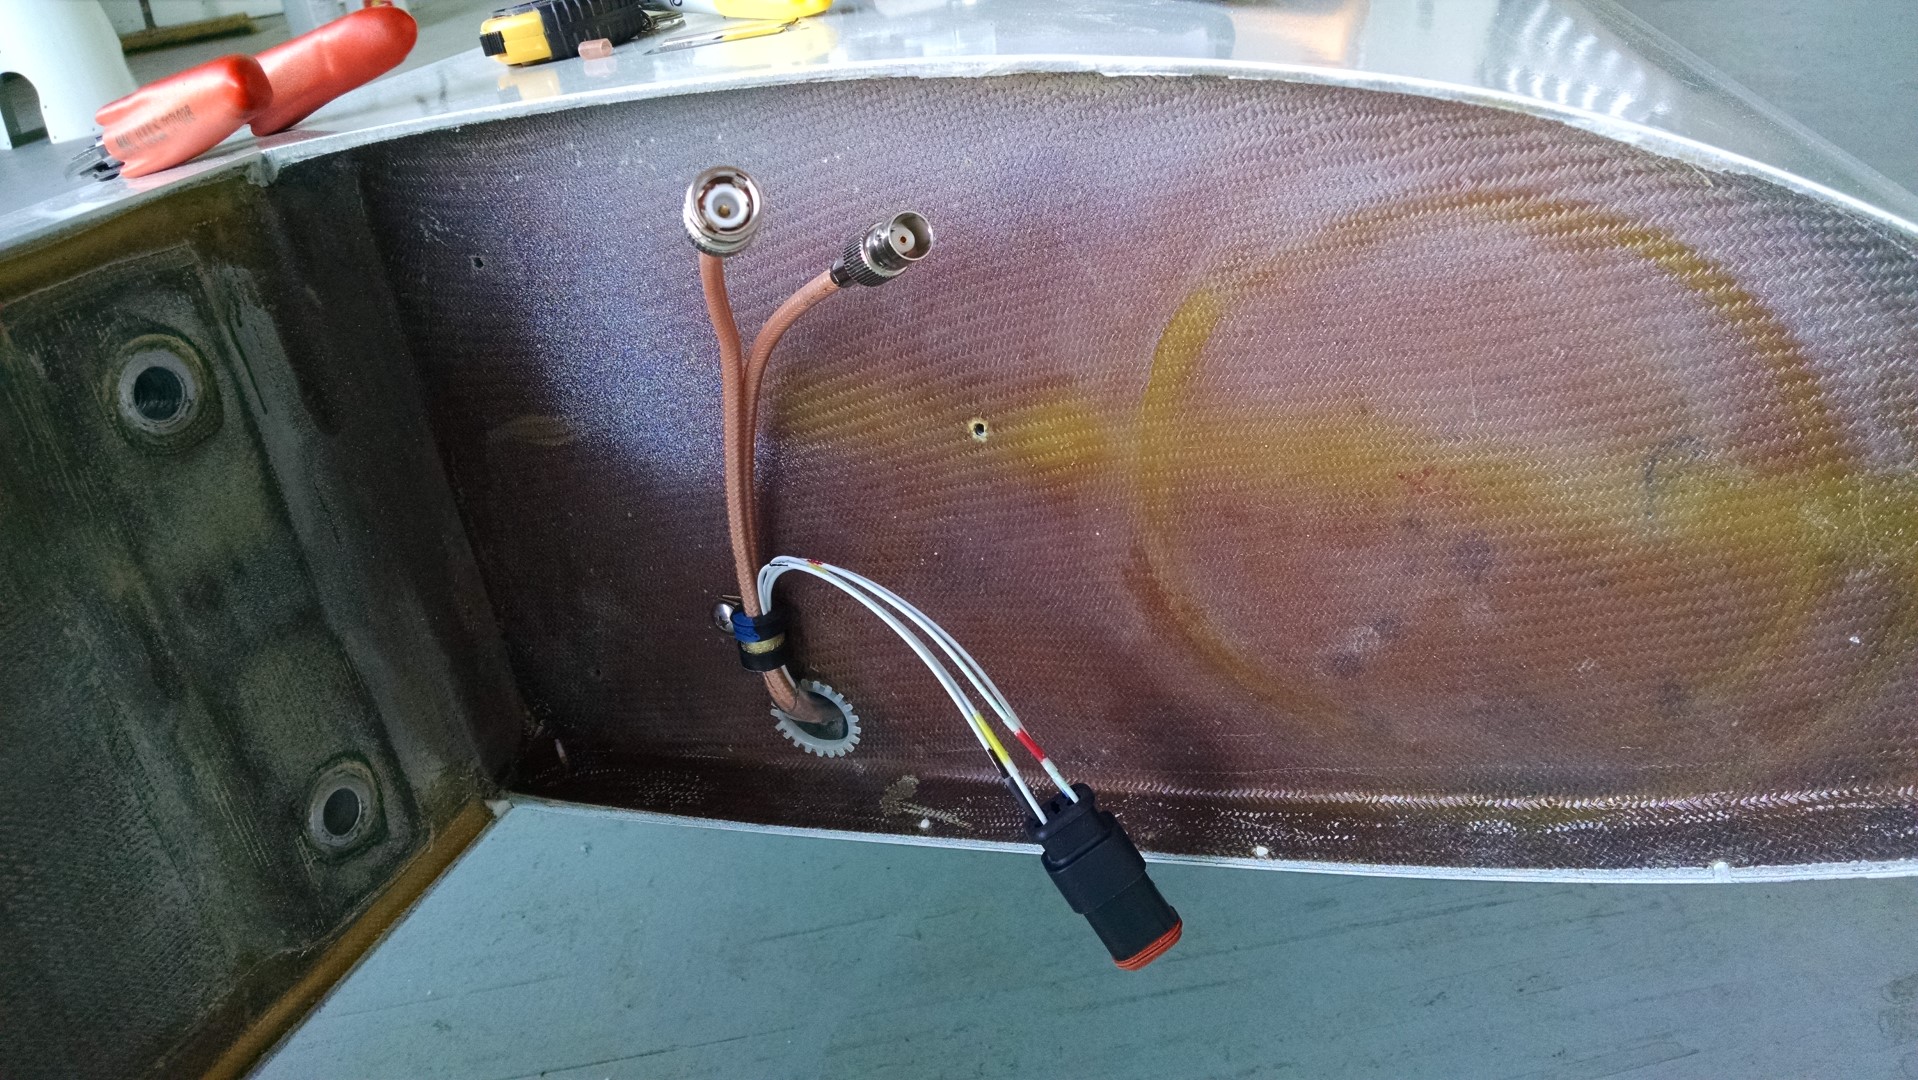
For the wingtip light wires, I used a nice weatherproof AMP connector and for the antenna wires, I used a male connector for the com and female for the nav. That way there’s no way of mis-wiring the antenna wires.
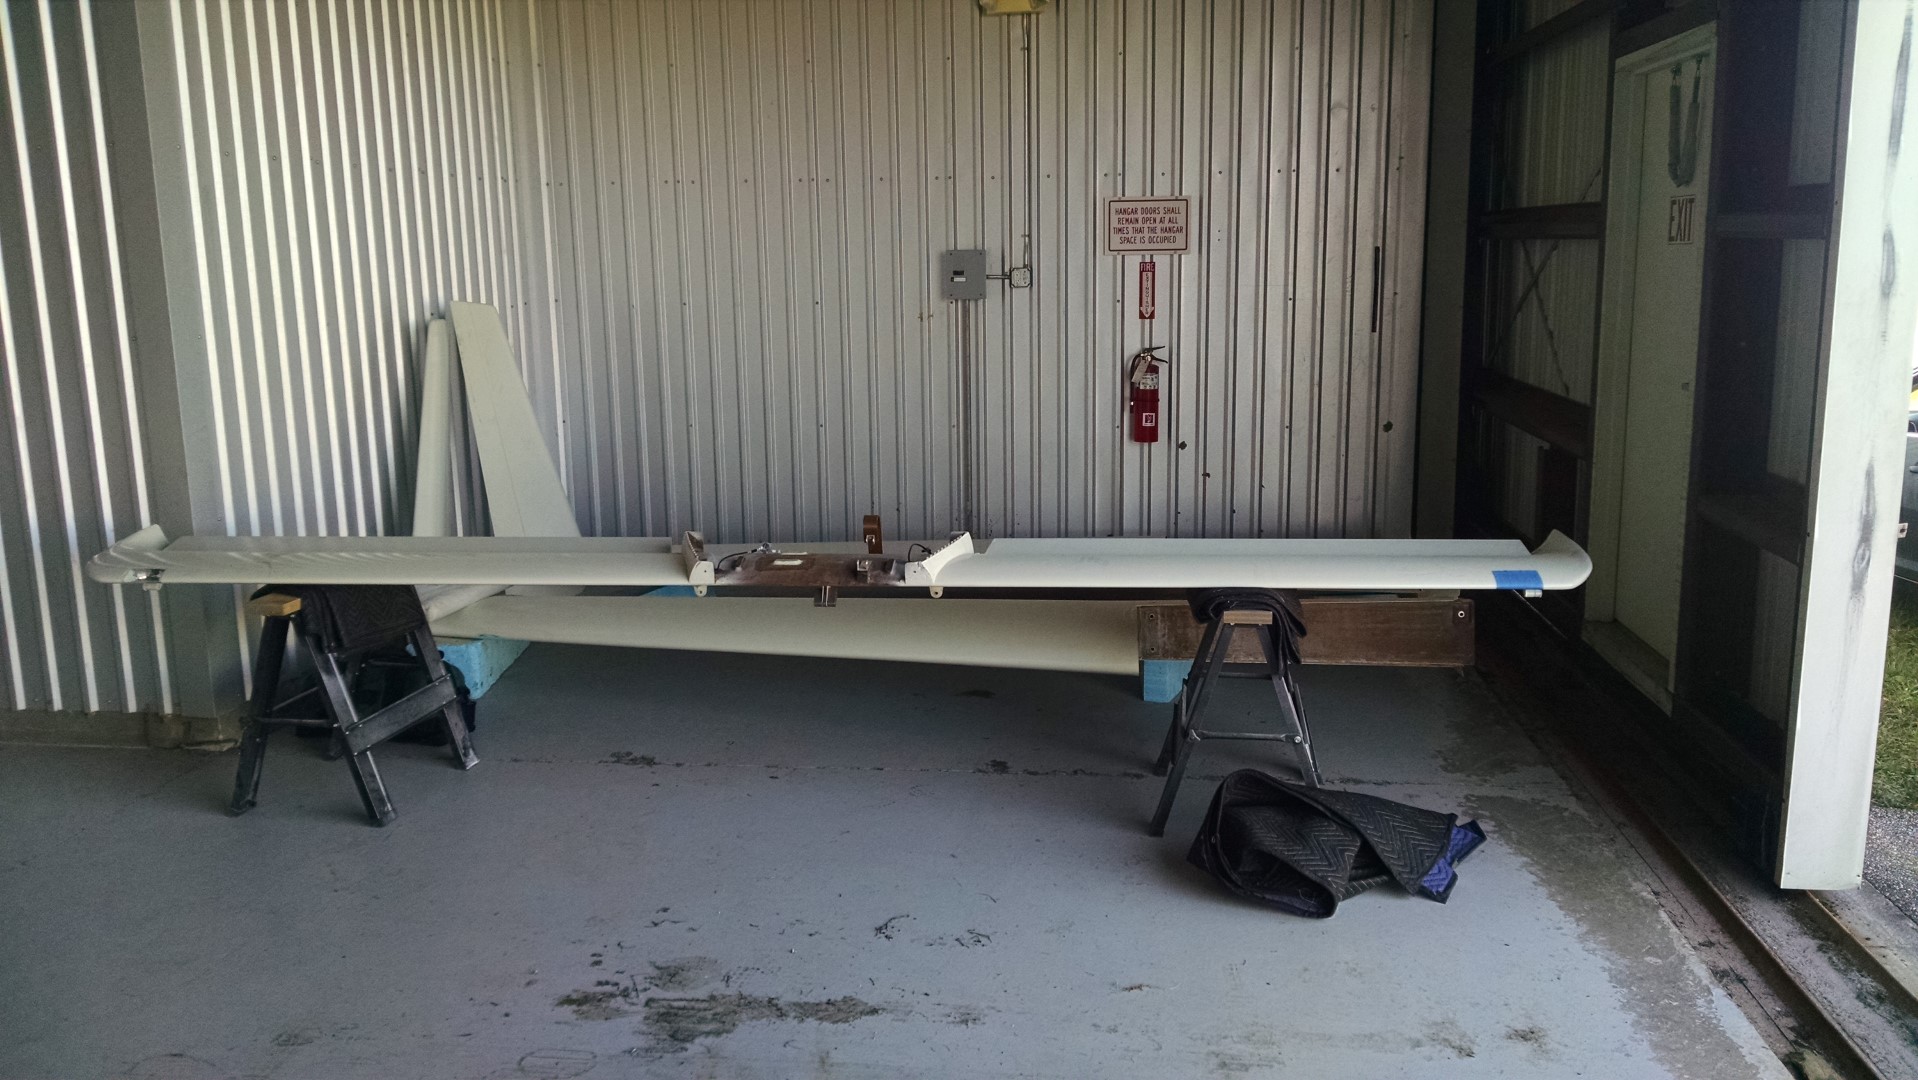
On Thursday afternoon, we had the prop on. By quitting time on Friday, the both wings were on and the punch list was much shorter.


A lot of progress for the week, but now it’s time for another (hopefully shorter) hiatus. Christmas and then a week visiting our son in Montana. Hopefully on the second week of January I’ll be back at it.
My plan is to find some type of transportation to leave in Sebastian so that I can fly the Cessna down. It’s only 2 hours enroute that way as opposed to 6.5 hours. I did some scouting but couldn’t find anything cheap. So the next trip may be another drive. 🙁
Major items left to do are:
1) wheel alignment2) Connect all control surface links
3) Relocate audio panel